
1. Киришүү
This manual provides essential information for the safe and efficient operation of your Sharp Aquos LC42D64U 42-Inch 1080p LCD HDTV. Please read these instructions thoroughly before using your television and retain them for future reference. The Sharp Aquos D64 series offers a slim design, Full HD 1080p resolution, and advanced features for an enhanced viewтажрыйбасы.
2. Коопсуздук боюнча маанилүү маалымат
Өрт, электр шок жана жаракат алуу коркунучун азайтуу үчүн бул телевизорду колдонууда ар дайым негизги коопсуздук чараларын сактаңыз.
- Кубат булагы: Connect the TV only to the power supply indicated on the label.
- Вентиляция: Туура желдетүүнү камсыз кылыңыз. Вентиляция тешиктерин жаап албаңыз.
- Суу жана ным: Телевизорду жамгырга же нымга тийгизбеңиз. Сыналгыга суюктук толтурулган нерселерди койбоңуз.
- Тазалоо: Тазалоодон мурун телевизорду розеткадан сууруп алыңыз. Жумшак, кургак чүпүрөктү колдонуңуз.
- Тейлөө: Бул продуктту өзүңүз тейлөөгө аракет кылбаңыз. Бардык тейлөөнү квалификациялуу тейлөө кызматкерлерине тапшырыңыз.
- Монтаждоо: If wall-mounting, ensure the mount is compatible and installed by qualified personnel.
- Балдар: Балдардын сыналгыга чыгуусуна же ойношуна жол бербөө үчүн аларды көзөмөлдөңүз.
3. Кутуда эмне бар
Орнотууну улантуудан мурун бардык компоненттер бар экенин текшериңиз.
- Sharp Aquos LC42D64U 42-Inch LCD HDTV
- Алыстан башкаруу
- Стол стенди
- Электр кабели
- Колдонуучунун Колдонмосу (бул документ)
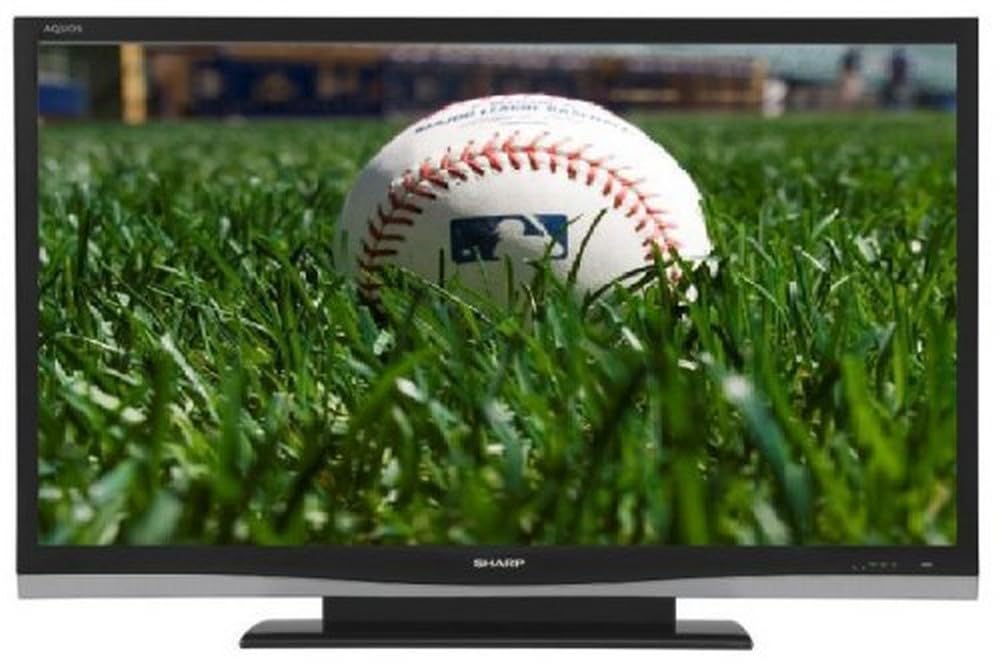
Сүрөт: алдыңкы view of the Sharp Aquos LC42D64U 42-Inch LCD HDTV with its included table stand.
4. Орнотуу
4.1 Столдун таянычын бекитүү
If you are not wall-mounting the television, attach the included table stand. Refer to the separate assembly guide for detailed instructions on securing the stand to the TV. Ensure all screws are tightened securely.
4.2 Тышкы түзмөктөрдү туташтыруу
Connect your external devices (e.g., cable box, Blu-ray player, game console) to the appropriate input terminals on the rear or side of the TV.
- HDMI: For high-definition digital video and audio. The TV features three HDMI 1.3 inputs (two rear, one side).
- Component Video (Y, Pb, Pr): For high-definition analog video. Two inputs are available.
- Composite Video (A/V): For standard-definition analog video and audio. One side and one rear input.
- S-Video: For standard-definition video. One side and one rear input.
- PC Input (D-Sub 15-pin): Монитор катары колдонуу үчүн компьютерди туташтырыңыз.
- RF Antenna Inputs: Two inputs for connecting an antenna or cable TV.
- Ethernet порту: For network connectivity (DLNA).
4.3 Кубат туташтыруу
After connecting all desired devices, plug the power cord into the TV's power inlet and then into a wall outlet. The TV will enter standby mode.
5. Иштөө нускамалары
5.1 Initial Power On and Channel Setup
- басыңыз КҮЧ button on the remote control or the TV to turn it on.
- The first time you power on, the TV will guide you through the initial setup process, including language selection and channel scanning.
- Select your preferred language (English, Spanish, or French).
- Perform an "Easy Setup" or "Channel Setup" scan to detect available digital (ATSC, QAM) and analog (NTSC) channels.
5.2 Алыстан башкаруунун негизги функциялары
- КҮЧ: Turns the TV on or off (standby).
- КИРҮҮ: Cycles through available input sources (HDMI, Component, PC, etc.).
- CH +/-: Каналдарды өзгөртөт.
- VOL +/-: Үн көлөмүн тууралайт.
- МЕНЮ: Accesses the on-screen menu for settings adjustments.
- ЖЕБЕ БАПЧАЛАРЫ: Меню параметрлери боюнча чабыттоо.
- КИРҮҮ: Тандоолорду ырастайт.
- EXIT/RETURN: Менюдан чыгат же мурунку экранга кайтат.
5.3 Меню багыттоо жана орнотуулар
басыңыз МЕНЮ button to access various settings categories:
- Сүрөт: Adjust brightness, contrast, color, tint, sharpness, and backlight. The OPC function automatically adjusts brightness based on room conditions.
- Аудио: Control volume, bass, treble, balance, and select audio modes.
- Канал: Rescan channels, add/delete channels, and set up favorite channels.
- Жайгашуу: General settings like language, time, sleep timer, and parental controls (V-Chip).
- Өркүндөтүлгөн өзгөчөлүктөр: Access settings for DLNA, Picture-in-Picture, and AQUOS LINK.
6. Өркүндөтүлгөн функциялар
6.1 AQUOS LINK (HDMI-CEC)
AQUOS LINK allows convenient control of compatible Sharp devices connected via HDMI using just your AQUOS TV remote. Ensure connected devices also support HDMI-CEC (Consumer Electronics Control) and are enabled in their respective settings.
6.2 DLNA Compatibility
The TV is DLNA-compatible, enabling interoperability with other DLNA-certified electronics, computers, and mobile devices. Connect the TV to your home network via the Ethernet port to access and share digital content (photos, videos, music) from compatible devices on your network.
6.3 Сүрөт ичиндеги сүрөт (PIP)
The Picture-in-Picture function allows simultaneous viewing of a TV program and a video or PC source. Consult the on-screen menu for PIP activation and source selection.
6.4 V-Chip System
The V-Chip system allows you to block TV and movie programs based on their rating, providing parental control over objectionable content. Access V-Chip settings through the TV's setup menu.
7. Техникалык тейлөө
7.1 Экранды тазалоо
Экранды жумшак, түксүз чүпүрөк менен акырын сүртүңүз. өжөр белгилери үчүн, жеңил гampчүпүрөккө суу же атайын экран тазалоочу каражат. Жок use harsh chemicals, abrasive cleaners, or spray liquids directly onto the screen.
7.2 Кабинетти тазалоо
Wipe the TV cabinet with a soft, dry cloth. Avoid using solvents or abrasive materials.
7.3 Жалпы кам көрүү
- Чагылган бороондо же көпкө чейин пайдаланылбай турганда сыналгыны розеткадан ажыратыңыз.
- Телевизорду күн нурунан, жылуулук булактарынан жана ашыкча чаңдан алыс кармаңыз.
- Ensure adequate space around the TV for proper ventilation.
8. Кыйынчылыктарды
Кардарларды колдоо кызматына кайрылуудан мурун, жалпы маселелер боюнча төмөнкү чечимдерди колдонуп көрүңүз:
| Көйгөй | Мүмкүн чечим |
|---|---|
| Күч жок | Кубат шнуру телевизорго жана розеткага бекем сайылганын текшериңиз. Розеткада кубат бар экенин текшериңиз. |
| Сүрөт жок, бирок үн бар | Туура киргизүү булагы тандалганын текшериңиз. Тышкы түзмөктөргө кабелдик байланыштарды текшериңиз. |
| Үн жок, бирок сүрөт бар | Check the volume level and mute setting. Ensure audio cables are correctly connected. |
| Пульт иштебей жатат | Батареяларды алмаштырыңыз. Пульт менен сыналгынын IR сенсорунун ортосунда эч кандай тоскоолдуктар жок экенин текшериңиз. |
| "Hotel Mode" issue (as per customer review) | If the TV is stuck in a limited functionality mode, contact Sharp customer support for assistance in disabling "Hotel Mode." This typically requires a specific service menu sequence. |
9. Техникалык шарттар
| Өзгөчөлүк | Деталь |
|---|---|
| Модель номери | LC42D64U |
| Screen Size | 42 дюйм |
| Дисплей технологиясы | LCD |
| Резолюция | 1080p (Full HD) |
| Контраст катышы | 10,000:1 Динамикалык |
| Жооп убактысы | 4 Миллисекунд |
| HDMI порттору | 3 (2 арткы, 1 каптал) |
| Component Video Inputs | 2 |
| Композиттик видео киргизүүлөр | 3 (1 каптал, 2 арткы) |
| S-Video Inputs | 2 (1 каптал, 1 арткы) |
| PC киргизүү | 1 (D-Sub 15-pin) |
| Ethernet порту | Ооба |
| Тюнер түрү | ATSC, QAM, NTSC |
| Ата-энелик көзөмөл | V-чип |
| Салмагы | 70.2 фунт (болжол менен) |
| Модель жылы | 2008 |
10. Кепилдик жана колдоо
10.1 Чектелген Кепилдик
This Sharp Aquos LC42D64U television comes with a 1 Year Parts and 1 Year Labor Warranty from the date of original purchase. This warranty covers manufacturing defects in materials and workmanship under normal use. It does not cover damage caused by misuse, accident, modification, or unauthorized repair.
Кепилдик дооматтары үчүн сатып алганыңыздын далилин сактап коюңуз.
10.2 Кардарларды колдоо
For technical assistance, troubleshooting beyond this manual, or warranty service, please contact Sharp Customer Support. Refer to the contact information provided with your product documentation or visit the official Sharp webакыркы колдоо маалымат үчүн сайт.
When contacting support, please have your model number (LC42D64U) and serial number ready.