
1. Киришүү
This manual provides detailed instructions for the installation, operation, and maintenance of your ROLINE 4-Channel Network Video Recorder (NVR), Model 21197310. Please read this manual thoroughly before using the product to ensure proper setup and functionality. Keep this manual for future reference.
1.1. Пакеттин мазмуну
Төмөндө тизмеленген нерселердин баары пакетиңизге камтылганын текшериңиз. Эгерде кандайдыр бир буюмдар жок же бузулуп калса, сатуучуга кайрылыңыз.
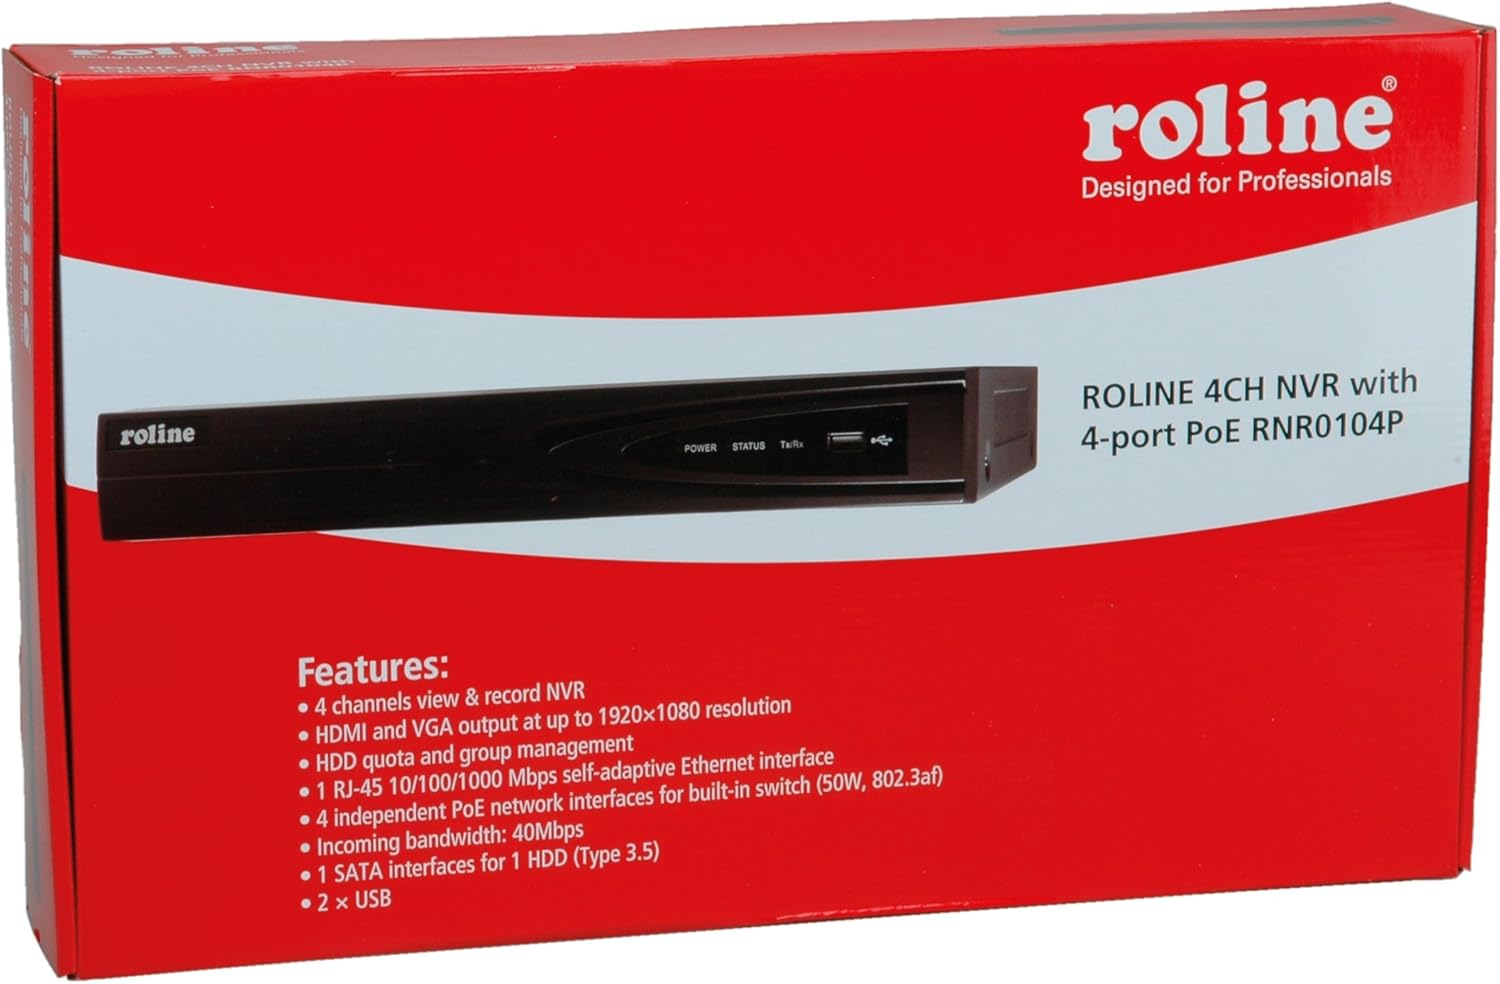
Figure 1: ROLINE NVR 21197310 and included accessories. This image shows the NVR unit, power adapter, power cable, USB mouse, Ethernet cable, SATA data and power cables, mounting screws, and a software CD.
- ROLINE 4-Channel NVR Unit (Model 21197310)
- Кубаттуу адаптер жана кабель
- USB чычкан
- Ethernet кабели
- SATA Data and Power Cables (for HDD installation)
- Бекитүүчү бурама (HDD орнотуу үчүн)
- Software CD (may include utility tools and documentation)
2. Продукт бүтүп калдыview
The ROLINE 21197310 NVR is a Linux-based network video recorder designed to manage up to 4 network cameras. It features an integrated 4-port Power over Ethernet (PoE) switch, allowing direct power supply to PoE-compatible cameras. With HDMI and VGA outputs, you can connect a local display for direct operation and configuration using a mouse, eliminating the need for an additional PC for video playback.
2.1. Негизги өзгөчөлүктөрү
- 4-channel network video recording capability
- HDMI and VGA video output with resolutions up to 1920 x 1080
- 1x RJ-45 10/100/1000 Mbps adaptive Ethernet interface
- 4 independent PoE network interfaces with integrated switch (50W total, 802.3af/at compliant)
- Support for locking and unlocking recorded data
- 1 SATA interface for 1 HDD (Type 3.5")
- 2x USB порту
2.2. Алдыңкы панель

Figure 2: Front Panel of ROLINE NVR 21197310. This image displays the Roline branding, LED indicators for power, status, and data transmission/reception, and a convenient front-facing USB port.
- ROLINE Logo: Брендди идентификациялоо.
- POWER LED: Кубаттын абалын көрсөтөт.
- STATUS LED: Системанын иштөө абалын көрсөтөт.
- Tx/Rx LED: Тармактын активдүүлүгүн көрсөтөт.
- USB порт: For connecting a USB mouse or external storage devices.
2.3. Арткы панель

Figure 3: Rear Panel of ROLINE NVR 21197310. This image highlights the various connectivity options including four PoE ports for cameras, audio input and output jacks, VGA and HDMI video outputs, a main LAN port, a USB port, the DC power input, and the main power switch.
- PoE порттору (1-4): RJ-45 ports for connecting IP cameras and providing power via PoE.
- AUDIO IN (RCA): For connecting an external audio input device.
- АУДИО ЧЫГЫШЫ (RCA): For connecting to an external speaker or audio system.
- VGA порту: For connecting a VGA monitor.
- HDMI порту: For connecting an HDMI monitor or TV.
- LAN порту: RJ-45 port for connecting the NVR to your local network/router.
- USB порт: For connecting a USB mouse or external storage devices.
- 48V DC кубат киргизүү: Берилген кубат адаптерин бул жерге туташтырыңыз.
- POWER которуштуруу: Main power on/off switch for the NVR.
- Жерге туташтыруу терминалы: Кошумча жерге туташтыруу үчүн.
3. Орнотуу
3.1. Катуу дискти орнотуу
The NVR requires a 3.5-inch SATA hard drive (not included) for recording video. Follow these steps to install it:
- Unscrew and remove the top cover of the NVR chassis.
- Connect the SATA data cable and power cable (provided) to the hard drive.
- Align the hard drive with the mounting holes inside the NVR and secure it with the provided screws.
- Connect the other end of the SATA data cable to the SATA port on the NVR's motherboard.
- Connect the other end of the SATA power cable to the power connector on the NVR's motherboard.
- Carefully replace the top cover and secure it with screws.
Эскертүү: Ensure the NVR is powered off and unplugged before performing any internal installations.
3.2. Перифериялык түзүлүштөрдү туташтыруу
- Дисплей: Мониторду NVRдин HDMI же VGA портуна туташтырыңыз.
- Чычкан: Connect the USB mouse to any available USB port (front or rear).
- Тармак: Connect an Ethernet cable from your router/network switch to the NVR's LAN port.
- Камералар: Connect your IP cameras to the NVR's PoE ports (1-4) using Ethernet cables. The NVR will provide power to PoE-compatible cameras.
3.3. Күйгүзүү
- Connect the power adapter to the NVR's 48V DC Power Input.
- Күч адаптерин ылайыктуу розеткага сайыңыз.
- Flip the POWER switch on the rear panel to the 'ON' position.
- The NVR will boot up, and you should see the ROLINE logo on the connected display.
4. Иштөө нускамалары
4.1. Баштапкы орнотуу устасы
Upon first boot, the NVR may guide you through an initial setup wizard. Follow the on-screen prompts to configure basic settings such as language, date/time, network settings, and hard drive initialization. It is crucial to format the newly installed hard drive through this wizard or the system settings before recording can begin.
4.2. Колдонуучу интерфейсинин навигациясы
The NVR's interface is primarily controlled using the connected USB mouse. Right-click anywhere on the live view screen to access the main menu. Use the mouse to navigate through menus, select options, and input text.
4.3. Камераны башкаруу
To add and manage IP cameras:
- Негизги менюдан, төмөнкүгө өтүңүз Камера башкаруу or IP камера орнотуулар.
- The NVR should automatically detect cameras connected to its PoE ports.
- If cameras are not detected, you may need to manually add them by entering their IP address, port, username, and password. Refer to your camera's manual for these details.
- Ensure cameras are enabled and configured for recording.
4.4. Recording Configuration
To set up recording schedules and modes:
- кирүү Record Settings or График menu from the main interface.
- Configure recording modes (e.g., continuous, motion detection, alarm-triggered) for each camera.
- Set recording schedules based on your requirements.
- Ensure the hard drive is formatted and has sufficient space.
4.5. Видеону ойнотуу
Кайраview foo жазылганtage:
- Негизги менюдан тандаңыз Ойнотуу.
- Choose the camera(s) and date/time range you wish to review.
- Foo аркылуу өтүү үчүн ойнотуу башкаруу элементтерин (ойнотуу, тындыруу, алдыга жылдыруу, артка түрүү) колдонуңузtage.
- The NVR supports locking and unlocking recorded data to prevent accidental deletion of important events. This option is typically found within the playback or file башкаруу интерфейси.
5. Техникалык тейлөө
5.1. Катуу дискти башкаруу
Regularly check the status of your hard drive through the NVR's system settings. If the hard drive is full, the NVR will typically overwrite the oldest recordings (circular recording). You can also manually format the hard drive if needed, which will erase all recorded data.
5.2. Микропрограмманы жаңыртуу
Periodically check the ROLINE official website for firmware updates. Firmware updates can improve performance, add new features, or fix bugs. Follow the instructions provided with the firmware update package carefully to avoid damaging the device.
5.3. Тазалоо
Keep the NVR unit clean and free from dust. Use a soft, dry cloth to wipe the exterior. Ensure ventilation openings are not blocked to prevent overheating. Do not use liquid cleaners or aerosols directly on the unit.
6. Кыйынчылыктарды
6.1. Күч жок
- Ensure the power adapter is securely connected to both the NVR and a working power outlet.
- Check if the power switch on the rear panel is in the 'ON' position.
- Электр розеткасын башка аспап менен текшерип, анын иштешин ырастаңыз.
6.2. No Video Output on Display
- Verify that the HDMI or VGA cable is securely connected to both the NVR and the monitor.
- Монитордун күйгүзүлгөнүн жана туура киргизүү булагына (HDMI/VGA) коюлганын текшериңиз.
- Башка дисплейге туташып көрүңүз же башка кабелди колдонуңуз.
6.3. Cameras Not Displaying/Recording
- Check if the cameras are properly connected to the NVR's PoE ports.
- Ensure the Ethernet cables are functional.
- Verify that the cameras are powered on (if not using PoE, ensure external power is supplied).
- In the NVR's Camera Management settings, ensure the cameras are detected, enabled, and configured correctly.
- Confirm that the hard drive is installed, formatted, and has available space for recording.
6.4. Тармактык байланыш көйгөйлөрү
- Ensure the Ethernet cable is securely connected to the NVR's LAN port and your router/switch.
- Check the network settings in the NVR's interface to ensure correct IP address configuration (DHCP or static IP).
- Verify that your router/network is functioning correctly.
7. Техникалык шарттар
| Өзгөчөлүк | Деталь |
|---|---|
| Модель номери | 21197310 |
| Өндүрүүчү | ROLINE |
| Каналдардын саны | 4 |
| Video Output | 1x HDMI, 1x VGA (up to 1920x1080 resolution) |
| Ethernet интерфейси | 1x RJ-45 10/100/1000 Mbps Adaptive Ethernet |
| PoE порттору | 4 independent PoE interfaces with integrated switch (50W, 802.3af/at) |
| USB порттору | 2x USB |
| Аудио киргизүү/чыгаруу | 1x Audio In (RCA), 1x Audio Out (RCA) |
| HDD интерфейси | 1x SATA for 3.5" HDD |
| Электр камсыздоо | AC/DC Adapter (48V DC input) |
| Өлчөмдөр | 21.6 x 15.2 x 4.2 см |
| Салмагы | 60 g (NVR unit only, without HDD) |
| Операция системасы | Linux негизделген |
8. Кепилдик жана колдоо
ROLINE products are designed for reliability and performance. This product comes with a standard manufacturer's warranty. For specific warranty terms and conditions, please refer to the warranty card included with your product or visit the official ROLINE webсайт.
For technical support, troubleshooting assistance, or service inquiries, please contact your local ROLINE distributor or visit the ROLINE support portal online. Please have your product model number (21197310) and purchase information ready when seeking support.
ROLINE is a registered trademark. All rights reserved. Specifications are subject to change without notice.