Suncast DCCW3000D
Suncast DCCW3000D Resin Wicker-Look Outdoor Patio Cooler Instruction Manual
Model: DCCW3000D
1. Киришүү
This manual provides detailed instructions for the assembly, operation, and maintenance of your Suncast DCCW3000D Resin Wicker-Look Outdoor Patio Cooler. Please read these instructions carefully before use to ensure proper functionality and longevity of your product.
The Suncast DCCW3000D is a 77-quart capacity outdoor cooler designed for entertaining, featuring a durable resin wicker-look exterior, integrated storage, and mobility features.
2. Коопсуздук маалыматы
- Колдонуудан мурун бардык бөлүктөрү бекем орнотулганын текшериңиз.
- Do not overload the cooler or storage compartments.
- Keep the cooler on a level surface to prevent tipping.
- Exercise caution when moving the cooler, especially when full. Engage locking wheels when stationary.
- Бул продукт сыртта колдонуу үчүн арналган.
3. Бөлүктөр тизмеси
Монтаждоодон мурун, бардык компоненттер бар экендигин текшериңиз:
- Cooler Body (Main Unit)
- Капкак
- Каптал себет
- Towel Bar (Fold-up shelf)
- Locking Wheels (2)
- Non-Locking Wheels (2)
- Internal Wire Basket
- Дренаждык түтүк
- Assembly Hardware (specific to model, refer to included guide)

1-сүрөт: Бүттүview of the Suncast DCCW3000D Outdoor Patio Cooler, showing the main unit, side basket, and towel bar.
4. Орнотуу жана чогултуу
Assembly typically requires one person, but two may make the process easier. Follow the manufacturer's included assembly instructions carefully. Do not force parts together.
- Дөңгөлөктөрдү тиркөө: Secure the two locking wheels and two non-locking wheels to the designated points on the base of the cooler. Ensure locking wheels are positioned for easy access.
- Каптал аксессуарларды орнотуу: Attach the side basket and towel bar (fold-up shelf) to the exterior of the cooler as indicated in the specific assembly guide.
- Insert Internal Basket: Place the internal wire basket into the lower storage cabinet.
- Connect Drain Tube: Attach the drain tube to the drainage outlet.
- Капкак тиркемеси: Securely attach the hinged lid to the cooler body.

2-сүрөт: Detail of the external drain tube and casters (wheels) for mobility.
5. Иштөө нускамалары
5.1. Cooling Compartment Use
- Сыйымдуулугу: The cooler has a 77-quart capacity, capable of holding approximately 72 standard beverage cans or 6 two-liter bottles with ice.
- Жүктөө: Open the hinged lid. Place beverages and ice into the main compartment. For optimal cooling, pre-chill beverages and use a good ice-to-beverage ratio.
- Капкактын жабылышы: Ensure the lid is securely closed to maintain internal temperature and prevent ice from melting quickly.

3-сүрөт: The cooler's main compartment open, demonstrating its capacity and the utility of the side basket and towel bar.
5.2. Storage Cabinet and Accessories
- Төмөнкү кабинет: The 2.3 cubic foot lower storage cabinet is suitable for storing cups, napkins, bottle openers, or other outdoor entertaining essentials. Utilize the internal wire basket for organization.
- Side Basket: Use the external side basket for quick access to frequently used items like cups or small towels.
- Сүлгү тилкеси: The integrated towel bar can hold paper towels or small hand towels for convenience.
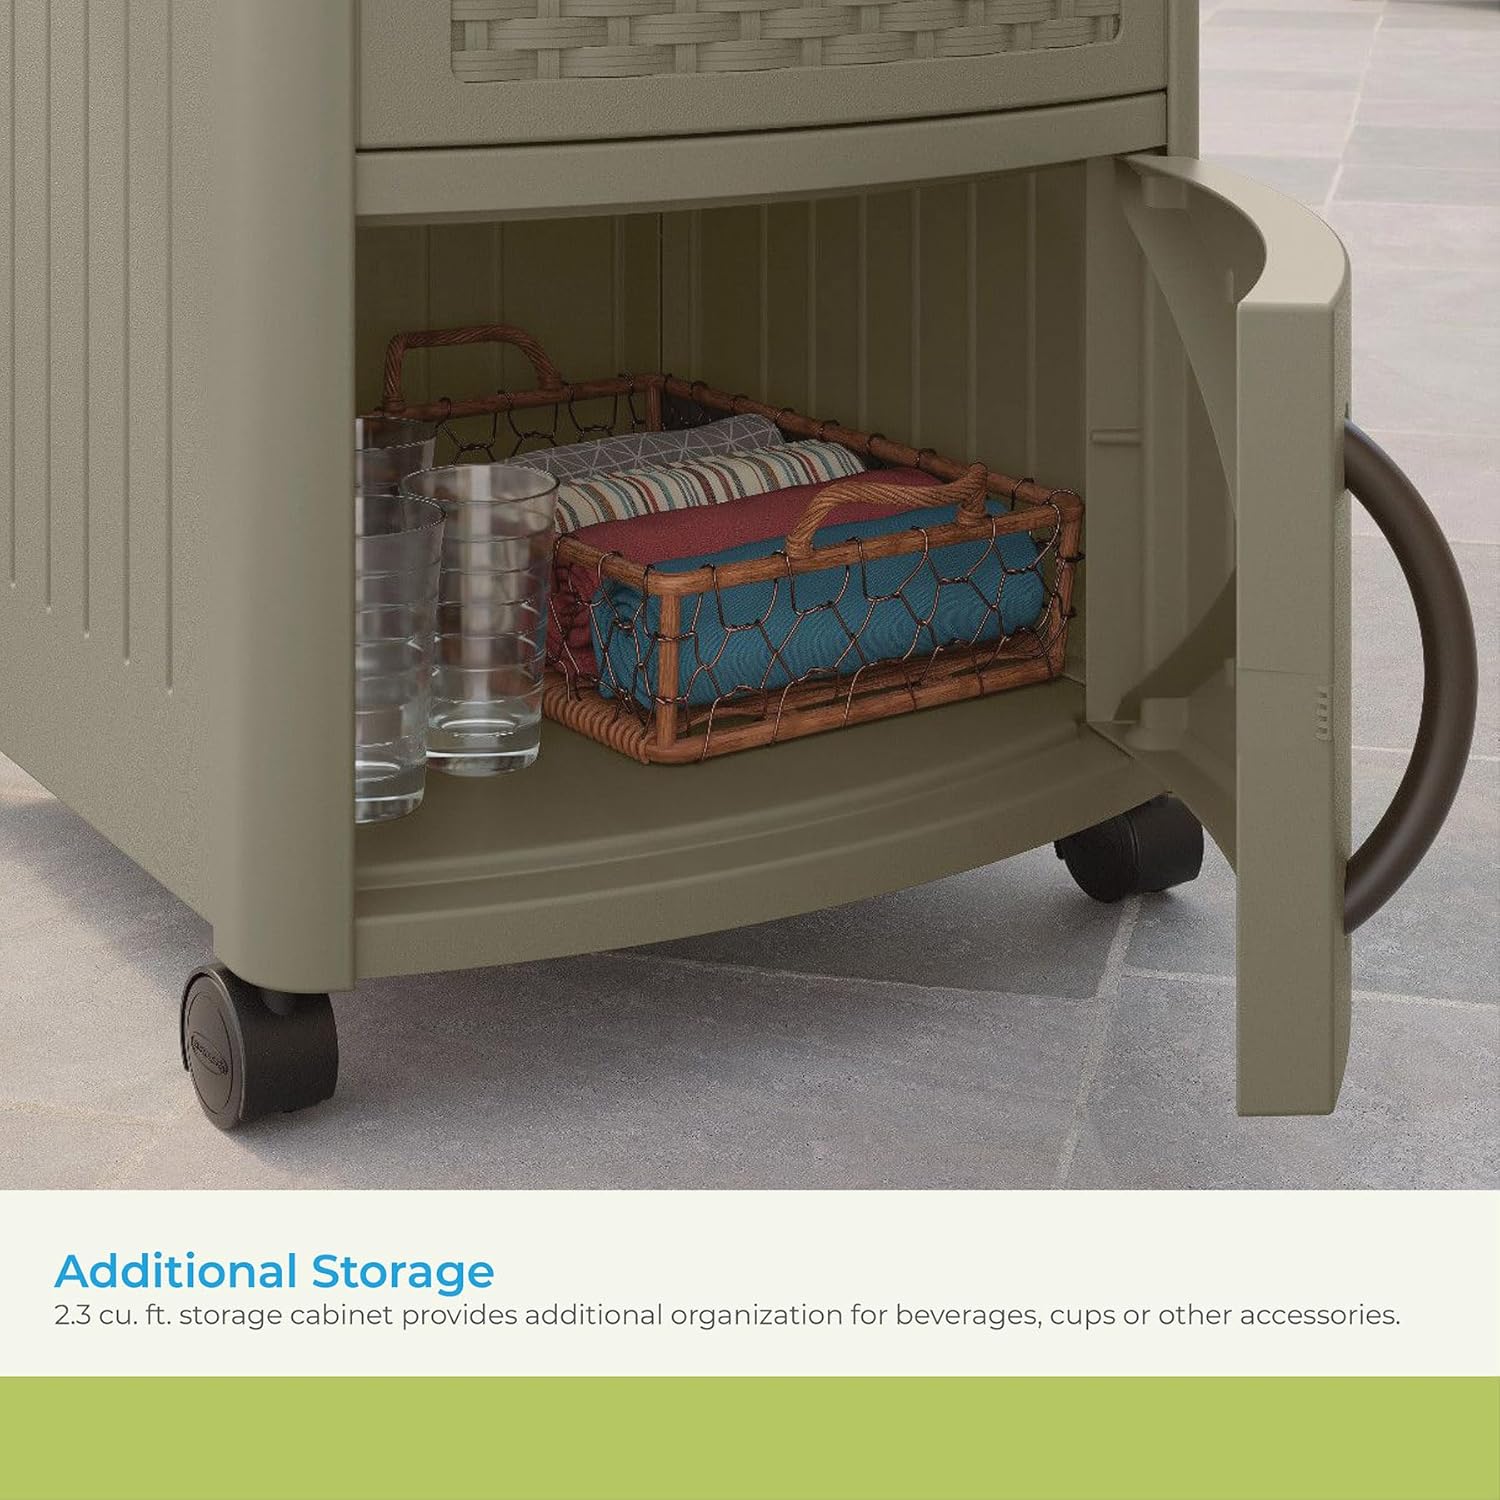
4-сүрөт: The lower storage cabinet, providing additional space for accessories.
5.3. Мобилдүүлүк
- Жылдыруу: The cooler is equipped with two locking and two non-locking wheels for easy movement. To move, unlock the locking wheels and push or pull the cooler to the desired location.
- Камсыздоо: Once in position, engage the locking wheels to prevent unintended movement.
6. Техникалык тейлөө жана кам көрүү
- Тазалоо: Clean the exterior and interior with mild soap and water. Rinse thoroughly and dry with a soft cloth. Avoid abrasive cleaners or harsh chemicals.
- Дренаж: After use, remove the drain plug and allow melted ice water to exit through the drain tube. Ensure the cooler is slightly tilted towards the drain for complete emptying. Re-insert the drain plug firmly after draining.
- Сактагыч: When not in use for extended periods, clean and dry the cooler completely. Store in a cool, dry place, preferably covered, to protect it from prolonged exposure to harsh weather conditions.
- Аба ырайынын туруктуулугу: The resin construction is weather-resistant, but covering the unit during extreme weather can extend its lifespan.
7. Кыйынчылыктарды
| Көйгөй | Мүмкүн себеп | Чечим |
|---|---|---|
| Муз өтө тез эрип кетет | Lid not sealed properly; cooler exposed to direct sunlight; insufficient ice; warm beverages loaded. | Ensure lid is fully closed. Position cooler in shade. Use more ice and pre-chill beverages. Consider adding additional insulation if desired (e.g., rigid styrofoam sheets). |
| Difficulty moving cooler | Locking wheels engaged; wheels obstructed. | Disengage locking wheels. Check for debris around wheels. |
| Water not draining completely | Drain plug obstructed; cooler not tilted. | Ensure drain plug is clear of ice or debris. Slightly tilt the cooler towards the drain opening. |
8. Техникалык шарттар
| Өзгөчөлүк | Деталь |
|---|---|
| Бренд | Suncast |
| Модель номери | DCCW3000D |
| Түс | Java |
| Материал | чайыр |
| Кубаттуулугу | 77 кварт |
| Продукциянын өлчөмдөрү (D x W x Y) | 22" x 26" x 34" |
| Элемент Салмагы | 31 фунт |
| Өзгөчөлүктөр | Wheeled, Hinged Lid, Built-in Storage Basket, Lower Storage Cabinet |
| Камтылган компоненттер | Side basket, two locking wheels, two non-locking wheels, wire basket, fold-up shelf (towel bar) |

5-сүрөт: Продукт өлчөмдөрү: 22"D x 26"W x 34"H.
9. Кепилдик маалыматы
Specific warranty details for the Suncast DCCW3000D Outdoor Patio Cooler are typically provided with the product packaging or available on the manufacturer's official webсайты. Кепилдиктин толук шарттары жана эрежелери үчүн ошол ресурстарды караңыз.
10. Кардарларды колдоо кызматы
For further assistance, replacement parts, or inquiries not covered in this manual, please contact Suncast customer support. Contact information can usually be found on the product packaging or the official Suncast webсайт.
Ask a question about this manual
Ask about setup, troubleshooting, compatibility, parts, safety, or missing instructions. Manuals+ will review the question and use this page’s manual context to help answer it.