Introduction
Сатып алганыңыз үчүн рахматasing the Supersonic IQ-8900 720 HD Digital Camcorder / Digital Camera. This device is designed for capturing high-definition video and still images with ease. This manual provides essential information on setting up, operating, and maintaining your new camcorder. Please read it thoroughly before use to ensure optimal performance and longevity of your device.
Продукт бүттүview
Негизги өзгөчөлүктөрү
- Dynamic Color capture
- Flip Screen Display for versatile viewing and self-recording
- Pop Up USB Connector for direct computer connection
- Built-in SD Card Expandable Memory Slot (supports up to 16GB)
- Lithium Rechargeable Battery for extended use
- Video and Camera Setting Options for customized recording
- Built-in Microphone and Speaker for audio recording and playback
- 4X Digital Zoom for closer shots
- Supports Microsoft Windows 98, 2000, XP, Vista & Windows 7
Компоненттер
The Supersonic IQ-8900 package typically includes the following items:
- Supersonic IQ-8900 Digital Camcorder / Digital Camera
- Литий кайра заряддалуучу батарея
- USB кабели
- AV Cable
- Колдонуучунун Колдонмосу (бул документ)
Note: An SD/MMC/SDHC memory card is required for recording and is sold separately.
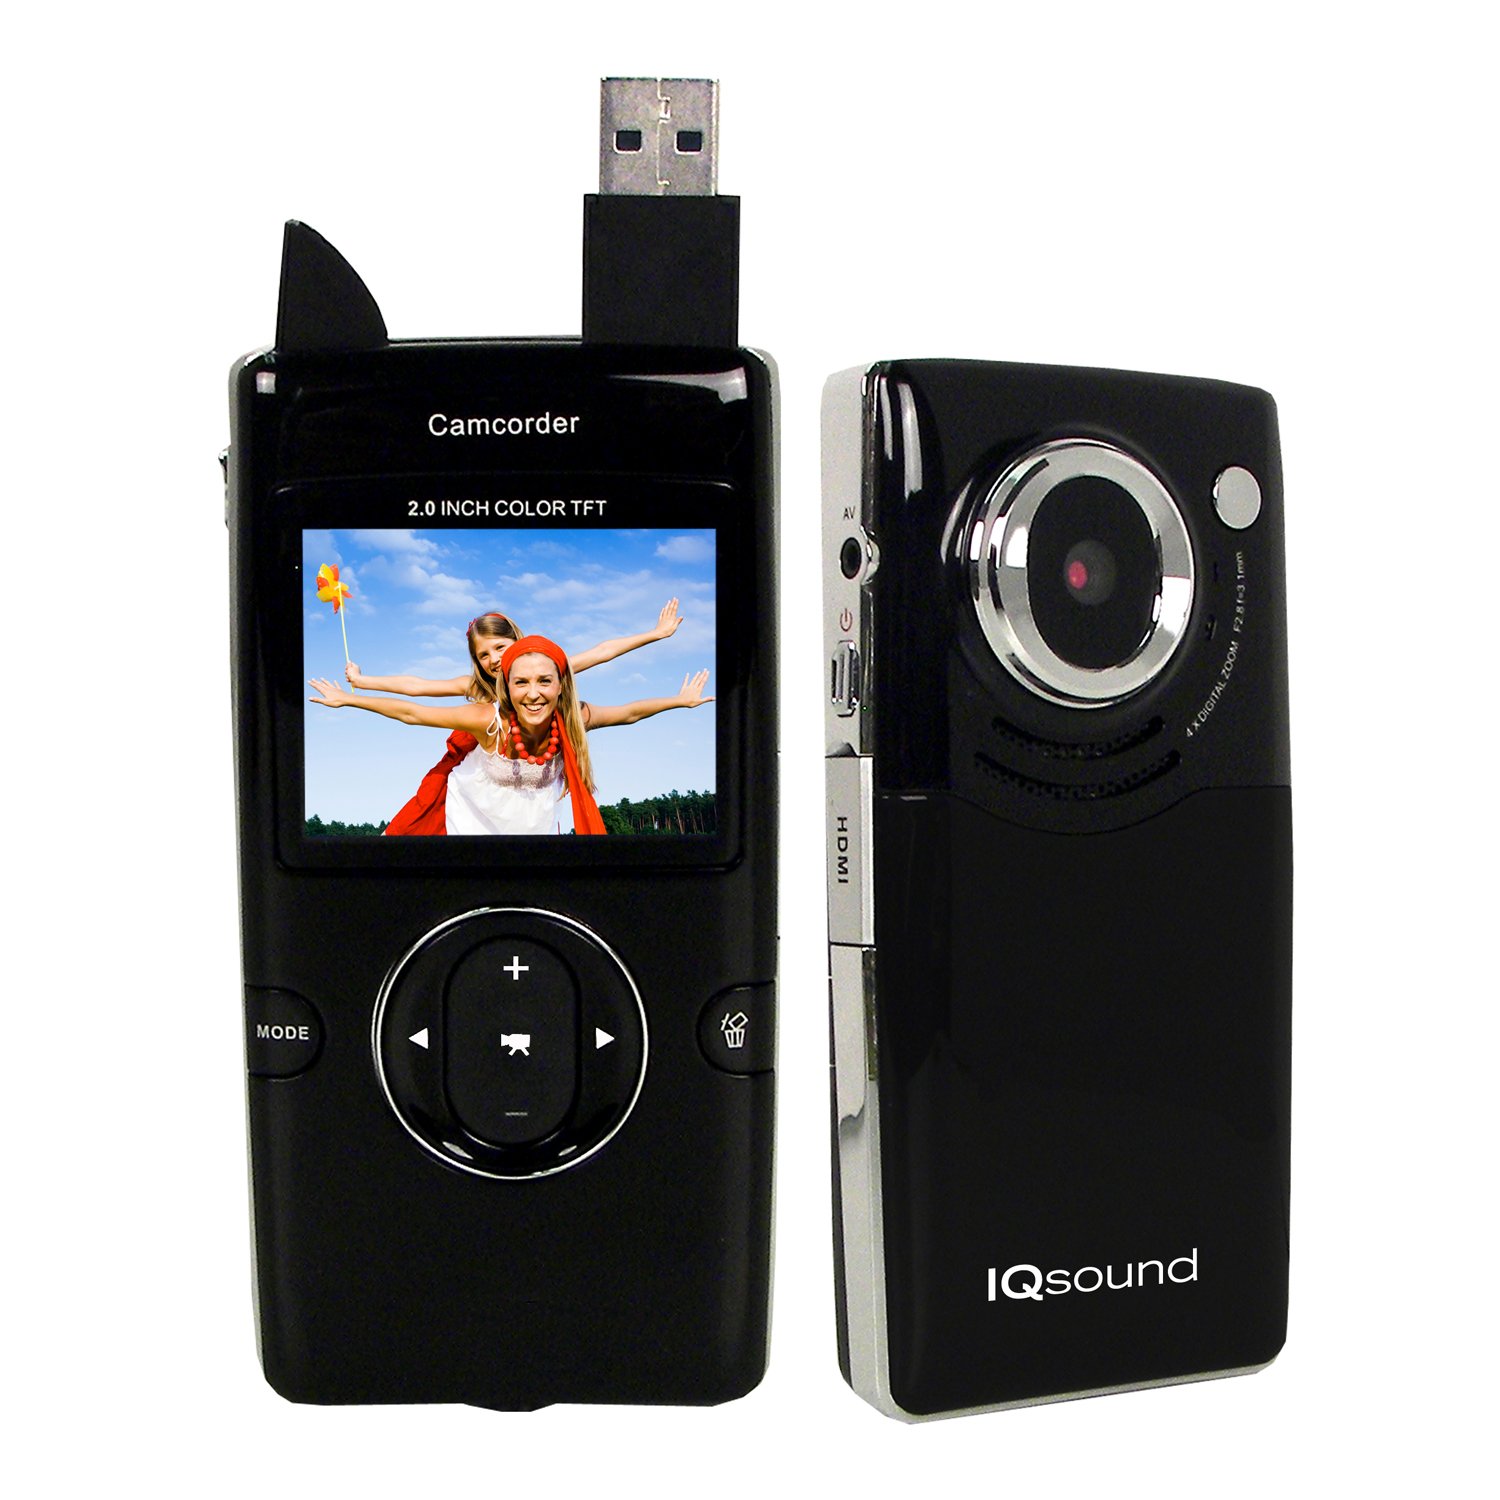
Image: The Supersonic IQ-8900 camcorder, showcasing its compact design and flip-out screen.
Жайгашуу
1. Батареяны заряддоо
- Insert the provided Lithium Rechargeable Battery into the battery compartment located on the device. Ensure correct polarity.
- Connect the camcorder to a computer using the supplied USB cable, or to a compatible USB wall adapter (not included).
- The charging indicator light will illuminate. Allow the battery to fully charge before first use.
2. Эстутум картасын салуу
- Locate the SD card slot on the side of the camcorder.
- Insert an SD/MMC/SDHC memory card (up to 16GB) into the slot with the metal contacts facing down, until it clicks into place.
- To remove, gently press the card inward until it springs out.
Иштөө нускамалары
1. Күйгүзүү / Өчүрүү
- Күйгүзүү үчүн, экран күйгөнгө чейин Күйгүзүү баскычын басып, кармап туруңуз.
- Өчүрүү үчүн, экран өчкөнгө чейин Кубат баскычын кайра басып, кармап туруңуз.
2. Видео жаздыруу
- Видеокамераны күйгүзүңүз.
- Ensure the mode is set to video recording (refer to the on-screen icon).
- Press the Record button to start recording. A red indicator will typically appear on the screen.
- Жазууну токтотуу үчүн Record баскычын кайра басыңыз.
- Use the zoom controls (if available) to adjust the focal length during recording.
3. Сүрөт тартуу
- Видеокамераны күйгүзүңүз.
- Switch the mode to still image capture (refer to the on-screen icon).
- Frame your shot using the flip screen.
- Сүрөткө тартуу үчүн жапкычты басыңыз.
4. Ойнотуу
- Enter Playback mode using the mode selection button.
- Жаздырылган видеолоруңузду жана сүрөттөрүңүздү карап чыгуу үчүн навигация баскычтарын колдонуңуз.
- Ойнотуу/ОК баскычын басыңыз view тандалган нерсе.
Connecting to Computer or TV
1. Компьютерге туташуу (USB)
- Видеокамера күйгүзүлгөнүн текшериңиз.
- Connect the camcorder to your computer using the supplied USB cable. The camcorder features a pop-up USB connector for convenience.
- Your computer should recognize the device as a removable disk. You can then access and transfer your files.
2. Connecting to a TV (AV/HDMI)
- Turn off both the camcorder and your television.
- Connect the camcorder to your TV using the supplied AV cable or a Mini HDMI cable (if your TV supports it).
- Turn on the TV and select the correct AV or HDMI input source.
- Power on the camcorder. The camcorder's display should now appear on your TV screen.
Техникалык тейлөө
Аппаратты тазалоо
- Видеокамеранын сыртын тазалоо үчүн жумшак, кургак чүпүрөктү колдонуңуз.
- Линзаны жана экранды чийип калбаш үчүн атайын линзаны тазалоочу чүпүрөктү жана эритмени колдонуңуз.
- Катуу химиялык заттарды же абразивдүү тазалоочу каражаттарды колдонбоңуз.
Батареяга кам көрүү
- Recharge the battery regularly, even if not in use, to maintain its lifespan.
- Батареяны экстремалдуу температурага тийгизүүдөн сактаңыз.
- Эгер түзмөктү көпкө сактасаңыз, батарейкасын чыгарып салыңыз.
Сактагыч
- Store the camcorder in a cool, dry place away from direct sunlight and excessive dust.
- Use a protective case to prevent physical damage.
Проблемаларды чечүү
- Түзмөк күйбөй жатат: Ensure the battery is fully charged and correctly inserted. Try connecting to a power source.
- Видео жаздыруу/сүрөткө тартуу мүмкүн эмес: Check if a memory card is inserted and has sufficient free space. Ensure the mode is correctly selected.
- Сүрөт/видео сапаты начар: Линзанын таза экенине ынаныңыз. Жарыктандыруу шарттарын текшериңиз.
- Computer not recognizing device: Ensure the USB cable is securely connected. Try a different USB port or restart your computer.
- No display on TV: Verify the AV/HDMI cable connection and that the correct input source is selected on your TV.
Техникалык шарттар
| Өзгөчөлүк | Спецификация |
|---|---|
| Screen Size | 2" TFT |
| Ички эс тутум | 32 МБ Flash эстутум |
| Карта түрү | SD/MMC/SDHC Cards |
| Тышкы эс | 16 ГБ чейин |
| Интерфейс | USB 2.0, Mini HDMI |
| Электр камсыздоо | 3.7V/800mAh литий батареясы |
| Power Life (HD Video) | 2 саатка чейин |
| Digital Zoom | 4X Digital Zoom |
| Сүрөттүн чечилиши | 1280 x 1024 пиксель |
| Сүрөт форматы | JPEG |
| Video Format | AVI |
| Video Resolution | HD (1280 x 720), D1 (720 x 480), VGA (640 x 480) Pixels |
| Frame Rate | 30 кадр/сек. чейин |
| Өлчөмдөрү (L x W x Y) | 2.22" x 0.76" x 4.38" |
| Шайкеш OS | Windows 98, 2000, XP, Vista, 7 |
Кепилдик жана колдоо
For warranty information and customer support, please refer to the documentation included with your purchase or contact your retailer. Specific warranty terms and conditions may vary by region and retailer. Keep your proof of purchase for any warranty claims.