Introduction
Thank you for choosing the AMS 5132/1 Radio-Controlled Pendulum Wall Clock. This clock combines classic design with modern radio-controlled technology for precise timekeeping. Crafted from walnut lacquered solid wood, it is designed for indoor use. Please read this manual carefully before setup and operation to ensure proper function and longevity of your clock.
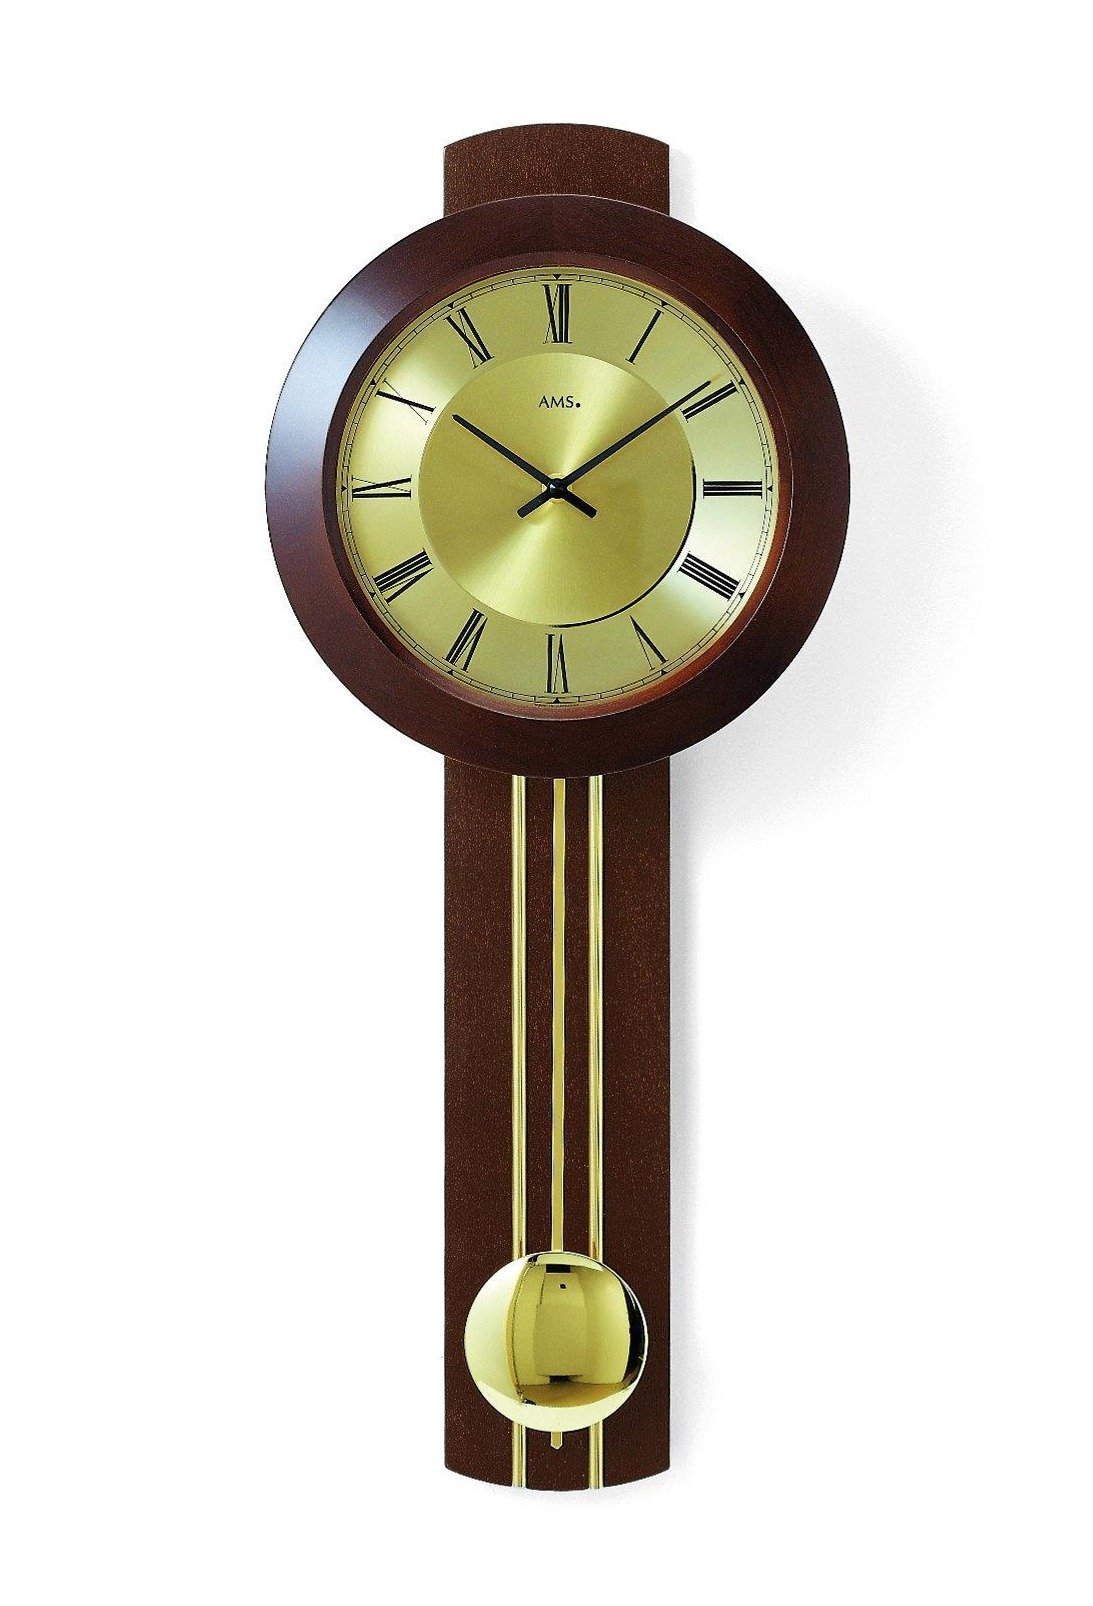
Сүрөт: алдыңкы view of the AMS 5132/1 Radio-Controlled Pendulum Wall Clock, showcasing its round dial, analog display, and walnut wood finish.
Коопсуздук маалыматы
- Батареяларды балдар жетпеген жерде сактаңыз.
- Саатты экстремалдык температурага, түз күндүн нуруна же жогорку нымдуулукка дуушар кылбаңыз.
- Avoid using abrasive cleaners on the wood or clock face.
- Сааттын кулап түшпөшү үчүн бекем орнотулганын текшериңиз.
- Колдонулган батарейкаларды жергиликтүү эрежелерге ылайык таштаңыз.
Пакеттин мазмуну
Сураныч, пакетте төмөнкү нерселерди текшериңиз:
- AMS 5132/1 Radio-Controlled Pendulum Wall Clock
- Pendulum rod and bob
- Көрсөтмө (бул документ)
Эскертүү: Батареялар камтылган эмес жана өзүнчө сатып алынышы керек.
Жайгашуу
- Пакеттен чыгаруу: Carefully remove the clock and all components from the packaging. Retain packaging for future transport or storage.
- Батарея орнотуу:
- Саат механизминин арткы бетиндеги батарея бөлүмүн табыңыз.
- Insert the required batteries (typically 1x AA, not included) according to the polarity markings (+/-).
- Батарея уясынын капкагын жабыңыз.
- Pendulum Installation:
- Carefully attach the pendulum rod to the hook or slot provided on the clock mechanism, usually located below the movement.
- Ensure the pendulum hangs freely and does not touch the clock casing.
- Initial Time Synchronization (Radio Control):
- Once batteries are installed, the clock hands will automatically move to the 12 o'clock position and begin searching for the radio signal. This process can take several minutes to an hour.
- Саатты тоскоолдук жаратышы мүмкүн болгон электрондук түзүлүштөрдөн алыс, жакшы кабыл алуу мүмкүнчүлүгү бар жерге коюңуз.
- The clock will automatically set itself to the correct time once the signal is received.
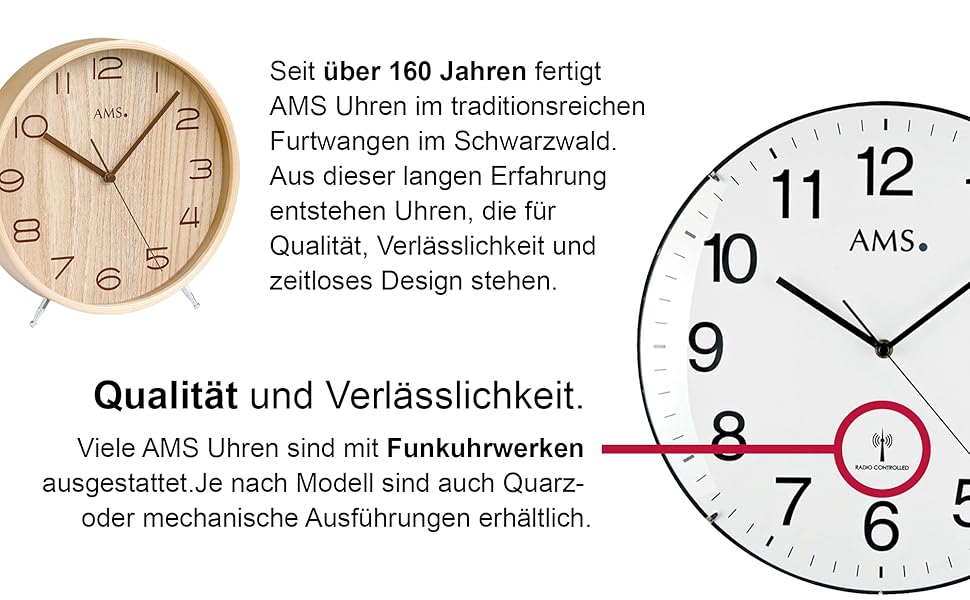
Image: Detail of a clock face indicating the 'RADIO CONTROLLED' feature, essential for automatic time synchronization.
- Саатты орнотуу:
- Select a suitable wall location for mounting. Ensure the wall can support the weight of the clock.
- Use appropriate wall anchors and screws (not included) for secure installation.
- Саатты дубалга бекем илип коюңуз.
Иштеп жатат
- Automatic Time Synchronization: The clock automatically receives a radio signal to ensure accurate timekeeping, including adjustments for Daylight Saving Time. This typically occurs once a day, usually in the early morning hours.
- Pendulum Movement: Gently push the pendulum to start its swing. It should continue to swing rhythmically as long as the clock is powered and functioning correctly.
- Убакытты кол менен тууралоо (зарыл болсо): In rare cases where the radio signal is consistently weak or unavailable, some models may offer a manual adjustment button (often labeled 'SET' or 'M.SET') on the back. Refer to specific markings on your clock's mechanism. Pressing this button usually advances the minute hand. Hold to move hands quickly. Release when close to the desired time and press repeatedly for fine adjustments. The clock will attempt to resynchronize with the radio signal after manual adjustment.
Техникалык тейлөө
- Тазалоо: Wipe the wood casing with a soft, dry cloth. For the clock face, use a clean, lint-free cloth. Do not use harsh chemicals or abrasive materials.
- Батареяны алмаштыруу: Replace batteries annually or when the clock hands stop moving or the pendulum stops swinging. Always replace all batteries at the same time with new ones of the same type.
- Жалпы кам көрүү: Avoid placing the clock in areas with extreme temperature fluctuations or high humidity, as this can affect the wood and the clock mechanism.
Проблемаларды чечүү
| Көйгөй | Мүмкүн себеп | Чечим |
|---|---|---|
| Саат иштебейт | Өлүк же туура эмес салынган батарейкалар | Туура полярдуулукту камсыз кылуу менен батарейкаларды алмаштырыңыз. |
| Туура эмес убакыт көрсөтүлгөн | Poor radio signal reception | Move the clock to a different location, away from electronic interference. Allow time for re-synchronization. |
| Маятник термелбей жатат | Pendulum not properly installed or obstructed | Ensure the pendulum is correctly hooked and swings freely without touching the casing. Gently push to start. |
| Clock loses time or gains time | Weak radio signal or battery issue | Check battery strength. Relocate the clock for better signal reception. |
Техникалык шарттар
- Бренд: AMS
- Модель номери: 5132/1
- Түсү: Жаңгак
- Материал: Жыгач
- Дисплей түрү: Аналог
- Стиль: Classic
- Форма: Тегерек
- Колдонуу: Indoor
- Рамка материалы: Жыгач
- Батареялар камтылган: Жок
- Монтаж түрү: Дубалга орнотуу
Кепилдик жана колдоо
For warranty information and customer support, please refer to the documentation provided at the time of purchase or contact your retailer. You may also visit the official AMS webкошумча жардам үчүн сайт.