
1. Киришүү
Сатып алганыңыз үчүн рахматasing the DBPOWER RD-806 HD Home Theater Projector. This manual provides essential information for setting up, operating, and maintaining your projector. Please read these instructions carefully before use to ensure optimal performance and longevity of your device. Keep this manual for future reference.
2. Продукт бүтүп калдыview
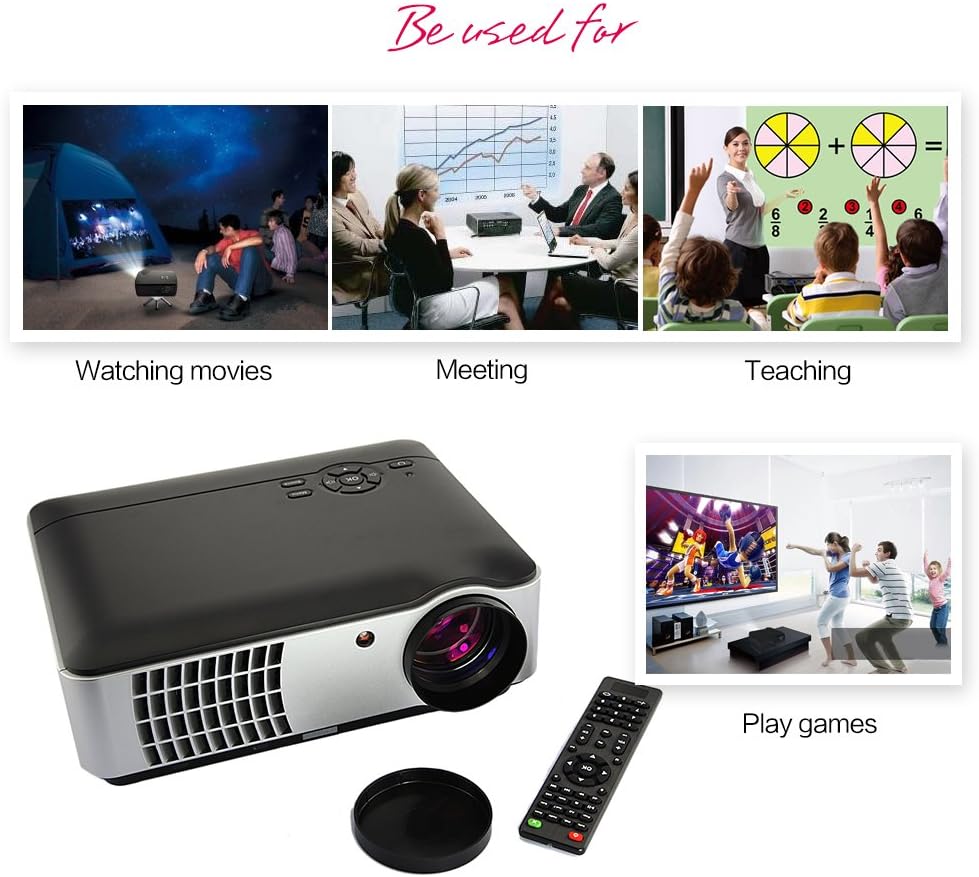
The DBPOWER RD-806 is a high-definition home theater projector designed for a versatile viewing experience. It features a native resolution of 1280x800, supporting 1080P input, and offers 2800 lumens brightness for clear images. Its LED lamp has an impressive lifespan of 50,000 hours. The projector includes multiple input options and built-in speakers, making it suitable for movies, gaming, and presentations.
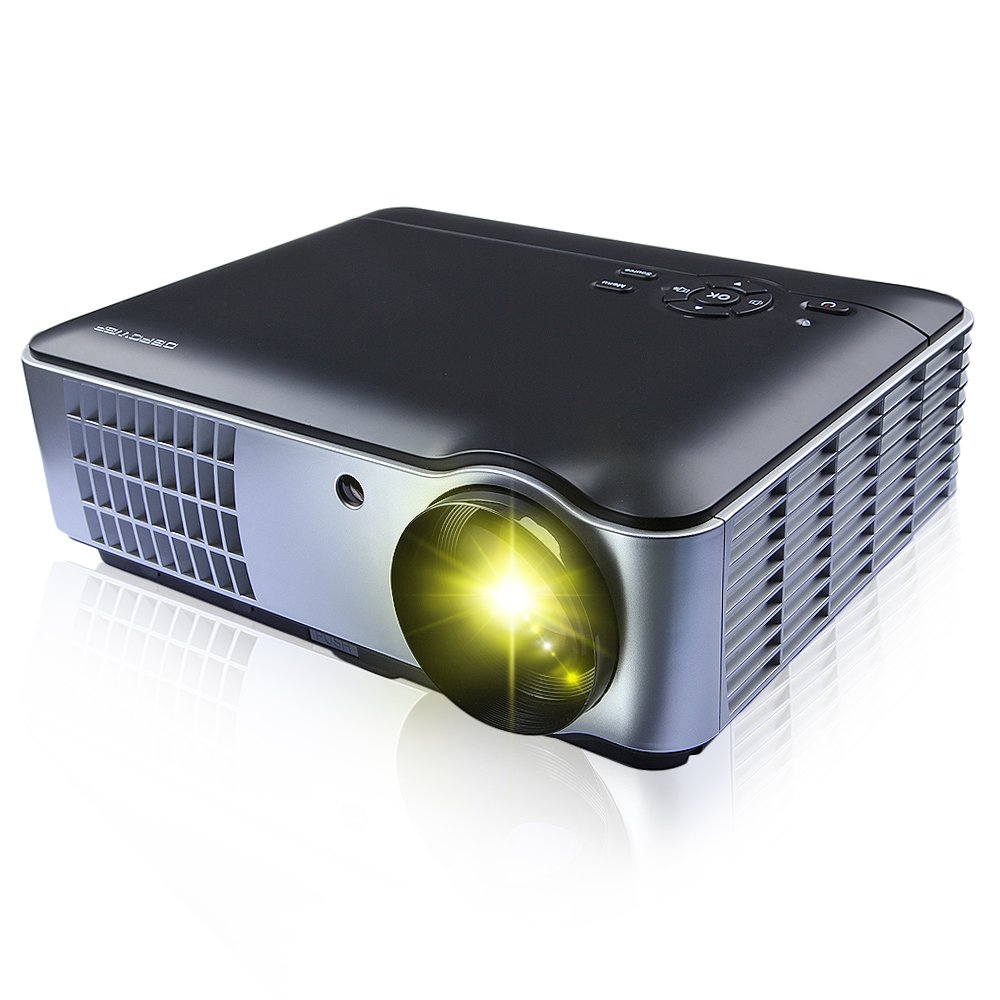
2.1-сүрөт: Front, side, and bottom view of the DBPOWER RD-806 projector, showing its dimensions (33.6cm length, 26.3cm width, 11.8cm height) and the included remote control.
3. Пакеттин мазмуну
Таңгактан чыгарганда бардык буюмдардын бар экенин жана жакшы абалда экенин текшериңиз:
- 1 x DBPOWER RD-806 Projector
- 1 x Алыстан башкаруу
- 1 x VGA кабели
- 1 х AV Cable
- 1 х Кубат кабели
- 1 х Линзанын мукабасы
- 1 х Колдонуучунун колдонмосу (бул документ)
4. Орнотуу
4.1 Орнотуу
Position the projector on a stable, flat surface or mount it to the ceiling. Ensure there is adequate ventilation around the projector to prevent overheating. The projection distance should be between 1.85 and 5.8 meters for an optimal screen size of 50 to 200 inches.

4.1-сүрөт: The projector can be placed on a table or mounted to the ceiling using a compatible bracket.
4.2 Кубат туташтыруу
- Электр шнурун проектордун электр киргизүү портуна туташтырыңыз.
- Plug the other end of the power cord into a standard AC 110-240V, 50/60Hz electrical outlet.
4.3 Түзмөктөрдү туташтыруу
The RD-806 projector offers multiple input options for various devices:

4.2-сүрөт: Rear panel connections including USB, AV, VGA, HDMI, and power input.
- HDMI: Connect Blu-ray players, gaming consoles, laptops, or streaming devices using an HDMI cable to either HDMI1 or HDMI2 port.
- USB: Insert a USB flash drive into USB1 or USB2 port to play multimedia fileтүздөн-түз с.
- VGA: Компьютерди же ноутбукту VGA портуна VGA кабели аркылуу туташтырыңыз.
- OF: Use the provided AV cable to connect older devices like DVD players or VCRs to the AV input.
- Component/TV: Additional input options are available for specific devices.
5. Иштөө нускамалары
5.1 Күйгүзүү/өчүрүү
- Press the power button on the projector or the remote control to turn the unit on. The power indicator light will illuminate.
- To turn off, press the power button again. Allow the projector to cool down before unplugging it.
5.2 Фокусту тууралоо
To achieve a clear image, adjust the focus ring located around the projector lens.

5.1-сүрөт: Rotate the lens ring to adjust image focus.
5.3 Негизги таштарды оңдоо
If the projected image appears trapezoidal (wider at the top or bottom), use the keystone correction dial to adjust the image geometry. This corrects the distortion when the projector is not perfectly perpendicular to the screen.
5.2-сүрөт: Adjust the keystone dial to correct image distortion.
5.4 Киргизүү булагын тандоо
After connecting your devices, select the appropriate input source using the projector's control panel or the remote control.

5.3-сүрөт: Projector control panel. Use the 'Source' button to cycle through input options.
- Press the 'Source' button on the control panel or remote.
- Navigate through the input options (HDMI1, HDMI2, USB1, USB2, AV, VGA, TV) using the arrow keys.
- Press 'OK' or 'Enter' to confirm your selection.
5.5 Алыстан башкарууну колдонуу
The included remote control allows for convenient operation of the projector from a distance. It provides access to power, menu, source selection, volume, and navigation functions.
6. Техникалык тейлөө
Туура тейлөө проекторуңуздун узак иштөөсүн жана иштешин камсыз кылат.
- Линзаны тазалоо: Оптикалык линзалар үчүн атайын иштелип чыккан жумшак, мамыксыз чүпүрөктү колдонуңуз. Абразивдүү тазалоочу каражаттарды же линзаны чийип салуучу чүпүрөктөрдү колдонбоңуз.
- Проектордун корпусун тазалоо: Wipe the exterior with a soft, dry cloth. For stubborn dirt, a slightly damp cloth can be used, followed by a dry cloth. Avoid using harsh chemicals.
- Вентиляция: Проектордун желдетүү тешиктери чаңдан жана тоскоолдуктардан тазаланып, ысып кетүүдөн сактаныңыз.
- Lamp Жашоо: The LED light source has an estimated lifespan of 50,000 hours, requiring no regular lamp replacement under normal use.
7. Кыйынчылыктарды
Проекторуңузда көйгөйлөргө туш болсоңуз, төмөнкү жалпы көйгөйлөрдү жана чечимдерди караңыз:
- Кубат жок:
- Check if the power cord is securely connected to both the projector and the power outlet.
- Электр розеткасынын иштешин текшериңиз.
- Сүрөт жок:
- Verify that the correct input source is selected (e.g., HDMI1, USB).
- Проектор менен булак түзмөгүнүн ортосундагы туташтыруу кабелин текшериңиз.
- Түзмөктүн күйгүзүлгөнүн жана сигнал чыгарып жатканын текшериңиз.
- бүдөмүк сүрөт:
- Проектор объективиндеги фокус шакегин тууралаңыз.
- Проекциялоо аралыгы сунушталган диапазондо (1.85-5.8 м) экенин текшериңиз.
- Трапеция формасындагы сүрөт:
- Проектордогу тоналдык оңдоо баскычын тууралаңыз.
- Үн жок:
- Проектордогу жана булак түзмөгүндөгү үн жөндөөлөрүн текшериңиз.
- Тышкы динамиктерди колдонуп жатканда аудио кабельдердин туура туташтырылганын текшериңиз.
8. Техникалык шарттар
| Өзгөчөлүк | Спецификация |
|---|---|
| Модел | RD-806 |
| Проекция системасы | Single 5.8-inch LCD |
| Native Resolution | 1280 x 800 (supports 1080P) |
| Жарыктык | 2800 Lumens |
| Контраст катышы | 1500:1 |
| Проекция ыкмасы | Front / Rear / Hanging Cast |
| Проекциялык линза | Manual Focus |
| Аспект катышы | 16:9 / 4:3 |
| Камтылган динамик | 5W х 2 |
| Проекциялык аралык | 1.85-5.8 метр |
| Жарык булагы | LED150W |
| Жарык булагы Life | 50,000 саат |
| Проекциянын өлчөмү | 50 - 200 дюйм |
| Keystone Correction | ± 15 градус |
| Ызы-чуу деңгээли | <25 дБ |
| Электр камсыздоо | AC110-240V / 50-60Hz |
| Киргизүү порттору | HDMI1, HDMI2, USB1, USB2, Video, Computer (VGA), Component, TV |
| Продукциянын өлчөмдөрү | 33.6 x 26.3 x 11.8 см |
| Продукт Салмагы | 4.15 кг |
9. Кепилдик жана колдоо
The DBPOWER RD-806 projector comes with a standard manufacturer's warranty. Please refer to the warranty card included in your package for specific terms and conditions. For technical support, troubleshooting assistance beyond this manual, or warranty claims, please contact DBPOWER customer service through their official webпродукт сатылып алынган сайт же сатуучу.