
1. Киришүү
The Axxess Metra AX-ADXSVI-GM3 is an Auto Detect XSVI Interface Wiring Harness designed for specific GM vehicles from 2000-2013. This harness facilitates the installation of an aftermarket radio by providing essential outputs such as accessory power, retained accessory power (RAP), and navigation outputs (parking brake, reverse, and V.S.S.). It is intended for use in non-amplified systems or when replacing an ampтиричилик системасы.
Маанилүү эскертүү: This harness must be used in conjunction with the AX-ADXSVI interface (sold separately). When using this harness, all factory chimes will be lost.
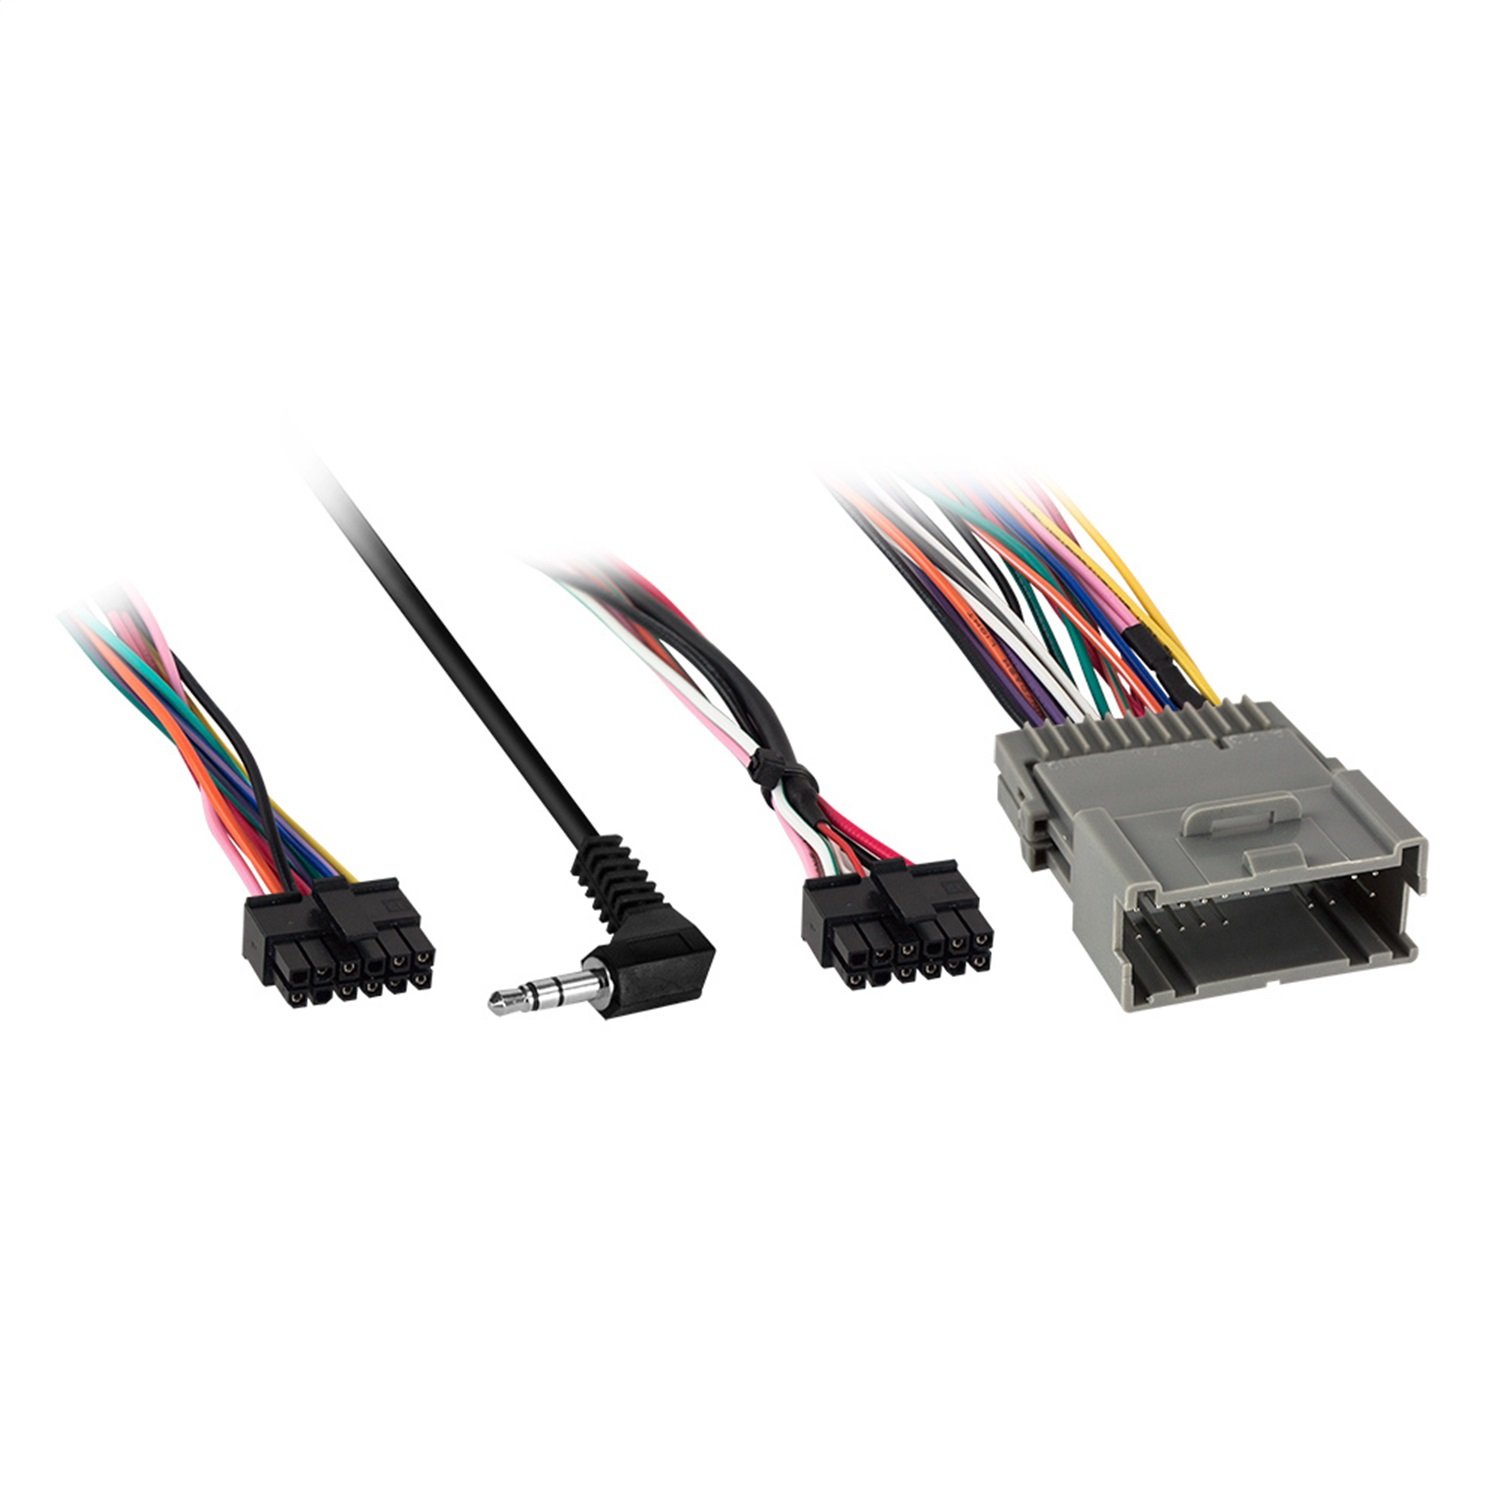
Image 1.1: The Metra AX-ADXSVI-GM3 wiring harness. This image displays the main harness component with its various connectors, designed to integrate an aftermarket radio into compatible GM vehicles.
2. Унаа шайкештиги
The AX-ADXSVI-GM3 harness is compatible with the following GM vehicles:
- Буик: Allure/Lacrosse (2005-2009), Century (2004-2005), Rainier (2004-2007), Regal (2004), Rendezvous (2002-2007), Terraza (2005-2008)
- Кадиллак: Escalade/Escalade EXT/ESV (2003-2006)
- Chevrolet: Avalanche/Silverado/SSR/Suburban/Tahoe (2003-2006), Cavalier/Impala/Monte Carlo/Venture (2000-2005), Colorado (2004-2012), Corvette (2005-2013), Express (2003-2007), Kodiak (2003-2009), Malibu (2001-2003), Trailblazer (2002-2009), Uplander (2005-2008)
- GMC: Canyon (2004-2012), Envoy (2002-2009), Savanna/Sierra (2003-2007), TopKick C4500-C8500 (2005-2009), Yukon/Yukon XL (2003-2006)
- Hummer: H2 (2003-2007), H3/H3t (2006-2010)
- Исузу: Ascender/H-Series (2003-2008), I-Series (2006-2008)
- Oldsmobile: Alero (2001-2004), Bravada (2002-2004), Intrigue (2002), Silhouette (2000-2004)
3. Негизги өзгөчөлүктөрү
The AX-ADXSVI-GM3 wiring harness offers the following functionalities:
- Provides accessory (12 volt 10 amp) power.
- Retains R.A.P. (retained accessory power).
- Designed for use in non-amplified systems or when replacing an ampтиричилик системасы.
- Provides NAV outputs (parking brake, reverse, and V.S.S.).
- Includes a prewired ASWC-1 harness (ASWC-1 sold separately).
4. Орнотуу жана орнотуу
Professional installation is highly recommended for this product. Incorrect installation can lead to damage to the vehicle's electrical system or the product itself. Always refer to the vehicle's service manual for specific wiring diagrams and safety precautions.
Жалпы орнотуу кадамдары:
- Биринчи коопсуздук: Disconnect the vehicle's negative battery terminal before beginning any electrical work to prevent short circuits and electrical damage.
- Завод радиосун алып салуу: Carefully remove the factory radio from the dashboard. This may require specialized tools or knowledge of dashboard disassembly.
- Унаанын зымдарын аныктоо: Locate the factory wiring harnesses connected to the original radio.
- Connect AX-ADXSVI Interface: Connect the AX-ADXSVI-GM3 harness to the AX-ADXSVI interface (sold separately) as per the instructions provided with the interface.
- Wire Aftermarket Radio: Connect the wires from the AX-ADXSVI-GM3 harness to the corresponding wires on your aftermarket radio's harness. Ensure all connections are secure and properly insulated (e.g., using crimp connectors or solder and heat shrink).
- Унаага туташуу: Plug the AX-ADXSVI-GM3 harness into the vehicle's factory wiring harness.
- Сыноо системасы: Before reassembling the dashboard, reconnect the vehicle's negative battery terminal and test the aftermarket radio's functionality, including power, audio, retained accessory power, and navigation outputs.
- Кайра чогултуу: Once all functions are verified, carefully reassemble the dashboard and secure the aftermarket radio.
5. Иштөө нускамалары
The AX-ADXSVI-GM3 harness operates automatically once correctly installed and connected to the AX-ADXSVI interface and your aftermarket radio. It provides the necessary electrical signals for the aftermarket radio to function correctly within your vehicle's system.
- Аксессуар күчү: The harness provides a 12-volt, 10-amp accessory output, which turns on and off with the vehicle's ignition, allowing the aftermarket radio to power up and shut down correctly.
- Сакталган кошумча кубаттуулук (RAP): This feature maintains power to the aftermarket radio for a short period after the ignition is turned off, typically until a door is opened, mimicking the factory radio's behavior.
- Навигациянын чыгыштары: The harness provides dedicated outputs for parking brake, reverse, and vehicle speed sense (V.S.S.) signals. These are crucial for aftermarket navigation systems or head units that require these inputs for proper operation and safety features.
6. Техникалык тейлөө
The AX-ADXSVI-GM3 wiring harness is designed for a long service life and typically requires no routine maintenance after proper installation. To ensure continued reliable operation:
- Ensure all connections made during installation are secure and free from corrosion.
- Avoid exposing the harness to excessive moisture or extreme temperatures beyond typical automotive conditions.
- Do not attempt to modify or cut the harness wires, as this can void the warranty and lead to system malfunctions.
7. Кыйынчылыктарды
If you encounter issues after installing the AX-ADXSVI-GM3 harness, consider the following troubleshooting steps:
| Көйгөй | Мүмкүн себеп | Чечим |
|---|---|---|
| Aftermarket radio has no power. | Incorrect wiring connections; Blown fuse; AX-ADXSVI interface not connected or faulty. | Verify all wiring connections between the harness, interface, and radio. Check vehicle and radio fuses. Ensure the AX-ADXSVI interface is properly connected and functioning. |
| Retained Accessory Power (RAP) does not function. | Incorrect wiring; Vehicle not supported for RAP retention; Conflict with other aftermarket wiring. | Double-check the RAP wire connection. Confirm vehicle compatibility for RAP retention with the AX-ADXSVI interface. Ensure no other aftermarket wiring is interfering with the RAP signal. |
| Navigation outputs (parking brake, reverse, V.S.S.) are incorrect or not working. | Incorrect connection to aftermarket radio; AX-ADXSVI interface not providing signals. | Verify the specific navigation output wires are correctly connected to the aftermarket radio's corresponding inputs. Ensure the AX-ADXSVI interface is correctly configured and receiving vehicle data. |
| Factory chimes are still present or other unexpected behavior. | Harness not fully compatible or incorrect installation. | Note that factory chimes will be lost when using this harness. If unexpected behavior occurs, re-verify all connections and ensure the correct harness and interface are used for your specific vehicle model and year. |
If these steps do not resolve the issue, contact a qualified automotive electronics installer or Axxess technical support for further assistance.
8. Техникалык шарттар
- Модел: AX-ADXSVI-GM3
- Бренд: Axxess (by Metra)
- Материал: Жез
- Элементтин өлчөмдөрү (L x W x Y): 9.25 x 4.25 x 2.5 дюйм
- Туташтыргыч түрү: Aswc-1 (prewired harness included)
- Кабель түрү: Электр зымдары
- Камтылган компоненттер: Axxess AX-ADXSVI 00-13 GM Harness
- Accessory Power Output: 12 Вольт, 10 Amp
- Өзгөчөлүктөрү: Retains R.A.P., Provides NAV outputs (parking brake, reverse, V.S.S.)
- UPC: 086429287109
9. Кепилдик жана колдоо
Кепилдик маалыматы:
For specific warranty details, including coverage period and terms, please refer to the documentation provided with your purchase or contact Axxess/Metra customer service directly. Keep your proof of purchase for warranty claims.
Техникалык колдоо:
If you require technical assistance with the installation or operation of your AX-ADXSVI-GM3 harness, please contact Axxess/Metra technical support. Contact information can typically be found on the manufacturer's webсайтында же продуктунун таңгагында.
Онлайн ресурстар: Visit the official Axxess or Metra website for product updates, FAQs, and additional support resources.