
1. Киришүү
Thank you for choosing the Juki HZL-12ZS Sewing Machine. This compact and user-friendly machine is designed for a variety of sewing tasks, making it ideal for beginners and experienced sewers alike. To ensure safe and efficient operation, please read this instruction manual thoroughly before using your machine. Keep this manual in a safe place for future reference.

Сүрөт: алдыңкы view of the Juki HZL-12ZS Sewing Machine, showcasinанын компакттуу дизайны жана башкаруу циферблаттары.
2. Маанилүү коопсуздук нускамалары
Электр шаймандарын колдонууда негизги коопсуздук чараларын дайыма сактоо керек, анын ичинде төмөнкүлөр:
- Бул тигүүчү машинаны колдонуудан мурун бардык көрсөтмөлөрдү окуп чыгыңыз.
- Бармактарды кыймылдуу бөлүктөрдөн алыс кармаңыз. Тигүүчү машинанын ийнесинин айланасында өзгөчө кылдаттык талап кылынат.
- Always unplug the sewing machine from the electrical outlet immediately after using and before cleaning, removing covers, or when making any user servicing adjustments mentioned in the instruction manual.
- Бул шайманды ушул колдонмодо сүрөттөлгөн максатта гана колдонуңуз.
- Эгерде тигүүчү машинанын шнуру же сайгычы бузулган болсо, ал туура иштебей жатса, же түшүп кетсе же бузулуп калса, аны эч качан иштетпеңиз.
- Эч качан эч кандай тешикке эч кандай нерсени түшүрбөңүз же салбаңыз.
- Сыртта колдонбоңуз.
- Аэрозоль (спрей) продуктулары колдонулган же кычкылтек берилип жаткан жерде иштебеңиз.
- Өчүрүү үчүн бардык башкаруу элементтерин өчүрүү абалына буруңуз, андан соң сайгычты розеткадан чыгарыңыз.
3. Орнотуу
3.1 Пакеттен чыгаруу
Carefully remove the machine from its packaging. Remove all packing materials, tape, and protective films from the machine. Ensure all accessories are present before discarding packaging.

Image: Cover of the Juki HZL-12ZS instruction manual, indicating the model number.
3.2 Connecting Power and Foot Pedal
- Машинанын сайгычын машинанын электр розеткасына сайыңыз.
- Insert the foot pedal plug into the machine's foot pedal socket.
- Электр шнурын ылайыктуу электр розеткасына сайыңыз.
- Turn on the power switch, usually located on the side of the machine. The sewing light should illuminate.

Image: The foot pedal for the Juki HZL-12ZS Sewing Machine, with its attached power cord.
3.3 Identifying Main Components
Familiarize yourself with the key parts of your sewing machine:
- Spool Pin: Holds the thread spool.
- Чыңалуу терүү: Жогорку жиптин тартылуусун жөнгө салат.
- Тигүү тандоо дөңгөлөгү: Chooses stitch patterns.
- Тигүү узундугунун циферблаты: Adjusts stitch length.
- Тигүү туурасынын циферблаты: Adjusts stitch width (if applicable).
- Кабыл алуу рычагы: Үстүнкү жипти багыттайт.
- Needle Clamp: Ийнени кармайт.
- Басуучу бут: Holds fabric against feed dogs.
- Иттерди багуучу: Move fabric under the needle.
- Бобин виндер: Winds thread onto the bobbin.
- Кол дөңгөлөгү: Кол менен ийнени көтөрөт жана түшүрөт.

Сүрөт: Жакын план view of the Juki HZL-12ZS control dials, including the stitch selector and tension dial.
4. Машинага жип салуу
4.1 Бобинди ороо
- Спулдун төөнөгүчтүн үстүнө жиптин катушкасын коюңуз.
- Guide the thread through the upper thread guide and around the tension disc for bobbin winding.
- Insert the thread end through a hole in the bobbin from the inside out.
- Place the bobbin onto the bobbin winder spindle and push it to the right until it clicks.
- Hold the thread end and gently press the foot pedal. The bobbin will start to wind. Once a few turns are made, trim the excess thread end.
- Continue winding until the bobbin is full. The winder will automatically stop or slow down.
- Cut the thread, push the bobbin winder spindle to the left, and remove the wound bobbin.
4.2 Үстүнкү жипти өткөрүү
- Басуу бутунун рычагын көтөрүңүз.
- Жиптин спулун катушка төөнөгүчкө коюңуз.
- Жипти үстүнкү жип жетектөөчүсү аркылуу өткөрүңүз.
- Bring the thread down the right channel, around the bottom, and up the left channel.
- Алуучу рычагды оңдон солго сайлаңыз.
- Bring the thread down through the lower thread guide.
- Thread the needle from front to back. If your machine has an automatic needle threader, use it carefully.

Сүрөт: Жакын план view of the needle and presser foot area of the Juki HZL-12ZS, showing the threading path.
5. Катушканы салуу
- Open the bobbin cover plate, usually located on the needle plate.
- Insert the wound bobbin into the bobbin case with the thread unwinding in the correct direction (usually counter-clockwise).
- Guide the bobbin thread through the tension spring slot.
- Hold the upper thread lightly with one hand. Turn the handwheel towards you to lower and then raise the needle. This will catch the bobbin thread.
- Pull both the upper and bobbin threads to the back under the presser foot.
- Бобин капкагын жабыңыз.

Image: Open bobbin area of the Juki HZL-12ZS, showing the bobbin case and threading path.
6. Машинаны иштетүү
6.1 Тигүүнү тандоо
Turn the stitch selector dial to choose your desired stitch pattern. The machine offers a range of utility and decorative stitches. Refer to the stitch guide on the machine or in the full manual for details on each stitch.
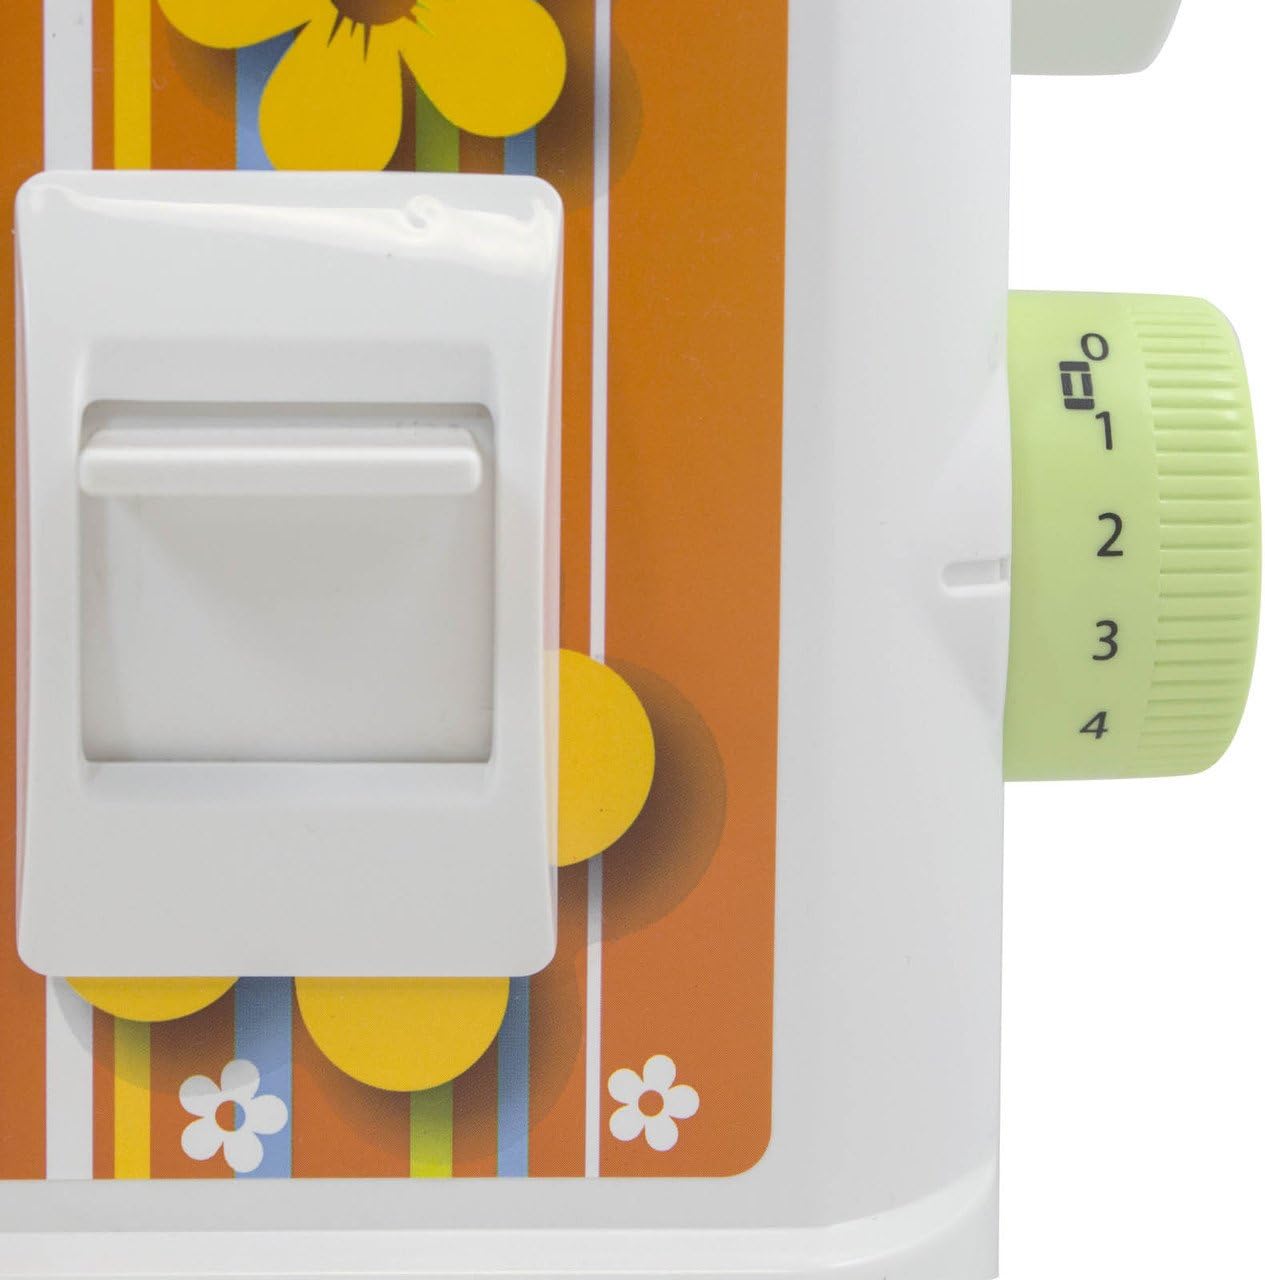
Image: Close-up of the Juki HZL-12ZS showing the stitch selection dial and stitch patterns.
6.2 Stitch Length and Width
Adjust the stitch length and width using their respective dials. For most general sewing, a medium stitch length (around 2.5) is suitable. Adjust width for zigzag or decorative stitches as needed.
6.3 Тескери тигүү
To secure the beginning and end of a seam, press and hold the reverse lever/button while sewing. The machine will sew backward. Release the lever/button to resume forward sewing.
6.4 Кол менен эркин тигүү
To sew cylindrical items like sleeves, cuffs, or pant legs, slide off the accessory box to reveal the free arm. This allows fabric to be easily maneuvered around the narrow arm.
7. Техникалык тейлөө
7.1 Тазалоо
Regular cleaning is essential for smooth operation. Always unplug the machine before cleaning.
- Hook Area: Remove the needle, presser foot, needle plate, and bobbin case. Use the small brush provided (or a soft brush) to remove lint and dust from the hook race and feed dogs.
- Машинанын бети: Машинанын сыртын жумшак, кургак чүпүрөк менен сүртүңүз. Катуу химиялык заттарды же абразивдүү тазалагычтарды колдонбоңуз.

Image: Various accessories included with the Juki HZL-12ZS, such as bobbins, needles, and a cleaning brush.
7.2 Ийне алмаштыруу
Replace the needle regularly (after 8-10 hours of sewing or if it becomes bent/dull) to prevent skipped stitches and fabric damage. Use only appropriate sewing machine needles for your machine.
8. Кыйынчылыктарды
If you encounter issues, check the following common problems before seeking professional service:
- Өткөрүлүп жиберилген тигүү: Ensure the needle is inserted correctly, not bent, and is the correct type for your fabric. Re-thread the machine completely.
- Жипти үзүү: Check for correct threading, proper tension, a burr on the needle or hook, or a damaged needle.
- Кездеме азыктандырбайт: Ensure the presser foot is lowered and the feed dogs are not disengaged. Check for lint buildup under the needle plate.
- Машина иштебей жатат: Verify the power cord and foot pedal are securely plugged in, and the power switch is on.
9. Техникалык шарттар
| Өзгөчөлүк | Спецификация |
|---|---|
| Модель номери | HZL-12ZS |
| Пакеттин өлчөмдөрү | 15.6 x 13.2 x 9 дюйм |
| Элемент Салмагы | 12.6 фунт |
| Power Source | Электр зымдары |
| Электрик | Ооба |
| UPC | 189684000602 |
10. Кепилдик жана колдоо
For detailed warranty information, please refer to the warranty card included with your machine or visit the official Juki website. For technical support, service, or to order replacement parts, contact Juki customer service or your authorized dealer. Always use genuine Juki parts for repairs.