1. Киришүү
Thank you for choosing the Bosch Professional GSR 12-2-LI Battery Drill. This manual provides essential information for the safe and efficient operation, maintenance, and care of your new tool. Please read these instructions carefully before first use and keep them for future reference. Proper use and maintenance will ensure long-lasting performance and reliability.
2. Коопсуздук нускамалары
Always observe basic safety precautions to reduce the risk of fire, electric shock, and personal injury. Keep your work area clean and well-lit. Do not operate power tools in explosive atmospheres, such as in the presence of flammable liquids, gases, or dust.
- Көздү коргоону кийүү: Always wear appropriate eye protection when operating the drill.
- Коопсуз жумуш бөлүгү: Ар дайым clamp or secure the workpiece to prevent movement during drilling or screwdriving.
- Ашыкча чектен чыгуудан качыңыз: Ар дайым туура бутту жана тең салмактуулукту сактаңыз.
- Туура заряддагычты колдонуу: Only use the charger specified by the manufacturer for this battery pack.
- EU Charger Warning: This product includes an EU charger. If used in the USA, a suitable adapter is required. Failure to use a proper adapter may result in damage or safety hazards.
- Батареяга кам көрүү: Do not short-circuit, open, or damage battery packs. Do not expose batteries to heat or fire.
3. Пакеттин мазмуну
Upon opening the package, verify that all items listed below are present and undamaged. If any items are missing or damaged, contact your retailer immediately.
- Bosch Professional GSR 12-2-LI Battery Drill
- 2 x 12V литий-иондук батарейкалар
- Battery Charger (EU plug)
- 39-piece Accessory Set (drill bits, screwdriver bits)
- Ташуу сумкасы
- Instruction Manual

Сүрөт 3.1: Бүттүview of the Bosch Professional GSR 12-2-LI battery drill, two batteries, charger, accessory set, and carrying bag.
4. Орнотуу
4.1. Батареяны заряддоо
Before initial use, fully charge the battery. The battery is partially charged from the factory.
- Заряддоо түзүлүштү ылайыктуу розеткага туташтырыңыз. Эскертүү: This product includes an EU charger. If used in the USA, a suitable adapter is required.
- Батарея таңгагын заряддагычтын ичине чыкылдагыча жылдырыңыз.
- The charging indicator light on the charger will illuminate, indicating the charging status.
- Толук заряддалгандан кийин, батареяны заряддагычтан чыгарыңыз.
4.2. Батареяны орнотуу жана чыгаруу
To install the battery, align the battery with the base of the drill handle and slide it in until it locks securely. To remove, press the battery release button (usually located at the front of the battery) and slide the battery out.
4.3. Attaching and Changing Drill Bits/Screwdriver Bits
The drill features a keyless chuck for quick and easy bit changes.
- Жаактарды ачуу үчүн патрондун алдыңкы бөлүгүн саат жебесине каршы буруңуз.
- Каалаган бургу учун же отвертка учун патронго салыңыз. Учтун мүмкүн болушунча тереңирээк киргизилгенин текшериңиз.
- Rotate the front part of the chuck clockwise to tighten the jaws firmly around the bit. Hand-tighten only.
- To remove a bit, rotate the chuck counter-clockwise until the jaws open, then pull the bit out.
5. Бургулоо
5.1. Күйгүзүү / Өчүрүү
The drill is activated by pressing the trigger switch. The speed is variable depending on how far the trigger is pressed. Release the trigger to turn the drill off.
5.2. Ылдамдыкты жана моментти жөндөө
The GSR 12-2-LI features two-speed settings and multiple torque settings.
- Ылдамдык тандагыч: A slide switch on top of the drill allows selection between two speed ranges: '1' for low speed (high torque, ideal for screwdriving and larger drilling diameters) and '2' for high speed (low torque, ideal for smaller drilling diameters).
- Моментти орнотуу шакеги: The ring behind the chuck allows adjustment of the torque. Rotate the ring to select the desired torque level (1-20) for screwdriving. The higher the number, the greater the torque. For drilling, select the drill symbol to bypass the clutch and provide maximum power.
5.3. Drilling and Screwdriving
Always select the appropriate bit for the material and task. Apply steady, even pressure. For drilling, start with a slow speed to create a pilot hole, then increase speed as needed. For screwdriving, use a lower torque setting to avoid over-tightening or stripping screw heads.

Image 5.1: Using the drill for screwdriving into a cabinet.
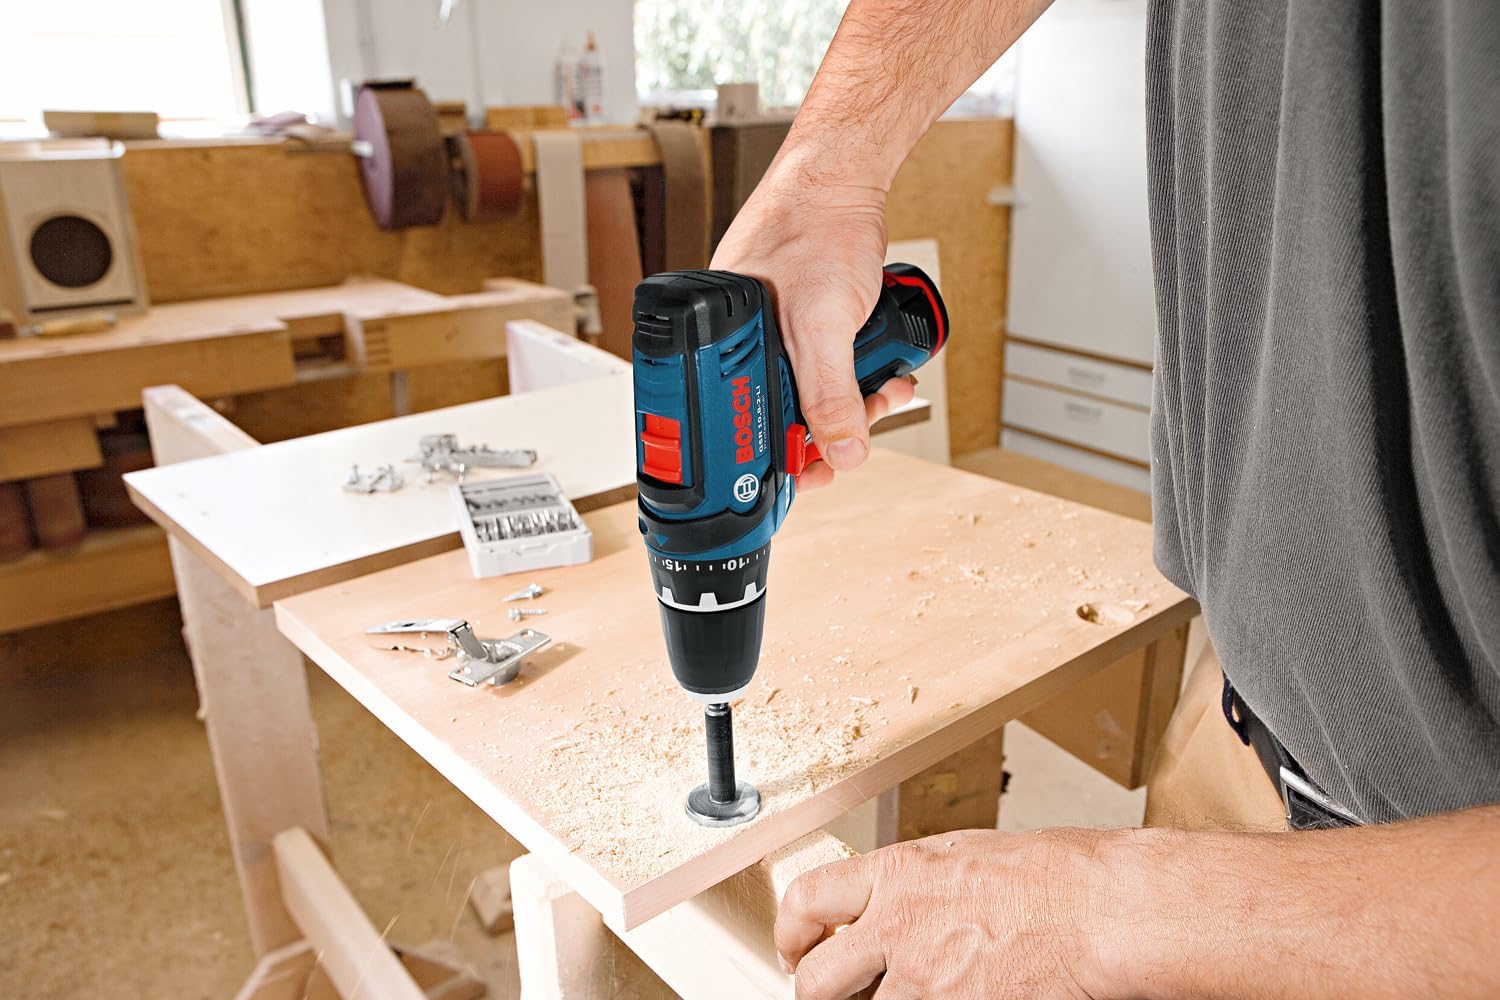
Image 5.2: Using the drill for drilling into a metal beam.
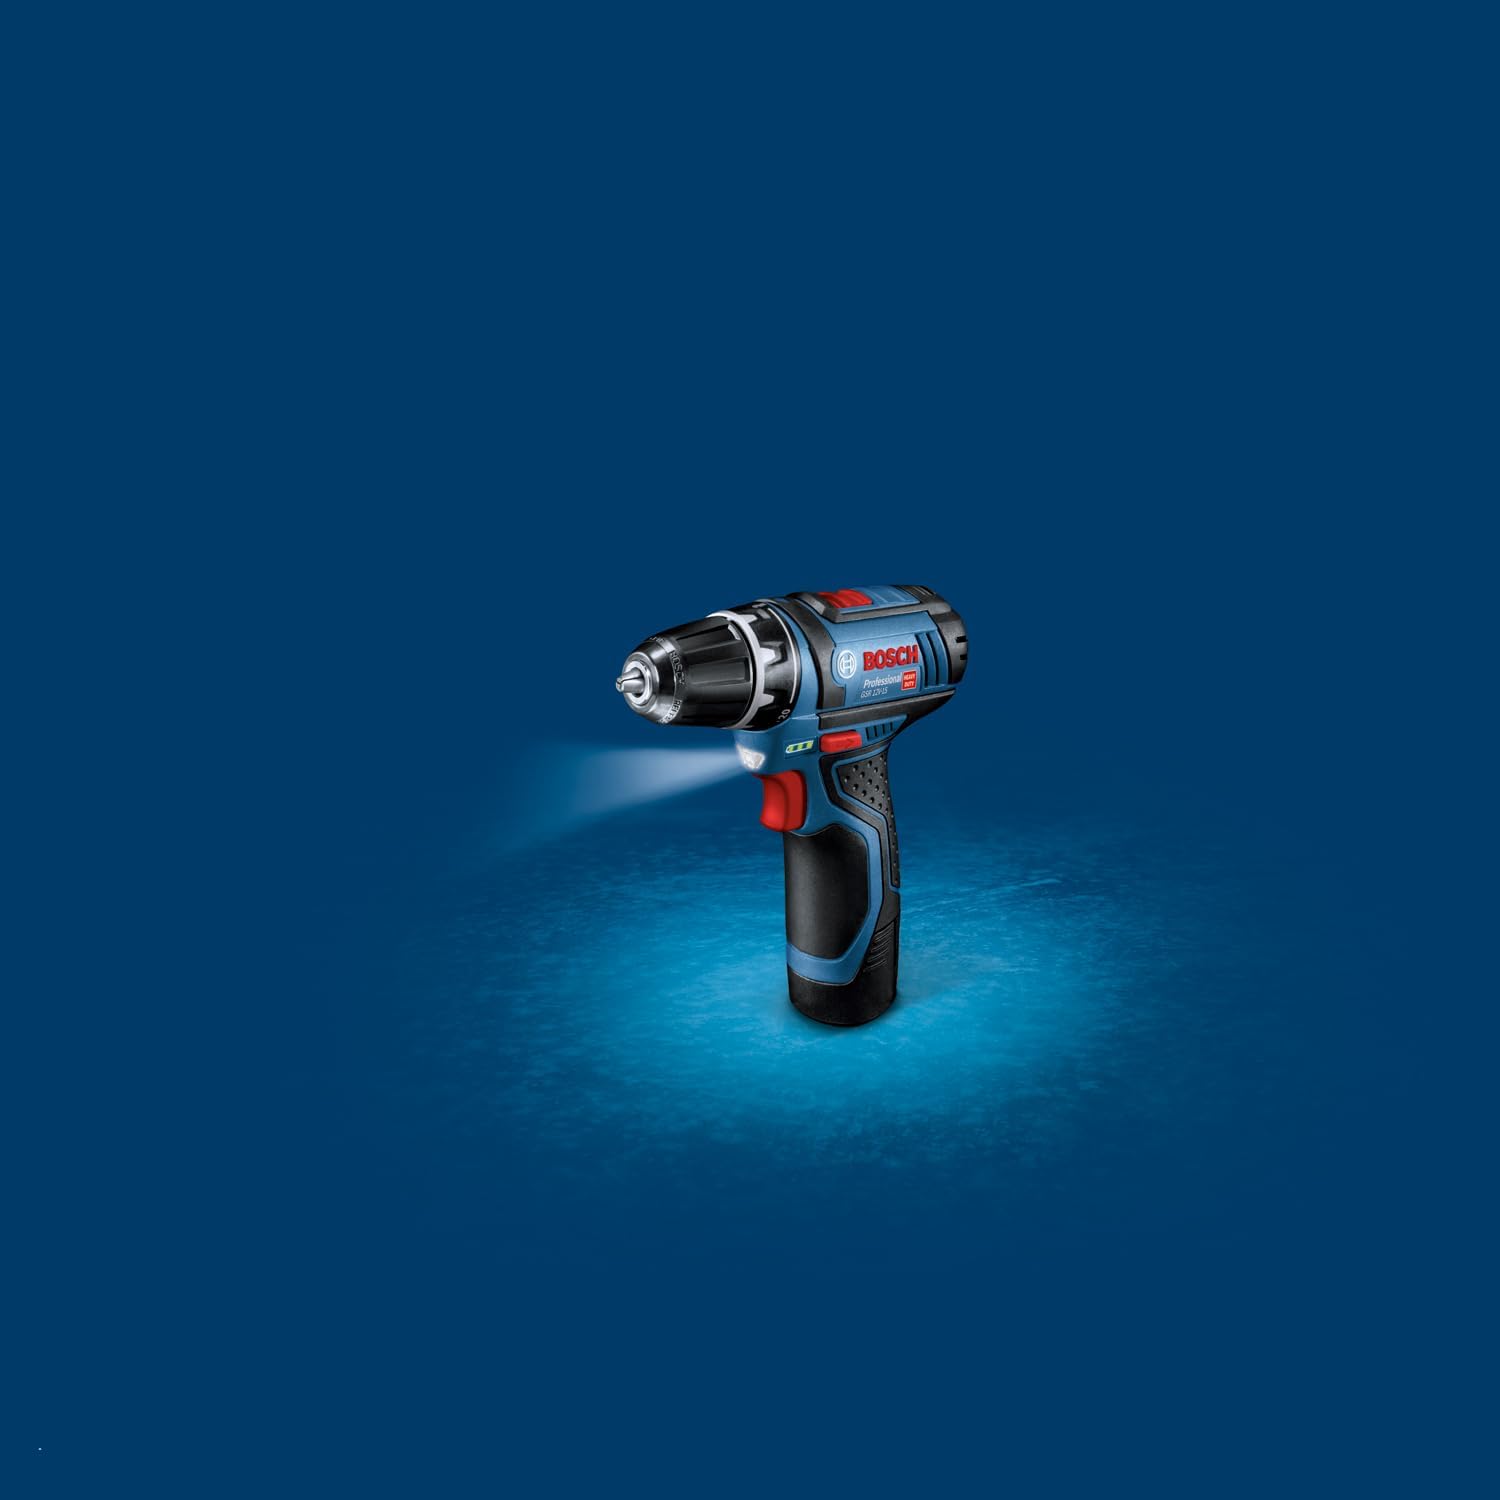
Image 5.3: Using the drill for drilling into a wooden board.
5.4. Интеграцияланган LED жарык
The drill is equipped with an integrated LED light that illuminates the workpiece when the trigger is pressed, improving visibility in dimly lit areas.
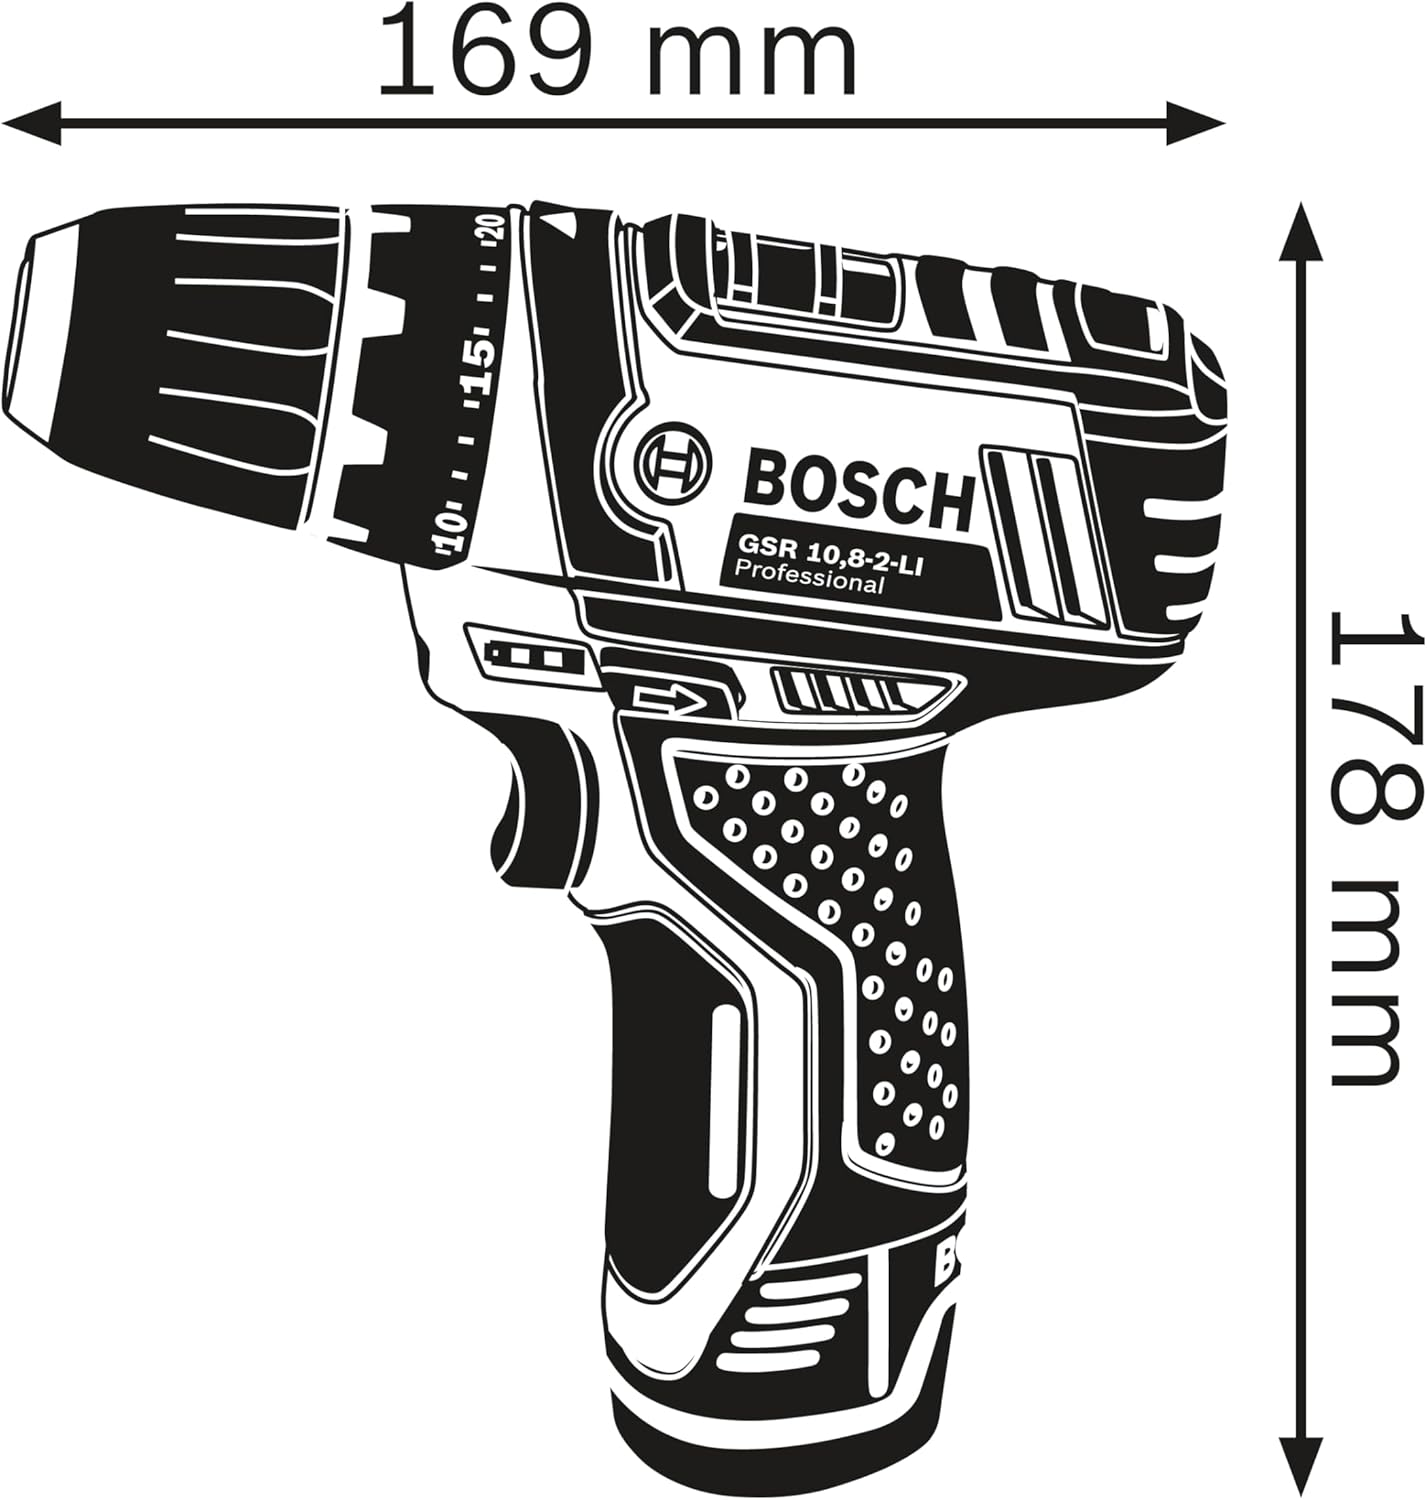
Image 5.4: The Bosch Professional GSR 12-2-LI drill with its integrated LED light active, illuminating the work area.
6. Техникалык тейлөө
Regular maintenance ensures the longevity and optimal performance of your Bosch Professional GSR 12-2-LI drill.
- Тазалоо: Ашыкча ысып кетүүнүн алдын алуу үчүн электр шайманынын желдетүү тешиктерин таза кармаңыз. Жумшак,amp cloth to clean the exterior. Do not use solvents or abrasive cleaners.
- Чакты тейлөө: Кесүүчү патрондун жаактарын мезгил-мезгили менен тазалап туруңуз, бул кескичтердин жакшы кармалышын камсыз кылат.
- Батареяны сактоо: Батареяларды кургак, салкын жерде күн тийбеген жана экстремалдык температурадан алыс сактаңыз. Узак мөөнөттүү сактоо үчүн, батарейкаларды болжол менен 50% сыйымдуулугуна чейин заряддаңыз.
- Текшерүү: Regularly inspect the power tool, battery, and charger for any signs of damage. Do not use damaged components.
7. Кыйынчылыктарды
This section addresses common issues you might encounter with your drill.
| Көйгөй | Мүмкүн себеп | Чечим |
|---|---|---|
| Бургулоо башталбайт | Батарея заряддалган эмес же туура эмес салынган | Charge battery fully. Ensure battery is securely inserted. |
| Кыскартылган күч же ылдамдык | Батарея заряды аз | Батареяны кайра заряддаңыз. |
| Бит патронго жылат | Chuck not tightened sufficiently or jaws are dirty | Патрону бекем кысып коюңуз. Таза тиштери. |
| Ашыкча ысып кетүү | Blocked ventilation slots or prolonged heavy use | Clean ventilation slots. Allow tool to cool down. Reduce load. |
8. Техникалык шарттар
Detailed specifications for the Bosch Professional GSR 12-2-LI Battery Drill.
| Өзгөчөлүк | Спецификация |
|---|---|
| Бренд | Bosch Professional |
| Модель номери | 0.615.990.GB0 |
| Power Source | Батарея менен иштейт |
| Тtage | 12 вольт |
| Ampөчүрүү | 2 Amps |
| Батарея түрү | Литий ион |
| Ылдамдыктын саны | 2 |
| Максималдуу айлануу ылдамдыгы (1-тез) | 450 RPM (approx.) |
| Максималдуу айлануу ылдамдыгы (2-тез) | 1300 RPM (approx.) |
| Максималдуу момент | 132.75 Inch Pounds (approx. 15 Nm) |
| Элемент Салмагы | 4.4 фунт (болжол менен 2 кг) |
| Продукциянын өлчөмдөрү | 1"L x 1"W x 1"H (approx. 169mm x 178mm) |
| Өзгөчөлүктөр | Rechargeable, Variable Speed, Integrated LED Light |

Image 8.1: Dimensional diagram of the Bosch Professional GSR 12-2-LI drill, showing length (169 mm) and height (178 mm).
9. Кепилдик жана колдоо
Bosch Professional products are manufactured to the highest quality standards. This product comes with a standard manufacturer's warranty. For specific warranty terms and conditions, please refer to the warranty card included with your product or visit the official Bosch Professional webсайт.
For technical support, spare parts, or service inquiries, please contact your local Bosch Professional service center or authorized dealer. Contact information can typically be found on the Bosch Professional webсайтында же продукт документациясында.