
1. Киришүү
This manual provides essential information for the proper installation, operation, and maintenance of your Taurus D1000 Discone Antenna. The D1000 is a wide-band base antenna designed for reception across 25-1300 MHz and transmit capabilities on specific amateur bands including 144, 220, 440, 900, and 1290 MHz. Constructed from rust-free stainless steel, it offers durability and reliable performance.
2. Коопсуздук маалыматы
Always prioritize safety during installation and operation. Improper installation can lead to serious injury or property damage. Consult a qualified professional if you are unsure about any step.
- Электр линияларынан алыс болуңуз: Never install the antenna near power lines. Contact with power lines can be fatal.
- Туруктуу орнотуу: Ensure the antenna is securely mounted to a sturdy mast or structure capable of withstanding wind and environmental conditions.
- Негиздөө: Properly ground the antenna and mast to protect against lightning strikes and static discharge.
- Аба ырайы шарттары: Avoid installation during adverse weather conditions such as strong winds, rain, or lightning.
- Курал коопсуздугу: Use appropriate tools and safety gear, including gloves and eye protection.
3. Пакеттин мазмуну
Монтаждоону баштоодон мурун бардык компоненттер бар экендигин текшериңиз.
- Antenna main body (center hub)
- Upper radial elements (shorter rods)
- Lower radial elements (longer rods)
- Vertical element frequency extender
- Монтаждоочу жабдыктар (U-формасындагы болттор, гайкалар, шайбалар)
- Hex key (Allen wrench)
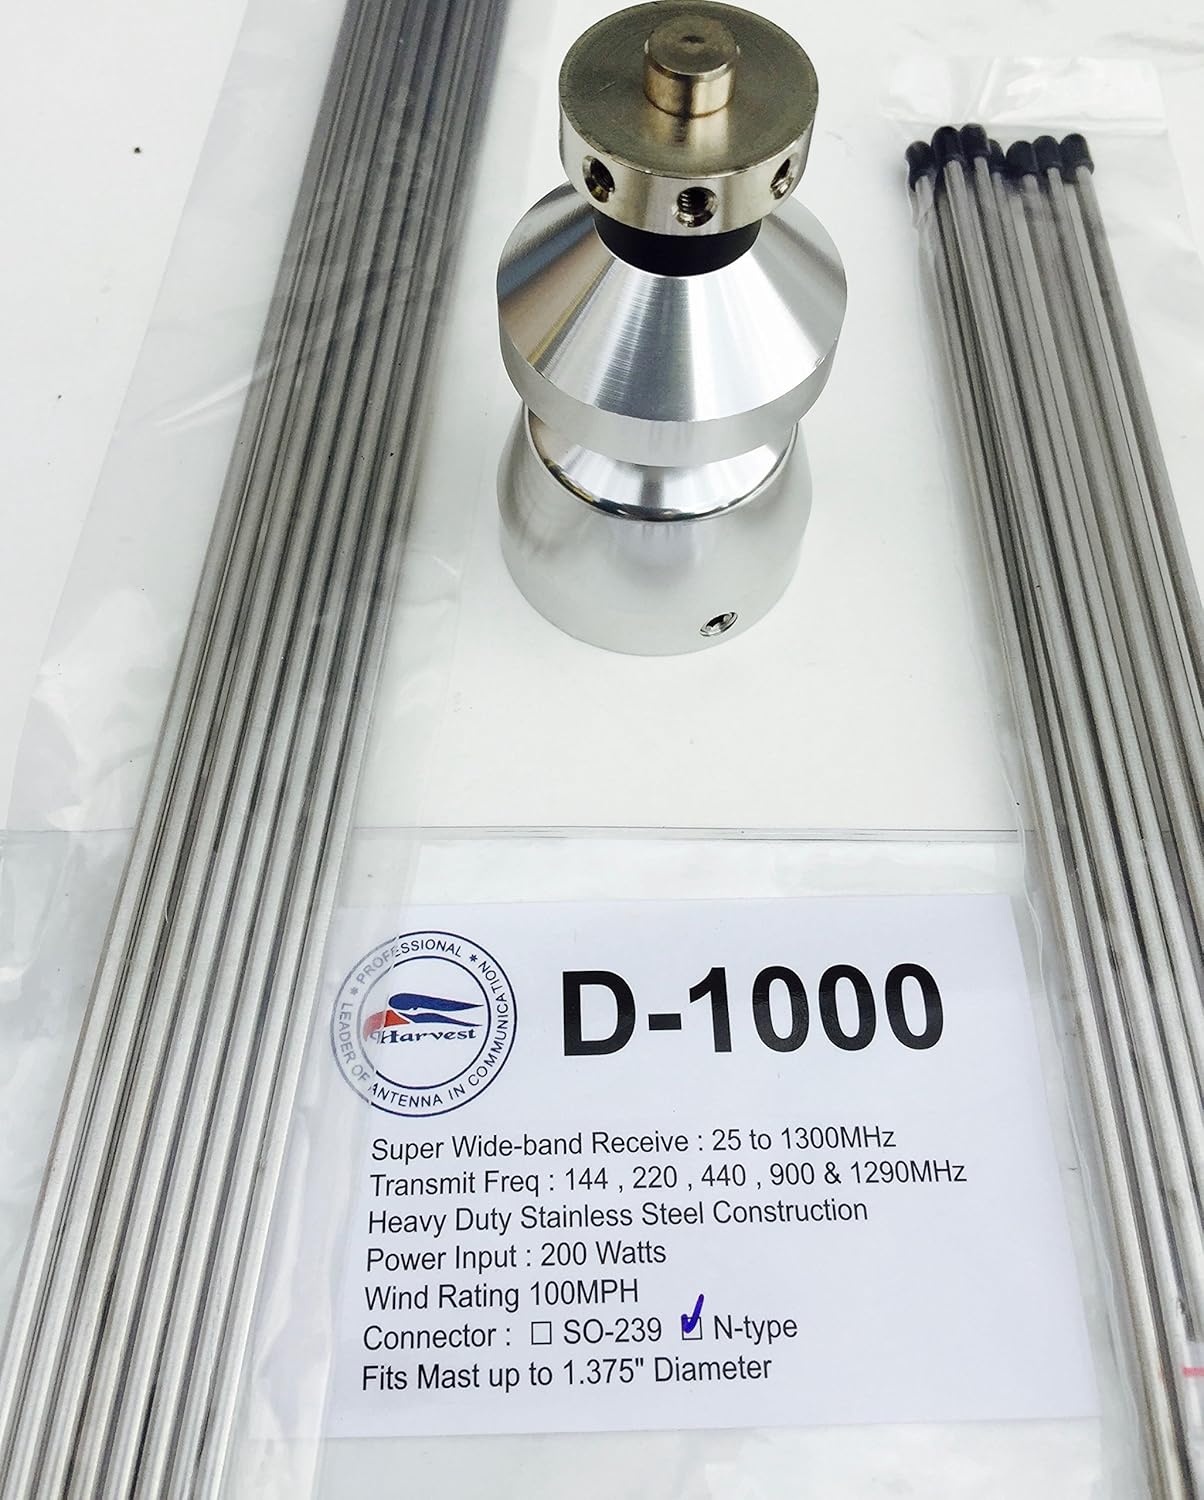
Figure 3.1: Taurus D1000 Antenna Components
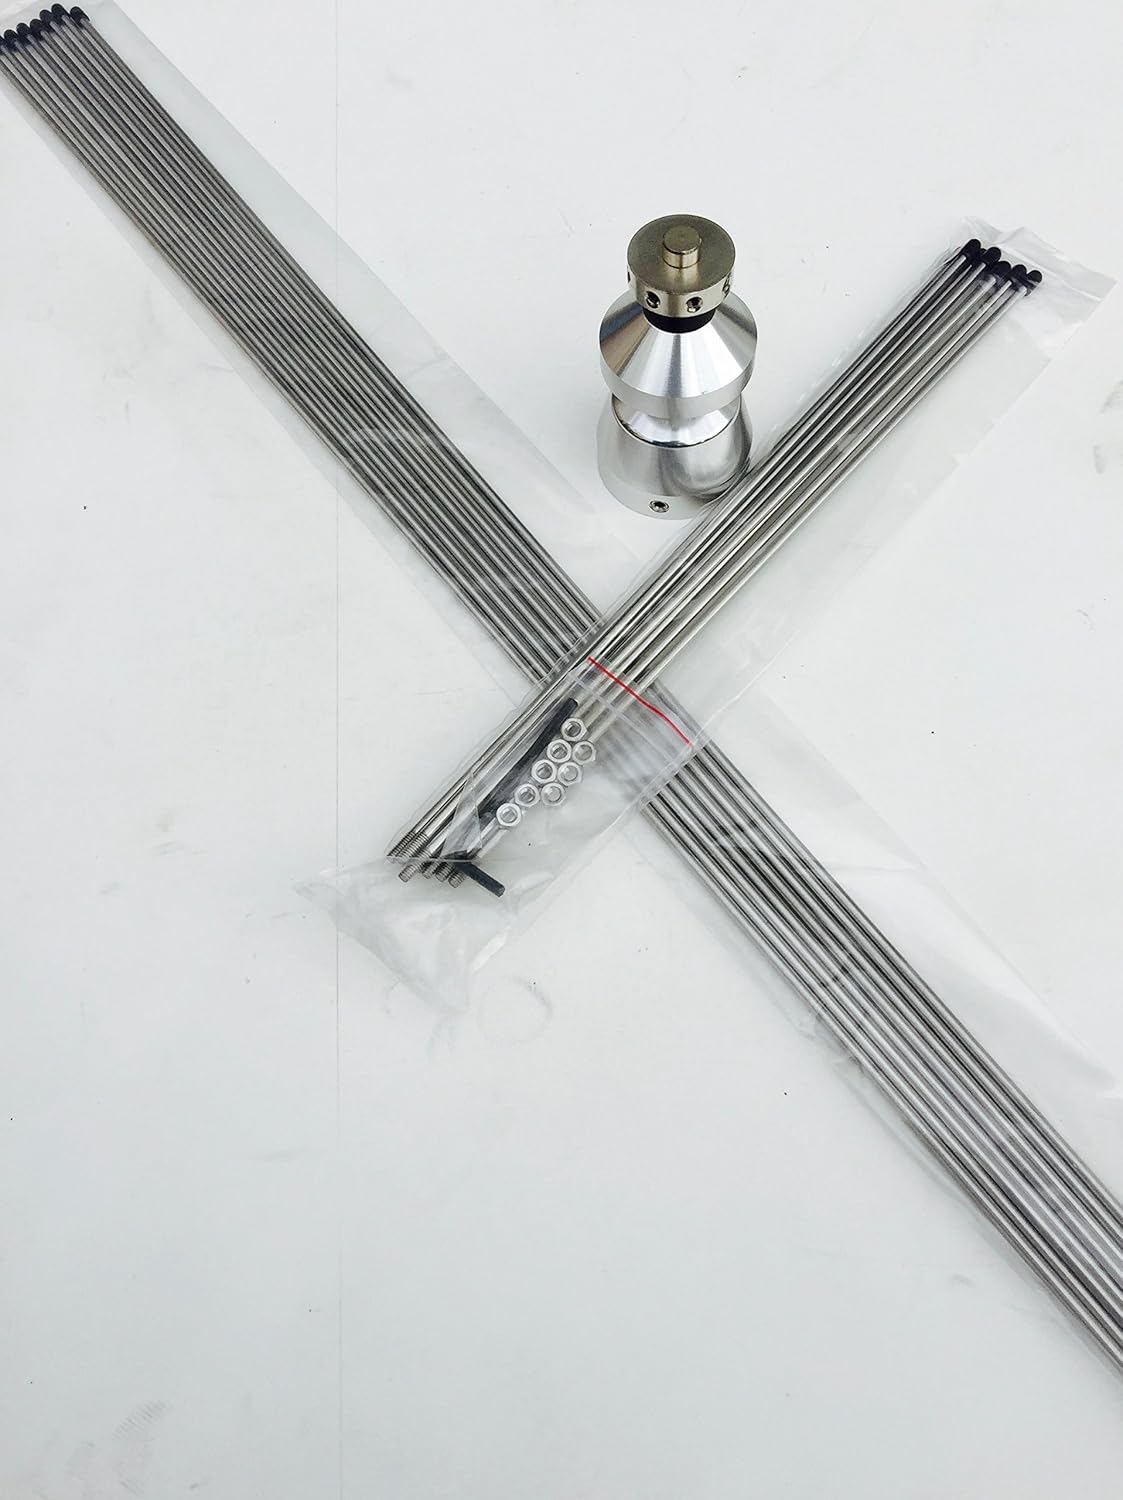
3.2-сүрөт: Детальдуу view of Antenna Hub and Elements
4. Орнотуу жана орнотуу
Follow these steps carefully for proper assembly and installation of your D1000 antenna.
4.1 Ассамблея
- Радиалдык элементтерди бекитүү: Carefully screw the upper (shorter) and lower (longer) radial elements into their designated threaded holes on the antenna's central hub. Ensure they are finger-tight, then use the provided hex key to gently secure them. Do not overtighten.
- Install Vertical Element: Attach the vertical element frequency extender to the top of the central hub.
- Туташтыргыч: The antenna features an SO-239 connector at the base for coaxial cable attachment.
4.2 Монтаждоо
The Taurus D1000 is designed for mast mounting. The maximum mast diameter supported is 1-3/8 inches (35mm).
- Жайгашкан жерди тандоо: Choose a mounting location that is as high and clear as possible, away from obstructions like buildings, trees, and power lines.
- Коопсуз мачта: Ensure your mast is securely installed and properly grounded.
- Антеннаны тиркөө: Use the provided U-bolts and mounting hardware to attach the antenna to the mast. Tighten the nuts evenly to secure the antenna without deforming the mast or antenna base.
- Коаксиалдык кабелди туташтыруу: Connect a high-quality 50-ohm coaxial cable with a PL-259 connector to the SO-239 connector on the antenna. Ensure the connection is tight and weatherproofed.

Figure 4.1: Assembled Taurus D1000 Discone Antenna
Видео 4.1: Продукт бүттүview and Assembly Guide (Note: This video is for a similar Tram 1410 antenna, but demonstrates general discone antenna assembly principles.)
5. Иштөө нускамалары
The Taurus D1000 is a versatile antenna for both receiving and transmitting across a broad spectrum.
- Wide-Band Reception: The antenna is designed for wide-band reception from 25 MHz to 1300 MHz, making it suitable for various scanning applications.
- Multi-Band Transmit: For transmitting, the D1000 is optimized for amateur bands at 144 MHz, 220 MHz, 440 MHz, 900 MHz, and 1290 MHz.
- SWR: The antenna maintains a Standing Wave Ratio (SWR) of 1.5:1 maximum, ensuring efficient power transfer.
- Максималдуу күч: The antenna can handle a maximum power of 200 watts. Do not exceed this power rating to prevent damage to the antenna or connected equipment.
6. Техникалык тейлөө
Regular maintenance ensures optimal performance and longevity of your antenna.
- Визуалдык текшерүү: Periodically inspect the antenna for any signs of damage, corrosion, or loose connections, especially after severe weather.
- Тазалык: Keep the antenna elements clean from dirt, dust, and debris. A soft cloth and mild detergent can be used if necessary.
- Туташуу текшерүү: Ensure the coaxial cable connection at the antenna base remains tight and weatherproofed. Reapply weatherproof tape or sealant as needed.
- Мачтанын туруктуулугу: Verify the stability of the mounting mast and its grounding connection.
7. Кыйынчылыктарды
If you experience issues with your D1000 antenna, consider the following common problems and solutions:
| Көйгөй | Мүмкүн себеп | Чечим |
|---|---|---|
| Poor Reception/Transmission | Loose coaxial connection, damaged cable, incorrect frequency, antenna obstruction, improper grounding. | Check all connections, inspect cable for damage, ensure operating within specified frequency ranges, clear obstructions, verify grounding. |
| Жогорку SWR | Damaged antenna element, poor connection, incorrect cable length, nearby metallic objects. | Inspect elements for bends or breaks, re-check connections, ensure proper cable impedance, move antenna away from large metal structures. |
| Antenna Noise/Interference | Nearby electrical interference, poor grounding. | Ensure proper grounding, identify and mitigate sources of electrical noise. |
8. Техникалык шарттар
| Өзгөчөлүк | Спецификация |
|---|---|
| Модель номери | D1000 |
| Жыштык диапазонун алуу | 25 - 1300 МГц |
| Transmit Frequency Bands | 144, 220, 440, 900, 1290 MHz (Amateur Bands) |
| SWR | 1.5:1 максимум |
| Максималдуу күч | 200 Ватт |
| Туташтыргыч түрү | SO-239 (fits standard PL-259) |
| Материал | Rust-free Stainless Steel |
| Максималдуу мачта диаметри | 1-3/8 дюйм (35мм) |
| Vertical Element Extender | 55 inches for low band operation |
| Продукциянын өлчөмдөрү | 20 x 3 x 3 дюйм (пакеттелген) |
| Элемент Салмагы | 1 фунт |
9. Кепилдик жана колдоо
For warranty information and technical support, please refer to the documentation provided with your purchase or contact Taurus customer service. Keep your proof of purchase for warranty claims.