
1. Продукт бүтүп калдыview
The Gikfun 5mm Assorted LED Light Kit provides a selection of 100 high-quality light-emitting diodes (LEDs) in five distinct colors. This kit is designed for a wide range of electronic projects, including DIY circuits, educational science experiments, and integration with microcontroller platforms like Arduino. Each LED features a 5mm diameter and is suitable for various applications requiring visual indicators or illumination.
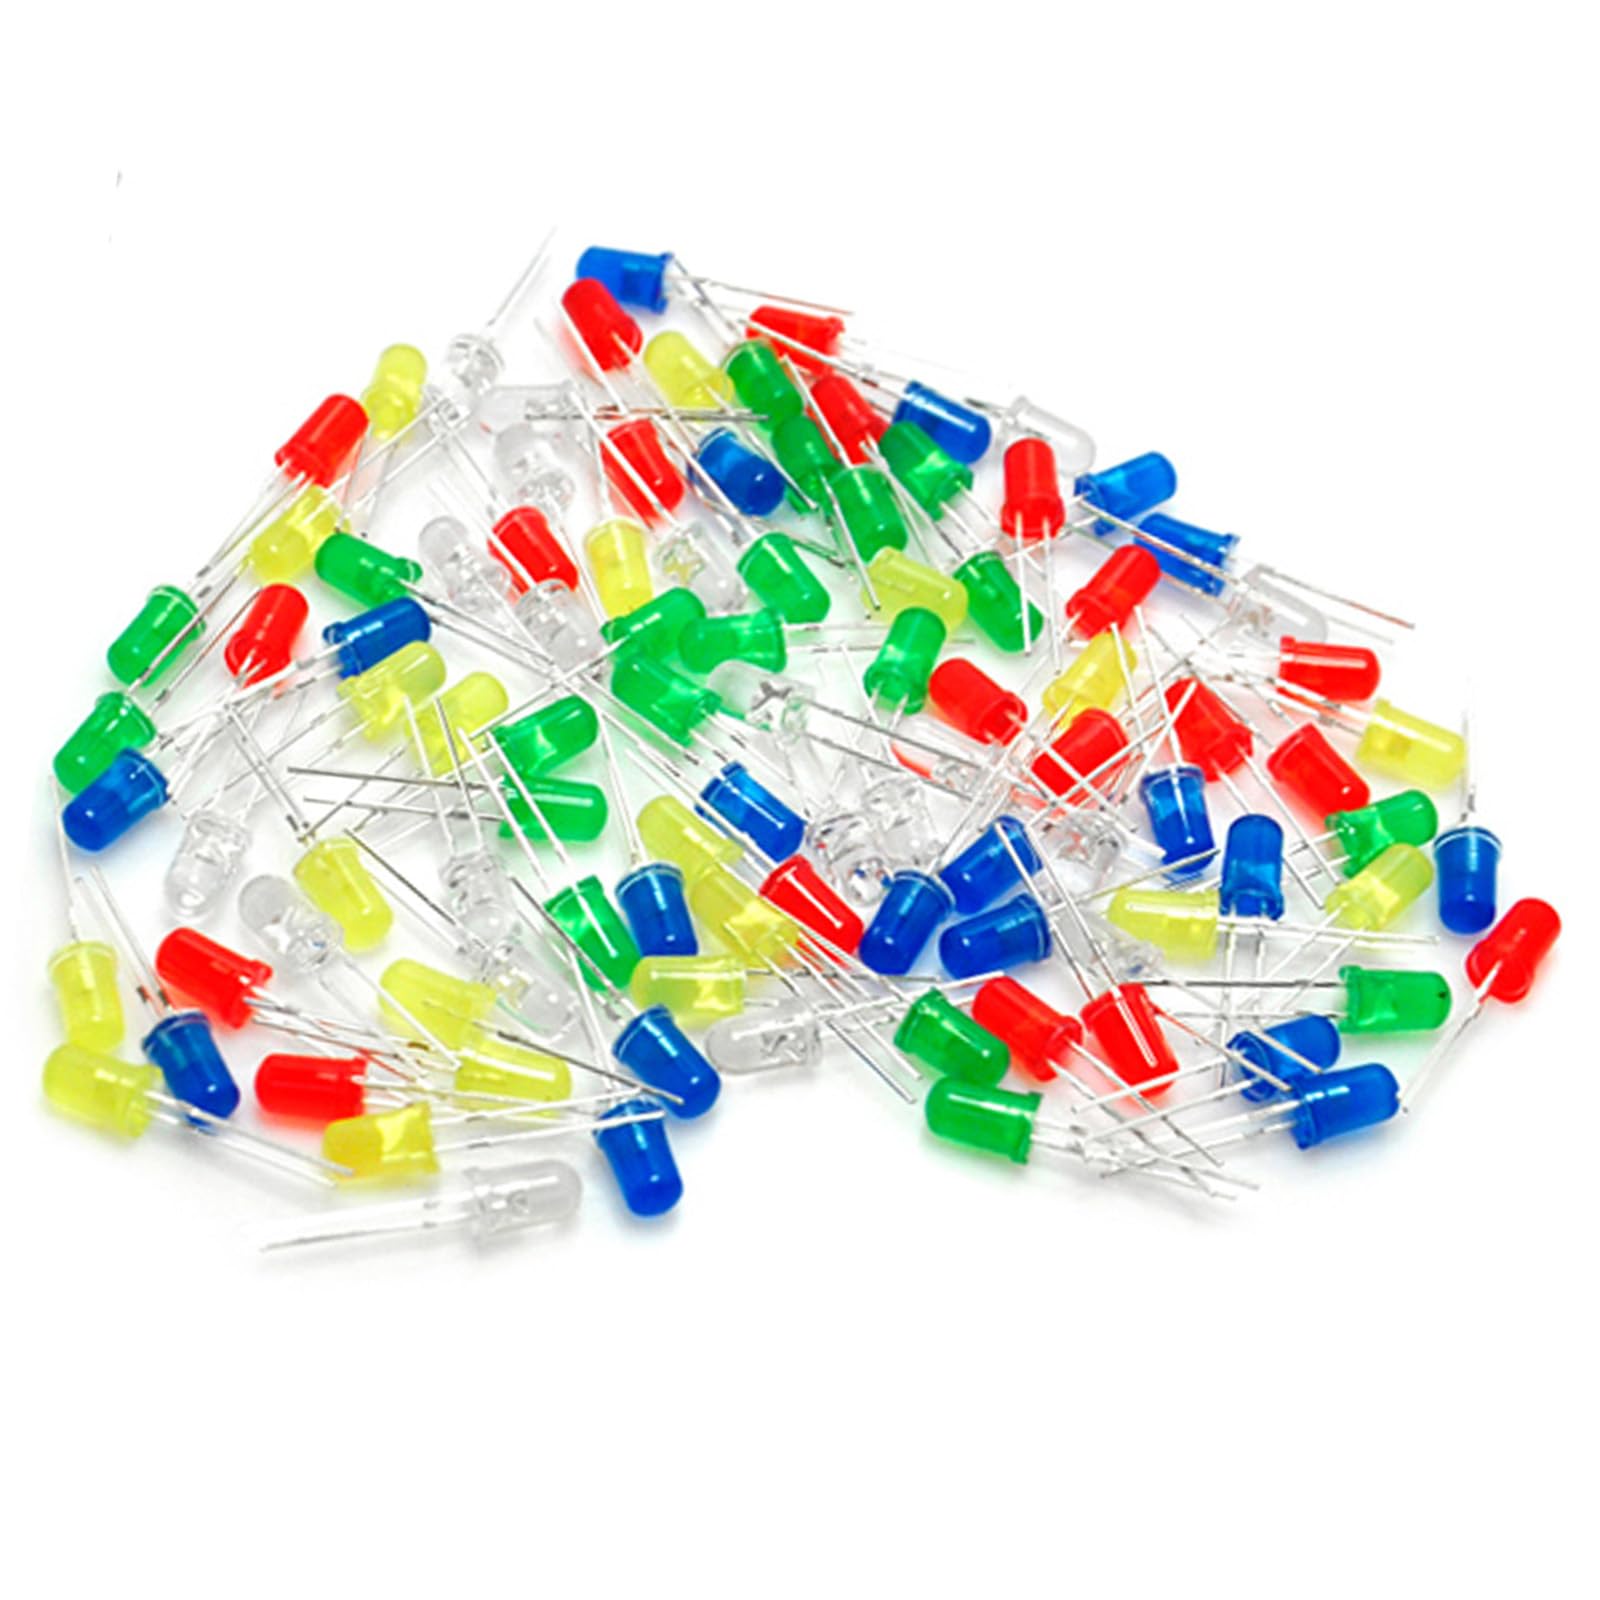
The kit includes 20 pieces of each color: White, Yellow, Red, Green, and Blue, offering versatility for different project requirements. These LEDs are characterized by their durability, super brightness, low heat emission, energy efficiency, compact size, and long operational lifespan.
2. Негизги өзгөчөлүктөрү
- Жогорку сапат: 5mm assorted LEDs suitable for Arduino projects and general electronics.
- Түс ар түрдүүлүгү: Includes White, Yellow, Red, Green, and Blue LEDs, 20 pieces of each color.
- Аткаруу: Durable, super bright, low heat generation, and energy-saving.
- Узак жашоо: Small size with a long operational lifespan.
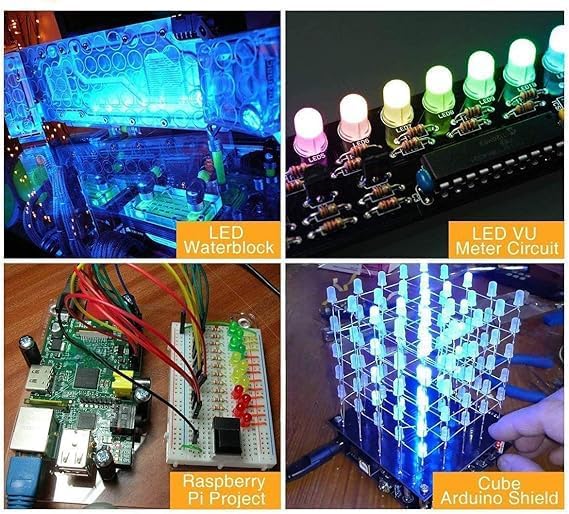
- Ар тараптуу колдонмо: Ideal for DIY LED projects, school science experiments, car decorations, electronic and electrical experiments, and signal indicators.
- Тtage Техникалык шарттар:
- White: 3.0-3.2V
- Жашыл: 2.0-2.2V
- Сары: 2.0-2.2V
- Blue: 3.0-3.2V
- Кызыл: 1.8-2.0V
3. Техникалык шарттар
| Атрибут | Нарк |
|---|---|
| Бренд | Гикфун |
| Модель номери | EK8437 |
| Жарык түрү | LED |
| Бирдик саны | 100 Сан |
| Ачык түс | White, Yellow, Red, Green, Blue |
| Тtage (White/Blue) | 3.0-3.2V |
| Тtage (Green/Yellow) | 2.0-2.2V |
| Тtage (Red) | 1.8-2.0V |
| Элемент Салмагы | 0.05 килограмм (болжол менен 1.58 унция) |
| Продукциянын өлчөмдөрү | 5 x 3.5 x 0.2 дюйм |
| Ички/тышкы колдонуу | Indoor |
| Өзгөчө өзгөчөлүк | Энергияны үнөмдүү |
4. Орнотуу нускамалары
To properly set up and use the 5mm LEDs, follow these general guidelines:
- Полярдуулукту аныктоо: LEDs are polarized components. The longer lead is the anode (positive), and the shorter lead is the cathode (negative). Incorrect polarity will prevent the LED from lighting up and can potentially damage it if excessive voltage колдонулат.
- Use a Current-Limiting Resistor: It is crucial to use a current-limiting resistor in series with each LED to prevent damage from excessive current. The appropriate resistor value depends on your power supply voltage and the LED's forward voltage and desired current (typically 10-20mA). A common formula is R = (Vs - Vf) / I, where Vs is supply voltage, Vf is LED forward voltage, and I is desired current.
- Breadboard Connection: For prototyping, insert the LED leads into a breadboard. Connect the anode (longer lead) to the positive rail (or a resistor connected to positive) and the cathode (shorter lead) to the negative rail (ground).
- Электр камсыздоо: Connect your power supply (e.g., battery, Arduino output) to the breadboard, ensuring correct voltage жана учурдагы чектөөлөр.
For a visual guide on setting up LEDs for DIY projects, refer to the video below:
5. Иштөө нускамалары
Once properly connected with a current-limiting resistor, the LEDs will illuminate when power is applied. Ensure the voltage supplied matches the LED's forward voltage (Vf) and that the current is within the safe operating range (typically 10-20mA for 5mm LEDs).
- Күйгүзүү: Apply the appropriate DC voltage to your circuit. The LEDs should light up.
- Учурдагы башкаруу: The brightness of the LED is primarily controlled by the current flowing through it. Adjusting the resistor value will change the current and thus the brightness. A higher resistance leads to lower current and dimmer light.
- Color Specifics: Note the different forward voltages for each color as listed in the 'Key Features' section. This is important for calculating the correct resistor value for each LED color when using a single power supply.
Observe the LEDs in action in the following video:
6. Жалпы колдонмолор
The Gikfun 5mm Assorted LED Light Kit is highly versatile and can be used in numerous projects:
- DIY Electronic Projects: Create custom lighting effects, indicators, or decorative elements in your electronic builds.
- Educational Kits: Excellent for teaching basic electronics, circuit building, and LED principles in schools or workshops.
- Arduino and Raspberry Pi Projects: Integrate with microcontrollers for visual feedback, status indicators, or interactive displays.
- Модель жасоо: Add lighting to scale models, robotics, or other creative constructions.
- Car Decorations: Use for interior or exterior accent lighting (ensure proper voltage regulation and weather protection).


7. Коопсуздук маалыматы
Please observe the following safety precautions when working with LEDs:
- Always use a current-limiting resistor in series with each LED to prevent damage to the LED and power source.
- Көрсөтүлгөн көлөмдөн ашпаңызtage and current ratings for each LED color. Over-current or over-voltage can cause the LED to burn out prematurely.
- Avoid direct, prolonged eye exposure to illuminated LEDs, especially bright ones, as this may cause discomfort or temporary vision effects.
- Keep small electronic components, including LEDs, out of reach of young children to prevent choking hazards.
- Ensure proper ventilation when soldering or working with electronic components.
8. Кыйынчылыктарды
- LED күйбөйт:
- Check LED polarity: Ensure the longer lead (anode) is connected to positive and the shorter lead (cathode) to negative/ground.
- Verify power supply: Confirm the power supply is active and providing the correct voltage.
- Inspect connections: Ensure all wires and components are securely connected.
- Check resistor value: An excessively high resistor value might prevent sufficient current flow for illumination.
- Test the LED: Try the LED in a known working circuit to confirm it is not faulty.
- LED is too dim:
- Reduce resistor value: A lower resistance will allow more current to flow, increasing brightness. Ensure you do not exceed the LED's maximum current rating.
- Электр менен камсыздоону текшерүү томtage: Ensure the supply voltage is adequate for the LED's forward voltage.
- LED is too bright or burns out quickly:
- Increase resistor value: A higher resistance will limit the current, reducing brightness and preventing burnout.
- Электр энергиясы менен камсыздоону текшерүү томtage: Ensure the supply voltage өтө жогору эмес.
- Confirm resistor presence: Never connect an LED directly to a power source without a current-limiting resistor.
9. Техникалык тейлөө жана сактоо
To ensure the longevity and proper functioning of your Gikfun 5mm LEDs:
- Сактагыч: Store unused LEDs in a cool, dry place, preferably in their original packaging or an anti-static bag, to protect them from moisture and physical damage.
- Колдонуу: Handle the LED leads carefully to prevent bending or breaking, especially near the LED housing.
- Тазалоо: If necessary, gently clean the LED lens with a soft, dry cloth. Avoid using harsh chemicals or abrasive materials.
10. Кепилдик жана колдоо
For warranty information, technical support, or inquiries regarding the Gikfun 5mm Assorted LED Light Kit, please refer to the Gikfun official website or contact your retailer directly. Keep your purchase receipt for any warranty claims.