Ар бир TX526
EACHINE TX526 5.8G 40CH AV зымсыз FPV өткөргүч колдонуучусунун колдонмосу
Модели: TX526
Introduction
Бул колдонмодо EACHINE TX526 5.8G 40CH AV зымсыз FPV өткөргүчүңүздү туура орнотуу, иштетүү жана техникалык тейлөө боюнча кеңири көрсөтмөлөр берилген. Коопсуз жана оптималдуу иштешин камсыз кылуу үчүн түзмөктү колдонуудан мурун бул колдонмону кылдаттык менен окуп чыгыңыз.
Продукт бүттүview
Пакеттин мазмуну
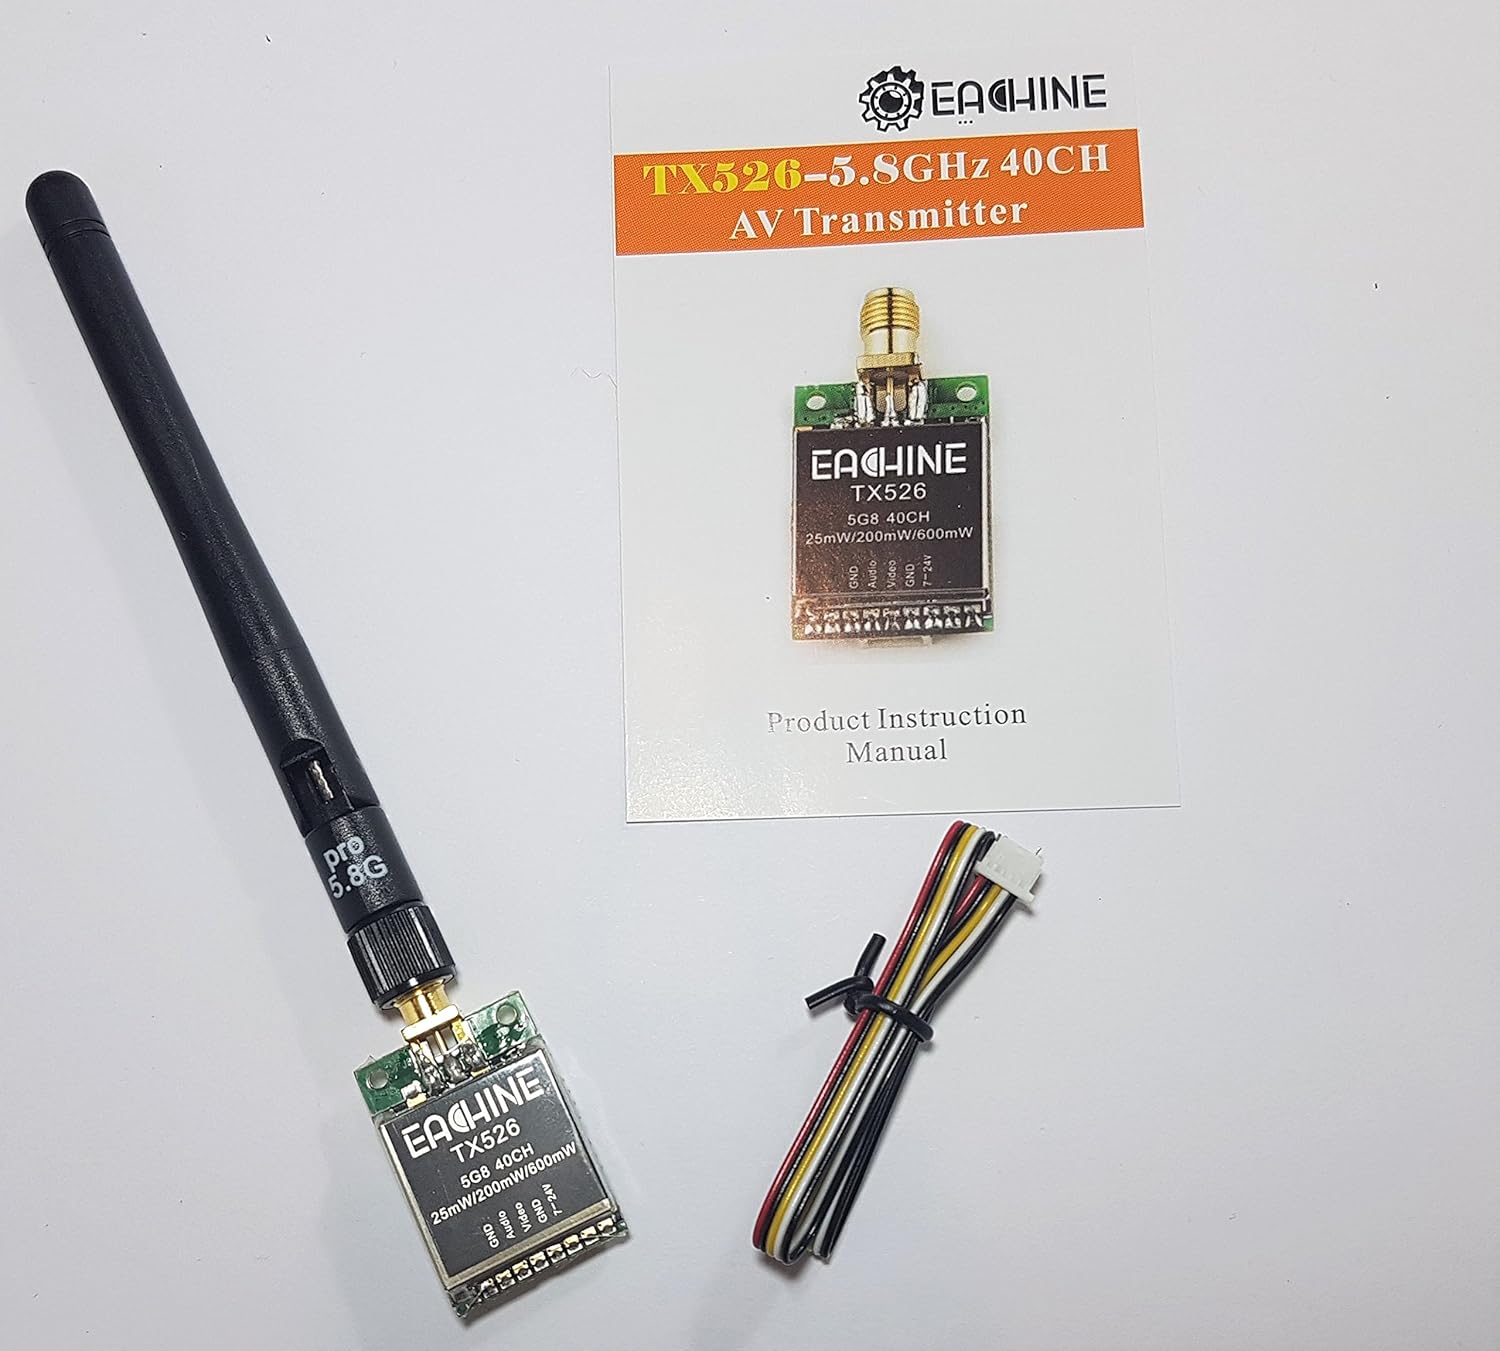
Сүрөт: EACHINE TX526 FPV өткөргүчү, ажыратылуучу антенна, көп зымдуу туташтыруучу кабель жана продуктунун колдонуу боюнча колдонмосу комплектте камтылган.
- EACHINE TX526 FPV өткөргүч
- RP-SMA аял антеннасы
- Көп зымдуу туташтыруу кабели
- Продукт нускамасы
Негизги өзгөчөлүктөрү

Сүрөт: Продукциянын таңгагында TX526 өткөргүчүнүн негизги өзгөчөлүктөрү келтирилген.
- 40CH Raceband колдоосу
- Компакттуу орнотуулар үчүн супер мини өлчөмү
- Каналды жана кубаттуулукту оңой жөнгө салуу үчүн баскычты башкаруу
- Абалды так көрсөтүү үчүн бир экран
- Ишенимдүү видео өткөрүү үчүн жогорку туруктуулук
- Которулуучу кубаттуулук: 25 мВт / 200 мВт / 600 мВт
Жайгашуу
Компоненттин идентификациясы

Сүрөт: деталдуу view TX526 өткөргүчүнүн туташтыруучу аянтчаларынын, GND, Аудио, Видео, GND жана 7-24V деп белгиленген.

Сүрөт: TX526 өткөргүчүнүн арткы бетинде санариптик LED дисплей жана башкаруу баскычы көрсөтүлгөн.
Зымдар диаграммасы
Берилген көп зымдуу кабелди өткөргүчтүн төөнөгүчүнүн башына төмөнкү төөнөгүч схемасы боюнча туташтырыңыз:
| Pin | Функция | Description |
|---|---|---|
| 1 | GND | Жерге туташтыруу |
| 2 | Аудио | Камерадан/микрофондон аудио киргизүү (эгер бар болсо) |
| 3 | Video | FPV камерасынан видео киргизүү |
| 4 | GND | Жерге туташтыруу |
| 5 | 7-24V | Кубат киргизүү (DC 7Vден 24Vге чейин) |
Электр кубатын туташтырганда туура полярдуулукту камсыз кылыңыз. Туура эмес зымдар өткөргүчкө зыян келтириши мүмкүн.
Антенна туташуу

Сүрөт: TX526 өткөргүчү, антеннасы бекем бекитилген жана кубат/сигнал кабели туташтырылган.
Берилген RP-SMA антеннасын өткөргүчтүн антенна туташтыргычына этияттык менен бурап бекитиңиз. Сигналдын жоголушуна жол бербөө үчүн, анын манжаңыз менен бекем бекитилгенин текшериңиз. Антенна туташтырылбаса, эч качан өткөргүчтү күйгүзбөңүз, анткени бул түзмөккө биротоло зыян келтириши мүмкүн.
Иштөө нускамалары
Күйгүзүлүүдө
Бардык туташуулар бекем орнотулгандан кийин, өткөргүчкө кубат бериңиз (7-24V DC). LED дисплей күйүп, учурдагы каналды жана диапазонду көрсөтөт.
Каналдарды жана тилкелерди өзгөртүү
TX526 каналды жана диапазонду тандоону башкаруу үчүн бир гана баскычка ээ.
- Кыска басуу: Баскычты кыска басуу учурдагы диапазондогу каналдар (1-8) аркылуу айланып өтөт. LED дисплей жаңы каналдын номерин көрсөтүү үчүн жаңыртылат.
- Узакка басуу (2-3 секунд): Баскычты узакка басуу жеткиликтүү жыштык тилкелери (A, B, E, F, R) аркылуу өтөт. LED дисплейде каналдын номерине кайтуудан мурун тилке тамгасы (мисалы, 'A', 'b', 'E', 'F', 'r') бир азга көрсөтүлөт.
Ар бир канал жана диапазон үчүн белгилүү бир жыштыктар үчүн төмөндөгү жыштык таблицасын караңыз.
Чыгарылыш кубатын өзгөртүү
TX526 25 мВт, 200 мВт жана 600 мВт чыгуучу кубаттуулуктун ортосунда которулууга мүмкүндүк берет. Чыгаруучу кубаттуулукту өзгөртүү ыкмасы, адатта, өтө узак басуу же белгилүү бир баскычтардын айкалышы болуп саналат. (Эскертүү: Кубаттуулукту өзгөртүү үчүн баскычтардын белгилүү бир ырааттуулугу берилген сүрөттөрдө кеңири көрсөтүлгөн эмес. Так көрсөтмөлөр үчүн физикалык колдонмону караңыз.)
Жогорку кубаттуулук көбүрөөк диапазонду камсыз кылат, бирок көбүрөөк батарея сарптайт жана көбүрөөк жылуулук чыгарат. Ар дайым өткөргүчтүн айланасында, айрыкча жогорку кубаттуулук жөндөөлөрүндө, жетиштүү аба агымын камсыз кылыңыз.
Техникалык тейлөө
- Өткөргүчтү таза жана чаң менен таштандылардан таза кармаңыз. Тазалоо үчүн жумшак, кургак чүпүрөк колдонуңуз.
- Өткөргүчтү өтө жогорку температурага, нымдуулукка же түз күн нуруна дуушар кылбаңыз.
- Ар бир колдонуудан мурун бардык туташуулардын (антенна, кубат, видео) бекем орнотулганын текшериңиз.
- Антеннанын бузулганын үзгүлтүксүз текшерип туруңуз. Бузулган антенна анын иштешин бир топ төмөндөтүшү мүмкүн.
- Өткөргүчтү ачууга аракет кылбаңыз casing, анткени бул кепилдикти жокко чыгарып, зыян келтириши мүмкүн.
Проблемаларды чечүү
Видео сигнал жок
- Бардык зым туташууларын, айрыкча электр кубатын жана видео киргизүүнү текшериңиз.
- Антеннанын өткөргүчкө бекем туташтырылганын текшериңиз.
- FPV кабыл алгычыңыз өткөргүч менен бир жыштыкта жана диапазондо экенин текшериңиз.
- FPV камерасы кубатталганын жана туура иштеп жатканын текшериңиз.
- Чыгуучу кубаттуулуктун жөндөөсүн текшериңиз; өтө төмөн жөндөө начар диапазонго алып келиши мүмкүн.
Видеонун сапаты начар / статикалык
- Өткөргүч менен кабыл алгычтын ортосунда эч кандай тоскоолдуктар жок экенин текшериңиз.
- Башка 5.8 ГГц түзмөктөрдөн же күчтүү Wi-Fi сигналдарынан келип чыккан тоскоолдуктарды текшериңиз.
- Өткөргүч жана кабыл алгыч антенналардын экөө тең туура багытталганын текшериңиз (мисалы, вертикалдык поляризация).
- Көбөйүүнү эске алыңызasing эгерде диапазон көйгөй жаратса, өткөргүчтүн чыгыш кубаттуулугу.
- Антенналардын бузулганын же ийилгенин текшериңиз.
Өткөргүчтүн ысып кетиши
- Өткөргүчтүн айланасында, айрыкча 600 мВт кубаттуулукта иштеп жатканда, жетиштүү аба айланышын камсыз кылыңыз.
- Өткөргүчтү желдетүүсү жок тар жайларга камап койбоңуз.
- Киргизилген томду ырастаңызtage көрсөтүлгөн 7-24V диапазонунда.
Техникалык шарттар
| Өзгөчөлүк | Деталь |
|---|---|
| Модел | Ар бир TX526 |
| Жыштык | 5.8 ГГц |
| Каналдар | 40CH (жарыш тилкеси менен шайкеш келет) |
| Power Output | 25 мВт / 200 мВт / 600 мВт (Алмаштырылуучу) |
| Киргизүү көлөмүtage | Туруктуу ток 7V - 24V |
| Антенна туташтыргычы | RP-SMA аял |
| Өлчөмдөр | Болжол менен 11.7 x 7.4 x 2.5 см (Таңгактын өлчөмдөрү) |
| Салмагы | Болжол менен 45 г (буюмдун салмагы) |
Эскертүү: Техникалык мүнөздөмөлөр алдын ала эскертүүсүз өзгөртүлүшү мүмкүн.
Кепилдик жана колдоо
Кепилдик жөнүндө маалымат алуу, техникалык колдоо же кошумча суроолор боюнча расмий EACHINE сайтына кириңиз webсайтка же сатуучуга кайрылыңыз.
Официалдуу Webсайт: http://www.eachine.com