Introduction
The AUTO-VOX D2 PRO Dash Cam is designed to capture high-quality video footage of your journeys, providing a reliable record for various situations. This manual provides comprehensive instructions for the installation, operation, and maintenance of your device, ensuring optimal performance and longevity.
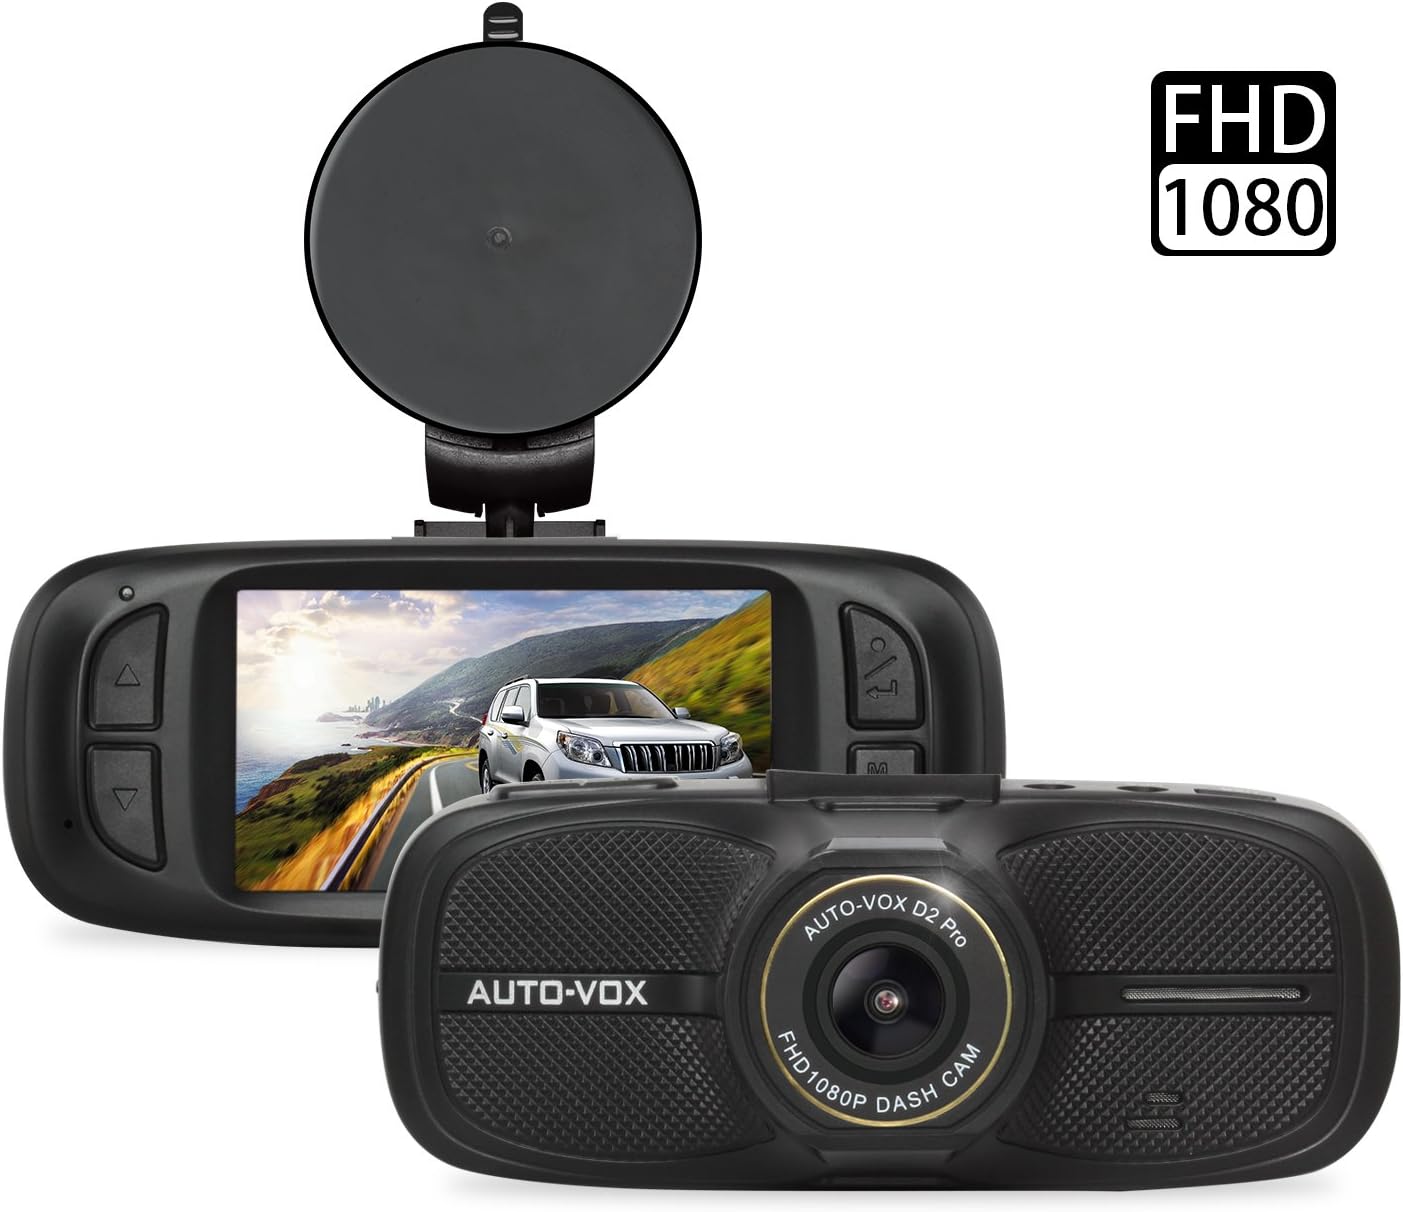
Figure 1: AUTO-VOX D2 PRO Dash Cam with mount, showing front and rear views.
Коопсуздук маалыматы
To ensure safe and proper operation of your AUTO-VOX D2 PRO Dash Cam, please observe the following guidelines:
- SD картаны форматтоо: Always format the SD card before initial use and periodically thereafter to maintain optimal recording performance and prevent data corruption.
- Иштөө температурасы: Avoid exposing the device to extreme temperatures outside its specified operating range to prevent damage.
- Орнотуу орду: Install the dash cam in a location that does not obstruct the driver's view or interfere with the deployment of airbags.
- Электр камсыздоо: Use only the provided power adapter to prevent damage to the device and ensure stable operation.
- Тазалоо: Тазалоо үчүн жумшак, кургак чүпүрөктү колдонуңуз. Суюк тазалагычтарды же эриткичтерди колдонбоңуз.
Пакеттин мазмуну
Төмөндө тизмеленген нерселердин баары пакетиңизде бар экенин текшериңиз:
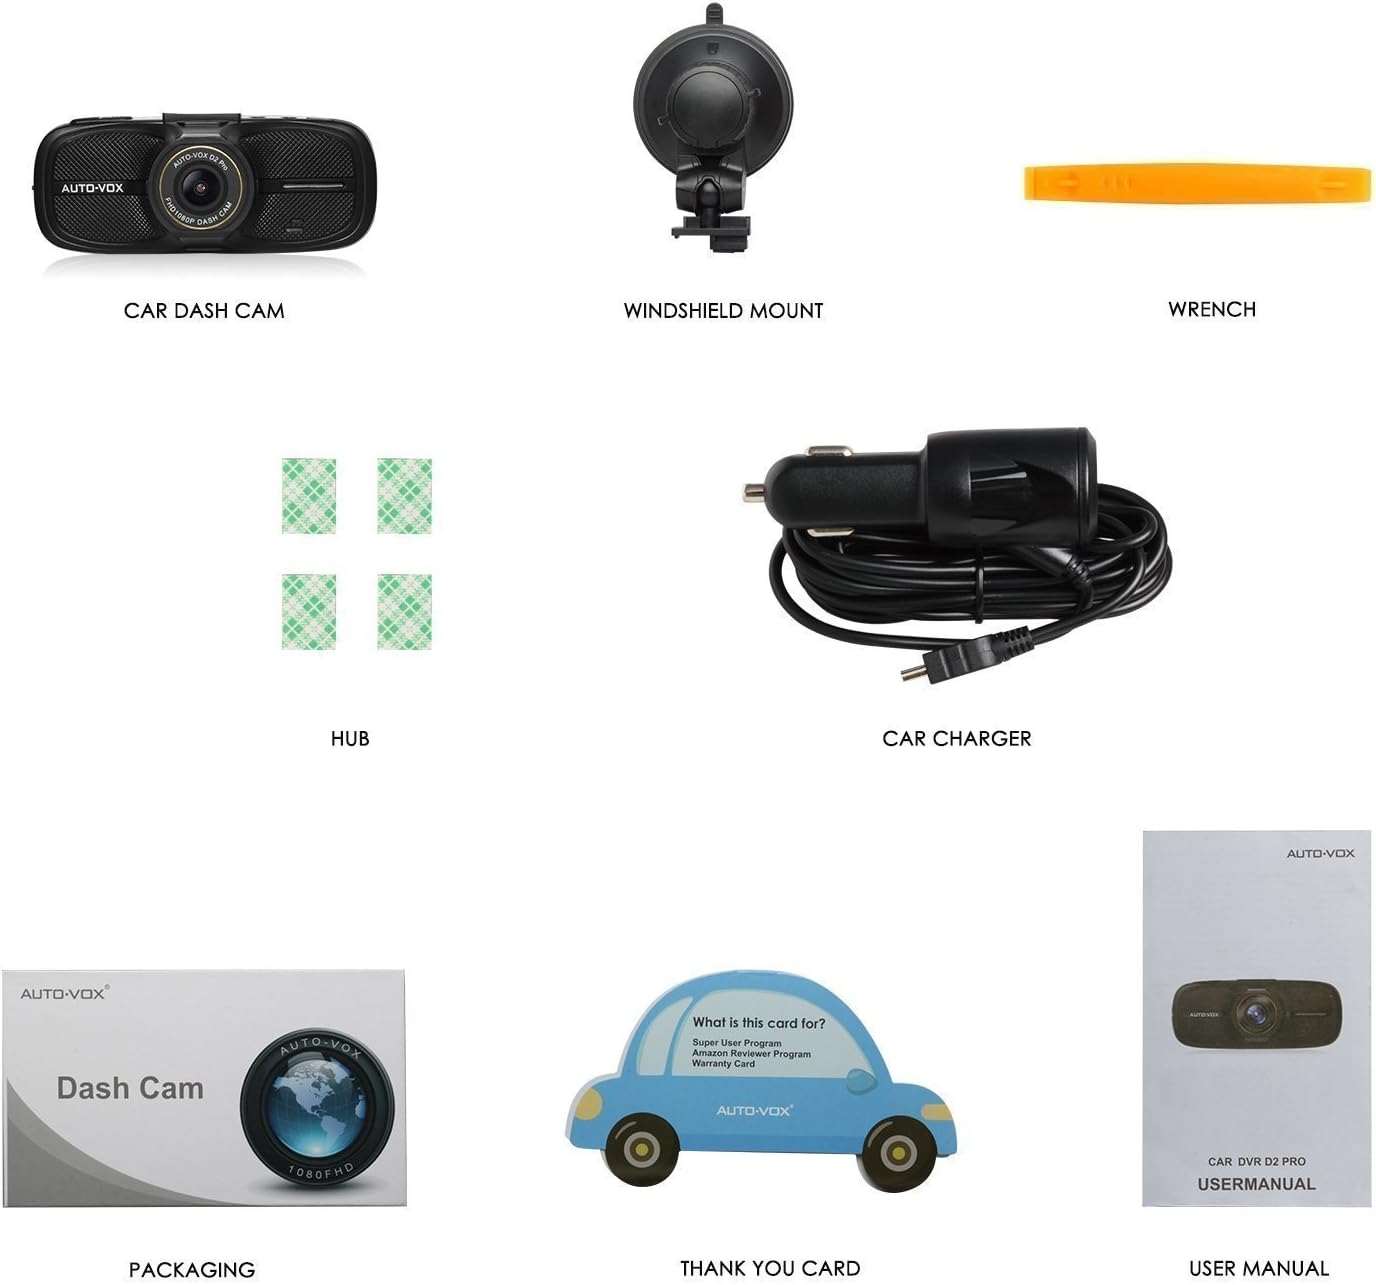
Figure 2: Included accessories with the AUTO-VOX D2 PRO Dash Cam.
- AUTO-VOX D2 PRO Car Dash Cam
- Алдыңкы айнекти орнотуу (соргуч чөйчөк)
- Car Charger (Power Cable)
- Adhesive Cable Clips (Hubs)
- Wrench (Installation Tool)
- User Manual
Продукт бүттүview
Familiarize yourself with the various components and controls of your dash cam:

Figure 3: Front, top, and side views of the D2 PRO Dash Cam with labeled components.
- USB интерфейси
- GPS интерфейси
- AV-OUT
- Кронштейн розетка
- ON/OFF баскычы
- MENU баскычы
- UP баскычы
- Объектив
- HDMI порту
- RESET баскычы
- DOWN баскычы
- OK баскычы
- MODE баскычы
- Индикатор жарыгы
Орнотуу жана орнотуу
1. Micro SD картаны салуу
Insert a high-speed Micro SD card (Class 10 or higher, up to 32GB recommended) into the card slot until it clicks into place. Ensure the card is inserted correctly to avoid damage.
2. SD картаны форматтоо
Before first use, and periodically thereafter, format the Micro SD card within the dash cam's settings menu. This ensures proper functionality and clears any existing data.
- Алдын ала башкаруу камерасын күйгүзүңүз.
- басыңыз МЕНЮ орнотууларды киргизүү үчүн баскыч.
- Navigate to the "Format" option using the ЖОГОРУ/ТӨМӨН баскычтар.
- басыңыз OK button to confirm and format the card.
3. Камераны орнотуу
Attach the suction cup mount to the dash cam's bracket socket. Choose a location on your windshield that provides a clear view of the road ahead without obstructing your driving visibility or airbag deployment area. Typically, this is behind the rearview күзгү.

Figure 4: Recommended cable routing for a neat installation.
4. Кубатты туташтыруу
Connect the provided car charger to the dash cam's USB interface and plug the other end into your vehicle's 12V power outlet (cigarette lighter socket). Route the cable neatly along the windshield and dashboard using the provided adhesive cable clips to avoid interference with driving.
Иштөө нускамалары
Күйгүзүү/өчүрүү
- Автоматтык: The dash cam will automatically power on and begin recording when your vehicle's ignition is turned on (if connected to a switched power outlet).
- Кол менен: басып, кармап туруңуз КҮЙГҮЗҮҮ/ӨЧҮРҮҮ button to manually power on or off the device.
Жазуу режимдери

Figure 5: Key recording features of the D2 PRO Dash Cam.
- Цикл жаздыруу: The camera continuously records video in segments (e.g., 1, 3, or 5 minutes). When the memory card is full, it automatically overwrites the oldest unlocked footagжаңы жаздыруулар менен. Бул кол менен кийлигишүүсүз үзгүлтүксүз жаздырууну камсыз кылат.
- Өзгөчө кырдаалдарда жаздыруу (G-сенсор): Орнотулган G-сенсору күтүүсүз соккуларды же кагылышууларды аныктайт. Иштетилгенде, ал учурдагы видео сегментти автоматтык түрдө кулпулайт, бул анын циклдик жаздыруу менен үстүнөн жазылышына жол бербейт. Булар кулпуланган. fileс өзүнчө папкада сакталат.
- Паркинг мониторинги: When enabled, the dash cam will automatically start recording if it detects a vibration or impact while the vehicle is parked. This feature requires a continuous power supply (e.g., hardwire kit, not included) or the dash cam's internal battery.
Wide Dynamic Range (WDR) Technology
The D2 PRO Dash Cam features WDR technology, which enhances video quality in challenging lighting conditions. WDR balances exposure, ensuring clear footage in both brightly lit and dimly lit areas within the same frame. This is particularly useful when driving out of tunnels, under strong sunlight, or at night.

Figure 6: Visual demonstration of WDR technology's effect on image clarity.
Ойнотуу параметрлери
Сиз кайра аласызview foo жазылганtage using several methods:
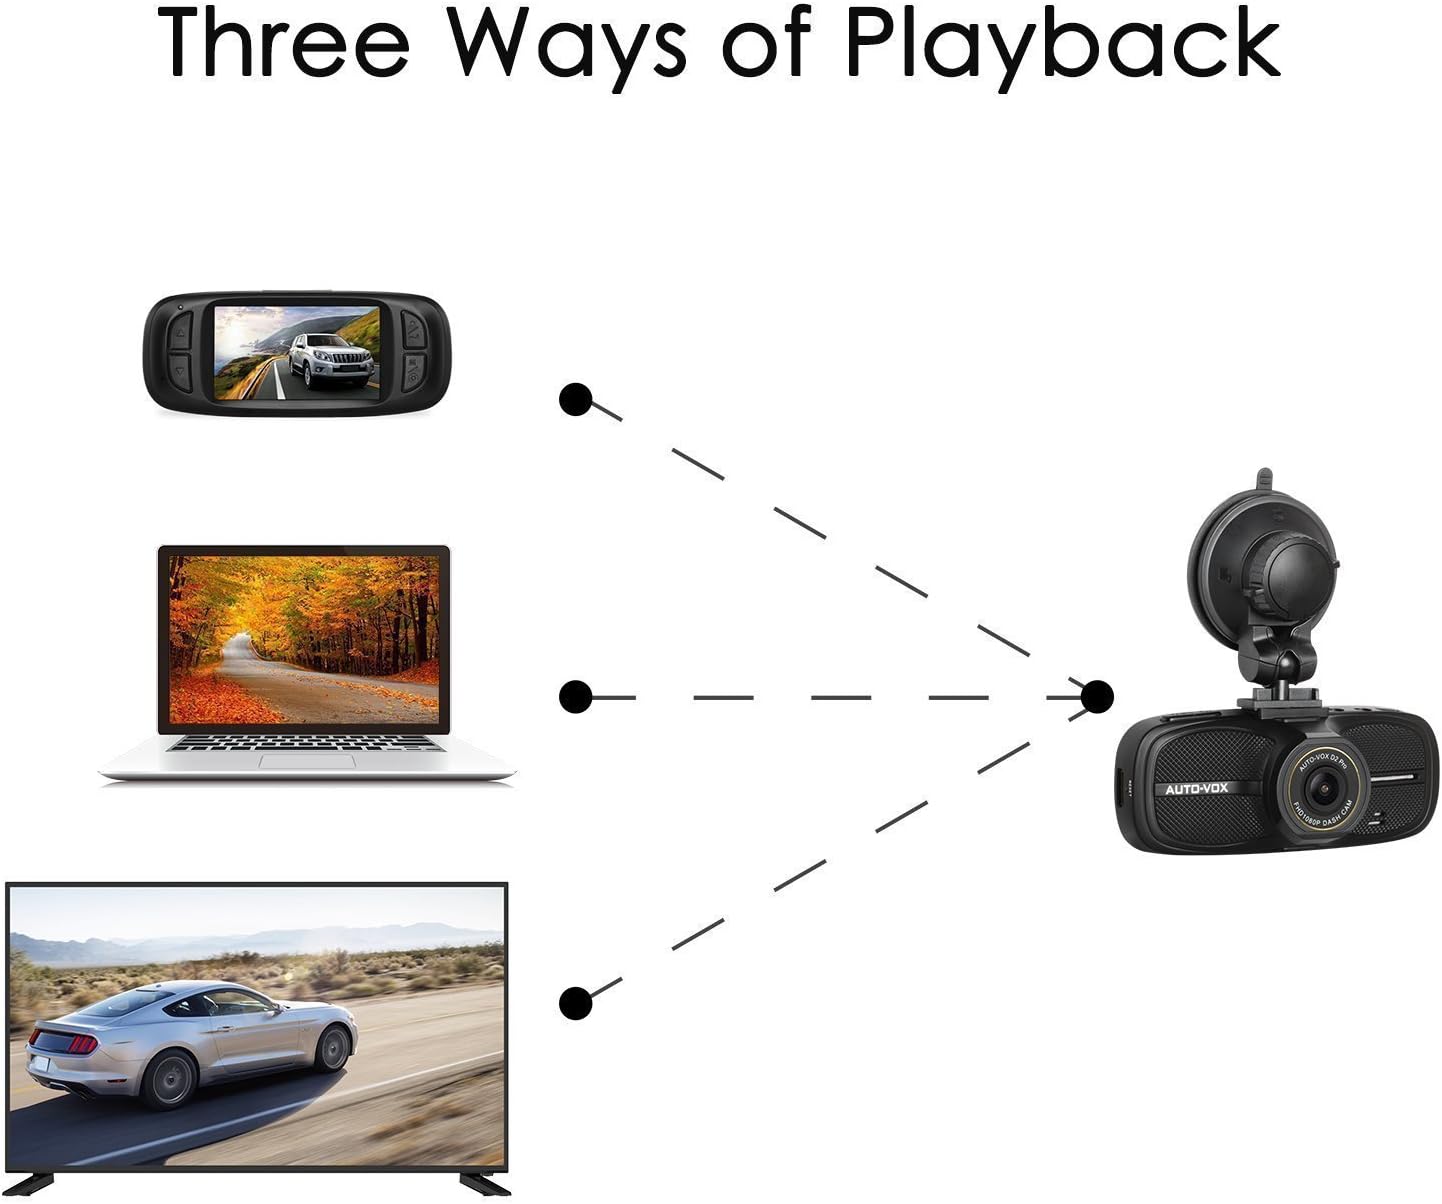
Figure 7: Various methods for viewing recorded video.
- Dash камерасында: колдонуу РЕЖИМ button to switch to playback mode. Use ЖОГОРУ/ТӨМӨН өтүү үчүн баскычтар fileс жана OK ойноо.
- Компьютерде: Микро SD картаны сызык камерасынан чыгарып, аны компьютердин карта окугучуна кыстарыңыз. видео files can then be accessed and played using standard media players.
- On a TV/Monitor: Connect the dash cam to a TV or monitor using an AV-OUT cable (not included) or HDMI cable (not included) for larger screen viewing.
Техникалык тейлөө
- SD картага кам көрүү: Regularly format your SD card (at least once a month) to prevent data corruption and ensure smooth recording. Replace the SD card if you experience frequent errors or recording issues.
- Линзаны тазалоо: Gently wipe the camera lens with a soft, lint-free cloth to remove dust or smudges that may affect video clarity.
- Программалык камсыздоонун жаңыртуулары: Check the AUTO-VOX official website periodically for any available firmware updates. Updating firmware can improve performance and add new features.
- Сактагыч: Узак мөөнөткө колдонулбаганда, сызык камерасын күн тийбеген, салкын, кургак жерде сактаңыз.
Проблемаларды чечүү
| Көйгөй | Мүмкүн болгон себеп / Чечим |
|---|---|
| Dash камерасы күйбөйт. |
|
| Жаздыруу токтойт же катып калат. |
|
| Video footage бүдөмүк же түшүнүксүз. |
|
| G-sensor is too sensitive or not sensitive enough. | Видеорегистратордун менюсунда G-сенсорунун сезгичтигин тууралаңыз. |
| Dash cam restarts unexpectedly. |
|
Техникалык шарттар

Figure 8: Physical dimensions of the D2 PRO Dash Cam.
| Өзгөчөлүк | Деталь |
|---|---|
| Модел | D2 PRO |
| Screen Size | 2.7 дюйм LCD |
| Video Resolution | Full HD 1080P |
| Viewбурч | 135° кең бурч |
| Объектив диафрагмасы | F1.8 |
| Өзгөчөлүктөр | WDR, G-Sensor, Loop Recording, Parking Mode, Night Vision |
| Сактагыч | Micro SD Card (Class 10, up to 32GB) |
| Өлчөмдөрү (L x W x Y) | 11.18 x 4.57 x 3.56 см (болжол менен 112.70 x 46.50 x 38.00 мм) |
| Салмагы | 150.25 Grams (approx. 5.3 Ounces) |
| Power Input | 12V унаа кубаттагыч |
The dash cam is designed to withstand both high and low temperatures, ensuring reliable operation in various climates.

Figure 9: Dash cam performance across temperature ranges.
Кепилдик жана колдоо
AUTO-VOX provides a 1-year warranty for the D2 PRO Dash Cam. For any technical assistance, troubleshooting, or warranty claims, please contact our professional after-sales service team. Your inquiries will typically be replied to within 24 hours.
For further support, visit the official AUTO-VOX webсайтка же сатып алууда берилген байланыш маалыматына кайрылыңыз.