
Introduction
The NEC E436 is a 43-inch direct-lit, commercial-grade LED backlit display designed for various applications including education, corporate environments, and digital signage. This display features LED backlighting for reduced power consumption, a thinner profile, and lighter weight. It offers Full HD resolution for clear image quality and includes an integrated ATSC/NTSC tuner and built-in speakers for broadcast capabilities. Additionally, the E436 incorporates a USB player for displaying video, audio, or JPEG image files.
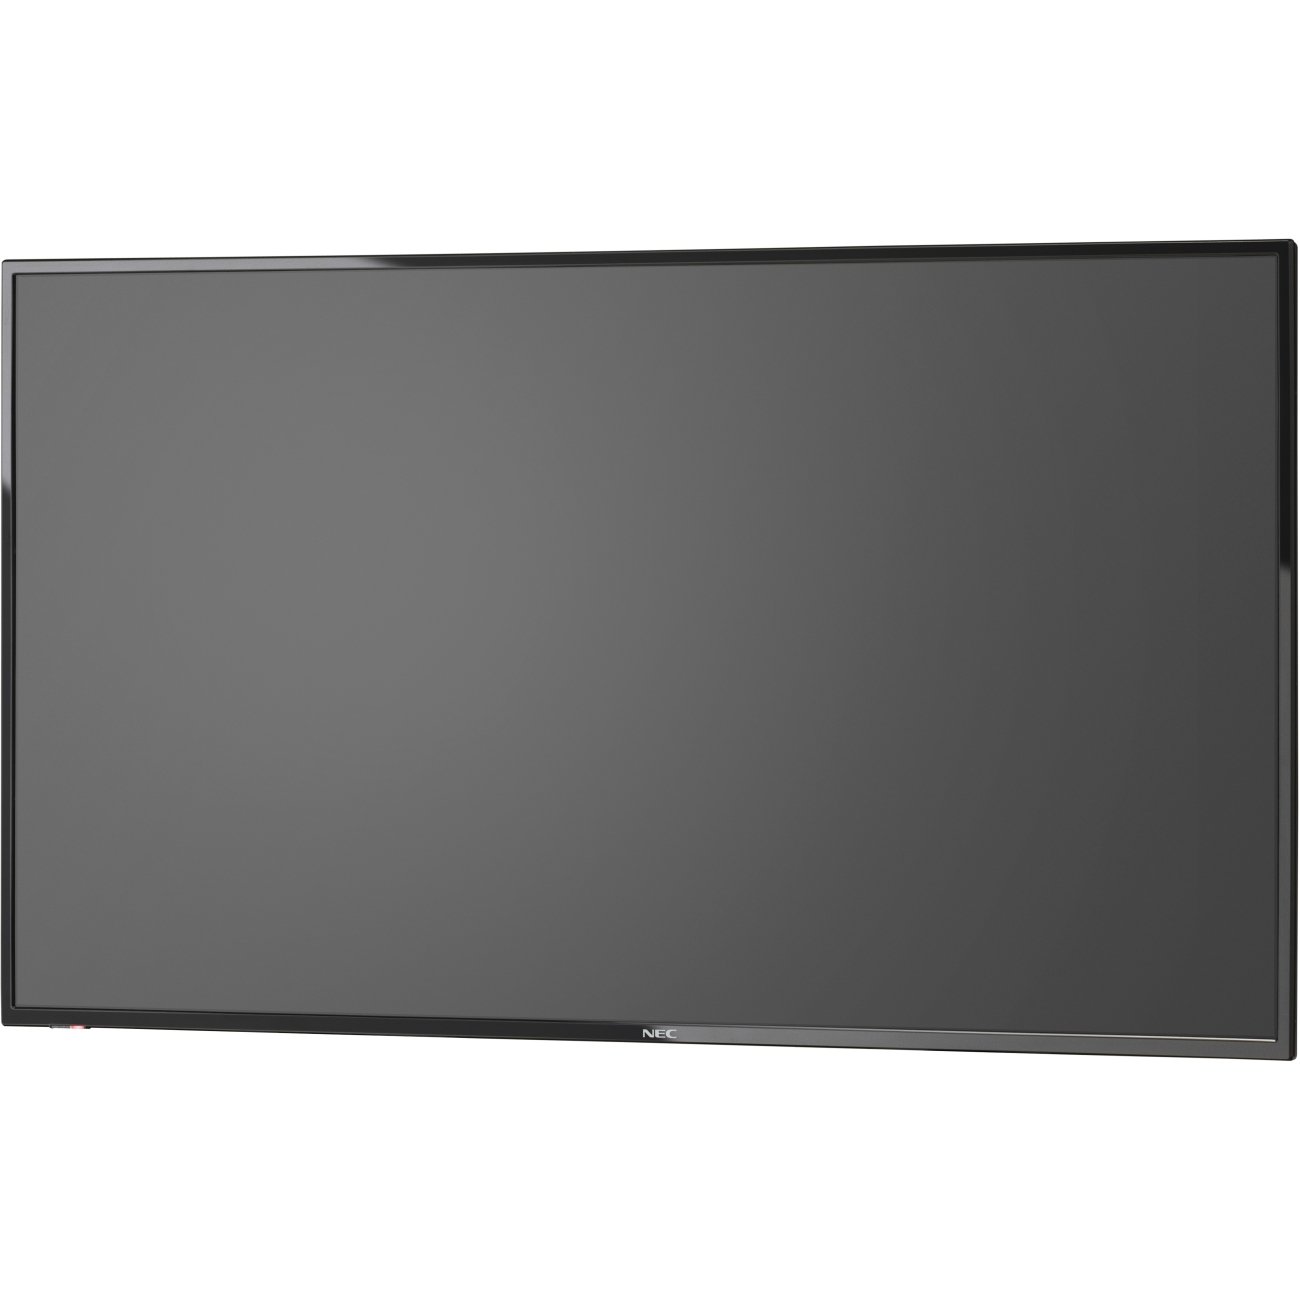
Сүрөт 1: Алдыңкы view of the NEC E436 43-inch LED Backlit Display with its stand, showcasing a vibrant beach landscape on the screen.
Жайгашуу
1. Unpacking the Display
Carefully remove the display and all components from the packaging. Ensure all items listed below are present:
- NEC E436 43" LED Backlit Display
- Электр кабели
- Алыстан башкаруу (эгер камтылган болсо)
- Колдонуучунун Колдонмосу (бул документ)
- Стенддин компоненттери (эгер бар болсо)
2. Физикалык орнотуу
The display can be installed using its included stand or mounted on a VESA-compatible wall mount or stand.
Stand Assembly (if applicable)
- Place the display face down on a soft, clean surface to prevent screen damage.
- Attach the stand base to the display using the provided screws. Ensure it is securely fastened.
- Carefully lift the display and place it on a stable, level surface.
VESA дубалга орнотуу
The NEC E436 supports VESA 200 x 200mm mounting. Use M6 x 16mm screws for attachment. Consult your wall mount's instructions for proper installation. Ensure the mounting surface can support the display's weight (approximately 20 pounds).
3. Туташтыруучу кабельдер
Connect the necessary cables to the display's input ports.
- Кубат кабели: Кубат шнурун дисплейдин кубат киргизүү булагына, андан кийин жерге туташкан электр розеткасына туташтырыңыз.
- HDMI кабели: For video and audio input from a source device (e.g., computer, media player), connect an HDMI cable to the display's HDMI port and the source device's HDMI output.
- USB түзмөк: To use the integrated multimedia player, insert a USB flash drive containing your media files into the display's USB port.
- Антенна/кабель: To utilize the integrated ATSC/NTSC tuner, connect an antenna or cable TV feed to the RF input port.
4. Баштапкы күйгүзүү
After connecting all cables, press the power button on the display or remote control to turn on the unit. Follow any on-screen prompts for initial setup, such as language selection or channel scanning for the integrated tuner.
Иштөө нускамалары
1. Негизги башкаруу элементтери
The display can be controlled using the buttons on the unit itself or via the remote control.
- Күч: Дисплейин күйгүзөт же өчүрөт.
- Киргизүү/Булак: Selects the desired input source (HDMI, TV, USB).
- Үнүн жогорулатуу/төмөндөтүү: Adjusts the audio output level from the built-in 10W speakers.
- Меню: Өркүндөтүлгөн жөндөөлөр үчүн экрандагы дисплей (OSD) менюсуна кирет.
- Чабыттоо баскычтары: Меню параметрлери боюнча чабыттоо үчүн колдонулат.
- OK/Enter: Менюдагы тандоолорду ырастайт.
2. Using the Integrated Tuner
To watch broadcast television, ensure an antenna or cable feed is connected to the RF input.
- басыңыз Киргизүү/Булак button and select "TV".
- Access the menu and navigate to the "Channel" or "Setup" section.
- Select "Auto Scan" or "Channel Search" to find available channels.
- Once scanning is complete, use the Channel Up/Down buttons to browse channels.
3. Using the USB Multimedia Player
The integrated USB player allows playback of video, audio, and JPEG image fileтүздөн-түз USB сактагычтан.
- Insert a USB flash drive containing your media files into the display's USB port.
- басыңыз Киргизүү/Булак баскычын басып, "USB" тандаңыз.
- The display will typically open a file браузер. Каалаган медиаңызга өтүңүз file (video, audio, or image).
- тандаңыз file ойнотууну баштоо үчүн.
- Use the remote control for playback functions such as play, pause, stop, next, and previous.
4. Дисплей орнотууларын тууралоо
Access the OSD menu to customize picture, sound, and other display settings.
- Сүрөт жөндөөлөрү: Adjust brightness, contrast, color, sharpness, and picture mode (e.g., Standard, Dynamic, Movie).
- Үн орнотуулары: Басс, жогорку жыштыктар, баланс жана үн режимин тууралаңыз.
- Убакыт жөндөөлөрү: Set the current time, sleep timer, or auto power-off.
- Системанын жөндөөлөрү: General display options, including language, factory reset, and software updates.
Техникалык тейлөө
1. Дисплейди тазалоо
To maintain optimal picture quality, clean the display regularly.
- Экран: Экранды жумшак, түксүз чүпүрөк менен акырын сүртүңүз. өжөр белгилери үчүн, жеңил гampчүпүрөккө суу же атайын экран тазалоочу каражат. Жок суюктукту түз эле экранга чачыңыз.
- Кабинет: Wipe the display's frame and back with a soft, dry cloth.
- Абайлаңыз: Always unplug the display from the power outlet before cleaning. Avoid using abrasive cleaners, waxes, or solvents.
2. Жалпы кам көрүү
- Дисплейди күн нуру түз тийген жерге же жылуулук булактарынын жанына койбоңуз.
- Ашыкча ысып кетүүнүн алдын алуу үчүн дисплейдин айланасында жетиштүү желдетүүнү камсыз кылыңыз.
- Protect the display from moisture and extreme temperatures.
- Желдетүүчү тешиктерди жаппаңыз.
Проблемаларды чечүү
Колдоо кызматына кайрылуудан мурун, кеңири таралган көйгөйлөрдү чечүү үчүн төмөнкү чечимдерди колдонуп көрүңүз:
| Көйгөй | Мүмкүн чечим |
|---|---|
| Күч жок |
|
| Сигнал жок/Сүрөт жок |
|
| Сүрөт бурмаланган же түшүнүксүз |
|
| Үн жок |
|
Техникалык шарттар
| Өзгөчөлүк | Деталь |
|---|---|
| Бренд | NEC |
| Модель номери | E436 |
| Screen Size | 43 дюйм |
| Дисплей түрү | LED арткы жарык |
| Резолюция | Толук HD (1920 x 1080) |
| Аспект катышы | 16:9 |
| Жаңыртуу ылдамдыгы | 60 Гц |
| Жооп убактысы | 8 Миллисекунд |
| Контраст катышы | 2000:1 |
| Байланыш | 1x HDMI, 1x USB (USB 3.0) |
| Integrated Tuner | ATSC/NTSC |
| Аудио | Камтылган 10W динамиктер |
| Монтаж түрү | VESA 200 x 200mm (M6 x 16mm) |
| Элемент Салмагы | 20 фунт |
Кепилдик жана колдоо
Кепилдик маалымат
The NEC E436 display comes with a 3 жылдык кепилдик. This warranty covers defects in materials and workmanship under normal use. Please retain your proof of purchase for warranty claims. For specific terms and conditions, refer to the warranty card included with your product or visit the official NEC webсайт.
Кардарларды колдоо
For technical assistance, troubleshooting beyond this manual, or warranty service, please contact NEC customer support. Contact details can typically be found on the official NEC webсайтында же сатып алууда берилген документтерде.
When contacting support, please have your model number (E436) and serial number ready.