
1. Маанилүү коопсуздук нускамалары
Please read this manual carefully before using the product to ensure safe operation and optimal performance. Keep this manual for future reference.
- Аппаратты ажыратпаңыз же өзгөртпөңүз.
- Аппаратты кургак кармаңыз. Нымдуу кол менен кармабаңыз же сууга батырбаңыз.
- Күйүүчү газдар же суюктуктар бар жерде колдонбоңуз.
- Балдар жетпеген жерде сактаңыз.
- Белгиленген батарейкаларды жана аксессуарларды гана колдонуңуз.
2. Продукт бүтүп калдыview
The GODOX XproII-C is a versatile E-TTL II 2.4G wireless flash trigger designed for Canon cameras. It offers advanced control over multiple flash units with features like High-Speed Sync (HSS) up to 1/8000s, multi-flash, manual flash, and Flash Exposure Compensation (FEC). Its large LCD screen and intuitive button layout provide efficient operation.

Сүрөт: алдыңкы view of the GODOX XproII-C Flash Trigger, showcasing its large LCD screen and control buttons.
Негизги өзгөчөлүктөрү:
- 16 Groups and 32 Channels for wireless control.
- 01-99 Wireless ID setting to prevent signal interference.
- Ыңгайлуу манипуляция үчүн 5 топ баскычтары жана 4 функция баскычтары.
- Full Graphic Display of 5 Groups simultaneously on a large Dot Matrix LCD panel.
- Type-C USB port for firmware upgrades.
- Smart TCM function for converting TTL shooting values to Manual mode output.
- Fully supports TTL Autoflash, 1/8000s High-Speed Sync, Multi Flash, Manual Flash, and Flash Exposure Compensation.
3. Орнотуу
3.1 Батареяны орнотуу
The XproII-C uses two AA batteries. Open the battery compartment cover on the back of the unit, insert the batteries according to the polarity indicators, and close the cover securely.
3.2 Камерага орнотуу
Slide the XproII-C's hot shoe onto your camera's hot shoe mount. Once seated, rotate the quick-release lock lever to secure the trigger in place. To remove, rotate the lever in the opposite direction and slide the trigger off.

Image: Close-up of the quick-release lock mechanism on the GODOX XproII-C, showing how it secures to a camera's hot shoe.
3.3 Күйгүзүү/өчүрүү
To power on, slide the power switch to the 'ON' position. The LCD screen will illuminate. To power off, slide the switch to the 'OFF' position.
3.4 Initial Settings (Channel and Wireless ID)
For proper communication, ensure the channel and wireless ID settings on the XproII-C match those of your slave flash units. Use the menu buttons and dial to navigate to the channel and ID settings and adjust as needed. The 01-99 Wireless ID setting helps avoid interference in multi-user environments.
4. Иштөө нускамалары
4.1 Basic Flash Modes (TTL, Manual, Multi-Flash)
The XproII-C supports various flash modes. Use the 'MODE' button to cycle through TTL (Through-The-Lens), Manual (M), and Multi-Flash modes. In TTL mode, the flash output is automatically adjusted. In Manual mode, you can set the power output manually. Multi-Flash mode allows for stroboscopic effects.

Image: The GODOX XproII-C held in hand, with the screen displaying settings for High-Speed Sync (HSS) and TTL Auto Flash.
4.2 Жогорку ылдамдыктагы синхрондоштуруу (HSS)
The XproII-C supports High-Speed Sync up to 1/8000s, allowing you to use flash with fast shutter speeds, which is useful for freezing action or overpowering ambient light. HSS is typically enabled automatically when your camera's shutter speed exceeds its maximum flash sync speed.
4.3 Жарк этүүнүн ордун толтуруу (FEC)
Adjust the flash output in TTL mode using Flash Exposure Compensation. This allows you to fine-tune the flash brightness relative to the camera's automatic exposure.
4.4 TCM Function (TTL to Manual Conversion)
The innovative TCM function allows for instant conversion of TTL shooting values into manual output values. Long press the 'TCM' button to convert. This helps in quickly setting a consistent manual power level based on a successful TTL exposure. Short press the 'TCM' button to switch between one-group and multi-group modes.

Image: The GODOX XproII-C screen displaying the TCM (TTL to Manual Conversion) function, showing channel and group settings.
4.5 Топтук контроль
Control up to 5 groups of flashes independently using the dedicated group buttons (A, B, C, D, E). You can adjust the mode, power, and other settings for each group separately.
4.6 Bluetooth Connectivity and App Control
The XproII-C features built-in Bluetooth connectivity, allowing you to control lighting parameters via the Godox Flash App on your smartphone. Pair the device with your phone and use the app for remote adjustments.

Image: A smartphone screen displaying the Godox Flash App interface, showing controls for flash groups and power settings.
4.7 Sekonic Light Meter Integration
The XproII-C can integrate with Sekonic L-858 light meters that have a built-in Godox 2.4G module. This allows for direct adjustment of flash parameters on the light meter after metering, streamlining your lighting workflow.

Image: A GODOX XproII-C on a camera hot shoe next to a Sekonic L-858 light meter, illustrating their integration.
4.8 Optional Single Contact Triggering
This trigger offers an optional single contact function for faster and more sensitive triggering. This feature ensures flashes are triggered in rapid succession with shorter intervals, especially useful during burst mode shooting.
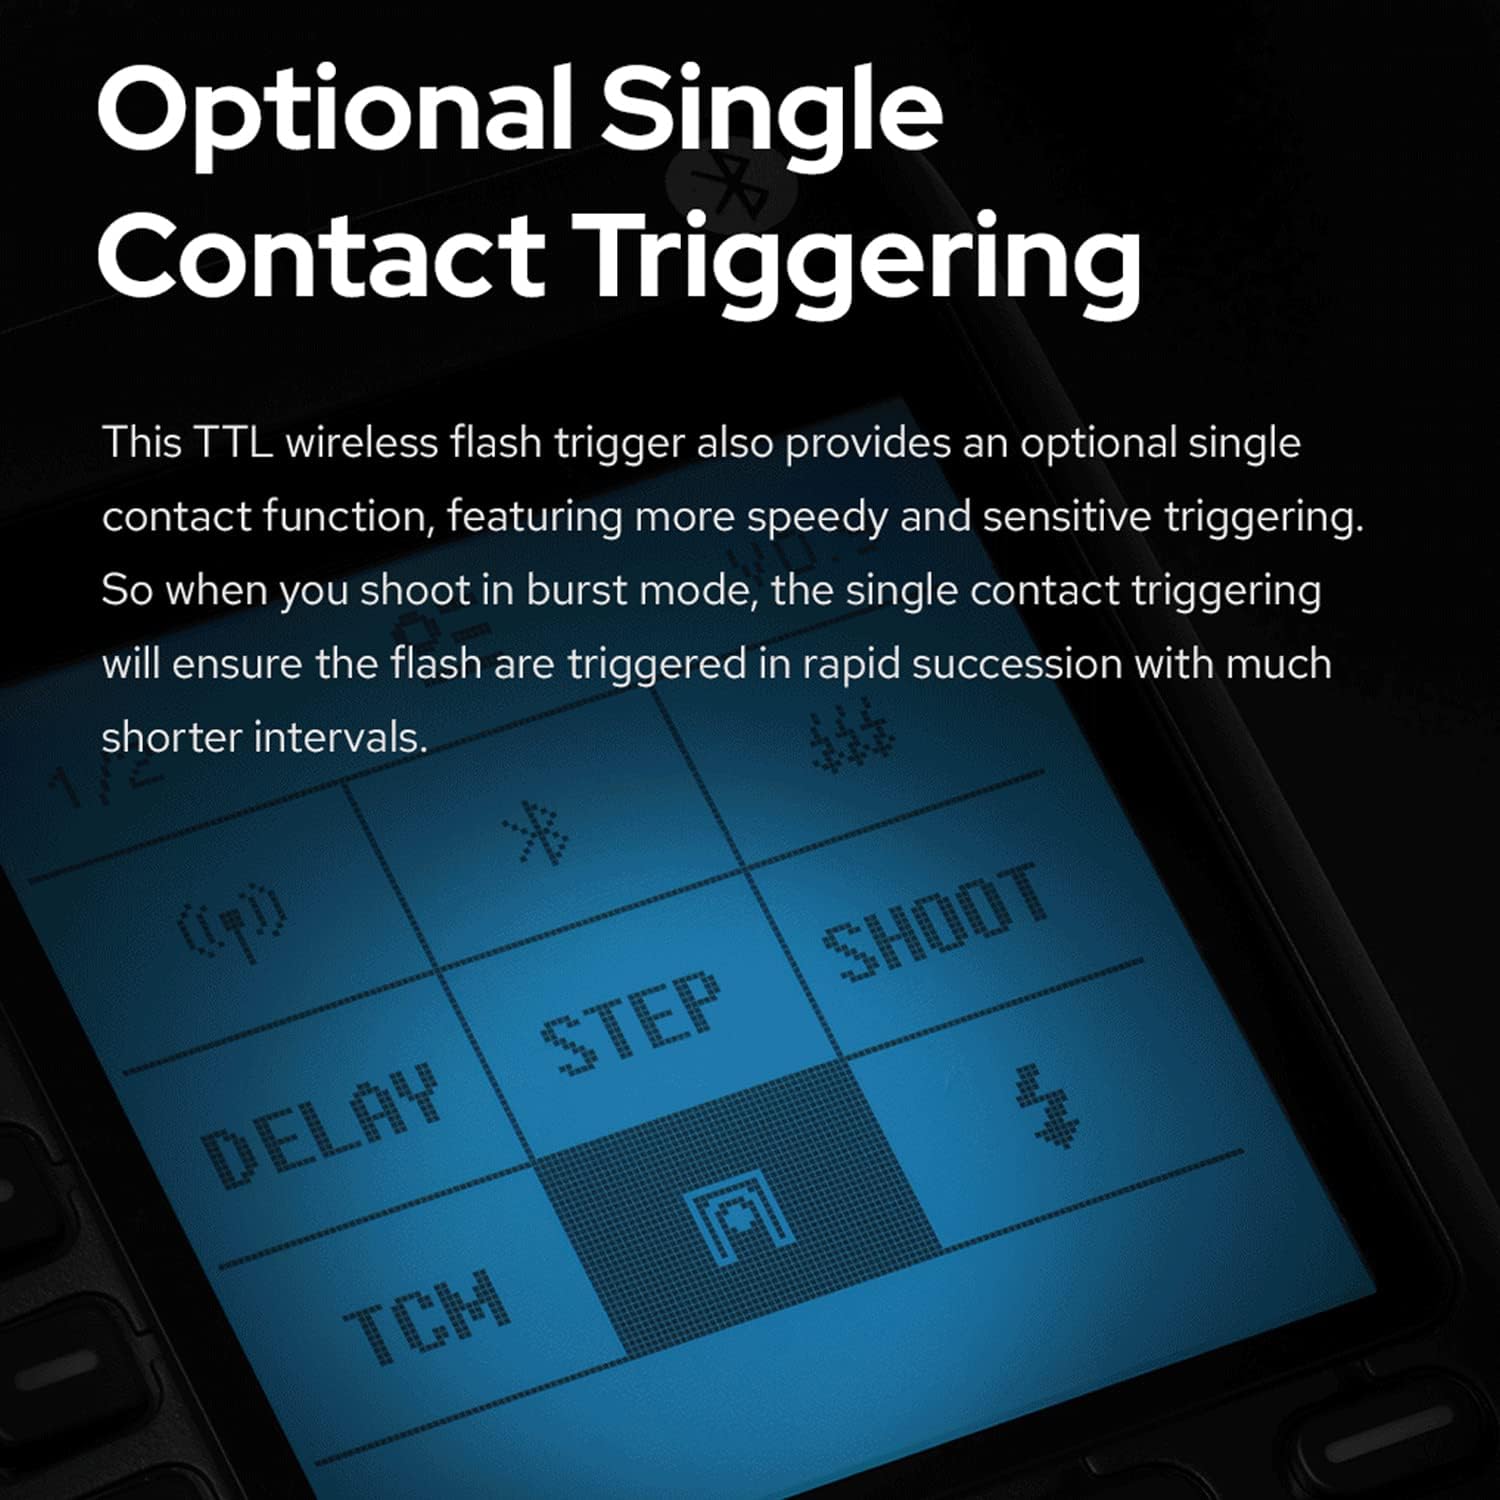
Image: The GODOX XproII-C screen showing options for 'DELAY', 'STEP', 'SHOOT', and 'TCM', highlighting the single contact triggering capability.
4.9 Wireless X System Connection
The XproII-C utilizes the Godox 2.4GHz wireless X system for stable and seamless connection with compatible Godox flash units. The scanning function helps automatically search for spare channels and IDs in complex shooting environments to minimize interference.

Image: The GODOX XproII-C on a camera hot shoe, wirelessly connected to a Godox round head flash unit, indicating a stable 2.4GHz wireless X system connection.
4.10 Расмий продукт Video
Video: An official product video demonstrating the features and operation of the Godox XproII TTL 2.4G Wireless Flash Trigger. This video provides a visual guide to the trigger's capabilities and usage.
5. Техникалык тейлөө
5.1 Тазалоо
Regularly clean the device with a soft, dry cloth. Do not use solvents or harsh chemicals. Ensure the hot shoe contacts are clean and free of debris.
5.2 Сактоо
Узак убакыт бою колдонулбаган учурда, агып кетпеши үчүн батареяларды алып салыңыз. Түзмөктү салкын, кургак жерде, күн нуру түз тийбеген жана өтө жогорку температурадан алыс сактаңыз.
5.3 Микропрограмма жаңыртуулары
The XproII-C features a Type-C USB port for firmware upgrades. Visit the official GODOX website for the latest firmware versions and instructions on how to update your device to ensure optimal performance and compatibility.
6. Кыйынчылыктарды
| Көйгөй | Мүмкүн себеп | Чечим |
|---|---|---|
| Flash not triggering | Incorrect channel/ID settings; Low battery; Flash unit not powered on or out of range. | Verify channel and ID settings match on both trigger and flash. Replace batteries. Ensure flash unit is powered on and within operational range. |
| Inconsistent triggering | Signal interference; Weak battery. | Change to a different channel or wireless ID. Replace batteries. Avoid obstacles between trigger and flash. |
| HSS not working | Camera or flash not supporting HSS; Incorrect settings. | Ensure both camera and flash unit support HSS. Check camera and trigger settings for HSS activation. |
| Bluetooth байланышы көйгөйлөрү | Bluetooth not enabled; App issues; Interference. | Ensure Bluetooth is enabled on both devices. Restart the app and trigger. Try pairing again. |
If you encounter issues not listed here or if the suggested solutions do not resolve the problem, please contact GODOX customer support for further assistance.
7. Техникалык шарттар
- Модел: Xpro-C
- Продукциянын өлчөмдөрү: 3.54 x 2.28 x 1.97 дюйм
- Элемент Салмагы: 2.88 унция
- Зымсыз система: Godox 2.4G зымсыз X системасы
- Каналдар: 32
- Зымсыз ID: 01-99
- Топтор: 16 (AF, 0-9)
- Синхрондоштуруу ылдамдыгы: 1/8000сек чейин (Жогорку ылдамдыктагы синхрондоштуруу)
- Flash режимдери: E-TTL II Autoflash, Manual Flash, Multi Flash
- Электр камсыздоо: 2 x AA батарейкалар
- Орнотулган программаны жаңыртуу: Type-C USB порту
- Биринчи жеткиликтүү болгон күнү: 18-сентябрь, 2017-жыл
- Өндүрүүчү: GODOX
8. Кепилдик жана колдоо
GODOX products are covered by a limited warranty. Please refer to the warranty card included with your product for specific terms and conditions. Keep your purchase receipt as proof of purchase.
Кардарларды колдоо:
For technical support, service, or warranty inquiries, please visit the official GODOX website or contact your local distributor. You can often find FAQs, driver downloads, and contact information on the manufacturer's webсайт.
Эскертүү: Продукциянын мүнөздөмөлөрү жана функциялары алдын ала эскертүүсүз өзгөртүлүшү мүмкүн.