
1. Киришүү
This manual provides comprehensive instructions for the setup, operation, and maintenance of your Youshiko Radio Controlled Wall Clock, Model YK YC8025-W. This clock is designed to display precise time automatically, adjusting for seasonal changes without manual intervention. It features a large LCD screen for clear readability and includes additional information such as date, month, day of the week, indoor temperature, and moon phase.
Негизги өзгөчөлүктөр төмөнкүлөрдү камтыйт:
- Radio-controlled time (MSF for UK/Ireland, automatic time checks).
- Automatic adjustment for seasonal time changes.
- Display of date, month, and day of the week.
- Indoor temperature display (Celsius or Fahrenheit).
- Moon phase indicator.
- 12/24-hour time format.
- Тындырма функциясы бар ойготкуч.
- Дубалга же столдун үстүнө орнотууга болот.
2. Пакеттин мазмуну
Сураныч, пакеттин мазмунун текшерип, бардык буюмдар бар экенин текшериңиз:
- Youshiko Radio Controlled Wall Clock (Model YK YC8025-W)
- Көрсөтмө (бул документ)
3. Продукт бүтүп калдыview
Familiarize yourself with the clock's display and control buttons.

3.1-сүрөт: Фронт view of the Youshiko Radio Controlled Wall Clock. The display shows the time (10:30 AM), indoor temperature (25.0°C), date (30/12), day (MON), and moon phase. A radio signal icon and alarm icon are also visible.

3.2-сүрөт: Арткы view of the clock, highlighting the battery compartment and control buttons: SET, ALARM, UP, DOWN, SNOOZE, and WAVE. A keyhole for wall mounting and a foldable stand are also visible.
3.3-сүрөт: Dimensions of the clock. The overall width is 230mm and height is 160mm. Key display element heights are also indicated: main time digits (53mm) and lower information line (18mm).
4. Орнотуу
4.1 Батареяны орнотуу
- Батарея бөлүмүн сааттын арткы бетинен табыңыз (3.2-сүрөттү караңыз).
- Батарея уясынын капкагын ачыңыз.
- Эки (2) AA батарейкасын салыңыз, полярдуулукту туура текшериңиз (+ жана -). Батареялар кошулган эмес.
- Батарея уясынын капкагын жабыңыз.
4.2 Initial Power-On and Radio Signal Reception
Upon battery installation, the clock will automatically attempt to receive the radio time signal. This process may take several minutes. Ensure the clock is placed in an area with good signal reception, away from electronic interference.

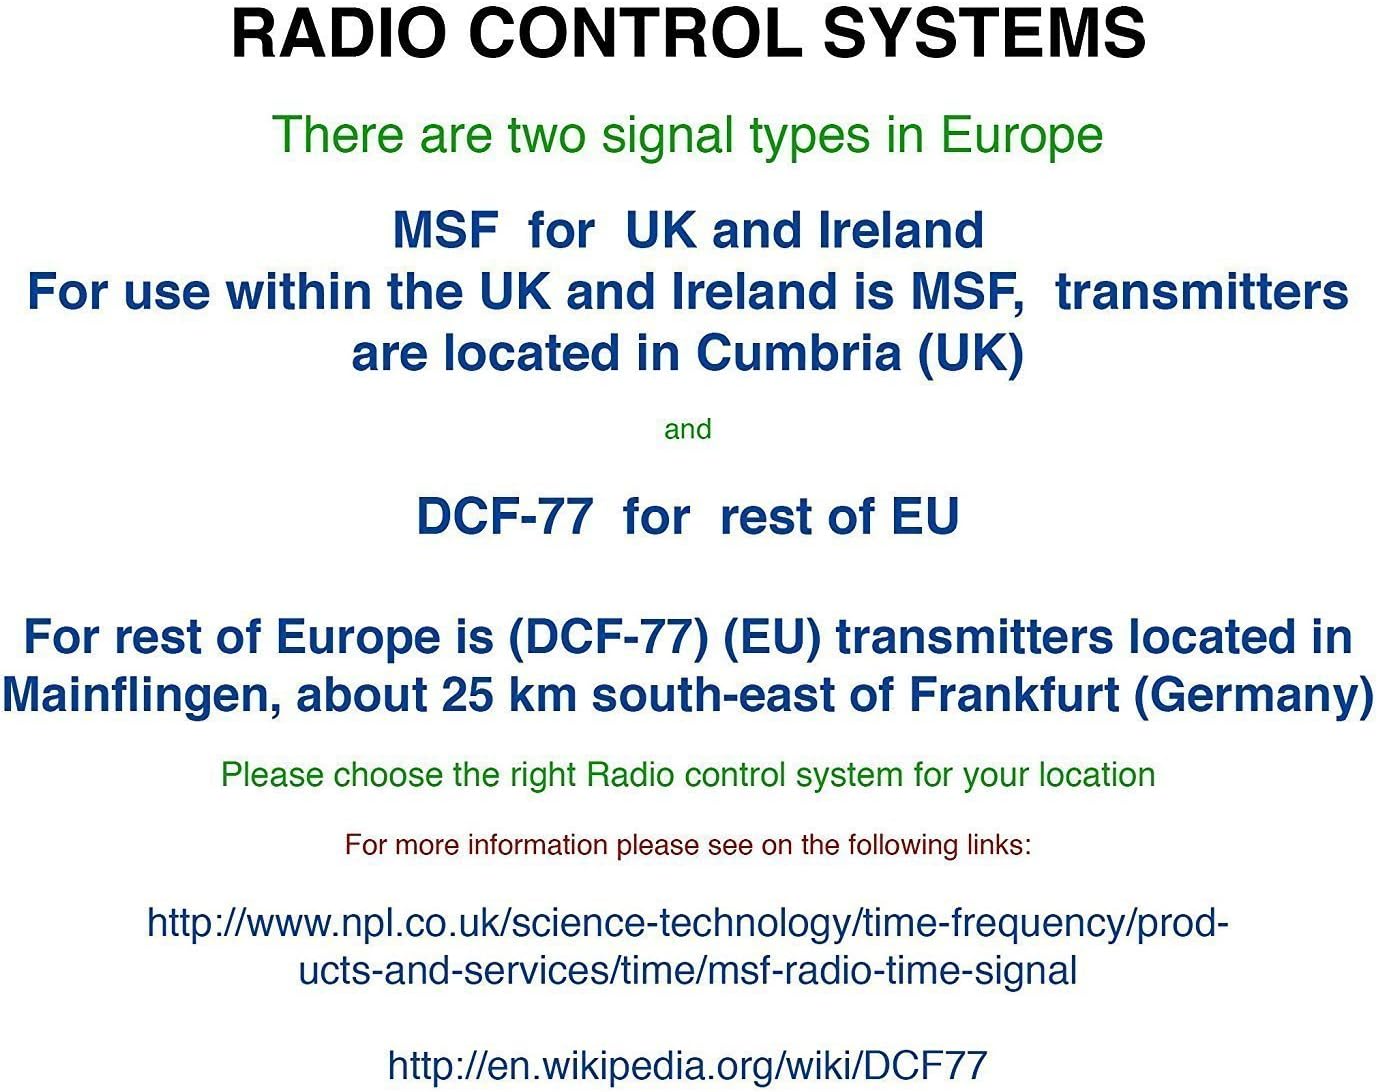
4.1-сүрөт: Explanation of Radio Control Systems. MSF signal is for the UK and Ireland, transmitted from Cumbria. DCF-77 signal is for the rest of the EU, transmitted from Mainflingen, Germany. Ensure the correct system is selected for your region.
The clock supports two main radio control signal types in Europe:
- MSF: For use within the UK and Ireland. Transmitters are located in Cumbria (UK).
- DCF-77: For the rest of the European Union. Transmitters are located in Mainflingen, Germany.
The clock is designed to automatically detect and synchronize with the appropriate signal for your region. A radio signal icon on the display will indicate successful reception.
4.3 Manual Time Setting (If Required)
If the radio signal is weak or unavailable, you can set the time manually:
- басып, кармап туруңуз SET убакыт дисплейи күйүп-өчө баштаганга чейин баскычын басыңыз.
- колдонуу UP жана ылдый саатты тууралоо үчүн баскычтар.
- Басыңыз SET саатты ырастоо жана мүнөттөргө жылдыруу үчүн кайрадан басыңыз.
- колдонуу UP жана ылдый мүнөттөрдү тууралоо үчүн баскычтар.
- Басууну улантыңыз SET to cycle through and adjust other settings like year, month, date, and 12/24-hour format.
- Басыңыз SET one last time or wait for a few seconds for the clock to exit manual setting mode.
5. Иштөө нускамалары
5.1 Көрсөтүү режимдери
The clock displays time, date, day, indoor temperature, and moon phase simultaneously. The time can be displayed in either 12-hour (with AM/PM indicator) or 24-hour format. The temperature can be displayed in Celsius (°C) or Fahrenheit (°F).
5.2 Adjusting Temperature Unit
To switch between Celsius and Fahrenheit, press the ылдый button briefly when in normal time display mode.
5.3 Ойготкуч функциясы
- басыңыз АЛАРМ үчүн бир жолу басыңыз view учурдагы ойготкуч убактысы.
- басып, кармап туруңуз АЛАРМ ойготкуч убактысы жарк этип баштаганга чейин баскычты басыңыз.
- колдонуу UP жана ылдый каалаган ойготкуч саатын коюу үчүн баскычтар.
- Басыңыз АЛАРМ саатты ырастоо жана мүнөттөргө жылдыруу үчүн кайрадан басыңыз.
- колдонуу UP жана ылдый каалаган ойготкуч мүнөттөрдү коюу үчүн баскычтар.
- Басыңыз АЛАРМ one last time to confirm and activate the alarm. An alarm icon will appear on the display.
5.4 Тындыруу функциясы
Ойготкуч басылганда, басыңыз СОЮЗ button to temporarily silence the alarm. The alarm will sound again after a few minutes (typically 5-10 minutes, specific duration may vary). To turn off the alarm completely, press any other button (e.g., АЛАРМ or SET).
5.5 Manual Radio Signal Search
If you wish to manually initiate a radio signal search, press the WAVE button. The clock will attempt to receive the time signal. This is useful if you have moved the clock or suspect a temporary signal loss.
6. Техникалык тейлөө
6.1 Тазалоо
To clean the clock, use a soft, dry cloth. Do not use abrasive cleaners, solvents, or chemical sprays, as these may damage the display or casing.
6.2 Батареяны алмаштыруу
When the display becomes dim or the clock stops functioning, it is time to replace the batteries. Follow the battery installation steps in Section 4.1. Always replace both batteries at the same time with new AA batteries.
6.3 Сактоо
If the clock will not be used for an extended period, remove the batteries to prevent leakage and potential damage to the device.
7. Кыйынчылыктарды
- No time display or incorrect display:
Батареялардын туура орнотулганын жана түгөнбөгөнүн текшериңиз. Зарыл болсо, батареяларды алмаштырыңыз. - Clock not setting automatically:
Verify that the clock is within range of the MSF (UK/Ireland) or DCF-77 (EU) radio signal. Place the clock near a window and away from potential sources of interference (e.g., TVs, computers, large metal objects). Initiate a manual signal search using the WAVE button. Allow sufficient time (up to 24 hours) for initial synchronization. - Radio signal icon not showing:
This indicates that the clock is not currently receiving the radio signal. Follow the steps for 'Clock not setting automatically'. - Температураны өлчөө туура эмес көрүнөт:
Ensure the clock is not placed in direct sunlight or near heat sources/vents, which can affect the internal temperature sensor.
8. Техникалык шарттар
| Бренд | Youshiko |
| Модель номери | YK YC8025-W |
| Өлчөмдөрү (L x W x Y) | 25 x 18 x 3 см (болжол менен 230 x 160 x 25 мм) |
| Салмагы | 430 грамм |
| Power Source | 2 x AA батарейкалар (киргизилген эмес) |
| Дисплей түрү | Санарип LCD |
| Өзгөчөлүктөр | Temperature Display, Alarm, Radio Controlled, Moon Phase |
9. Кепилдик жана колдоо
Youshiko products are manufactured to high-quality standards. For information regarding warranty coverage and customer support, please refer to the documentation provided with your purchase or visit the official Youshiko webсайт. Кепилдик дооматтары үчүн сатып алганыңыздын далилин сактап коюңуз.