
1. Киришүү
This instruction manual provides detailed guidance for assembling, setting up, operating, and maintaining your Gikfun Mini Advanced Electronic Transparent Speaker Box DIY Kit. This kit is designed for enthusiasts and learners interested in electronics and soldering, offering a hands-on experience to build a functional stereo speaker system with LED light effects.
2. Пакеттин мазмуну
Before beginning assembly, please verify that all components listed below are present in your kit. If any parts are missing or damaged, please contact Gikfun customer support.
- Transparent Acrylic Panels for Speaker Enclosure
- Басылган схема платалары (PCB)
- 3W Speakers (2 units)
- Electronic Components (resistors, capacitors, LEDs, ICs, etc.)
- USB кубат кабели
- 3.5 мм аудио киргизүү кабели
- Mounting Hardware (nuts, screws)
- Small Tools (screwdriver, if included)

Image: All components included in the Gikfun Mini Speaker Box DIY Kit.
3. Монтаждоо боюнча нускамалар
Follow these steps carefully to assemble your transparent speaker box. Soldering skills are required for this kit.
- Компоненттерди даярдоо: Unpack all components and organize them. Identify the resistors, capacitors, LEDs, and integrated circuits (ICs) for the main circuit board.
- Solder Circuit Board: Solder all electronic components onto the designated positions on the Printed Circuit Boards (PCBs). Pay close attention to component polarity (for LEDs, diodes, and electrolytic capacitors) and resistor values. Ensure all solder joints are clean and secure.
- Динамиктерди туташтыруу: Connect the speaker wires to the appropriate terminals on the circuit boards. Observe polarity (+ and -) as indicated on the PCB and speaker.
- Assemble Acrylic Casing: Carefully peel off any protective film from the transparent acrylic panels. Begin assembling the speaker enclosure using the provided screws and nuts. It is recommended to pre-thread the screws into the acrylic holes before final assembly to prevent stripping, as the screws are small.
- Mount Circuit Boards and Speakers: Secure the assembled circuit boards and speakers within the acrylic casing. Ensure all wires are neatly routed and do not interfere with the speaker cones or LED lights.
- Акыркы байланыштар: Connect the USB power cable and the 3.5mm audio input cable to their respective ports on the circuit board.

Image: Wiring diagram for component connection.
4. Орнотуу
Once assembled, follow these steps to set up your Gikfun Mini Speaker Box:
- Кубат туташуу: Connect the USB power cable to a 5V USB power source (e.g., computer USB port, USB wall adapter). The speakers require power to operate.
- Аудио киргизүү: Connect the 3.5mm audio input cable from your audio source (smartphone, tablet, computer, MP3 player) to the audio input jack on one of the speaker units.
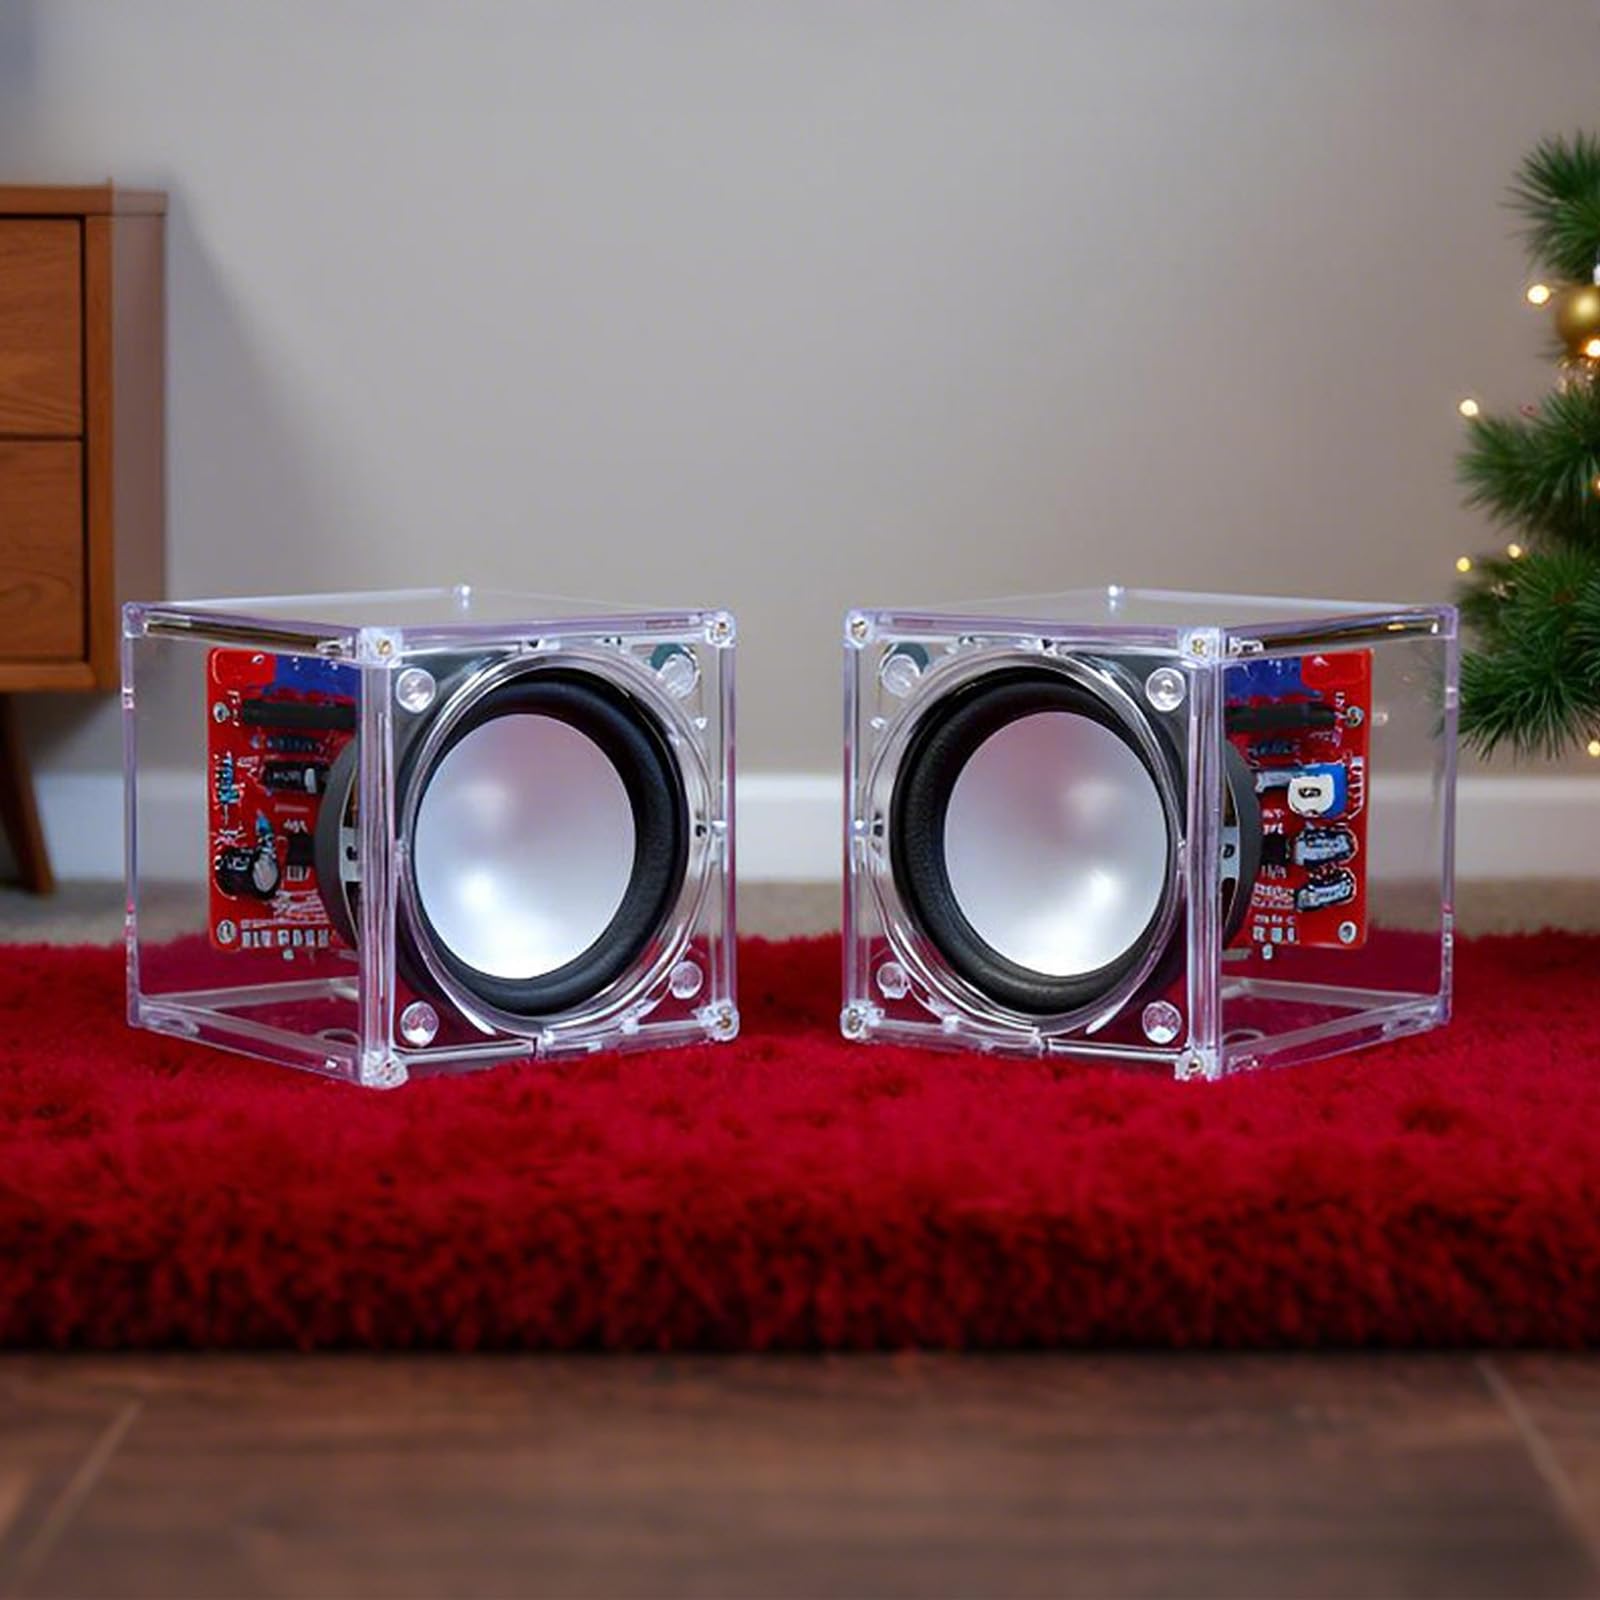
Image: Speaker kit connected to a smartphone via 3.5mm audio jack.

Image: Speaker kit connected to a laptop.
5. Иштөө нускамалары
Once connected, your Gikfun Mini Speaker Box is ready for use:
- Күйгүзүү: The speakers will power on automatically when connected to a USB power source.
- Аудио ойнотуу: Start playing audio from your connected device. The sound will be amplified and played through the speakers.
- LED жарык эффекттери: The integrated blue and red LEDs on the circuit board will flash in rhythm with the music, providing a visual effect.
- Үндү көзөмөлдөө: Adjust the volume directly from your audio source device. There is no independent volume control on the speaker units.
Video: Demonstration of the Gikfun Mini Speaker Kit in operation, showing the blue LED lights flashing in sync with music.

Image: Speakers with red and blue LEDs active during music playback.
6. Техникалык тейлөө
To ensure the longevity and optimal performance of your speaker kit, follow these maintenance guidelines:
- Тазалоо: Use a soft, dry cloth to gently wipe the acrylic surfaces. Avoid abrasive cleaners or solvents that may scratch or damage the plastic.
- Колдонуу: Динамиктерди этияттык менен кармаңыз. Аларды түшүрүп албаңыз же катуу соккуга дуушар кылбаңыз.
- Курчап турган чөйрө: Keep the speakers in a dry environment, away from direct sunlight, extreme temperatures, and excessive dust.
7. Кыйынчылыктарды
If you encounter any issues with your Gikfun Mini Speaker Box, refer to the following troubleshooting tips:
| Көйгөй | Мүмкүн себеп | Чечим |
|---|---|---|
| Үн чыгышы жок |
|
|
| LED жаркырабайт |
|
|
| Үн сапаты начар / Үн деңгээли төмөн |
|
|
| Difficulty with screw assembly |
|
|
8. Техникалык шарттар
- Модель номери: RM
- Бренд: Гикфун
- Динамиктин максималдуу чыгаруу күчү: 3 Ватт (ар бир динамик үчүн)
- Аудио чыгаруу режими: Стерео
- Байланыш: 3.5mm Audio Jack (Input), USB (Power)
- Монтаж түрү: Стол үстү
- Продукциянын өлчөмдөрү: 5.99 x 5.99 x 6.2 cm (approximate, per speaker)
- Продукт Салмагы: 280 g (approximate, total)
9. Коопсуздук маалыматы
Сураныч, төмөнкү коопсуздук чараларын сактаңыз:
- This product contains small parts and is not suitable for children under 3 years old. Adult supervision is recommended during assembly, especially for younger users.
- Soldering irons can reach high temperatures. Use with caution and ensure proper ventilation.
- Динамиктерди сууга же ашыкча нымдуулукка дуушар кылбаңыз.
- Do not attempt to modify the circuit beyond the intended design, as this may cause damage or injury.
- Ensure correct polarity when connecting components to avoid damage.
10. Кепилдик жана колдоо
For warranty information or technical support, please contact the seller or Gikfun customer service directly. Keep your purchase receipt as proof of purchase.