Andoer L4 PRO
Andoer L4 Pro Motorized Camera Slider User Manual
Model: L4 PRO
1. Киришүү
Сатып алганыңыз үчүн рахматasing the Andoer L4 Pro Motorized Camera Slider. This compact and versatile auto dolly is designed to provide smooth, stable, and dynamic video shots for various applications, including time-lapse, macro, and low-angle filming. Its wireless remote control and adjustable speed settings offer enhanced flexibility for creative videography. This manual provides detailed instructions for setup, operation, and maintenance to ensure optimal performance and longevity of your device.
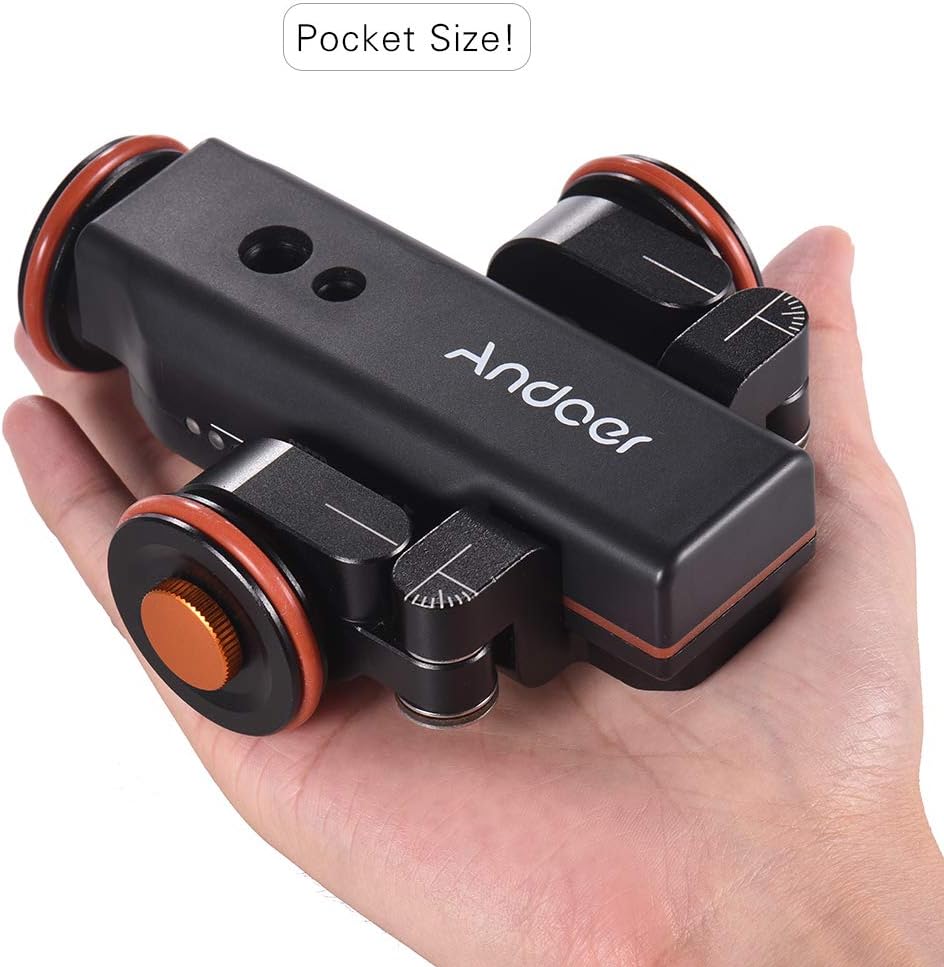
Figure 1.1: The Andoer L4 Pro Motorized Camera Slider, showcasing its compact and portable design, easily fitting into the palm of a hand.
2. Коопсуздук маалыматы
Please read all safety instructions carefully before using the Andoer L4 Pro. Failure to follow these guidelines may result in damage to the product or personal injury.
- Аппаратты сууга же ашыкча нымдуулукка дуушар кылбаңыз.
- Аппаратты түшүрүүдөн же катуу таасирлерден сактаныңыз.
- Түзмөктү бөлүктөргө бөлүүгө же өзгөртүүгө аракет кылбаңыз. Оңдоо иштерин ыйгарым укуктуу кызматкерлер гана жүргүзүшү керек.
- Белгиленген кубаттоо кабелин жана кубат адаптерин гана колдонуңуз.
- Ensure the device is placed on a flat, stable surface during operation to prevent tipping and damage to attached equipment.
- 5 кг (11 фунт) жүк көтөрүмдүүлүгүнөн ашпаңыз.
- Балдар жетпеген жерде сактаңыз.
3. Пакеттин мазмуну
Төмөндө тизмеленген нерселердин баары пакетиңизге камтылганын текшериңиз:
- Andoer L4 Pro Motorized Camera Slider (Auto Dolly)
- Зымсыз алыстан башкаруу
- Mini Ball Head Adapter (with 1/4" and 3/8" screws)
- USB заряддоо кабели
- Hex Key (for wheel adjustment)
- Запастык шакек
- User Manual

Figure 3.1: All components included in the Andoer L4 Pro package, laid out for inspection.
4. Продукт бүтүп калдыview
Familiarize yourself with the main components of the Andoer L4 Pro Motorized Camera Slider.

Figure 4.1: Main components of the Andoer L4 Pro system, showing the motorized dolly, wireless remote, and mini ball head adapter.

4.2-сүрөт: Ар түрдүү views of the Andoer L4 Pro, highlighting its design and adjustable wheel angles for different movement paths.
4.1 Dolly Components
- Негизги органы: Houses the motor, battery, and control electronics.
- Дөңгөлөктөр: Three wheels, two of which are adjustable for curved paths.
- Монтаждык бурамалар: 1/4" and 3/8" screw holes on top for attaching cameras, ball heads, or smartphone holders.
- USB порт: Ички батареяны заряддоо үчүн.
- Кубат которгучу: ON / OFF которгучу.
- Ылдамдык көрсөткүчү: LED lights indicating the current speed setting.

4.3-сүрөт: Детальдуу view of the dolly's top mounting points (1/4" and 3/8") and side controls (USB port, ON/OFF switch).
4.2 Алыстан башкаруунун компоненттери
- Баштоо/тындыруу баскычы: Initiates or pauses movement.
- Ылдамдыкты жөндөө баскычтары (+/-): Increases or decreases the dolly's speed.
- Direction Change Button: Reverses the dolly's direction.
- Power/Remote Control Indicator Light: Shows remote status and power.

Figure 4.4: ашыкview of the wireless remote control and its functions, including the effective control distance of 6 meters (19.7 feet).
5. Орнотуу
5.1 Charging the Dolly
Before first use, fully charge the dolly's internal battery.
- Locate the USB charging port on the side of the dolly.
- Connect the provided USB charging cable to the dolly and a standard USB power adapter (not included) or a computer USB port.
- The charging indicator light will illuminate during charging and turn off when fully charged. A full charge takes approximately 2-3 hours and provides up to 6 hours of operation.

Figure 5.1: Information on the dolly's built-in 1800mAh rechargeable battery, indicating up to 6 hours of battery life and USB charging capability.
5.2 Attaching Your Camera or Smartphone
The dolly is compatible with various cameras, camcorders, and smartphones.
- Screw the mini ball head adapter onto the 1/4" or 3/8" mounting screw hole on top of the dolly. Ensure it is securely tightened.
- Attach your camera or smartphone holder (not included) to the ball head adapter.
- Adjust the angle of your camera/smartphone using the ball head. Ensure the setup is balanced and does not exceed the maximum load capacity of 5 kg (11 lbs).
5.3 Adjusting Wheel Angles for Movement Paths
The front two wheels can be adjusted to create straight or curved paths.
- For Straight Line Movement: Ensure all three wheels are aligned straight. Use the hex key to loosen the wheel locking screws, adjust the wheels to be parallel with the main body, and then tighten the screws.
- For Circular Movement: Loosen the locking screws on the front two wheels. Angle them inwards or outwards to achieve the desired curve radius. Ensure both front wheels are set to the same angle for a smooth circle. Tighten the screws firmly.
6. Иштөө нускамалары
6.1 Күйгүзүү/өчүрүү
- To power on the dolly, slide the ON/OFF switch to the "ON" position.
- To power off, slide the switch to the "OFF" position.
6.2 Зымсыз алыстан башкаруу пультун колдонуу
The remote control allows for convenient operation from a distance of up to 6 meters (19.7 feet).
- Баштоо / Тындыруу: басыңыз Ойнотуу/Тыныгуу button (▶‖) to start or pause the dolly's movement.
- Ылдамдыкты жөндөө: басыңыз +/- buttons to cycle through the three available speeds: 2.4 cm/s, 2.6 cm/s, and 2.8 cm/s. The LED indicators on the dolly will show the current speed.
- Багытын өзгөртүү: басыңыз Багыт button (curved arrow) to reverse the dolly's direction of travel.
6.3 Movement Modes
- Straight Line Movement: With wheels adjusted for straight travel, the dolly will move in a linear path. This is ideal for tracking shots.
- Айланма кыймыл: By angling the front wheels, the dolly can perform smooth circular or arc movements. This is useful for orbiting subjects or creating dynamic panoramic shots.

Figure 6.1: Illustration of the dolly's capabilities for both circular and straight-line movements, achieved by adjusting the wheel angles.

Figure 6.2: The Andoer L4 Pro in action, demonstrating its use with both a camera and a smartphone for dynamic video capture.
7. Техникалык тейлөө
Proper maintenance ensures the longevity and optimal performance of your Andoer L4 Pro.
- Тазалоо: Аппаратты жумшак, кургак чүпүрөк менен сүртүңүз. Абразивдүү тазалагычтарды же эриткичтерди колдонбоңуз.
- Сактагыч: Store the dolly in a cool, dry place away from direct sunlight and extreme temperatures.
- Батареяга кам көрүү: Эгер батарейканы узак убакытка сактасаңыз, анын иштөө мөөнөтүн сактоо үчүн ар бир үч ай сайын болжол менен 50% га чейин кубаттап туруңуз.
- Дөңгөлөктү текшерүү: Periodically check the wheels for debris or wear. Clean them as needed to ensure smooth operation.
8. Кыйынчылыктарды
If you encounter issues with your Andoer L4 Pro, refer to the following common problems and solutions:
| Көйгөй | Мүмкүн себеп | Чечим |
|---|---|---|
| Dolly does not move. |
|
|
| Movement is not smooth or stops intermittently. |
|
|
| Dolly does not follow a straight or perfect circular path. |
|
|
| Алыстан башкаруу жооп бербей жатат. |
|
|
9. Техникалык шарттар
| Бренд | Андоер |
| Модел | L4 PRO |
| Шайкеш түзмөктөр | Camera, Mobile Phone |
| Продукциянын өлчөмдөрү (L x W x Y) | 12.2 x 10.6 x 3.8 см (4.8 x 4.2 x 1.5 дюйм) |
| Элемент Салмагы | 495 грамм (1.09 фунт) |
| Max. Жүктөө кубаттуулугу | 5 кг (11 фунт) |
| Батарея түрү | Камтылган 1800mAh кайра заряддалуучу батарея |
| Макс. Батареянын иштөө мөөнөтү | 6 саатка чейин |
| Заряддоо ыкмасы | USB кайра заряддоого болот |
| Зымсыз башкаруу аралык | 6 метрге чейин (19.7 фут) |
| Жөнгө салынуучу ылдамдыктар | 3 speeds (2.4 cm/s, 2.6 cm/s, 2.8 cm/s) |
| Материал | Алюминий эритмеси |
| UPC | 799410730064 |
10. Кепилдик жана колдоо
Andoer products are designed and manufactured to the highest quality standards. For warranty information and technical support, please refer to the warranty card included in your package or visit the official Andoer webсайт. Сураныч, кепилдик дооматтар үчүн сатып алуу далилиңизди сактап коюңуз.
For further assistance, please contact Andoer customer support through their official channels.
Ask a question about this manual
Ask about setup, troubleshooting, compatibility, parts, safety, or missing instructions. Manuals+ will review the question and use this page’s manual context to help answer it.