JACK JK 609
Jack JK 609 кулпу тигиш тигүүчү машинасынын колдонуучу колдонмосу
Model: JK 609
Introduction
This manual provides comprehensive instructions for the safe and efficient operation, maintenance, and troubleshooting of your Jack JK 609 Lockstitch Sewing Machine. Please read this manual thoroughly before operating the machine to ensure proper usage and to maximize its lifespan.
Коопсуздук нускамалары
- Always disconnect the machine from the power supply before cleaning, servicing, or when not in use.
- Keep fingers away from all moving parts, especially the needle and handwheel, during operation.
- Бузулган шнурлар же сайгычтар менен машинаны иштетпеңиз.
- Ensure proper lighting in your work area.
- Use only genuine replacement parts and accessories recommended by the manufacturer.
- Иш учурунда балдарды жана үй жаныбарларын машинадан алыс кармаңыз.
Продукт бүттүview
The Jack JK 609 is a high-performance lockstitch sewing machine designed for various sewing applications. Familiarize yourself with its main components:
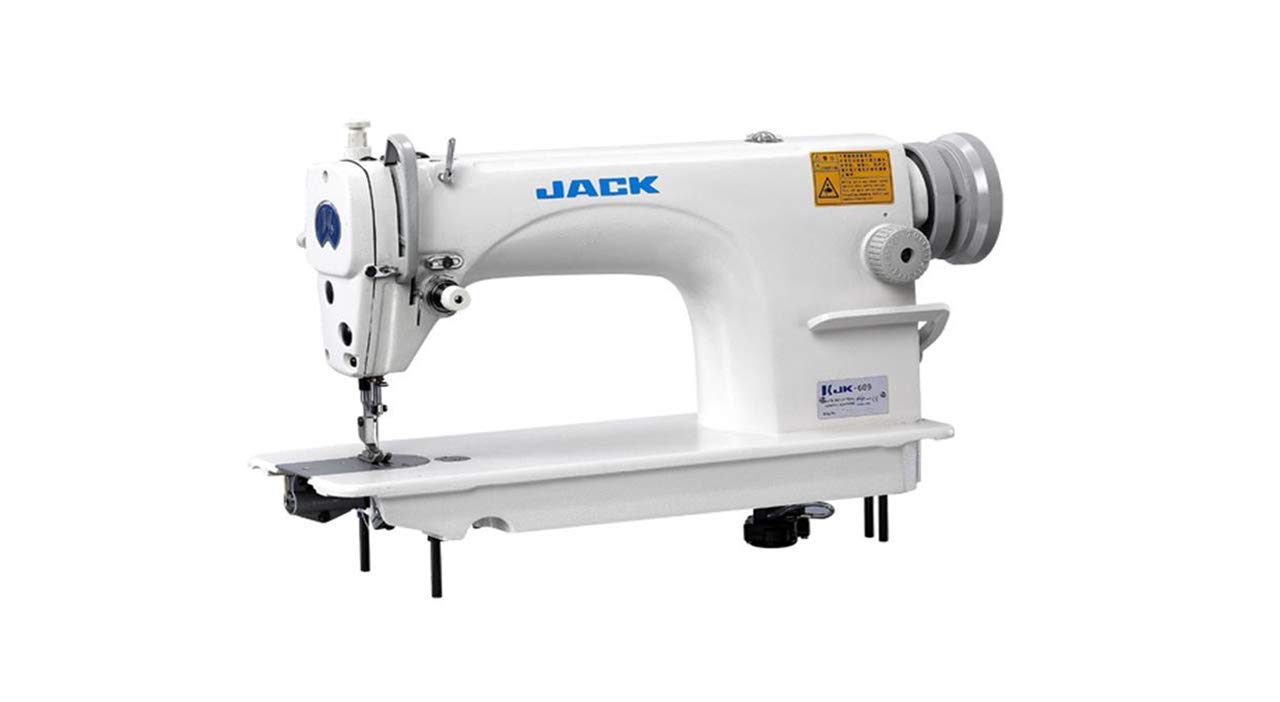
Figure 1: ашыкview of the Jack JK 609 Lockstitch Sewing Machine. This image displays the complete sewing machine unit, highlighting its robust construction and key operational areas such as the needle bar, presser foot, and handwheel.
- Кол дөңгөлөгү: Used to manually raise and lower the needle.
- Жип стенд: Holds the spools of thread.
- Чыңалуу терүү: Үстүнкү жиптин тартылуусун жөнгө салат.
- Ийне тилкеси: Ийнени кармайт.
- Басуучу бут: Holds the fabric firmly in place while sewing.
- Тигүү узундугунун циферблаты: Тигиштердин узундугун көзөмөлдөйт.
- Тескери рычаг: Used for back-tacking stitches.
- Бобин виндер: Winds thread onto the bobbin.
Жайгашуу
1. Пакеттен чыгаруу жана жайгаштыруу
- Машинаны таңгагынан этияттык менен чыгарыңыз. Бардык таңгактоочу материалдарды келечекте ташуу же сактоо үчүн сактап коюңуз.
- Place the machine on a stable, level surface that can support its weight and vibrations during operation. Ensure adequate space around the machine for fabric handling.
- Кубат шнурун машинага, андан кийин тиешелүү электр розеткасына туташтырыңыз.
2. Машинага жип салуу
Ийне жиптерин туура сайуу тигиштин сапатынын туруктуу болушу үчүн абдан маанилүү.
- Place a spool of thread on the thread stand.
- Guide the thread through the upper thread guides, following the numbered path indicated on the machine.
- Pass the thread through the tension discs and then through the take-up lever.
- Ийнени алдыдан артка сайлаңыз.
- Wind the bobbin and insert it into the bobbin case according to the machine's specific instructions for bobbin insertion.
- Pull the bobbin thread up through the needle plate opening.
Иштөө нускамалары
1. Basic Sewing
- Turn on the machine's power switch.
- Кездемени басуучу буттун астына кой.
- Басуучу бутту көтөргүчтү колдонуп, басуучу бутту ылдый түшүрүңүз.
- Тигүүнү баштоо үчүн бут педалын акырын басыңыз. Кездемени жылмакай багыттаңыз.
- To secure the stitch, use the reverse lever at the beginning and end of your seam.
- When finished, raise the needle to its highest position, lift the presser foot, and pull the fabric away. Cut the threads.
2. Adjusting Stitch Length and Tension
- Тигүү узундугу: Rotate the stitch length dial to increase or decrease the stitch length. Higher numbers indicate longer stitches.
- Жиптин чыңалуусу: Adjust the upper thread tension dial. A balanced stitch will have both threads meeting evenly between the fabric layers. If the bobbin thread appears on top, increase upper tension. If the upper thread appears on the bottom, decrease upper tension.
Техникалык тейлөө
Үзгүлтүксүз техникалык тейлөө тигүүчү машинаңыздын оптималдуу иштешин камсыздайт жана иштөө мөөнөтүн узартат.
- Тазалоо: Regularly clean lint and dust from the bobbin area, feed dogs, and tension discs using a small brush or vacuum cleaner. Always disconnect power before cleaning.
- Майлоо: Refer to the machine's lubrication points diagram and apply a few drops of high-quality sewing machine oil to designated areas periodically, typically after every 8-10 hours of use.
- Ийне алмаштыруу: Replace the needle frequently, especially when sewing different fabric types or if the needle becomes dull or bent. A dull needle can cause skipped stitches or fabric damage.
- Сактагыч: Колдонулбай турганда, машинаны чаңдан коргоо үчүн үстүн жаап коюңуз. Кургак, нымдуу чөйрөдө сактаңыз.
Проблемаларды чечүү
Бул бөлүм сиз кабылышы мүмкүн болгон жалпы көйгөйлөрдү карайт.
| Көйгөй | Мүмкүн себеп | Чечим |
|---|---|---|
| Өткөрүлгөн тигүү | Туура эмес ийне, ийне ийилген, жип туура эмес өткөрүлгөн, туура эмес тартылуу. | Ийнени туура түрү/өлчөмү менен алмаштырыңыз, жипти машинадан кайра өткөрүңүз, тартылуусун жөндөңүз. |
| Thread Breaking | Too much tension, poor quality thread, burrs on needle plate, incorrect needle. | Reduce tension, use quality thread, check for burrs, replace needle. |
| Кездеме азыктандырбайт | Presser foot not lowered, feed dogs clogged with lint, stitch length set to zero. | Басуучу бутту ылдый түшүрүңүз, иттерди тазалап, тигиштин узундугун тууралаңыз. |
| Машинанын бүтүшү | Thread tangled in bobbin case, needle hitting bobbin case. | Remove bobbin case and clear tangled thread, check needle insertion. |
Техникалык шарттар
- Модел: Jack JK 609
- Тигүү түрү: Lockstitch
- Ийне системасы: Standard industrial needle system (e.g., DBx1)
- Макс. Тигүү узундугу: Typically up to 5mm
- Макс. Тигүү ылдамдыгы: Up to 5000 stitches per minute (SPM)
- Майлоо: Automatic (with oil pan)
- Күч: Varies by region (e.g., 220V, 50/60Hz)
Note: Specific technical specifications may vary slightly based on manufacturing revisions. Refer to your product's packaging or direct manufacturer documentation for precise details.
Кепилдик жана колдоо
For warranty information, technical support, or service inquiries, please contact your authorized Jack dealer or the manufacturer's customer service department. Keep your purchase receipt and product serial number handy for faster assistance.
For general inquiries, you may visit the official JACK website or contact their support channels. Specific warranty terms and conditions apply and are typically provided at the time of purchase.
Ask a question about this manual
Ask about setup, troubleshooting, compatibility, parts, safety, or missing instructions. Manuals+ will review the question and use this page’s manual context to help answer it.