ALONEFIRE H38
Alonefire H38 Tactical LED Flashlight User Manual
Модели: H38
1. Киришүү
Thank you for choosing the Alonefire H38 Tactical LED Flashlight. This high-performance flashlight is designed for reliability and versatility, featuring a powerful LED, multiple lighting modes, USB recharging, and a power output function. Please read this manual carefully to ensure proper use and maintenance of your device.
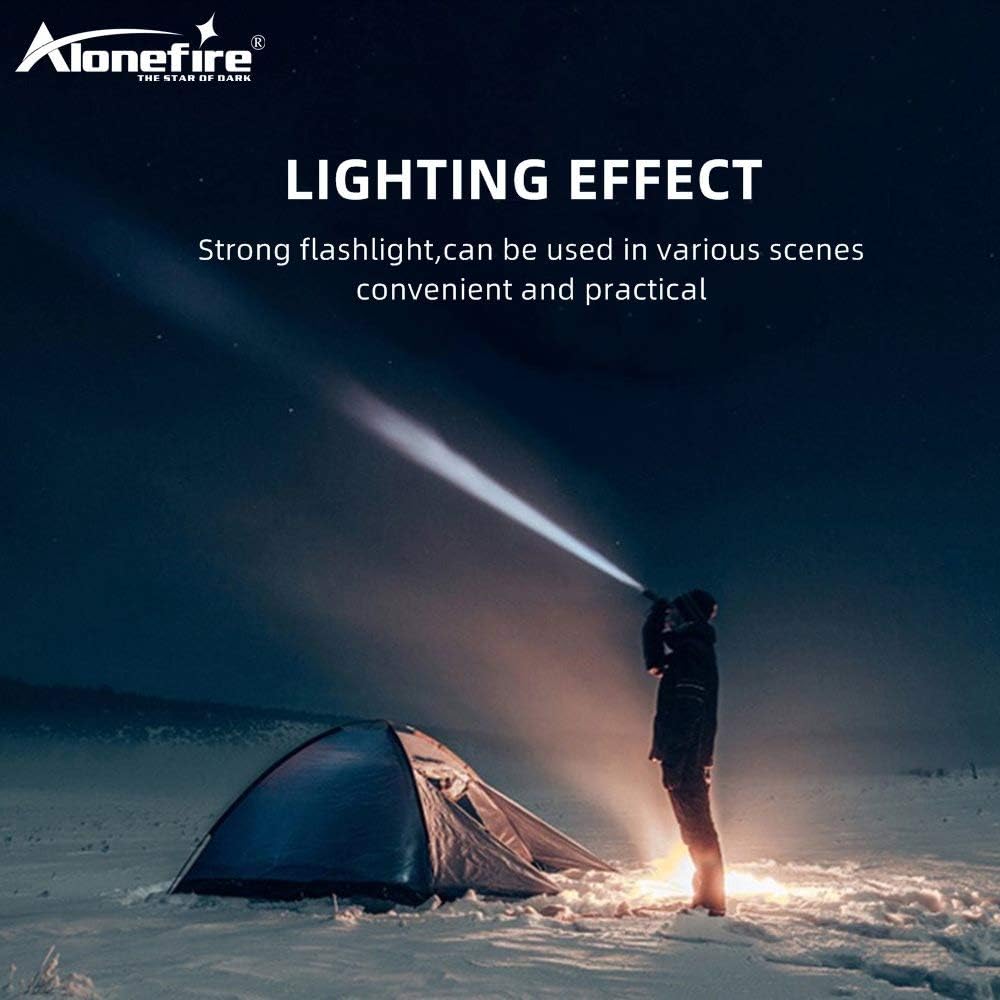
Figure 1: Alonefire H38 providing strong illumination in a dark environment.
2. Коопсуздук маалыматы
- Көздүн коопсуздугу: Do not look directly into the LED light or shine it directly into the eyes of people or animals. The high intensity light can cause temporary vision impairment or permanent eye damage.
- Жылуулук: The flashlight may become warm during prolonged use, especially on high brightness modes. Handle with care.
- Батарея менен иштөө: Use only recommended Lithium-ion batteries. Do not mix old and new batteries, or different types of batteries. Do not attempt to disassemble, puncture, or short-circuit the battery.
- Суу каршылык: The flashlight has an IP5 water resistance rating, meaning it is protected against low-pressure water jets from any direction. It is suitable for use in rainy conditions but should not be submerged in water.
- Балдар: Балдар жетпеген жерде сактаңыз.
3. Пакеттин мазмуну
Сураныч, пакетте төмөнкү нерселерди текшериңиз:
- Alonefire H38 Tactical LED Flashlight
- USB заряддоо кабели
- Билек боо
- Battery Tube (for AAA batteries, if applicable)
- Lithium-ion Battery (if included, otherwise sold separately)

Figure 2: Included components of the Alonefire H38 package.
4. Продукт бүтүп калдыview
Familiarize yourself with the different parts of your Alonefire H38 flashlight:

Figure 3: Labeled components of the Alonefire H38 Flashlight.
- LED Lamp: Негизги жарык булагы.
- Zoomable Zone: Adjustable head for wide floodlight or focused spotlight.
- Кубат которгучу: Button to turn the flashlight on/off and cycle through modes.
- Заряддоо көрсөткүчү: LEDs that show charging status and battery level.
- Copper Contactor: Ensures stable electrical connection with the battery.
- Anti-skip Handle: Textured surface for a secure grip.
- Li-Ion Батарея: Кайра заряддалуучу кубат булагы.
5. Орнотуу
5.1. Батареяны орнотуу
- Кол чырактын куйрук капкагын бурап алыңыз.
- Insert the Lithium-ion battery with the positive (+) end facing towards the head of the flashlight.
- If using AAA batteries (not included), place them into the provided battery tube and insert the tube into the flashlight.
- Куйрук капкагын кайра бекем буруңуз.
5.2. Баштапкы заряддоо
Биринчи колдонуудан мурун кол чыракты толугу менен заряддаңыз.
- Locate the micro USB charging port, usually hidden under a rubber cover on the side of the flashlight.
- Connect the small end of the USB charging cable to the flashlight's micro USB port.
- Connect the larger end of the USB cable to a USB power source (e.g., wall adapter, computer USB port, power bank).
- The charging indicator lights will illuminate to show the charging progress. Once fully charged, all indicator lights will typically be solid blue.

Figure 4: Charging the Alonefire H38 via micro USB port.
6. Иштөө нускамалары
6.1. Күйгүзүү/өчүрүү жана режимди тандоо

Figure 5: The five lighting modes of the Alonefire H38.
- Күйгүзүү: Press the power switch button once. The flashlight will turn on in the last used mode.
- Режимдерди өзгөртүү үчүн: With the flashlight on, press the power switch button repeatedly to cycle through the 5 modes: High > Medium > Low > Strobe > SOS.
- Өчүрүү: Press and hold the power switch button for approximately 2 seconds.
6.2. Чоңойтуу функциясы
The Alonefire H38 features an adjustable zoom function:
- Чоңойтуу үчүн (Көңүл буруш): Extend the head of the flashlight forward. This narrows the beam for a more focused, long-distance light.
- Кичирейтүү үчүн (Floodlight): Retract the head of the flashlight backward. This widens the beam for broader area illumination.
6.3. Power Output (Power Bank Function)
The flashlight can also serve as a temporary power bank to charge other devices.
- Locate the USB output port, usually next to the micro USB input port.
- Connect your device (e.g., smartphone) to the USB output port using its charging cable.
- Фонарь түзмөгүңүздү кубаттай баштайт.

Figure 6: Using the Alonefire H38 as a power bank to charge a smartphone.

Figure 7: The Alonefire H38 flashlight with an attached wrist strap for secure handling.
7. Техникалык тейлөө
- Тазалоо: Кол чырактын корпусун жумшак менен сүртүңүз, гamp кездеме. Абразивдүү тазалагычтарды же эриткичтерди колдонбоңуз.
- Майлоо: Суу өткөрбөй тургандыгын жана жылмакай иштешин сактоо үчүн О-шакектерге жана жиптерге мезгил-мезгили менен силикон майын сүйкөп туруңуз.
- Батареяга кам көрүү: If the flashlight will not be used for an extended period, remove the battery to prevent leakage and damage. Store batteries in a cool, dry place.
- Сактагыч: Store the flashlight in a cool, dry environment away from direct sunlight and extreme temperatures.
8. Кыйынчылыктарды
| Көйгөй | Мүмкүн себеп | Чечим |
|---|---|---|
| Кол чырак күйбөйт. | Батарея өлүп калган же туура эмес салынган. | Recharge the battery or check its orientation. Ensure the tail cap is fully tightened. |
| Жарык күңүрт же бүлбүлдөп турат. | Батарея заряды аз. | Батареяны толук заряддаңыз. |
| Кол чырак заряддалбайт. | Faulty USB cable or power source. Charging port cover not fully open. | Try a different USB cable or power source. Ensure the charging port is clean and accessible. |
| Масштабдоо функциясы катуу. | Dirt or lack of lubrication. | Clean the zoom mechanism and apply a small amount of silicone grease. |
9. Техникалык шарттар
| Өзгөчөлүк | Деталь |
|---|---|
| Бренд | ALONE FIRE |
| Модел | H38 |
| Жарык булагы | LED |
| Lumen Output | 5000 лм чейин |
| Жарык режимдери | High, Medium, Low, Strobe, SOS (5 modes) |
| Материал | Алюминий эритмеси |
| Өлчөмдөрү (L x W x Y) | 4.69 x 0.91 x 0.91 cm (approx. 162mm - 178mm length) |
| Салмагы | 53.8 г |
| Батарея түрү | 1 Lithium-ion (requires) |
| Тtage | 5 вольт |
| Суу өткөрбөйт рейтинги | IP5 |
| Өзгөчөлүктөр | USB Rechargeable, Power Output (Power Bank), Zoomable |
10. Кепилдик жана колдоо
10.1. Кепилдик маалыматы
For specific warranty details, please refer to the documentation provided at the time of purchase or contact your retailer. The manufacturer typically offers a warranty against defects in materials and workmanship for a specified period.
10.2. Кардарларды колдоо кызматы
If you encounter any issues or have questions not covered in this manual, please contact Alonefire customer service or your point of purchase for assistance. Keep your purchase receipt as proof of purchase.