
1. Киришүү
This manual provides comprehensive instructions for the installation, setup, and operation of your EZoneTronics 10-inch Android Car Radio Replacement. Designed specifically for 2003-2007 Honda Accord models, this unit integrates advanced features such as wireless CarPlay, Android Auto, Bluetooth 4.1, GPS navigation, and support for both single and dual zone AC systems. Please read this manual thoroughly before installation and use to ensure proper functionality and safety.
2. Кутуда эмне бар
Төмөндө саналып өткөн бардык компоненттер пакетиңизге камтылганын текшериңиз:
- 1 x 10-inch Carplay Screen Radio with Install Kit
- 1 х Кубат кабели
- 1 x RCA кабели
- 1 x GPS антеннасы
- 2 х USB кабелдери
- 1 х Камера
- 1 x Микрофон

2.1-сүрөт: Продукциянын үстүнөнview and included components.
3. Продукциянын өзгөчөлүктөрү
- 10-inch 1280*720 Touch Screen: High-definition Android car radio with capacitive touch.
- Built-in Wireless Apple CarPlay & Wired Android Auto: Connect your smartphone for navigation, music, calls, and apps.
- Bluetooth 4.1: Үнсүз чалуулар жана аудио агым.
- FM/RDS радиосу: Access real-time traffic, news, and weather.
- GPS навигациясы: Compatible with Waze/Navfree/Yandex Map (download from Play Store).
- Руль дөңгөлөктөрүн башкаруу колдоо: Retains factory SWC features (requires digital-to-resistive converter for CANBUS signals).
- 2G RAM 32G ROM: камсыз кылат ample memory for smooth operation and app storage.
4. Орнотуу боюнча колдонмо
4.1. Disassembly of Original Radio
Carefully remove the trim panels and screws securing the original radio unit. Ensure the vehicle's power is off before beginning disassembly.
Video 4.1: Detailed steps for car radio stereo installation, including disassembly.
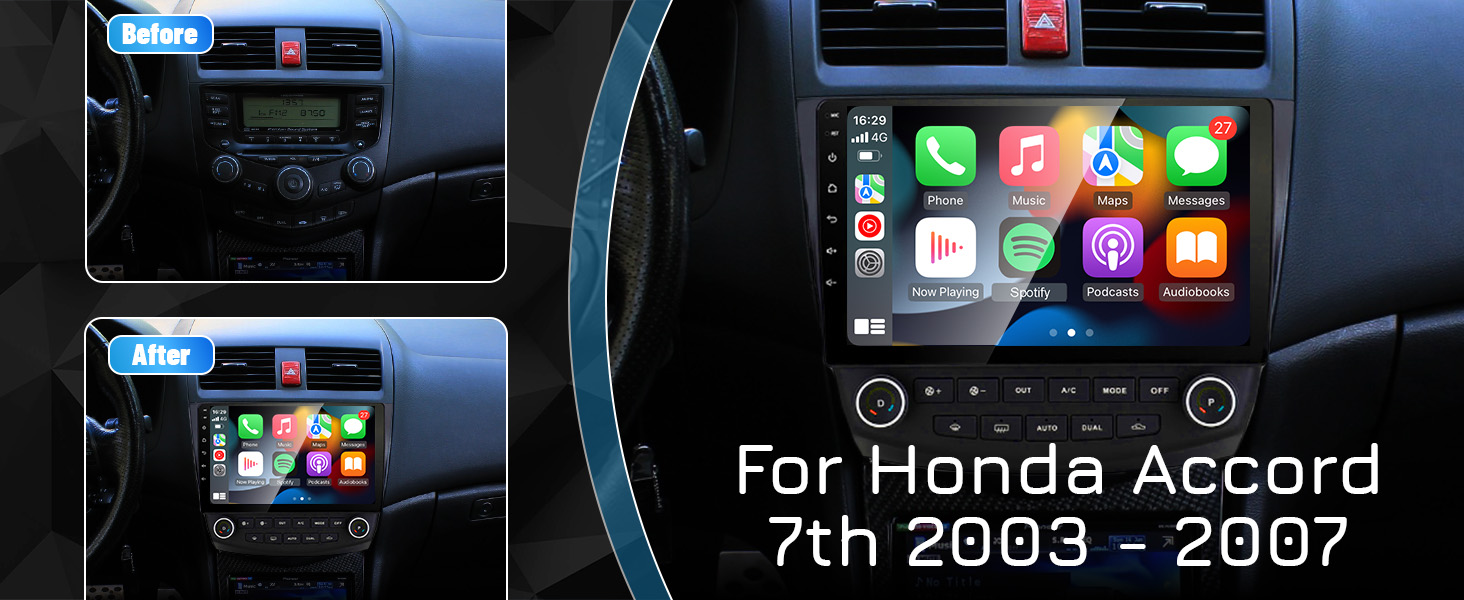
Figure 4.1: Visual comparison of the dashboard before and after the new radio installation.
4.2. Зымдарды туташтыруу
Connect the provided power cord, RCA cable, and other harnesses to the corresponding ports on the new unit and the vehicle's wiring. Pay close attention to the AC cord connection based on whether your vehicle has single or dual zone AC.
Figure 4.2: Rear connections and AC wiring for the EZoneTronics unit.
Video 4.2: Detailed wiring and installation process for the Ezonetronics Honda Accord Android car stereo.
4.3. GPS Antenna Installation
Connect the GPS antenna to the unit and route it to a location with a clear view of the sky, typically on the dashboard or under the windshield trim, to ensure optimal signal reception.
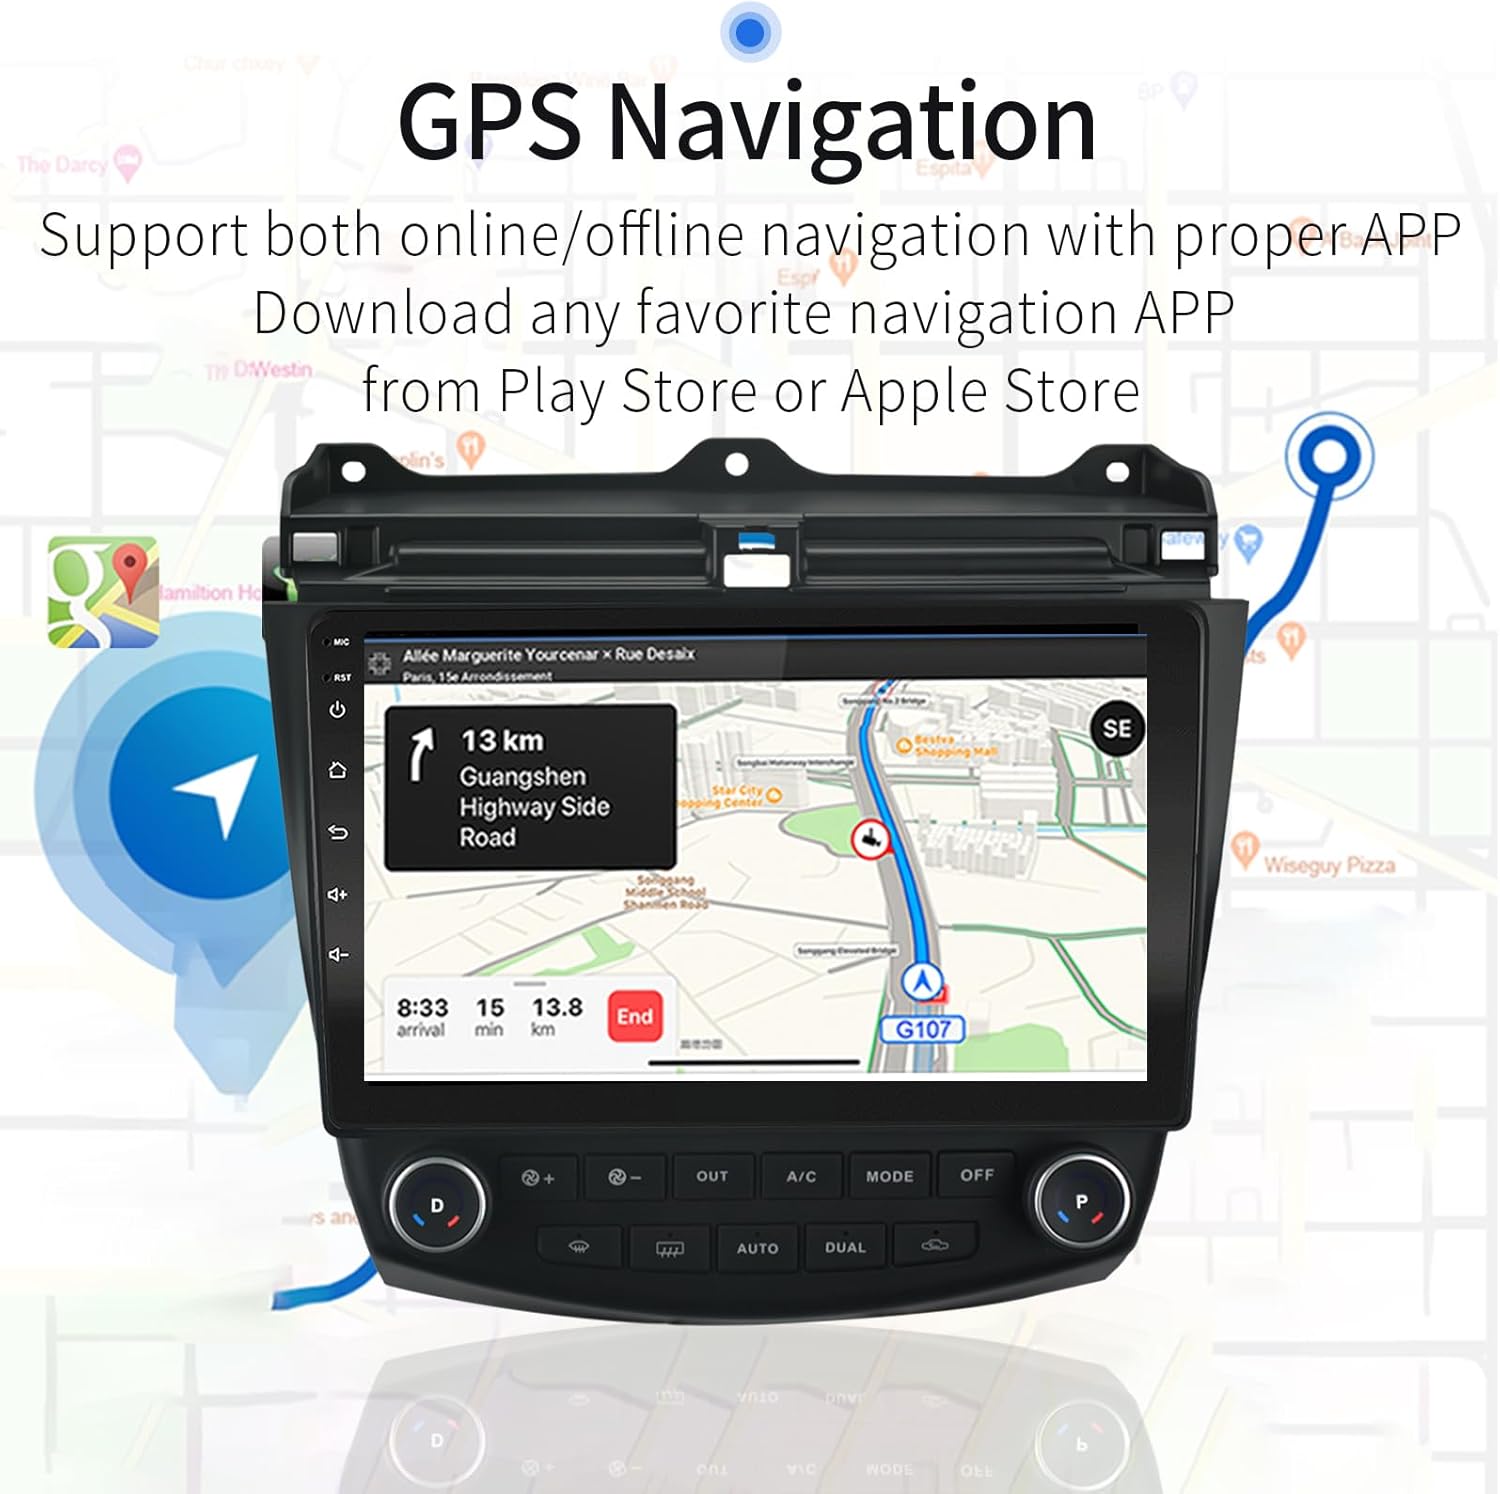
Figure 4.3: GPS antenna connection and navigation display.
4.4. Камдык камераны орнотуу
Connect the included backup camera to the designated input on the unit. Route the camera cable to the rear of the vehicle and mount the camera securely. Ensure proper power connection for the camera.

Figure 4.4: Reverse camera input display.
Video 4.3: Troubleshooting guide for backup camera issues.
5. Setup & Initial Configuration
5.1. Зымсыз CarPlay жана Android Auto
Connect your iPhone via Bluetooth to activate wireless CarPlay, or use a USB cable for wired Android Auto. This allows access to navigation, music, and other smartphone applications directly on the car radio display.

Figure 5.1: Wireless CarPlay interface.

Figure 5.2: Android Auto interface.
Video 5.1: Guide on how to use CarPlay with the Honda Accord stereo upgrade.
5.2. Bluetooth Жупташтыруу
Enable Bluetooth on your smartphone and search for the car radio unit. Pair the devices to enable hands-free calling and music streaming.

Figure 5.3: Bluetooth 4.1 interface for phone calls and music.
5.3. GPS навигациясы
The unit comes with built-in GPS. Connect to Wi-Fi to download your preferred navigation apps from the Play Store. The main image shows how to change the bottom row of apps after connecting to the network and installing a launcher from the store.
5.4. Руль башкаруу
If your vehicle has factory steering wheel controls based on resistive analog signals, they can be retained. For digital CANBUS data signals, an applicable digital-to-resistive converter may be required. An external steering wheel controller is needed if your car does not have this feature.
5.4-сүрөт: Рулду башкарууну орнотуу интерфейси.
5.5. FM/RDS радиосу
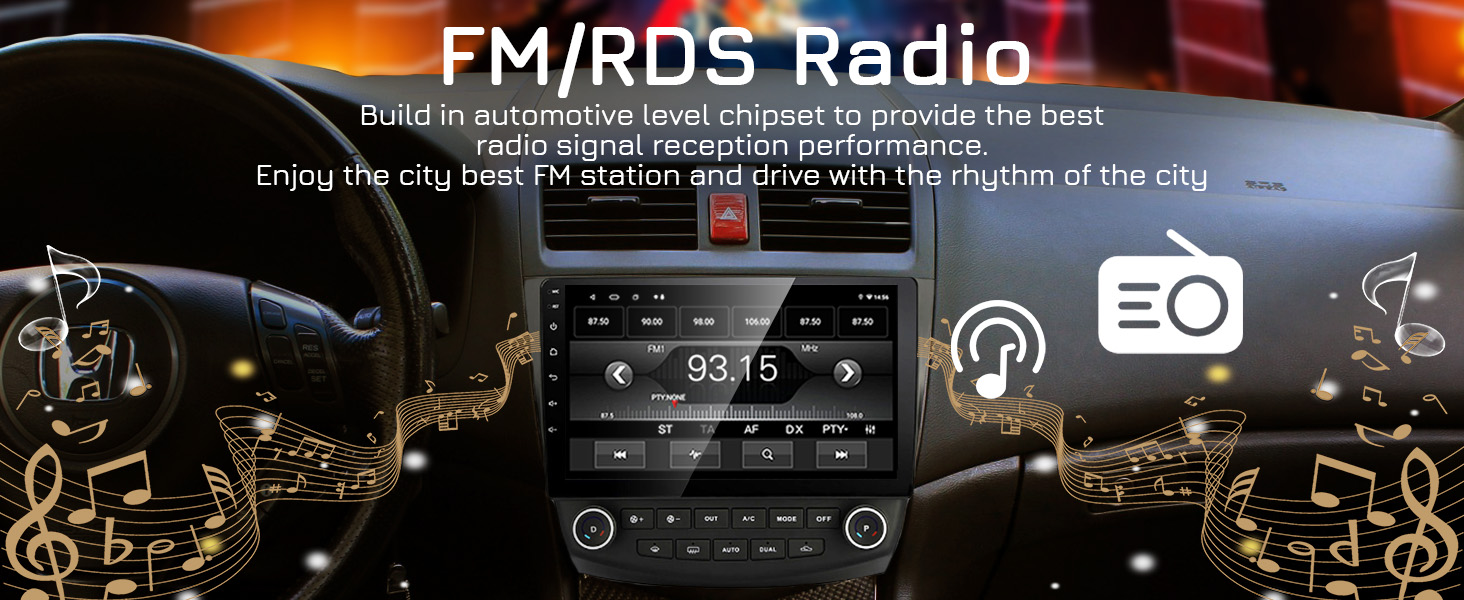
Utilize the built-in FM/RDS radio to listen to local broadcasts. The automotive-level chipset ensures optimal signal reception.

5.5-сүрөт: FM/RDS радио интерфейси.
6. Иштөө нускамалары
6.1. Бөлүнгөн экран режими
The unit supports split-screen functionality, allowing you to run two applications simultaneously, such as navigation and video playback.
Video 6.1: Demonstration of Android system features, including split-screen mode.
6.2. UI Themes
Customize the user interface with various themes available. Themes can be changed through the system settings or by downloading new launchers from the Play Store.
Video 6.2: Instructions on how to change the UI theme for the car radio.
Video 6.3: How to refresh themes on XTRONS ID series.
7. Техникалык тейлөө
To ensure the longevity and optimal performance of your EZoneTronics car radio, regularly clean the screen with a soft, lint-free cloth. Avoid using harsh chemicals or abrasive materials. Keep the software updated by connecting to Wi-Fi and checking for system updates. Periodically clear cache and unnecessary files системанын ылдамдыгын сактоо үчүн.
8. Кыйынчылыктарды
- AC Not Blowing Cold Air: Some users have reported issues with AC functionality after installation. Ensure all AC-related wiring is correctly connected, especially if your vehicle has single-zone AC. Adjust CAN settings to match your specific trim. If issues persist, consult a professional installer.
- Bluetooth туташуу маселелери: If Bluetooth frequently disconnects, try resetting the unit or re-pairing the device. Ensure no other devices are interfering with the Bluetooth signal.
- Камдык камера көрүнбөйт: Verify all camera connections are secure. Check the settings within the car radio to ensure the reverse camera input is correctly configured. Refer to Video 4.3 for troubleshooting steps.
- Sluggish Performance: If the unit feels slow, try closing unused applications or clearing the system cache. Ensure sufficient free storage space.
9. Техникалык шарттар
| Элемент Салмагы | 4.23 фунт |
| Пакеттин өлчөмдөрү | 12.52 x 12.52 x 4.13 дюйм |
| Элемент моделинин номери | Honda Accord радиосу |
| Дисплей өлчөмү | 10 дюйм |
| Үн буйругу | Сенсордук экран |
| Байланыш технологиясы | Android Auto, Bluetooth, USB, Wi-Fi, Wireless Carplay |
| Карта түрү | Түндүк Америка, Түштүк Америка |
| Аудио чыгаруу режими | Стерео |
| Монтаж түрү | Куралдар тактасы |
10. Кепилдик жана колдоо
This product comes with a standard manufacturer's warranty. For detailed warranty information, technical support, or assistance with any issues not covered in this manual, please contact EZoneTronics customer service. Keep your purchase receipt for warranty claims.