1. Киришүү
The PNI House IP516 is a 16-channel Network Video Recorder (NVR) designed for advanced surveillance systems, supporting up to 5MP IP cameras and H.265 video compression. This NVR allows for local and remote monitoring, recording, and management of your security cameras. It is compatible with ONVIF protocol cameras, offering flexibility in camera selection. This manual provides essential information for the proper installation, operation, and maintenance of your PNI House IP516 NVR.
2. Пакеттин мазмуну
Төмөндө тизмеленген нерселердин баары пакетиңизге камтылганын текшериңиз. Эгерде кандайдыр бир буюмдар жок же бузулуп калса, сатуучуга кайрылыңыз.
- PNI House IP516 NVR Unit
- USB чычкан
- Кубаттуу адаптер
- Колдонуучунун Колдонмосу (бул документ)
- Программалык камсыздоосу бар CD
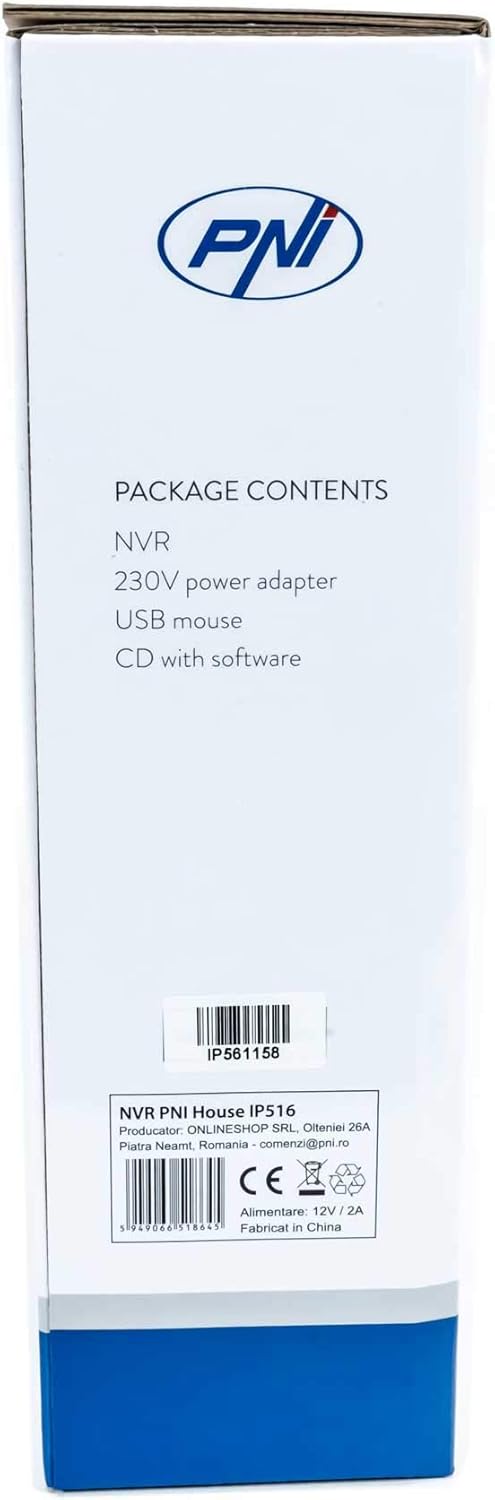
Image: Side of the NVR box detailing the package contents.

Image: The PNI House IP516 NVR unit, power adapter, and USB mouse included in the package.
3. Продукт бүтүп калдыview
3.1 алдыңкы панели
The front panel of the NVR features indicator lights for system status.
- PWR (кубат): Indicates the NVR is powered on.
- REC (Жазуу): Flashes when recording is active.
- NET (Тармак): Тармактын активдүүлүгүн көрсөтөт.

Сүрөт: алдыңкы view of the PNI House IP516 NVR, showing the power, record, and network indicator lights.
3.2 Арткы панель
The rear panel provides all necessary connection ports for the NVR.
- VGA порту: VGA мониторуна туташат.
- HDMI порту: Жогорку сапаттагы видео чыгаруу үчүн HDMI мониторуна же телевизорго туташат.
- LAN Port (RJ45 10/100 Mbps): Connects to your network router or switch.
- USB порттору (x2): For connecting the USB mouse, external storage, or for system upgrades.
- DC 12V кубат киргизүү: Камтылган кубат адаптерине туташат.

Сүрөт: Арткы view of the PNI House IP516 NVR, displaying VGA, HDMI, LAN, USB, and DC 12V power input ports.
4. Орнотуу
4.1 Катуу дискти орнотуу (милдеттүү эмес)
The NVR supports a hard drive up to 8 TB for video storage. It is recommended to use dedicated CCTV hard drives for optimal reliability and endurance.
- NVRдин үстүнкү капкагын бурап, алып салыңыз.
- Connect the SATA data and power cables from the NVR to the hard drive.
- Берилген бурамаларды колдонуп, катуу дискти NVR корпусуна бекитиңиз.
- Үстүнкү капкакты ордуна коюп, бурама менен бекитиңиз.
4.2 Баштапкы байланыштар
- Connect a monitor to the NVR's VGA or HDMI port.
- Connect the USB mouse to one of the NVR's USB ports.
- NVRдин LAN портунан Ethernet кабелин тармактык роутериңизге же коммутаторуңузга туташтырыңыз.
- Connect the power adapter to the NVR's DC 12V input and then plug it into a power outlet. The NVR will power on automatically.
4.3 First Boot and Basic Configuration
Upon the first boot, the NVR will guide you through an initial setup wizard. Follow the on-screen prompts to:
- Set up a strong password for the administrator account.
- Күн жана убакыт жөндөөлөрүн конфигурациялаңыз.
- Format the installed hard drive (if applicable).
- Perform network settings (DHCP is usually enabled by default).
- Издөө and add IP cameras to the NVR. The NVR supports up to 16 cameras at 2560x1920px (5MP) and is compatible with ONVIF protocol cameras.
5. NVRди иштетүү
5.1 Жергиликтүү иш
Use the connected mouse to navigate the NVR's graphical user interface (GUI) on the monitor. Right-click to access the main menu, which includes options for live view, playback, recording settings, system configuration, and more.
5.2 Remote Access
The PNI House IP516 NVR can be accessed remotely for live viewing, playback, and configuration.
- Mobile Application (XMEye): Download the XMEye app from the Android Play Store or Apple App Store. Register an account, add your NVR by scanning its QR code or entering its serial number, and then you can view your cameras from anywhere with an internet connection.
- PC Software (General CMS): Install the General CMS software from the included CD or download it from the PNI support website. This software allows for comprehensive management of your NVR and cameras from a Windows PC.
5.3 Жазууну башкаруу
NVR ар кандай жазуу режимдерин колдойт:
- Тынымсыз жаздыруу: Рекорддор 24/7.
- Пландаштырылган жаздыруу: Белгилүү бир убакыт аралыгындагы жазуулар.
- Кыймылды аныктоо жазуусу: Камералар кыймылды аныктаганда гана жаздырат.
Configure these settings in the NVR's menu under 'Record' or 'Storage' settings.
5.4 Кыймылды аныктоо жана эскертүүлөр
When motion is detected, the system can trigger various alerts:
- Mobile Notifications: Text notifications sent via the XMEye mobile application.
- Электрондук почта эскертүүлөрү: An email sent to a predefined address.
- FTP жүктөө: The recording saved to an FTP server.
These alert settings can be configured in the NVR's 'Alarm' or 'Event' menu.
6. Техникалык тейлөө
6.1 Катуу дискти башкаруу
Regularly check the status of your hard drive in the NVR's storage settings. If the hard drive becomes full, the NVR will typically overwrite the oldest recordings (loop recording). You may need to format the hard drive periodically if you encounter issues or wish to clear all data.
6.2 Системаны жаңыртуу
Periodically check the PNI support website for firmware updates. Firmware updates can improve performance, add new features, or fix bugs. Follow the instructions provided with the firmware update carefully to avoid damaging the device.
6.3 Тазалоо
Ensure the NVR unit is kept clean and free from dust. Use a soft, dry cloth to wipe the exterior. Do not use liquid cleaners or aerosols directly on the unit.
7. Кыйынчылыктарды
| Көйгөй | Мүмкүн себеп | Чечим |
|---|---|---|
| NVR does not power on | No power supply; faulty power adapter | Check power connection; test power adapter; try a different outlet. |
| Монитордо видео чыгыш жок | Loose cable; incorrect input selected on monitor | Ensure VGA/HDMI cable is securely connected; select correct input on monitor. |
| NVRге алыстан кирүү мүмкүн эмес | Network issue; incorrect app settings; NVR not connected to internet | Verify NVR network connection; check router settings; ensure correct NVR ID/serial in app. |
| Камералар көрсөтүлбөй жатат | Camera not powered; network issue; incorrect camera IP/protocol | Check camera power and network cables; ensure cameras are ONVIF compatible; verify camera IP addresses. |
| Жаздыруу жок | Hard drive not installed/formatted; recording schedule not set; motion detection not configured | Install and format HDD; configure recording schedule; set up motion detection zones and sensitivity. |
8. Техникалык шарттар
| Өзгөчөлүк | Деталь |
|---|---|
| Модель номери | IP516 |
| Каналдар | 16 |
| Max чечим | 5MP (2560 x 1920px) |
| Видеону кысуу | H.265 |
| Шайкеш түзмөктөр | IP Cameras, Smartphone |
| Байланыш технологиясы | HDMI, USB, VGA, RJ45 Ethernet |
| Байланыш интерфейси | RJ45 10/100 Мбит/сек |
| Макс сактоо сыйымдуулугу | 8 ТБ (катуу диск) |
| USB порттору | 2 |
| Энергияны керектөө | 10 Ватт |
| Өндүрүүчү бөлүгүнүн номери | PNI-1920P |
9. Кепилдик
The PNI House IP516 NVR comes with a standard manufacturer's warranty. Please refer to the warranty card included in your package or visit the official PNI webКепилдиктин мөөнөтү, мөөнөтү жана тейлөө жол-жоболору боюнча толук шарттар жана эрежелер менен таанышуу үчүн сайтка кириңиз. Кепилдик дооматтары үчүн сатып алганыңызды тастыктаган документти сактап коюңуз.
10. Колдоо
For technical support, troubleshooting assistance, or further inquiries regarding your PNI House IP516 NVR, please visit the official PNI website or contact their customer service department. You can find contact information and additional resources on the PNI brand store page: PNI Brand Store.