BESIGN LSX3
Besign LSX3 Adjustable Aluminum Laptop Stand User Manual
Model: LSX3
Introduction
Thank you for choosing the Besign LSX3 Adjustable Aluminum Laptop Stand. This manual provides detailed instructions for the proper assembly, operation, and maintenance of your new laptop stand. Please read this manual carefully before use to ensure optimal performance and longevity of the product.
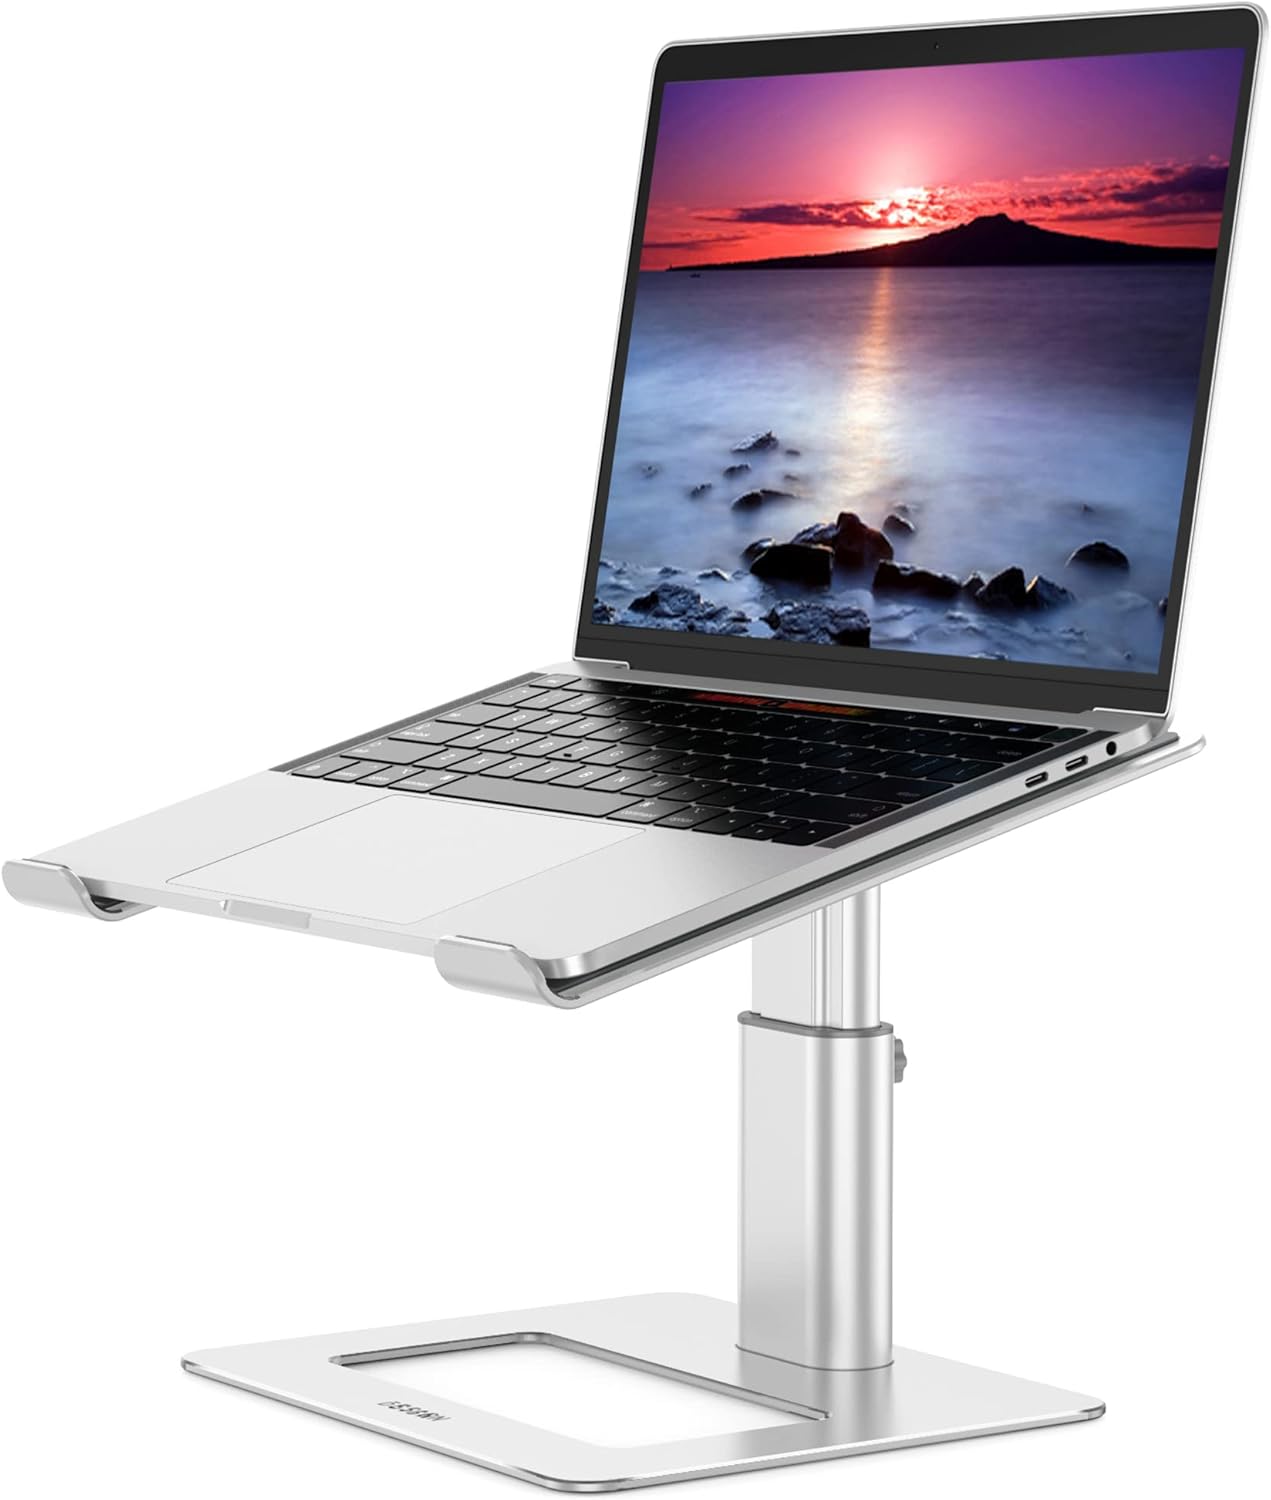
Image: The Besign LSX3 Adjustable Aluminum Laptop Stand, shown with a laptop in an elevated position.
Продукт өзгөчөлүктөрү
- Кеңири шайкештик: Supports all laptops from 10 inches to 14 inches.
- Эргономикалык дизайн: Adjustable height and angle to minimize neck and shoulder fatigue.
- Stable and Protective: Constructed from premium aluminum alloy, supporting up to 4kg (8.8 lbs). Features rubber pads to secure the laptop and prevent scratches.
- Жылуулук таркатылышы: Open aluminum design promotes airflow to prevent laptop overheating.
- Космос башкаруу: Allows storage of peripherals like keyboards and mice underneath the stand.
- Жөнгө салынуучу бийиктик: Height can be adjusted from 125mm (4.9 inches) to 195mm (7.65 inches) using the included manual screw.
Пакеттин мазмуну
Please verify that all components are present before proceeding with assembly:
- Laptop Stand Top Plate (Part 1)
- Adjustable Support Column (Part 2)
- Base Plate (Part 3)
- Монтаждоо бурамалар (4x)
- Manual Wrench (for assembly)
- Manual Screw (for height adjustment)
Орнотуу нускамалары
Follow these steps to assemble your Besign LSX3 Laptop Stand:
- Step 1: Attach the Support Column to the Base Plate.
Align the four screw holes on the bottom of the Adjustable Support Column (Part 2) with the corresponding holes on the Base Plate (Part 3). Secure them using two of the provided mounting screws and the manual wrench.

Image: Illustration showing the alignment of the support column with the base plate.
- Step 2: Secure the Support Column to the Base Plate.
Tighten the screws firmly to ensure the base is stable.

Image: Illustration showing the tightening of screws to secure the support column to the base plate.
- Step 3: Attach the Laptop Stand Top Plate.
Align the four screw holes on the top of the Adjustable Support Column (Part 2) with the corresponding holes on the Laptop Stand Top Plate (Part 1). Secure them using the remaining two mounting screws and the manual wrench.

Image: Illustration showing the alignment of the laptop stand top plate with the support column.
- Step 4: Secure the Laptop Stand Top Plate.
Tighten the screws firmly to ensure the top plate is stable.

Image: Illustration showing the tightening of screws to secure the top plate to the support column.

Image: A comprehensive diagram illustrating the assembly process of the Besign LSX3 laptop stand, labeling Part 1 (top plate), Part 2 (adjustable column), and Part 3 (base plate), along with screws and wrench.
Иштөө нускамалары
Бийиктикти тууралоо
The Besign LSX3 stand allows for height adjustment to achieve an ergonomic viewing angle. The height can be adjusted between 125mm (4.9 inches) and 195mm (7.65 inches).
- Step 1: Loosen the Manual Screw.
Locate the manual screw on the side of the Adjustable Support Column (Part 2). Turn the screw counter-clockwise to loosen it.

Image: Illustration showing the manual screw being turned counter-clockwise to loosen it for height adjustment.
- 2-кадам: Бийиктигин тууралаңыз.
Gently pull or push the Laptop Stand Top Plate (Part 1) to your desired height. The stand has a minimum height of 125mm and a maximum height of 195mm.

Image: Illustration showing the laptop stand being adjusted vertically to the desired height.
- Step 3: Lock the Height.
Once the desired height is reached, turn the manual screw clockwise to tighten it and lock the stand securely in place.

Image: Illustration showing the manual screw being turned clockwise to lock the stand at the chosen height.

Image: A comparison illustrating incorrect and correct ergonomic postures when using a laptop, highlighting the benefit of an adjustable laptop stand for neck and shoulder health.
Laptop Placement and Compatibility
Place your laptop securely on the top plate, ensuring it rests within the protective rubber pads. The stand is designed to accommodate laptops ranging from 10 to 14 inches in size.

Image: A diagram illustrating the wide compatibility of the stand, showing it can support laptops from 10 inches up to 15.6 inches.
Note: While the image indicates compatibility up to 15.6 inches, the product specifications confirm optimal use for laptops between 10 and 14 inches.
Heat Dissipation and Space Management
The open design of the stand facilitates natural airflow around your laptop, aiding in heat dissipation and preventing overheating. The space beneath the elevated laptop can be utilized to store accessories such as a keyboard, mouse, or other office supplies, helping to keep your workspace organized.
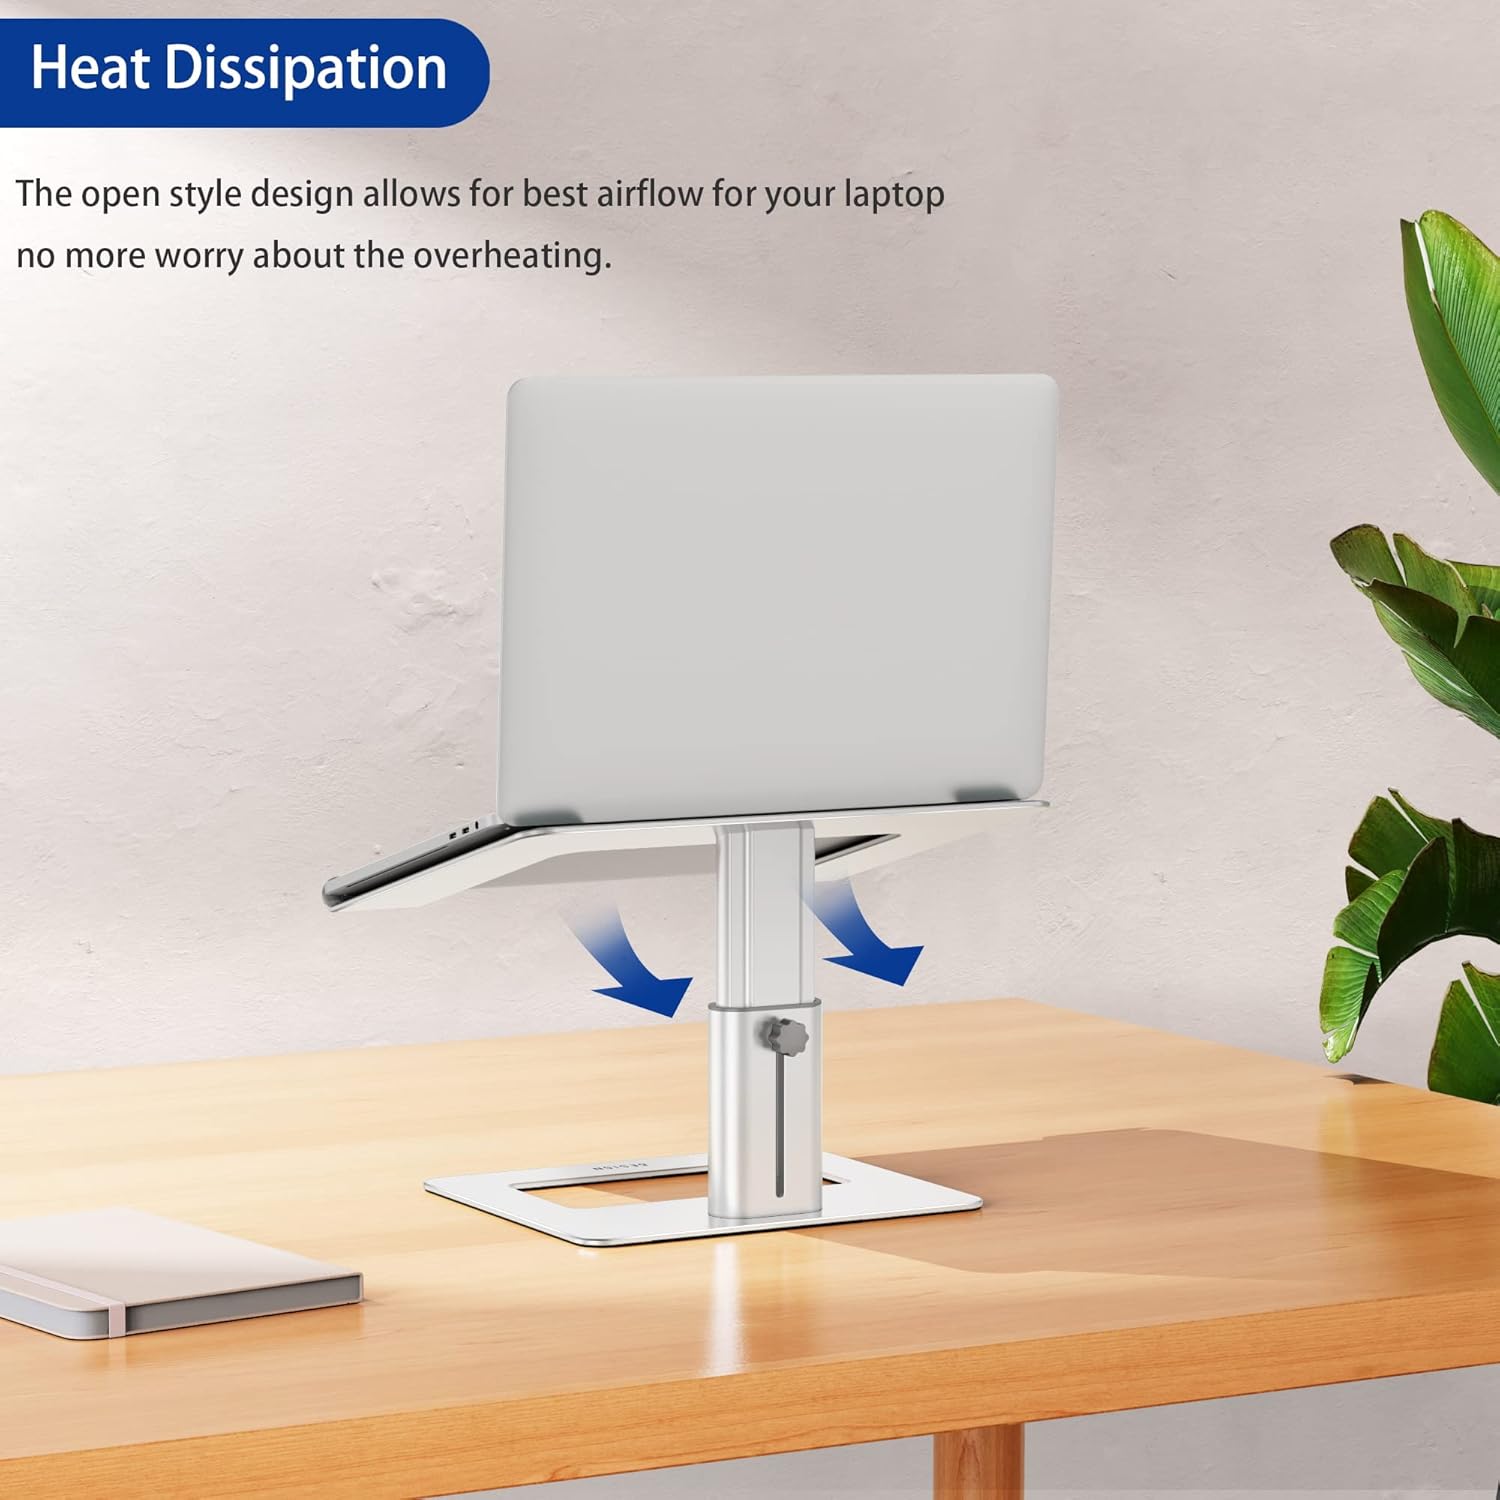
Image: A laptop on the stand, with arrows indicating airflow underneath, demonstrating the heat dissipation feature.

Image: A laptop on the stand, with a keyboard and mouse neatly stored in the space beneath, illustrating the space management benefit.
Техникалык тейлөө
To ensure the longevity and appearance of your Besign LSX3 Laptop Stand, follow these simple maintenance guidelines:
- Тазалоо: Стендди жумшак менен сүртүңүз, гamp cloth to remove dust and smudges. Avoid using abrasive cleaners or solvents, as these may damage the aluminum finish or rubber pads.
- Текшерүү: Periodically check all screws and connections to ensure they remain tight. Re-tighten if necessary using the provided manual wrench.
- Сактагыч: If storing the stand for an extended period, ensure it is clean and dry. Store in a cool, dry place away from direct sunlight.
Проблемаларды чечүү
If you encounter any issues with your Besign LSX3 Laptop Stand, please refer to the following common solutions:
- Stand feels wobbly after assembly:
Ensure all four mounting screws (two for the base, two for the top plate) are fully tightened using the manual wrench. Check that the manual screw for height adjustment is also securely tightened.
- Laptop slides on the stand:
Verify that the rubber pads on the top plate are clean and free from debris. Ensure your laptop is placed correctly within the designated areas on the pads. The stand is designed for laptops between 10 and 14 inches; using a laptop outside this range may affect stability.
- Бийиктикти тууралоодогу кыйынчылык:
Ensure the manual screw on the adjustable column is sufficiently loosened before attempting to adjust the height. If it's too tight, the column will not move freely. Do not force the adjustment.
Техникалык шарттар
| Өзгөчөлүк | Деталь |
|---|---|
| Модель номери | LSX3 |
| Бренд | BESIGN |
| Материал | Алюминий эритмеси, силикон каучук |
| Түс | Silver |
| Шайкеш түзмөктөр | 10-14 дюймдук ноутбуктар |
| Жөнгө салынуучу бийиктик диапазону | 125mm (4.9 in) to 195mm (7.65 in) |
| Максималдуу жүктөө жөндөмдүүлүгү | 4 кг (8.8 фунт) |
| Продукциянын өлчөмдөрү (негизги) | 225mm (8.8 in) x 190mm (7.4 in) |
| Product Dimensions (Top Plate) | 290mm (11.4 in) x 245mm (9.6 in) |
| Ассамблея талап кылынат | Ооба |

Image: A detailed diagram showing the dimensions of the Besign LSX3 Laptop Stand, including base width, top plate width, and adjustable height range.
Кепилдик жана колдоо
For warranty information or technical support, please refer to the product packaging or contact Besign customer service through their official website or the retailer where the product was purchased. Please have your model number (LSX3) and purchase details ready when contacting support.
Ask a question about this manual
Ask about setup, troubleshooting, compatibility, parts, safety, or missing instructions. Manuals+ will review the question and use this page’s manual context to help answer it.