
Introduction
Welcome to your new TELLUR Dash Patrol DC1 Car Camera. This manual provides instructions for installation, operation, and maintenance to ensure optimal performance and longevity of your device. Please read this manual thoroughly before using the product.
Коопсуздук маалыматы
- Ensure the dash camera is securely mounted and does not obstruct the driver's view же транспорт каражаттарын башкарууга тоскоолдук кылуу.
- Айдап бара жатканда түзмөктү иштетпеңиз. Жөндөөлөрдү унаа коопсуз токтогондо гана тууралаңыз.
- Аппаратты экстремалдык температурага, түз күн нуруна же нымдуулукка узак убакытка калтырбаңыз.
- Use only the provided power adapter and cables to prevent damage and ensure proper operation.
- Видео жаздыруулардын так болушу үчүн линзаны таза кармаңыз.
- Аппаратты өз алдынча бөлүүгө же оңдоого аракет кылбаңыз. Жардам алуу үчүн квалификациялуу тейлөө кызматкерлерине кайрылыңыз.
Пакеттин мазмуну
- 1 x Dash Patrol Dashcam DC1
- 1 х магниттик кашаа
- 1 х MicroUSB кабели
- 1 x Dual USB Car Charger
- 1 x User Manual
Продукт бүттүview
Компоненттер


Башкаруу каражаттары жана көрсөткүчтөр
- Кубат баскычы: Press and hold to turn the device on or off. Short press to toggle screen display.
- M (режим) баскычы: Switches between video recording, still photo, and playback modes.
- Өйдө/ылдый баскычтары: Меню параметрлери аркылуу өтүңүз же жөндөөлөрдү тууралаңыз.
- OK баскычы: Confirms selections or starts/stops recording in video mode.
- TF карта уячасы: Insert a microSD card for storing recordings.
- MicroUSB порту: Электр кубаты үчүн унаанын кубаттагычына туташат.
- Микрофон: Аудио жаздырат.
Жайгашуу
1. Эстутум картасын салыңыз
Before first use, insert a Class 10 or higher microSD card (not included) into the TF Card slot. Ensure the card is inserted correctly until it clicks into place.
2. Mount the Dash Camera
Clean the windshield area where the camera will be mounted. Attach the magnetic bracket to the windshield using its adhesive. Ensure the camera's position does not obstruct your view. Once the bracket is secured, attach the dash camera to the magnetic bracket.
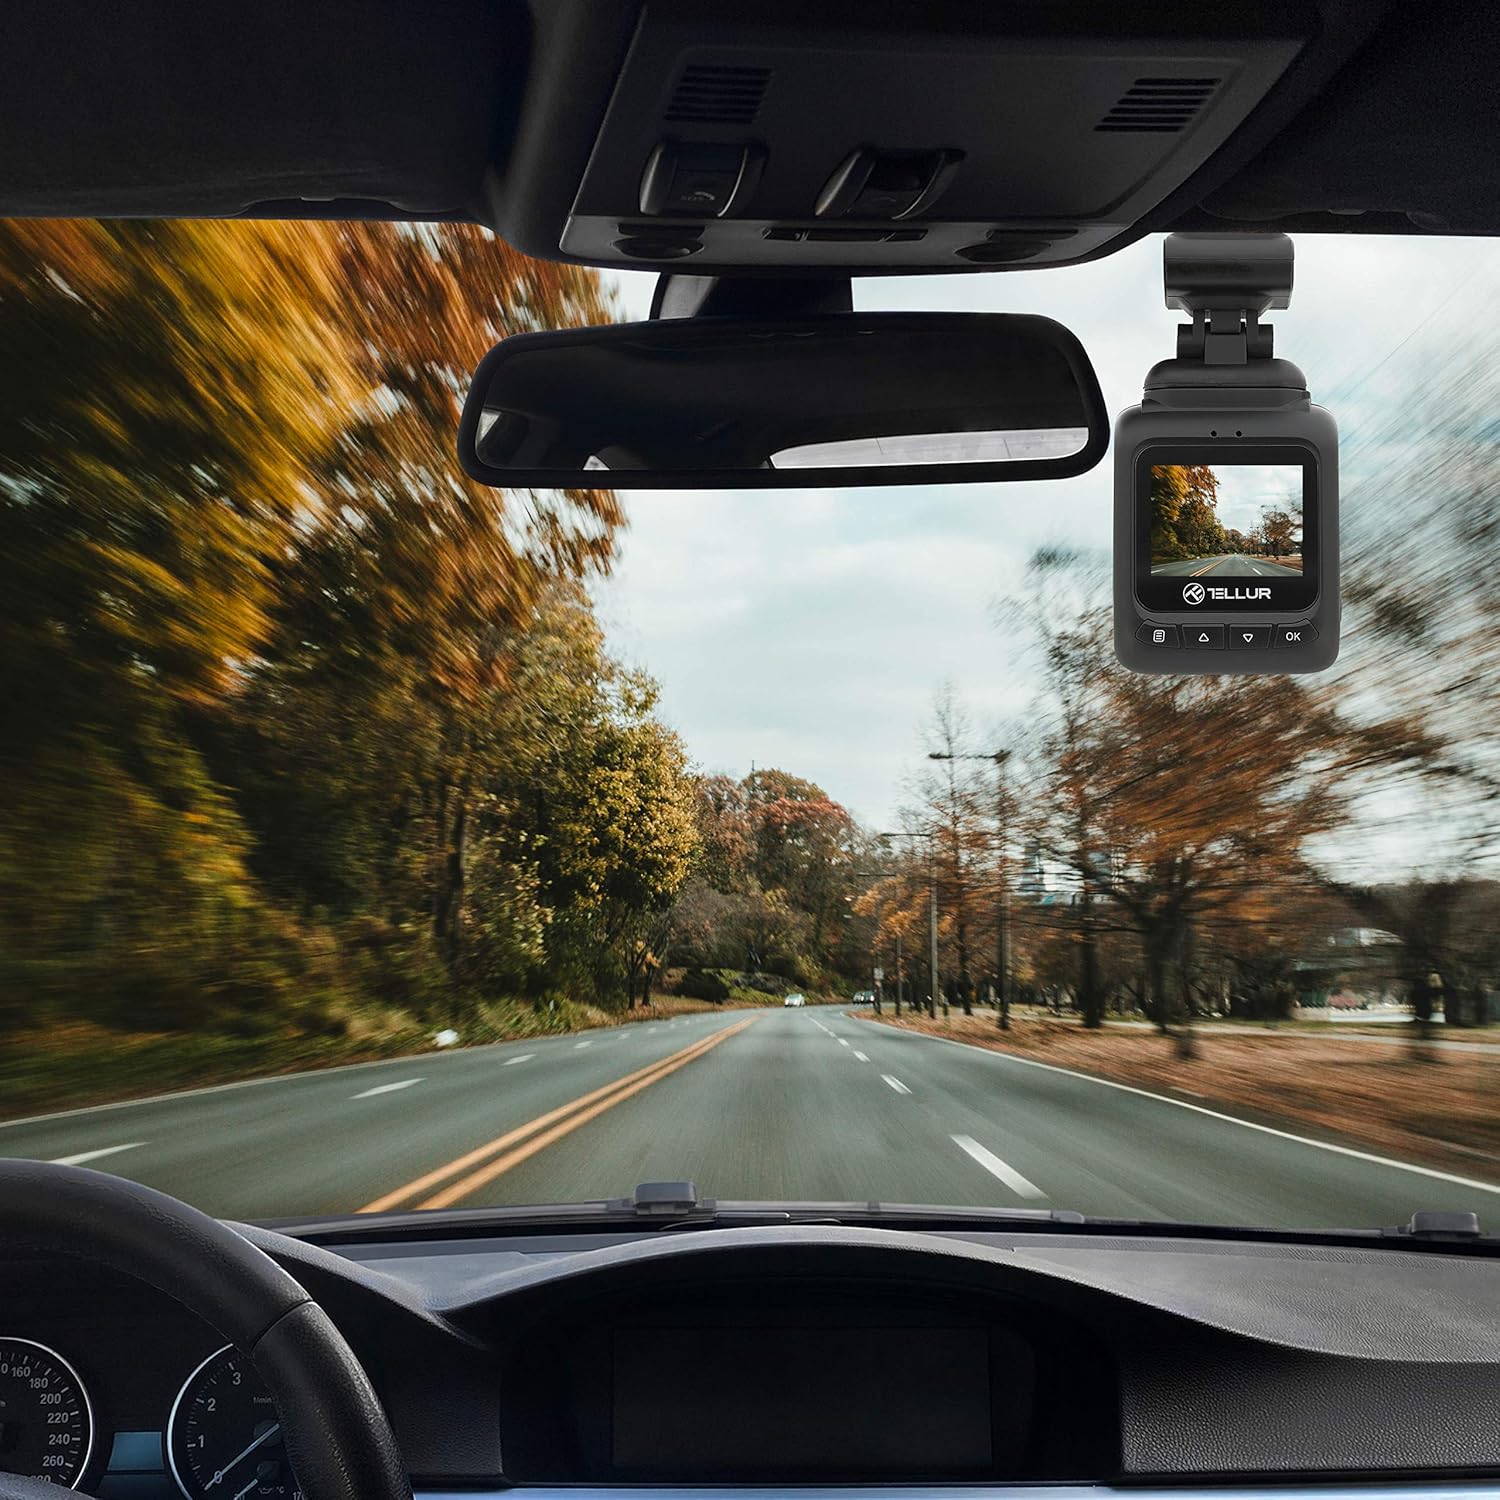
3. Кубатты туташтырыңыз
Connect the MicroUSB cable to the dash camera's MicroUSB port and the other end to the Dual USB Car Charger. Plug the car charger into your vehicle's 12V power outlet (cigarette lighter socket). The camera will automatically power on and begin recording when the vehicle starts.
Иштөө нускамалары
Негизги жаздыруу
Once powered on, the camera automatically starts recording in a continuous loop. The recording indicator (usually a red dot) will flash on the screen. Videos are recorded in FullHD 1080P resolution with a 140-degree wide-angle lens.
G-Sensor функциясы
The built-in G-sensor detects sudden impacts or collisions. When an event is detected, the current video segment is automatically locked and saved to prevent it from being overwritten by loop recording. This ensures critical footagе сакталган.

Паркингге мониторинг жүргүзүү функциясы
When the parking monitoring function is enabled, the camera will automatically start recording if it detects motion or an impact while the vehicle is parked and the engine is off. This feature provides surveillance for your vehicle when unattended.

Меню Багыттоо
басыңыз M button to enter the menu. Use the Өйдө/Төмөн параметрлерди карап чыгуу үчүн баскычтар жана OK тандоо үчүн баскычын басыңыз. M кайра менюдан чыгуу үчүн.
Video ойнотуу
In playback mode (accessed via the M button), use the Өйдө/Төмөн видеону тандоо үчүн баскычтар file жана OK to play it. Press M кайтуу file тизме.
Техникалык тейлөө
Линзаны тазалоо
Regularly clean the camera lens with a soft, lint-free cloth to ensure clear video quality. Do not use abrasive cleaners.
Эстутум картасын башкаруу
It is recommended to format the microSD card periodically (e.g., once a month) within the camera's settings to maintain optimal performance and prevent data corruption.
Проблемаларды чечүү
- Камера күйбөй жатат: Check the power connection to the car charger and the vehicle's 12V outlet. Ensure the vehicle's ignition is on.
- Жаздыруу күтүлбөгөн жерден токтойт: Ensure the microSD card is properly inserted and is a Class 10 or higher. Format the card if issues persist.
- Видеонун сапаты начар: Clean the camera lens. Check menu settings to ensure 1080P resolution is selected.
- G-Sensor not triggering: Adjust the G-sensor sensitivity in the camera's settings.
- Унаа токтотуучу жайдын монитору иштебей жатат: Ensure the parking monitoring function is enabled in the settings.
Техникалык шарттар
| Өзгөчөлүк | Деталь |
|---|---|
| Модель аты | DC1 |
| Элемент моделинин номери | TL711001 |
| Видео тартуунун резолюциясы | 1080p |
| Field Of View | 140 градус |
| Өзгөчө өзгөчөлүк | Automatic Incident Detection (G-Sensor), Parking Monitoring |
| Байланыш технологиясы | USB |
| Монтаж түрү | Magnetic Mount with Adhesive |
| Продукциянын өлчөмдөрү | 1.72 x 1.47 x 2.17 дюйм |
| Элемент Салмагы | 8.4 унция |
| Батареялар | 1 Литий Полимер батарейкасы талап кылынат |
| Түс | Кара |
| Өндүрүүчү | TELLUR |
Кепилдик жана колдоо
TELLUR products are designed for reliability and performance. For warranty information, technical support, or service inquiries, please refer to the contact details provided on the official TELLUR webсайт же сатып алуу документтери. Кепилдик дооматтар үчүн сатып алганыңыздын далилин сактаңыз.