
Introduction
Thank you for choosing the Konix FFF Wired Controller. This controller is designed to enhance your gaming experience on Nintendo Switch, Switch 2, and PC, offering an ergonomic design, vibration feedback, and a convenient screenshot button. Please read this manual carefully before use to ensure proper setup and operation.

Figure 1: Konix FFF Wired Controller (White)
Негизги өзгөчөлүктөрү
- Эргономикалык кармагыч: Crafted with quality materials and anti-slip grips for comfortable extended gaming sessions, reducing hand fatigue.
- Зымдуу туташуу: Features a 3-meter cable, providing ample length for flexible gameplay without battery concerns.
- Дирилдөө функциясы: Enhances immersion during gameplay with responsive vibration feedback.
- Скриншот баскычы: Capture and share your in-game moments with a dedicated screenshot button, similar to official Nintendo Switch controllers.
- Көп платформа шайкештиги: Fully compatible with Nintendo Switch, Switch 2, and PC.

Figure 2: Controller features overview
Орнотуу нускамалары
Connecting to Nintendo Switch / Switch 2
- Enable Pro Controller Wired Communication:
Before connecting the controller for the first time, you must enable the "Pro Controller Wired Communication" option on your Nintendo Switch console.
- HOME Менюсунан тандаңыз "System Settings".
- Сол жактагы менюну ылдый жылдырып, тандаңыз "Controllers and Sensors".
- Тандоо "Pro Controller Wired Communication" to enable this feature. (Select it again to disable if needed).
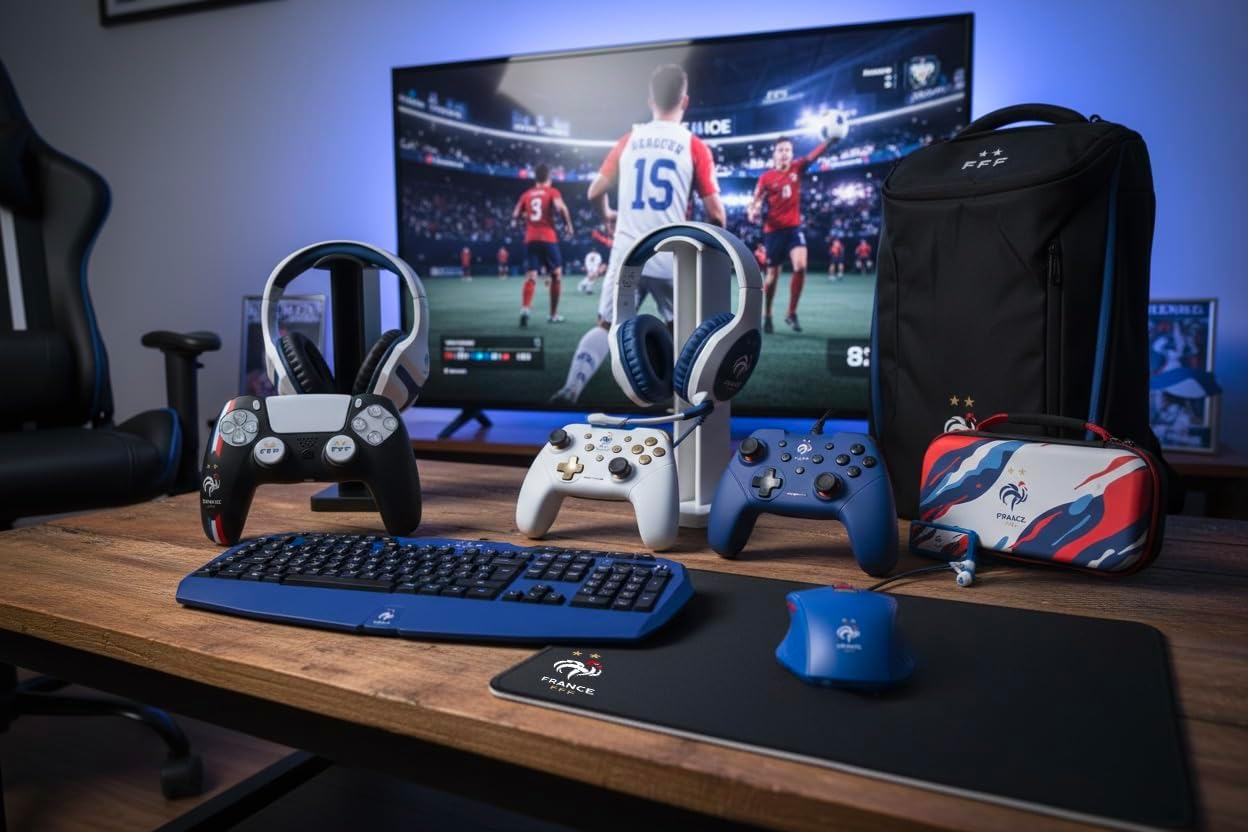
Figure 3: Enabling Pro Controller Wired Communication on Nintendo Switch
- Контроллерди туташтыруу:
Plug the USB-A end of the controller's cable into an available USB port on your Nintendo Switch dock. The controller will automatically connect and be ready for use.

Figure 4: USB cable connection point
Компьютерге туташуу
- Plug and Play:
Connect the USB-A end of the controller's cable to an available USB port on your PC. The operating system should automatically detect and install the necessary drivers. The controller will then be ready for use with compatible PC games.
Иштөө нускамалары
The Konix FFF Wired Controller functions similarly to standard gamepads. Refer to your game's specific control scheme for button assignments.
Button Layout
The controller features standard buttons including A/B/X/Y, directional pad, left and right analog sticks, L/R shoulder buttons, ZL/ZR triggers, Home button, Plus (+), Minus (-), and a dedicated Screenshot button.
Figure 5: Controller button layout (front view)
Using the Screenshot Button
- басыңыз Скриншот баскычы (located below the directional pad) during gameplay to capture an image of your screen.
- On Nintendo Switch, captured images can be accessed and managed from the Album on the HOME Menu.
Дирилдеп Function
- The controller's vibration function provides tactile feedback during compatible games.
- Vibration intensity may be adjustable within individual game settings or console system settings.
Техникалык тейлөө
- Тазалоо: Контроллерди тазалоо үчүн жумшак, кургак чүпүрөктү колдонуңуз. Абразивдүү тазалагычтарды же эриткичтерди колдонбоңуз.
- Сактагыч: Контроллерди түз күн нурунан жана экстремалдык температурадан алыс салкын, кургак жерде сактаңыз.
- Кабельге кам көрүү: Зыяндын алдын алуу үчүн кабелди курч ийилүүдөн же ашыкча тартуудан качыңыз.
Проблемаларды чечүү
| Көйгөй | Мүмкүн болгон себеп / Чечим |
|---|---|
| Controller not recognized by Nintendo Switch. |
|
| Контроллер компьютер тарабынан таанылган жок. |
|
| Vibration function not working. |
|
| Баскычтар жооп бербей же жабышчаак. |
|
Техникалык шарттар
- Модель номери: 3328170282925
- Шайкештик: Nintendo Switch, Nintendo Switch 2, PC
- Туташуу түрү: Зымдуу USB
- Кабелдин узундугу: 3 метр
- Өзгөчөлүктөрү: Vibration function, Screenshot button, Ergonomic design
- Өлчөмдөрү (L x W x Y): 7 x 21.5 x 17.5 см
- Салмагы: 390 грамм
- Сунушталган жаш: 3 жаш жана андан улуу
Кепилдик маалымат
Konix products are covered by a limited warranty against defects in materials and workmanship. For specific warranty terms and conditions, please refer to the documentation included with your purchase or visit the official Konix webсайт. Кепилдик дооматтар үчүн сатып алганыңыздын далилин сактаңыз.
Кардарларды колдоо
If you encounter any issues or have questions regarding your Konix FFF Wired Controller, please contact Konix customer support through their official webсайты же продуктунун таңгагында берилген байланыш маалыматы.
Көбүрөөк маалымат алуу үчүн, киргиле Konix Store on Amazon.