Introduction
Thank you for choosing the Westclox Tilt & Swivel Digital Alarm Clock. This manual provides detailed instructions for setting up, operating, and maintaining your new alarm clock. Designed for ease of use and optimal visibility, this clock features a large LED display and a unique adjustable stand to suit your needs.
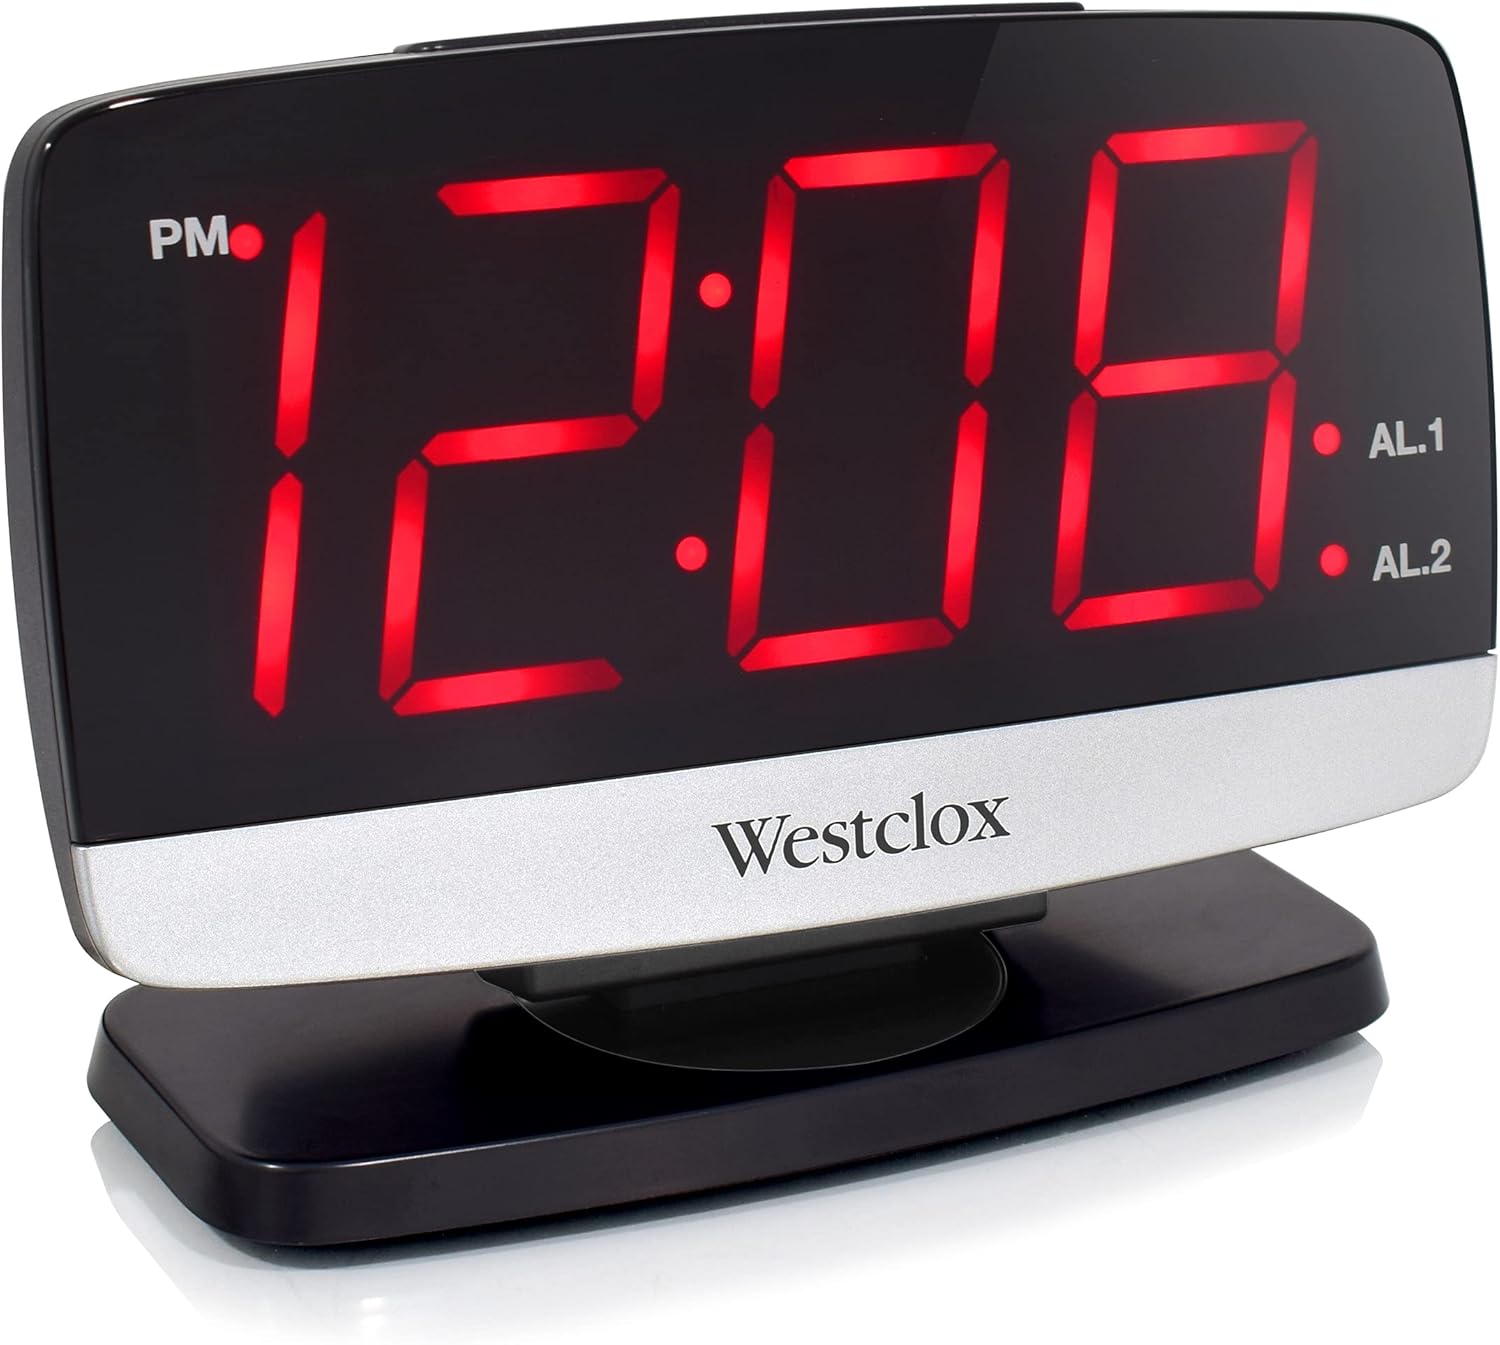
Сүрөт 1: Алдыңкы view of the Westclox Tilt & Swivel Digital Alarm Clock with its large red LED display.
Негизги өзгөчөлүктөрү
- Санариптик дисплей: Features a large 1.8" LED digital display for easy reading.
- Tilt & Swivel Design: Unique tilt and swivel stand allows flexible positioning.
- Ойготкучтун функциясы: Built-in alarm clock with loud, distinctive sound.
- Колдонууга оңой: Simple to set alarms and adjust settings.
- Туруктуу курулуш: Made from sturdy ABS plastic with metal accents.

Figure 2: Key features of the Westclox Digital Alarm Clock.
Пакеттин мазмуну
- Westclox Tilt & Swivel Digital Alarm Clock (Model# 71052)
- Кубаттуу адаптер
- Instruction Manual
Жайгашуу
1. Power Connection
- Unpack the alarm clock and power adapter from the packaging.
- Insert the small end of the power adapter into the DC IN jack located on the back of the clock.
- Plug the other end of the power adapter into a standard electrical outlet. The LED display will illuminate.
2. Батареянын камдык көчүрмөсү (милдеттүү эмес)
У учурунда резервдик күч үчүнtages, install 2 AAA batteries (not included) into the battery compartment on the bottom of the clock. The battery backup maintains time and alarm settings but does not power the display.

Figure 3: The clock operates electrically with optional battery backup.
Иштөө нускамалары

Figure 4: Rear panel controls for setting time and alarms.
1. Убакытты белгилөө
- басып, кармап туруңуз УБАКЫТТЫ ОРНОТУУ button located on the back of the clock until the hour digits begin to flash.
- басыңыз СААТ КОЮЛГАН саатты тууралоо үчүн кайра-кайра баскычын басыңыз. Туура AM/PM жөндөөсү үчүн PM индикаторуна көңүл буруңуз.
- басыңыз MIN SET мүнөттөрдү тууралоо үчүн кайра-кайра баскычын басыңыз.
- басыңыз УБАКЫТТЫ ОРНОТУУ button again to confirm and save the time.
2. Ойготкучтарды орнотуу (AL1 жана AL2)
Бул саат эки көз карандысыз ойготкучка ээ.
- 1-ойготкучту коюу үчүн: басып, кармап туруңуз ОЙГОЛГОН 1 СЕТ button until the hour digits flash. Use СААТ КОЮЛГАН жана MIN SET buttons to adjust the alarm time. Press ОЙГОЛГОН 1 СЕТ ырастоо үчүн дагы.
- 2-ойготкучту коюу үчүн: Follow the same procedure using the ОЙГОЛГОН 2 СЕТ баскычы.
- Ойготкучту иштетүү/өчүрүү үчүн: колдонуу ALARM 1 ON/OFF жана ALARM 2 ON/OFF switches on the back of the clock to turn each alarm on or off. An indicator light on the display will show if an alarm is active.
3. Snooze and Dimmer Function
The large button on top of the clock serves two functions:
- Чырым: Ойготкуч чыкканда, басыңыз КАЙРЫЛУУ / КӨҢҮЛГӨТ Ойготкучту бир нече мүнөткө убактылуу өчүрүү үчүн баскычын басыңыз. Ойготкуч тындыруу мезгилинен кийин кайрадан чырылдайт.
- тунарды: When the alarm is not sounding, press the КАЙРЫЛУУ / КӨҢҮЛГӨТ button to cycle through different brightness levels for the LED display (5% to 100%).

Figure 5: The large snooze button on top of the clock.

Figure 6: Adjustable display brightness from 5% to 100%.
4. Tilt & Swivel Function
The clock is designed with a flexible stand for optimal viewбурчтар:
- Россия: The clock face can be tilted 35 degrees back and forth. Gently adjust the top panel to your desired angle.
- Айлануучу: The base allows the clock to swivel 90 degrees left and right. Rotate the clock on its base for the best viewпозиция.
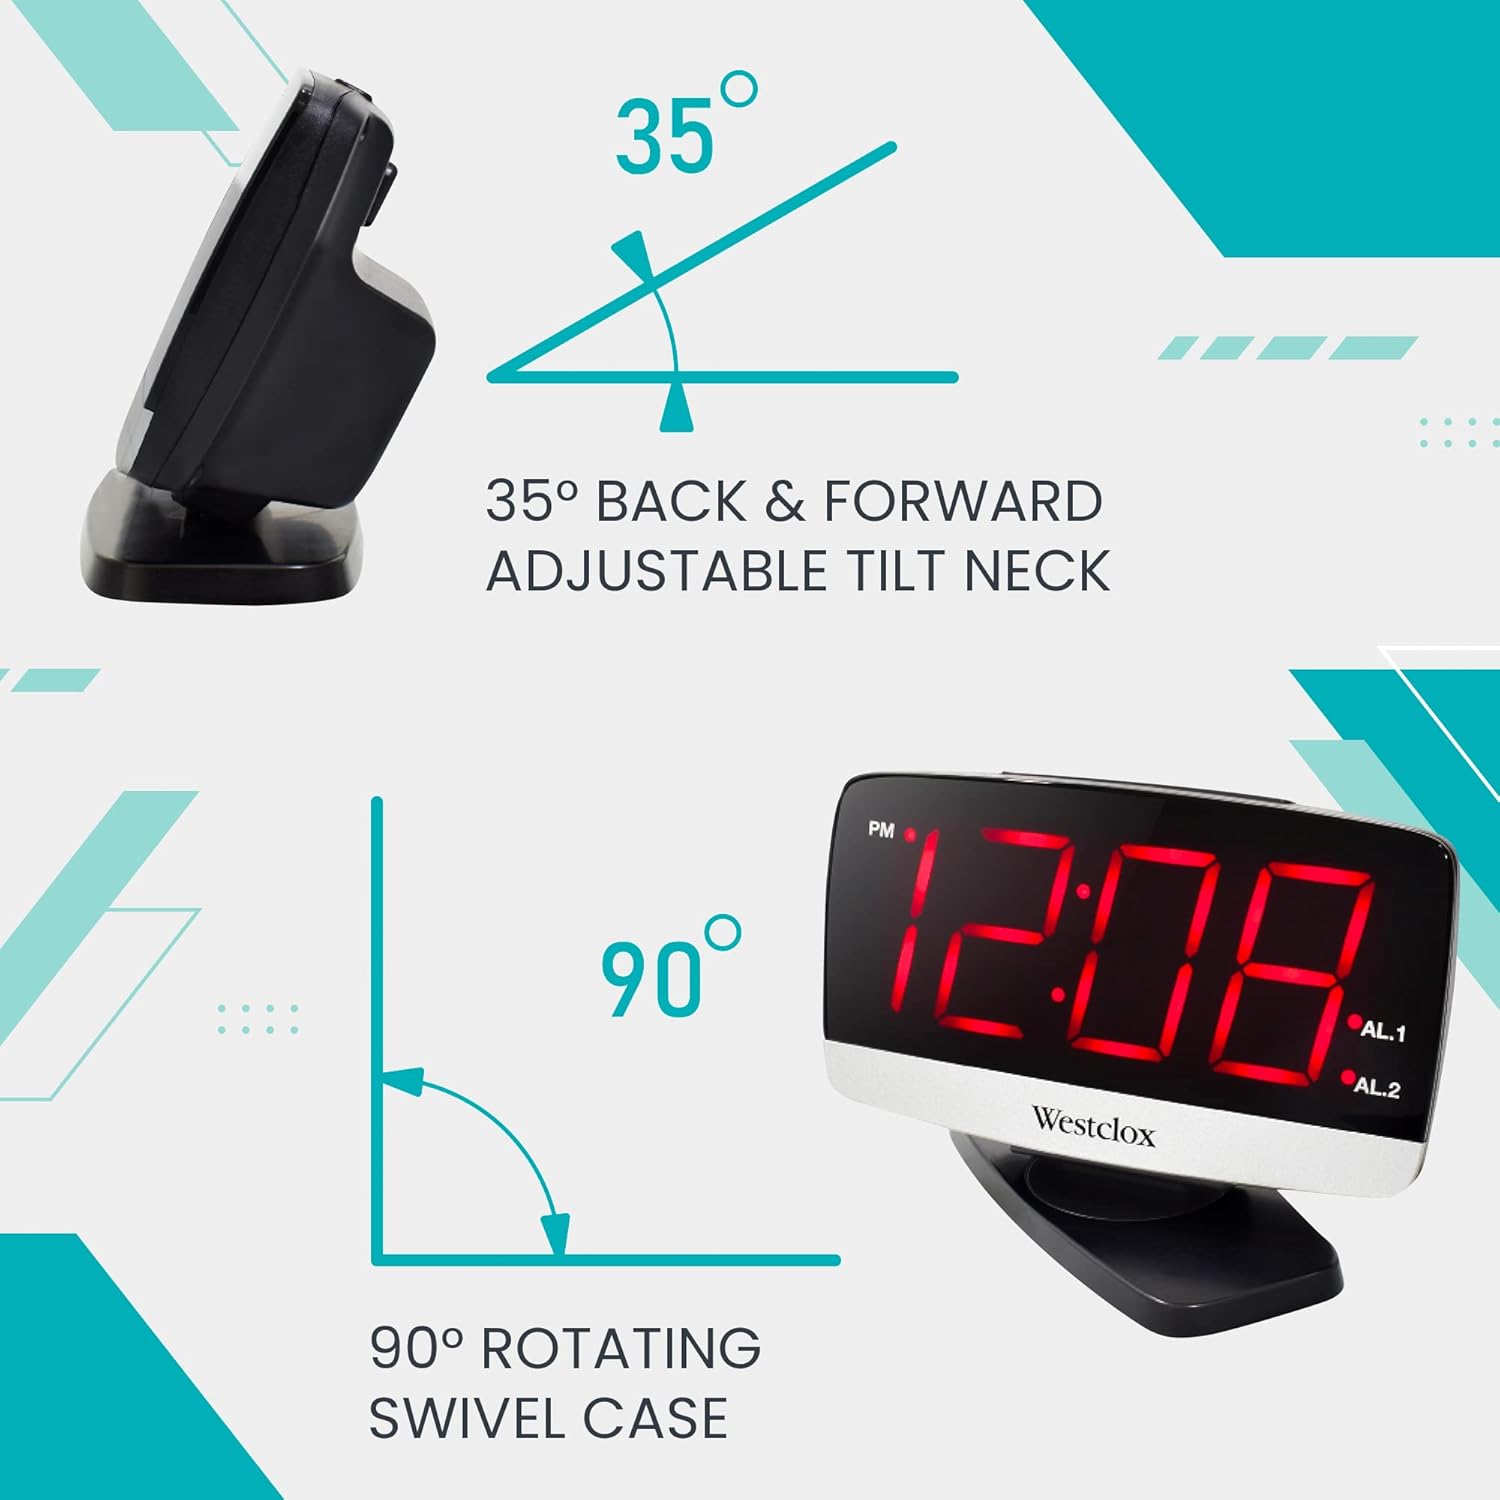
Figure 7: The clock offers 35-degree tilt and 90-degree swivel for flexible positioning.

8-сүрөт: Көптөгөн viewing angles are possible with the tilt and swivel feature.
Техникалык тейлөө
To ensure the longevity and optimal performance of your Westclox alarm clock, follow these simple maintenance guidelines:
- Тазалоо: Саатты жумшак, кургак чүпүрөк менен сүртүңүз. Абразивдүү тазалоочу каражаттарды же эриткичтерди колдонбоңуз, анткени алар капталына зыян келтириши мүмкүн.
- Жайгашкан жери: Саатты туруктуу, тегиз жерге, күндүн түз нурунан, ашыкча ысыктан же нымдуулуктан алыс коюңуз.
- Батареяны алмаштыруу: If using battery backup, replace AAA batteries annually or when the display shows signs of dimming during a power outage.
Проблемаларды чечүү
Эгерде сиз ойготкуч саатыңыз менен кандайдыр бир көйгөйлөргө туш болсоңуз, төмөнкү кеңири таралган көйгөйлөрдү жана чечимдерди караңыз:
- No Display / Clock Not Working:
- Кубат адаптери саатка да, иштеп жаткан электр розеткасына да бекем сайылганын текшериңиз.
- Башка аспапка туташтыруу менен розеткага кубат берилип жатканын текшериңиз.
- If using battery backup, ensure batteries are correctly installed and not depleted.
- Ойготкуч угулбайт:
- Verify that the ALARM ON/OFF switch for the desired alarm (AL1 or AL2) is in the "ON" position.
- Check that the alarm time is correctly set and is not set for AM instead of PM, or vice-versa.
- Дисплей өтө жарык/күңүрт:
- Press the SNOOZE / DIMMER button on top of the clock to adjust the brightness level.
Техникалык шарттар
| Өзгөчөлүк | Деталь |
|---|---|
| Бренд | Westclox |
| Модель номери | 71052 |
| Түс | Кызыл |
| Дисплей түрү | Digital LED |
| LED дисплей өлчөмү | 1.8 дюйм |
| Продукциянын өлчөмдөрү | 6"W x 4"H |
| Power Source | Электр зымдары |
| Батареянын камдык көчүрмөсү | 2 AAA батарейка (киргизилген эмес) |
| Frame Material | Acrylonitrile бутадиен Styrene |
| Элемент Салмагы | 9.92 унция |
| Монтаж түрү | Стол үстү |

Figure 9: Dimensions of the Westclox Digital Alarm Clock.
Кепилдик жана колдоо
Westclox products are manufactured with high-quality standards. For warranty information or technical support, please refer to the contact details provided on the product packaging or visit the official Westclox webсайт. Сатып алуу квитанциясын кепилдик дооматтары үчүн сатып алуунун далили катары сактаңыз.