
Introduction
This manual provides instructions for the Real HD DS-2CD2183G2-IU Acusense 4K 8MP IP Camera. This outdoor dome camera features a 2.8mm lens, Power over Ethernet (PoE) capability, a built-in microphone for real-time audio, 120dB Wide Dynamic Range (WDR), and is rated IP67 and IK10 for environmental protection. It supports H.265+ video compression and advanced human detection. Please read this manual thoroughly before installation and operation.
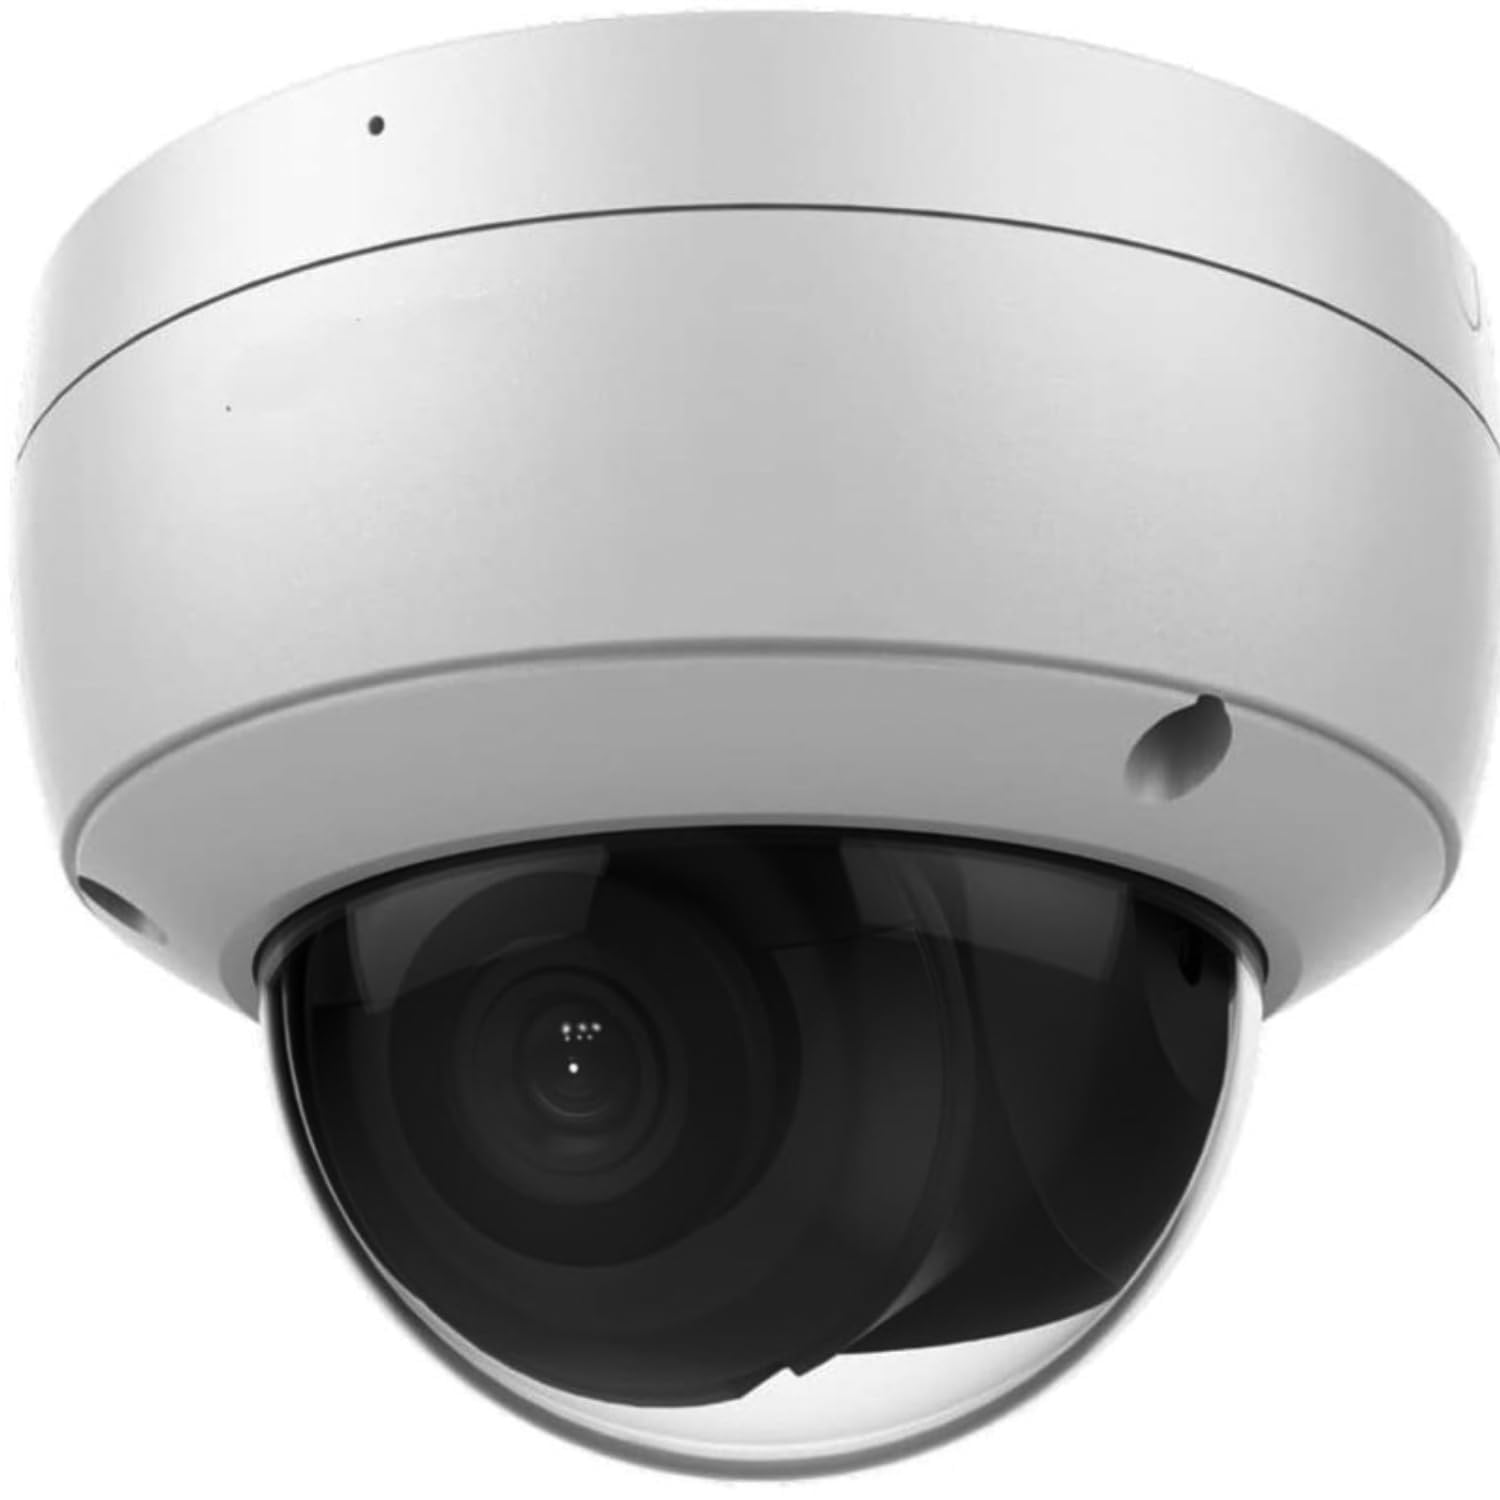
Image: Real HD DS-2CD2183G2-IU 4K 8MP IP Dome Camera. This image displays the overall design of the camera.
Орнотуу жана орнотуу
1. Физикалык орнотуу
The camera is designed for outdoor use and can be ceiling or wall mounted. Ensure the mounting surface is strong enough to support the camera's weight. Use appropriate screws and anchors for secure installation. The camera offers rotation from 0 to 355 degrees and tilt from 0 to 75 degrees for optimal viewбурчтар.

Image: Real HD 4K 8MP IP Dome Camera mounted under an outdoor eave, overlooking a clear sky. This image demonstrates a typical outdoor mounting scenario.

Сүрөт: Бөлүктөргө ажыратылган view of the camera showing internal components and adjustable lens for rotation and tilt. This illustrates the camera's internal structure and adjustability.
2. Кубат жана тармак туташуусу
Connect the camera to your network using a standard RJ45 Ethernet cable. This camera supports Power over Ethernet (PoE), allowing both power and data transmission through a single cable when connected to a PoE-enabled switch or NVR. Alternatively, a 12V DC power adapter (not included) can be used if PoE is not available.
3. Микро SD картаны орнотуу
The camera features a built-in Micro SD/SDHC/SDXC slot, supporting up to 128 GB for local storage. To install, carefully open the camera housing, locate the SD card slot, and insert the card until it clicks into place. Ensure the camera is powered off before inserting or removing the SD card.

Сүрөт: Ички view of the camera showing the Micro SD card slot. This image highlights the location for local storage installation.
4. Баштапкы конфигурация
After connecting the camera to your network, use the manufacturer's client software or a web browser to access the camera's interface. The default IP address and login credentials can be found in the quick start guide or on the product label. It is recommended to change the default password immediately for security purposes.
Операция
1. Video and Image Settings
The camera provides Ultra HD 4K 8MP resolution (3840 x 2160) at 20 frames per second, or 3072 x 1728 at 30 frames per second. Video compression supports H.265+/H.265/H.264+/H.264/MJPEG. Image settings such as saturation, brightness, contrast, and sharpness can be adjusted via the client software or web interface. The camera features 120dB Wide Dynamic Range (WDR) for clear images in high-contrast lighting and 3D Digital Noise Reduction (DNR) for improved image clarity in low light.

Image: Comparison images demonstrating 3D Digital Noise Reduction (DNR), 120dB Wide Dynamic Range (WDR), and Enhanced IR Technology (EXIR) performance. This illustrates the camera's advanced image processing capabilities.
2. Аудио өзгөчөлүктөрү
A built-in microphone enables real-time audio monitoring. Audio settings can be configured through the camera's web интерфейс.
3. Smart Features (Acusense Technology)
The Acusense technology provides advanced detection capabilities:
- Сызыктардын кесилишин аныктоо: Triggers an alert when a pre-defined virtual line is crossed.
- Кирүүнү аныктоо: Triggers an alert when an object enters and loiters in a pre-defined virtual region.
- Жүздү аныктоо: Камера талаасындагы адамдын жүздөрүн аныктайт view.
- Адамды аныктоо: Distinguishes human shapes from other moving objects, reducing false alarms.

Image: Security camera view showing a child and a dog in a backyard, illustrating human and motion detection capabilities. This image demonstrates the camera's ability to detect specific events.
4. Day/Night Operation
The camera features an IR cut filter with auto switch for seamless day and night operation. The infrared (IR) range extends up to 30 meters (approximately 100 feet) for clear night vision.
Техникалык тейлөө
1. Тазалоо
Дайыма камеранын линзасын жана корпусун жумшак, гamp cloth. Avoid using harsh chemicals or abrasive materials that could damage the lens or finish. Ensure the camera is powered off before cleaning.
2. Микропрограмманы жаңыртуу
Мезгил-мезгили менен өндүрүүчүнүн текшерүү website for available firmware updates. Firmware updates can improve performance, add new features, and enhance security. Follow the provided instructions carefully when performing updates.
3. Айлана-чөйрөнү коргоо
The camera is rated IP67 for dust and water resistance, and IK10 for vandal resistance, ensuring durability in various outdoor conditions. While robust, avoid directing high-pressure water jets directly at the camera.
Проблемаларды чечүү
1. No Image/Video Feed
- Verify power supply and network connection. Ensure the PoE switch or NVR is functioning correctly.
- Check network cables for damage or improper connection.
- Confirm the camera's IP address and network settings are correct and not conflicting with other devices.
2. Сүрөттүн сапаты начар
- Эгерде камеранын линзасы кир же тактар бар болсо, аны тазалаңыз.
- Adjust image settings (brightness, contrast, sharpness) in the camera's web интерфейс.
- Ensure sufficient lighting in the monitoring area, especially at night.
- Check for strong backlight or glare; enable WDR if necessary.
3. Тармакка туташуу маселелери
- Restart the camera and the network device (router/switch).
- Ping the camera's IP address from a computer on the same network to verify connectivity.
- Ensure firewall settings are not blocking camera communication.
4. Камераны баштапкы абалга келтирүү
If the camera is unresponsive or you have forgotten the password, a hardware reset may be necessary. Locate the reset button inside the camera housing (refer to the image below). Press and hold the reset button for approximately 10-15 seconds while the camera is powered on. This will restore the camera to its factory default settings.

Сүрөт: Жакын план view of the camera's circuit board showing the reset button. This image indicates the location of the reset button.
Техникалык шарттар
| Модель номери | DS-2CD2183G2-IU |
| Сүрөт сенсору | 1/2.5 "Прогрессивдүү сканерлөө CMOS |
| Видео тартуунун резолюциясы | 8 МП (3840 x 2160) |
| Frame Rate | 20fps (3840 x 2160), 30fps (3072 x 1728) |
| Объектив | 2.8 mm, horizontal field of view: 102° |
| IR диапазону | 30 м (100 фут) чейин |
| Кең динамикалык диапазон (WDR) | 120 дБ |
| Digital Noise Reduction | 3D DNR |
| Видеону кысуу | H.265+/H.265/H.264+/H.264/MJPEG |
| Аудио | Камтылган микрофон |
| Сактагыч | Камтылган Micro SD/SDHC/SDXC уячасы, 128 ГБ чейин |
| Байланыш интерфейси | 1 RJ45 10M / 100M Ethernet interface |
| Аба ырайына каршы рейтинг | IP67 |
| Vandalproof Rating | IK10 |
| Power Source | PoE (Power over Ethernet) or AC/DC (6 watts) |
| Connectivity Protocol | ONVIF, RTSP |
| Элемент Салмагы | 0.82 килограмм |
Кепилдик маалымат
This camera comes with a one-year warranty. Lifetime technical support is provided by the seller.
Колдоо
For technical assistance, inquiries, or support, please contact Real HD. Our US local office is available to provide prompt responses and support.
зыярат кылыңыз Real HD Store on Amazon көбүрөөк маалымат жана байланыш параметрлери үчүн.

Image: Technician installing an outdoor security camera on a wall. Professional installation is recommended for optimal performance and safety.