
Sharp Atomic Clock with Wireless Sensor
Sharp атомдук саатынын колдонуу боюнча колдонмосу
Model: Atomic Clock with Wireless Sensor
Бренд: Sharp
1. Киришүү
Thank you for choosing the Sharp Atomic Clock. This clock is designed to provide precise timekeeping and environmental monitoring with minimal user intervention. Featuring a large, easy-to-read display, it automatically synchronizes with the WWVB radio signal for unparalleled accuracy and displays both indoor and outdoor temperatures, along with the date and day of the week.
This manual provides detailed instructions for setting up, operating, maintaining, and troubleshooting your new atomic clock. Please read it thoroughly before use to ensure optimal performance and longevity of your device.
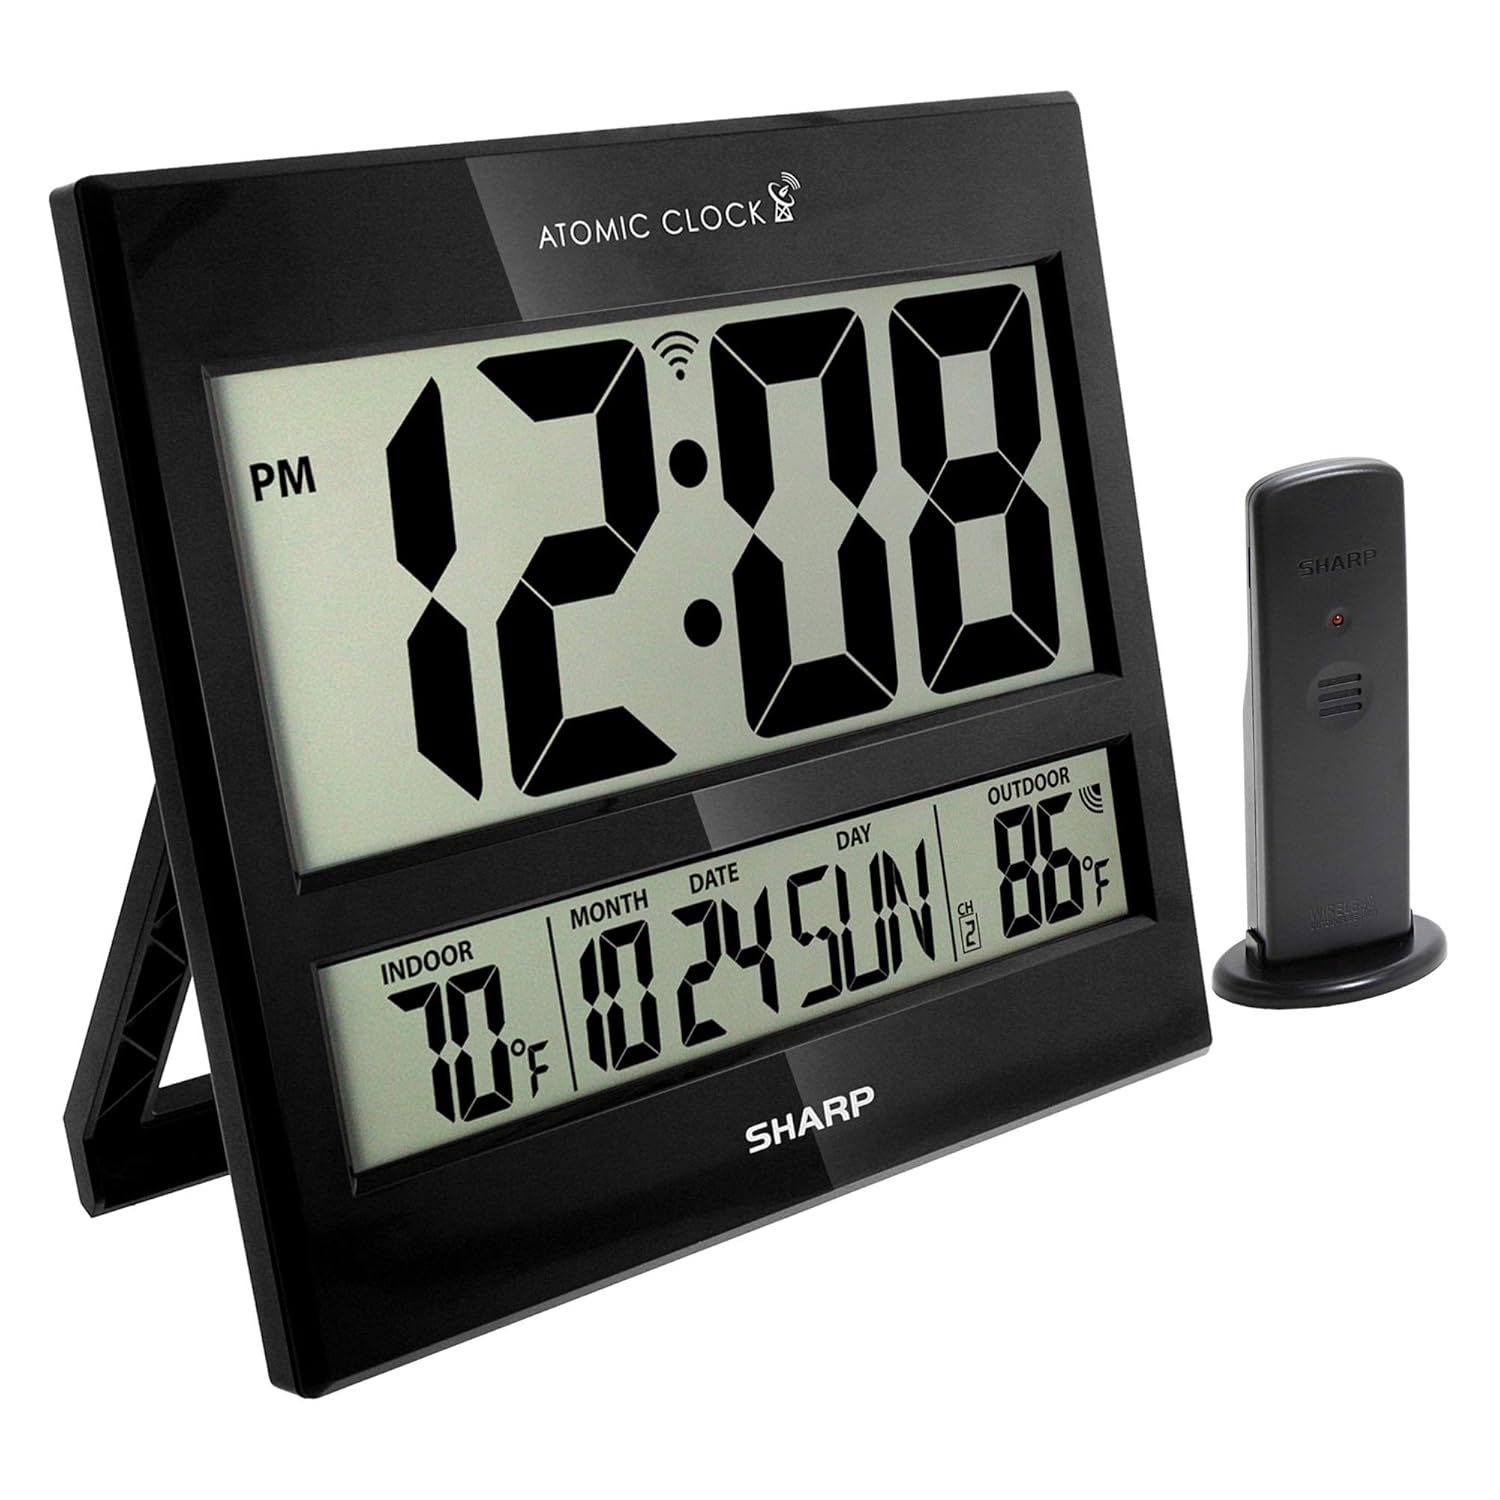
Image: The Sharp Atomic Clock main unit and its accompanying wireless outdoor sensor.
2. Негизги өзгөчөлүктөрү
- Атомдук тактык: Automatically synchronizes with the WWVB radio broadcast from Fort Collins, Colorado, ensuring time accuracy to within one second.
- Зымсыз тышкы сенсор: Transmits outdoor temperature to the main unit from up to 100 feet away.
- Jumbo LCD Display: Large 3-inch tall time digits for easy readability.
- Indoor & Outdoor Temperature Display: Shows current temperatures for both environments.
- Calendar & Day of Week Display: Provides current month, date, and day.
- Ар тараптуу жайгаштыруу: Can be used as a wall clock or a desk clock with its integrated stand.
- Кош кубат параметрлери: Operates on batteries (3 x AA for main unit, 2 x AAA for sensor, not included) or electric power (110V/120V compatible for 'always on' display).

Image: Visual representation of the clock's main features.

Сүрөт: ачык view of the clock's display showing time, date, and temperature readings.
3. Орнотуу колдонмосу
3.1 Батареяны таңгактан чыгаруу жана орнотуу
Carefully remove all components from the packaging. Ensure you have the main atomic clock unit and the wireless outdoor sensor. Batteries are not included and must be purchased separately.
- Негизги блок: Open the battery compartment on the back of the main clock unit. Insert 3 x AA batteries, ensuring correct polarity (+/-).
- Зымсыз тышкы сенсор: Open the battery compartment on the back of the sensor. Insert 2 x AAA batteries, ensuring correct polarity (+/-).
3.2 Wireless Sensor Placement
For accurate outdoor temperature readings, place the wireless sensor within 100 feet (30 meters) of the main unit. Choose a location that is:
- Protected from direct sunlight and precipitation.
- Away from large metal objects or electrical devices that could interfere with the signal.
- Ideally, on a north-facing wall or in a shaded area to prevent inaccurate temperature readings due to solar radiation.

Сүрөт: Мисample placement of the wireless outdoor sensor.
3.3 Initial Atomic Time Synchronization
After battery installation, the clock will automatically attempt to synchronize with the WWVB radio signal. This process may take several minutes to up to 48 hours, especially if the signal is weak or during daytime hours. For best reception, place the clock near a window and away from electronic interference.
The atomic clock will always be accurate to within one second as it receives daily WWVB updates. If the clock does not receive the WWVB signal immediately, just wait overnight, and it should be set in the morning.

Image: Explanation of atomic clock synchronization via WWVB radio broadcast.
4. Операция
4.1 Маалыматты көрсөтүү
The large LCD screen displays the following information:
- Убакыт: Current time in large, easy-to-read digits.
- Ички температура: Temperature measured by the main unit.
- Тышкы температура: Temperature transmitted from the wireless sensor.
- Month, Date, Day: Учурдагы календарь маалыматы.
- DST көрсөткүчү: Indicates if Daylight Saving Time is active.
- Сигнал күчү көрсөткүчү: Shows the strength of the WWVB signal.
4.2 Daylight Saving Time (DST) Assistance
The clock is designed to automatically adjust for Daylight Saving Time. However, if you live in an area that does not observe DST (e.g., Arizona, Hawaii, parts of Indiana), you may need to disable this feature or select another time zone to ensure correct time display. Refer to the buttons on the back of the unit for specific DST settings.

Image: Information regarding Daylight Savings Time adjustments.
4.3 Manual Adjustments (if needed)
While the clock is primarily automatic, manual adjustments for time zone or other settings can be made using the buttons located on the back of the unit. Consult the labels next to each button for their specific functions (e.g., CALENDAR, TIME, CHANNEL, UP, DOWN, TIME ZONE, WAVE, RESET).
5. Техникалык тейлөө
5.1 Батареяны алмаштыруу
When the display becomes dim or the outdoor temperature reading is inconsistent, it is time to replace the batteries. Always replace all batteries in a unit at the same time with new ones of the same type.
- Main Unit: 3 x AA batteries.
- Wireless Outdoor Sensor: 2 x AAA batteries.
5.2 Тазалоо
To clean the clock and sensor, use a soft, damp кездеме. Абразивдүү тазалоочу каражаттарды же эриткичтерди колдонбоңуз, анткени алар дисплейге жеasing.
6. Кыйынчылыктарды
6.1 No Outdoor Temperature Display
If your outdoor temperature is not showing on your clock, it may mean that the clock and the transmitter have lost their connection. To reconnect them:
- First, take the batteries out of both the main unit and the outdoor sensor for 15 minutes.
- Then, put the batteries back into the transmitter (sensor) first, followed by the main clock unit.
- Let them sit side by side inside your home. When both the indoor and outdoor temperatures show on your clock with the same reading, or within two degrees of each other, then you may put your transmitter back outside.
- Remember to keep the transmitter out of direct sun in a dry place and away from metal, which can affect the readings.

Image: Troubleshooting steps for outdoor temperature display.
6.2 Убакыт/Дата туура эмес
If the time or date is incorrect after initial setup or after a power interruption, ensure the clock is receiving a strong WWVB signal. You can manually initiate a signal search by pressing the 'WAVE' button on the back of the unit. Allow several minutes for the clock to attempt re-synchronization.
6.3 Дисплей күңүрт же бош
This usually indicates low batteries. Replace all batteries in both the main unit and the sensor. If using electric power, ensure the power adapter is securely connected to a working outlet.
7. Техникалык шарттар
| Өзгөчөлүк | Description |
|---|---|
| Продукциянын өлчөмдөрү | 8.75 x 1.5 x 7.9 дюйм (W x D x H) |
| Салмагы | 1.34 фунт |
| Дисплей түрү | LCD |
| Убакытты көрсөтүү | Jumbo 3" Tall Digits |
| Температура диапазону (ички) | Not specified, typically standard room temperature range. |
| Температура диапазону (тышкы) | Not specified, typically -4°F to 140°F (-20°C to 60°C). |
| Зымсыз сенсордук диапазон | Ачык абада 30 метрге (100 фут) чейин |
| Кубат булагы (Негизги блок) | 3 x AA batteries (not included) or 110V/120V AC adapter (for 'always on' display) |
| Кубат булагы (сенсор) | 2 x AAA батарейкалар (киргизилген эмес) |
| Өзгөчөлүктөр | Atomic Time, Temperature Display, Calendar Display, Wireless Outdoor Sensor |
| Өндүрүүчү | Sharp |
| Келип чыккан өлкө | Кытай |
8. Кепилдик жана колдоо
Sharp products are manufactured to the highest quality standards. For detailed warranty information, including terms, conditions, and how to obtain service, please refer to the warranty card included with your product packaging or visit the official Sharp webсайт. Сатып алуу квитанциясын кепилдик дооматтары үчүн сатып алуунун далили катары сактаңыз.
For technical support or further assistance, please contact Sharp customer service through the contact information provided in your product documentation or on the official Sharp support webсайт.
Ask a question about this manual
Ask about setup, troubleshooting, compatibility, parts, safety, or missing instructions. Manuals+ will review the question and use this page’s manual context to help answer it.