
Introduction
This manual provides detailed instructions for the safe and efficient operation of your SINGER M1005 Electric Sewing Machine. The M1005 is designed for various sewing projects, offering 4 built-in stitches with 11 options, adjustable thread tension, and a reverse lever for securing seams. Please read this manual thoroughly before using the machine to ensure proper setup and function.
Маанилүү коопсуздук нускамалары
Электр шаймандарын колдонууда негизги коопсуздук чараларын дайыма сактоо керек, анын ичинде төмөнкүлөр:
- Бул тигүүчү машинаны колдонуудан мурун бардык көрсөтмөлөрдү окуп чыгыңыз.
- Keep these instructions in a convenient place near your machine.
- Колдонгондон кийин жана тазалоодон, капкактарды алуудан, майлоодон же колдонмодо көрсөтүлгөн башка тейлөө жөндөөлөрүн жасоодон мурун, машинаны дароо электр розеткасынан сууруп алыңыз.
- оюнчук катары колдонууга жол бербеңиз. Бул шайманды балдар же анын жанында колдонгондо кунт коюп көңүл буруу зарыл.
- Бул продуктуну ушул колдонмодо сүрөттөлгөндөй максаттуу колдонуу үчүн гана колдонуңуз.
- Never operate this sewing machine if it has a damaged cord or plug, if it is not working properly, or if it has been dropped or damaged.
- Бармактарды кыймылдуу бөлүктөрдөн алыс кармаңыз. Тигүүчү машинанын ийнесинин айланасында өзгөчө кылдаттык талап кылынат.
- Ар дайым туура ийне пластинасын колдонуңуз. Туура эмес пластинка ийненин сынып кетишине алып келиши мүмкүн.
- Тигүү учурунда кездемени тартпаңыз же түртпөңүз. Бул ийнени кыйшайтып, анын сынып кетишине алып келиши мүмкүн.
- Ийненин аймагына кандайдыр бир өзгөртүүлөрдү киргизгенде, мисалы, ийнени жип менен өткөрүүдө, ийнени алмаштырууда, катушканы жип менен өткөрүүдө же басмактын бутунун алмаштыруусунда тигүүчү машинаны өчүрүңүз.
Продукт бүттүview
The SINGER M1005 is a compact and user-friendly electric sewing machine designed for ease of use and portability.
Негизги өзгөчөлүктөрү:
- 4 Stitches in 11 Options: Select from various straight stitches, zigzag stitches, blind hem stitch, and multi-stitch zigzag using the Stitch Selector Dial.
- Adjustable Thread Tension: Allows for fine-tuning stitch quality for different fabrics and threads.
- Үстүнкү салынуучу катушка: Features a transparent bobbin cover for easy monitoring of thread supply and simple bobbin insertion.
- Free-Arm Design: Facilitates sewing of cylindrical items like trouser hems and sleeve cuffs.
- Тескери рычаг: Conveniently located for securing the beginning and end of seams with reverse stitches.
- Extra High-Presser Foot Lifter: Provides additional clearance for sewing multiple layers or thicker fabrics.
- Портативдик дизайн: Lightweight for easy transport and storage.
Камтылган компоненттер:
Your SINGER M1005 sewing machine package includes the following items:
- 1 тигүүчү машина
- All-purpose Foot
- Кошумча ийне
- Finger Guard (pre-installed, removable)
- Bobbins: Class 15 (Transparent)
- Кол менен ийне сайгыч
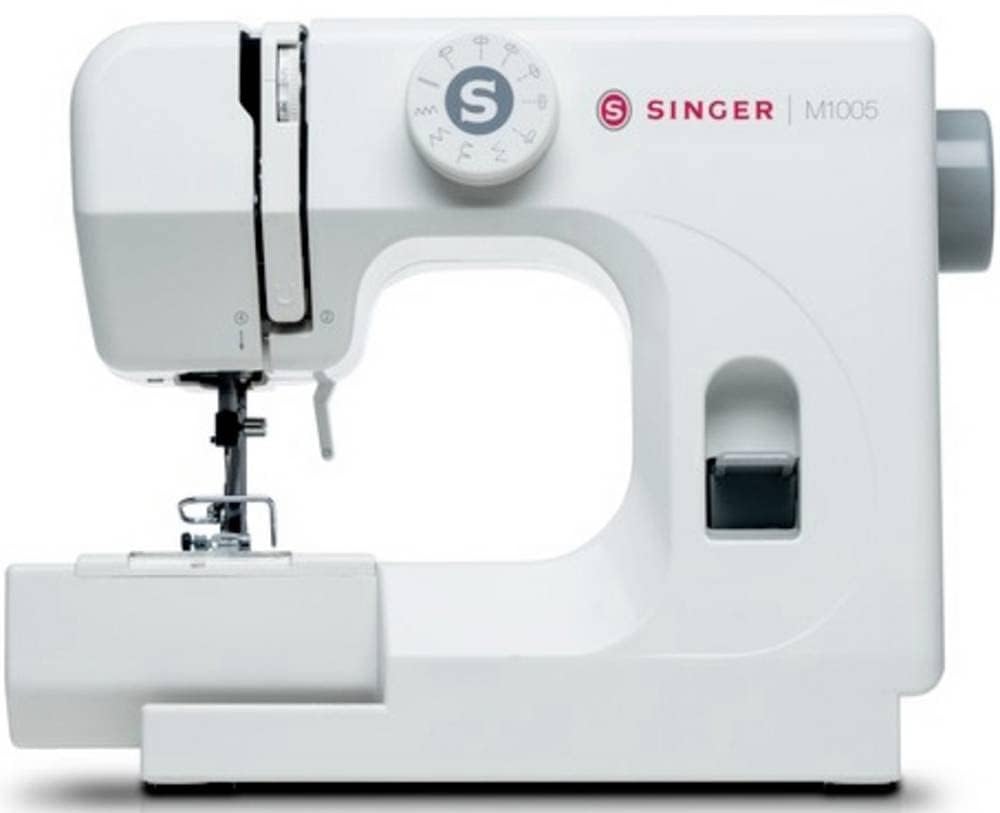
1-сүрөт: The SINGER M1005 Electric Sewing Machine, showcasing its compact design and ready-to-use setup.
Жайгашуу
1. Power Connection
- Машинаны туруктуу, тегиз бетке коюңуз.
- Кубат өчүргүчтүн "OFF" абалында экенин текшериңиз.
- Кубат шнурун машинанын кубат киргизүү булагына, андан кийин тиешелүү электр розеткасына туташтырыңыз.
2. Катушканы ороо
Катушканы туура ороо жылмакай тигүүнү камсыздайт.
- Спулдун төөнөгүчтүн үстүнө жиптин катушкасын коюңуз.
- Жипти үстүнкү жиптин багыттоочусу аркылуу жана катушка оромунун тарткыч дискинин айланасынан өткөрүңүз.
- Жипти катушкадагы кичинекей тешик аркылуу ичинен сыртка киргизиңиз.
- Place the bobbin onto the bobbin winder spindle.
- Орап оруучу шпиндельди оңго түртүңүз.
- Turn on the machine and gently press the foot controller (if applicable) or press the start button to begin winding.
- Once the bobbin is full, push the spindle back to the left and cut the thread.
3. Inserting the Top Drop-in Bobbin
The transparent bobbin cover allows for easy monitoring.
- Ensure the needle is in its highest position.
- Open the transparent bobbin cover plate.
- Place the wound bobbin into the bobbin case with the thread unwinding counter-clockwise.
- Жипти тартуу пружинасы, андан кийин жипти багыттоочу уячага багыттаңыз.
- Pull out approximately 10-15 cm (4-6 inches) of thread.
- Бобин капкагын алмаштырыңыз.
4. Үстүнкү жипти жип менен өткөрүү
Correct upper threading is crucial for proper stitch formation.
- Басуучу бут көтөргүчтү көтөрүңүз.
- Спулдун төөнөгүчтүн үстүнө жиптин катушкасын коюңуз.
- Жипти үстүнкү жип жетектөөчүсү аркылуу өткөрүңүз.
- Follow the numbered threading path down the right channel, up the left channel, and through the take-up lever from right to left.
- Жипти ийне тилкесинин жип багыттоочусуна чейин ылдый карай багыттоону улантыңыз.
- Ийнени алдыдан артка сайлаңыз.
- Pull approximately 15-20 cm (6-8 inches) of thread through the needle eye.
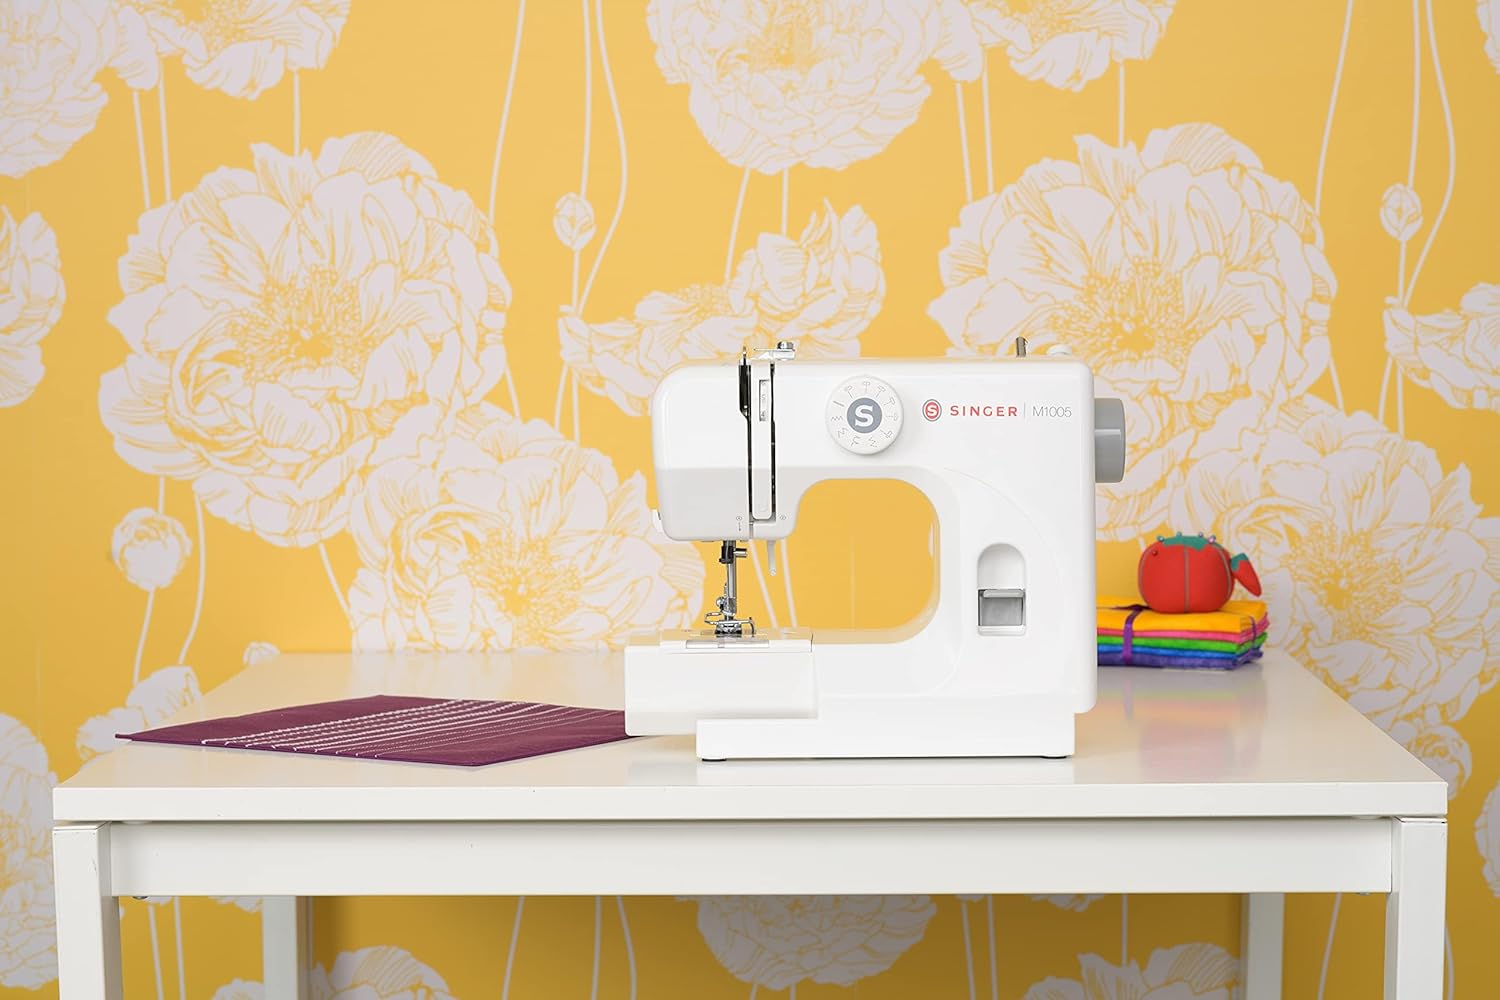
2-сүрөт: Фронт view of the SINGER M1005, highlighting the stitch selector dial and general threading area.
Иштөө нускамалары
1. Тигүүнү тандоо
The SINGER M1005 offers 4 core stitch types with 11 different options.
- бургула Тигүү тандоо тергичи to choose your desired stitch pattern.
- Available stitches include various straight stitches (different lengths/positions), three types of zigzag stitches (different lengths/widths), one blind hem stitch, and one multi-stitch zigzag.
- The optimum stitch width for this machine is 4 mm.
2. Жиптин тартылышын жөнгө салуу
Adjust the needle thread tension to achieve balanced stitches.
- The tension dial is usually located on the front of the machine.
- Turn the dial to a higher number for tighter tension, and a lower number for looser tension.
- Test on a scrap piece of fabric to find the ideal setting for your fabric and thread combination.
3. Using the Reverse Lever
The reverse lever is used to secure the beginning and end of seams.
- To sew in reverse, press and hold the Reverse Lever located on the front of the machine.
- Release the lever to resume forward stitching.
4. Free-Arm Sewing
To utilize the free-arm feature for sewing cuffs, pant hems, or other small circular items:
- Remove the accessory storage compartment (if present) by sliding it off to the left.
- The narrow free arm is now exposed, allowing you to slide fabric around it.
5. Extra High-Presser Foot Lifter
For thicker fabrics or multiple layers, the presser foot can be raised higher than its standard position.
- Lift the presser foot lifter to its highest position.
- For extra clearance, push the lifter up further to engage the extra high position.
Техникалык тейлөө
Үзгүлтүксүз техникалык тейлөө тигүүчү машинаңыздын узак мөөнөттүү иштешин жана оптималдуу иштешин камсыздайт. Ар кандай техникалык тейлөө иштерин жүргүзүүдөн мурун машинаны ар дайым розеткадан сууруп коюңуз.
1. Машинаны тазалоо
- Типти кетирүү: Катушка аймагынан жүн менен чаңды кетирүү жана иттерди тамактандыруу үчүн кичинекей щетканы колдонуңуз.
- Тышкы тазалоо: Сырткы беттерин жумшак менен сүртүңүз, гamp кездеме. Катуу химиялык заттарды колдонбоңуз.
2. Ийне алмаштыруу
Replace the needle regularly (after 8-10 hours of sewing) or if it becomes bent, dull, or broken.
- Машинаны өчүрүп, розеткадан ажыратыңыз.
- Ийне клинасын бошотуңузamp бурама.
- Эски ийнени алып салыңыз.
- Жаңы ийнени жалпак тарабын машинанын артына каратып, мүмкүн болушунча өйдө түртүңүз.
- Ийне clamp коопсуз бураңыз.
Проблемаларды чечүү
Сиз кабылышы мүмкүн болгон жалпы маселелерди чечүү үчүн бул бөлүмдү караңыз.
| Көйгөй | Мүмкүн себеп | Чечим |
|---|---|---|
| Өткөрүлгөн тигүү | Туура эмес ийне, ийне ийилген, жип туура эмес өткөрүлгөн. | Ийнени туура түрү/өлчөмү менен алмаштырыңыз, жипти машинадан туура өткөрүңүз. |
| Thread Breaking | Incorrect threading, tension too tight, damaged needle, poor quality thread. | Re-thread machine, adjust tension, replace needle, use good quality thread. |
| Кездемени бырыштыруу | Тартуу өтө катуу, тигиштин узундугу туура эмес, кездеменин ийнеси туура эмес. | Loosen tension, adjust stitch length, use appropriate needle. |
| Машинанын бүтүшү | Жип шпулька аймагында чаташып калган, түк топтолуп калган, шпулька туура эмес сайылган. | Remove bobbin and clean bobbin case, re-insert bobbin correctly. |
| Тегиз эмес тигүү | Жиптин туура эмес тартылышы, жиптин туура эмес өткөрүлүшү, ийненин эскилиги жеткендиги. | Adjust tension, re-thread machine, replace needle. |
Техникалык шарттар
Technical specifications for the SINGER M1005 Electric Sewing Machine.
- Бренд: ЫРЧЫ
- Модель номери: M1005 (Part Number: 230246102)
- Түсү: Ак
- Материал: Пластик
- Элемент Салмагы: 3 килограмм
- Кубат булагы: Электр зымдары
- Stitch Options: 4 built-in stitches with 11 options
- Max Stitch Width: 4 мм
- Бобин түрү: Class 15 (Transparent, Top Drop-in)
- Өзгөчөлүктөр: Adjustable Thread Tension, Free-Arm Design, Reverse Lever, Extra High-Presser Foot Lifter
Кепилдик жана колдоо
For warranty information, service, or technical support, please refer to the warranty card included with your product or contact SINGER customer service directly. Keep your purchase receipt as proof of purchase.
You can typically find contact information for SINGER support on their official webсайтында же продуктунун таңгагында.