
1. Киришүү
The LEDLUX ZigBee Wireless Scene Switch (Model SHZ3543) is a versatile 3-button remote control designed to enhance your smart home experience. This battery-powered device connects to your smart ZigBee products, such as LED lights, via the ZigBee 3.0 protocol. It allows you to control up to 9 different scenes or devices through the Tuya and Smart Life applications, offering convenient and cable-free operation.

Сүрөт 1: Алдыңкы view of the LEDLUX ZigBee Wireless Scene Switch.
2. Продукциянын өзгөчөлүктөрү
- ZigBee 3.0 протоколу: Connects wirelessly to smart ZigBee products like lights.
- ZigBee Hub Gateway Required: Operates in conjunction with a ZigBee Hub Gateway (sold separately).
- Multi-Scene Control: Three pairing modes per button allow for a maximum of 9 scenes from a single switch.
- Компакт дизайн: Square 86 x 86 mm, 15.5 mm thick.
- Батарея менен иштейт: Uses a CR2032 battery (not included), providing over 2 years of battery life.
- Зымсыз орнотуу: No wiring required; attach anywhere with double-sided tape.
- Бир нече моделдер: Available in 1-key, 2-key, and 3-key versions. This manual covers the 3-key version.
3. Орнотуу колдонмосу
3.1. Батареяны орнотуу
The device requires a CR2032 battery, which is not included in the package. Please purchase one separately.
- Carefully open the switch cover using a small screwdriver or similar tool.
- Insert the CR2032 battery into the designated slot, ensuring correct polarity.
- Close the switch cover securely.
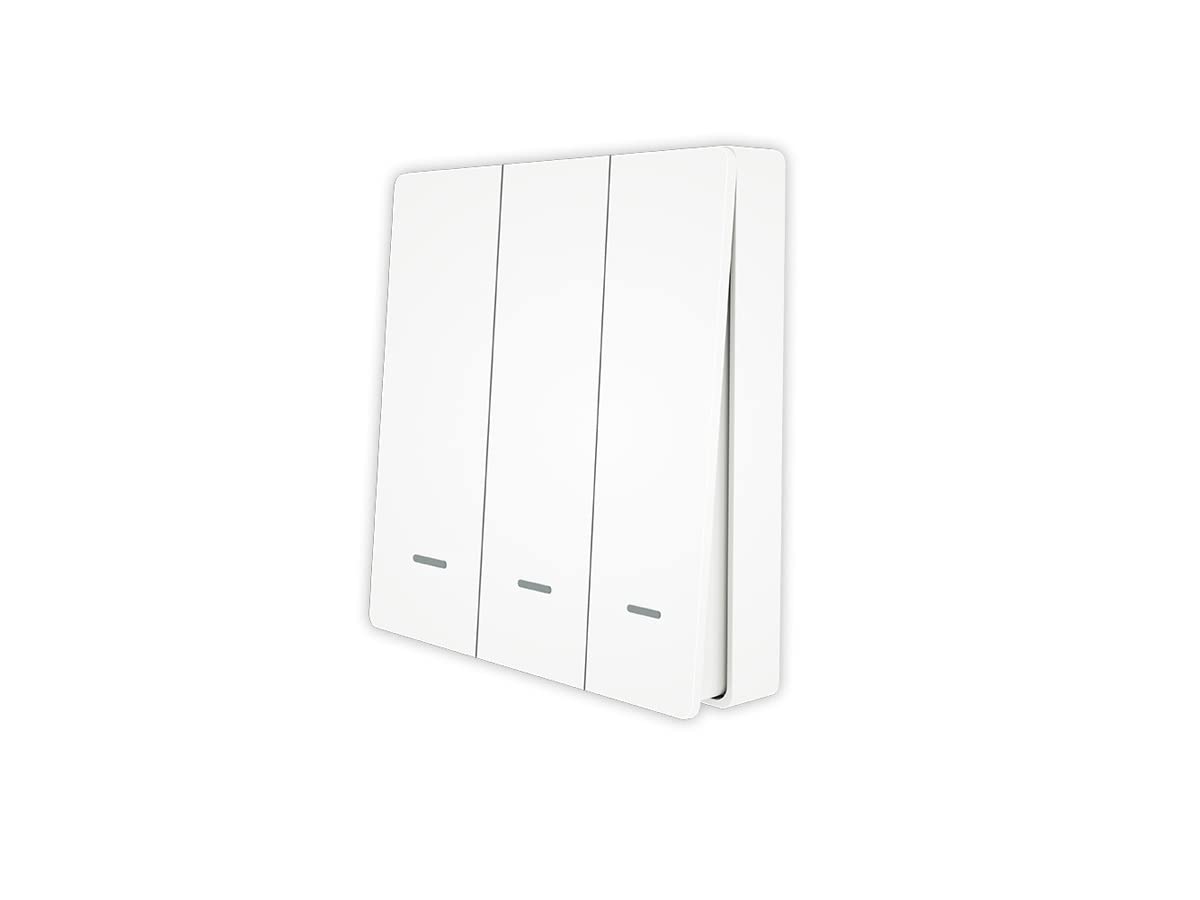
Figure 2: Battery installation for the scene switch.
3.2. Pairing with ZigBee Hub Gateway
This scene switch requires a ZigBee Hub Gateway to function. Ensure your ZigBee Hub is powered on and connected to your network.
- Open the Tuya Smart or Smart Life application on your smartphone.
- Navigate to your ZigBee Hub Gateway within the app.
- Initiate the device search or pairing mode on your ZigBee Hub.
- On the scene switch, press and hold any button until the indicator light blinks, signaling it is in pairing mode.
- Once the switch is detected and added to your ZigBee Hub in the app, confirm the pairing.
Video 1: Demonstrates unboxing, battery installation, and pairing the scene switch with a ZigBee Gateway via the Tuya app.
3.3. Setting Up Scenes in the App
After pairing, you can configure scenes and assign them to the switch buttons within the Tuya Smart or Smart Life app.
- In the app, go to the 'Smart' or 'Automation' section.
- Create a new scene or automation. For example, a 'Tap-to-Run' scene.
- Add the desired smart devices (e.g., lights, dimmer switches) to this scene and define their states (ON/OFF, brightness, etc.). Multiple devices can be controlled simultaneously within one scene.
- Сахнаны сакта.
- Go to the interface for your Scene Switch within the app.
- Assign the newly created scene to a specific button action (e.g., single click, double click, long press) on your scene switch.

Figure 3: Multiple devices can be added to your smart life app for unified control.

Figure 4: Voice control setup with Alexa and Google Home is supported via the Tuya/Smart Life App.

Figure 5: Timer control allows scheduling up to 30 events, repeatable daily or weekly.
4. Операция
Once scenes are configured and assigned, simply press the corresponding button on the scene switch to activate the programmed actions. Each button can support up to three different actions (single click, double click, long press), allowing for versatile control of your smart devices.

Figure 6: Enjoy the convenience of connected devices at the press of a button.
5. Техникалык тейлөө
5.1. Батареяны алмаштыруу
When the indicator light on the switch no longer responds or the device becomes unresponsive, it may be time to replace the CR2032 battery. Follow the steps in Section 3.1 for battery installation.
5.2. Тазалоо
Аппаратты жумшак, кургак чүпүрөк менен сүртүңүз. Абразивдүү тазалагычтарды же эриткичтерди колдонбоңуз.
6. Кыйынчылыктарды
- Түзмөк жооп бербей жатат: Check if the CR2032 battery needs replacement. Ensure the ZigBee Hub Gateway is online and functioning correctly.
- Cannot pair with ZigBee Hub: Ensure the switch is in pairing mode (indicator light blinking). Verify the ZigBee Hub is in device search mode. Move the switch closer to the hub during pairing.
- Scene not activating: Double-check the scene configuration in the Tuya Smart/Smart Life app. Ensure the scene is correctly assigned to the button action. Verify that the devices within the scene are online and responsive.
- Индикатордун жарыгы күйүп-өчпөй жатат: If the indicator light does not blink when holding a button, the battery might be depleted or incorrectly installed.
7. Техникалык шарттар
| Спецификация | Нарк |
|---|---|
| Модел | SHZ3543 |
| Бренд | LEDLUX |
| Байланыш түрү | Зымсыз |
| Туташуу Протоколу | ZigBee |
| Башкаруу ыкмасы | Remote, App (Tuya, Smart Life) |
| Позициялардын саны | 9 (scenes) |
| Power Source | CR2032 Батареясы (кошулмага кирбейт) |
| Элементтин өлчөмдөрү (LxWxH) | 8.6 x 8.5 x 1.5 см |
| Элемент Салмагы | 63 грамм |
| Материал | Plastic, Brass (contact material) |
| Түс | Ак |
| Актуатор түрү | Push Button |
| Монтаж түрү | Surface Mount |
| Учурдагы рейтинг | 1 Ampere |
| Ватtage | 230 ватт |
8. Кепилдик жана колдоо
For warranty information and technical support, please refer to the documentation provided with your purchase or contact LEDLUX customer service. Keep your proof of purchase for any warranty claims.