1. Киришүү
This manual provides detailed instructions for the installation, configuration, operation, and maintenance of your TP-Link EAP610 AX1800 Gigabit Dual-Band Wi-Fi 6 Access Point. Please read this manual thoroughly before using the device to ensure proper functionality and to avoid any potential issues.
2. Продукт бүтүп калдыview
The TP-Link EAP610 is a high-performance Wi-Fi 6 access point designed for demanding network environments. It offers advanced features for enhanced wireless connectivity and efficient network management.
Негизги өзгөчөлүктөрү:
- Ультра тез Wi-Fi 6 ылдамдыгы: Delivers combined speeds of up to 1775 Mbps (574 Mbps on 2.4 GHz and 1201 Mbps on 5 GHz) for smooth streaming and fast downloads.
- Жогорку тыгыздыктагы байланыш: Supports up to 4 times more connected devices simultaneously compared to Wi-Fi 5, ideal for environments with many users.
- Integrated with Omada SDN: Provides Zero-Touch Provisioning, Centralized Cloud Management, and Intelligent Monitoring for simplified network administration.
- Үзгүлтүксүз роуминг: Ensures uninterrupted video and voice calls as users move between access points.
- Ийкемдүү кубат параметрлери: Supports both 802.3at Power over Ethernet (PoE) and DC power for versatile installation.
3. Пакеттин мазмуну
Пакетиңизде төмөнкү заттар бар экенин текшериңиз:
- 1 × EAP610 Access Point
- Mounting Kit (Ceiling/Wall Mount)
- Орнотуу боюнча колдонмо
Эгерде кандайдыр бир буюм жок болсо же бузулуп калса, сатуучуга кайрылыңыз.
4. Аппараттык камсыздоону орнотуу
The EAP610 can be mounted on a wall or ceiling. Ensure the chosen location provides optimal Wi-Fi coverage and is near a power source (PoE switch/injector or DC outlet).
4.1 Түзмөк бүттүview
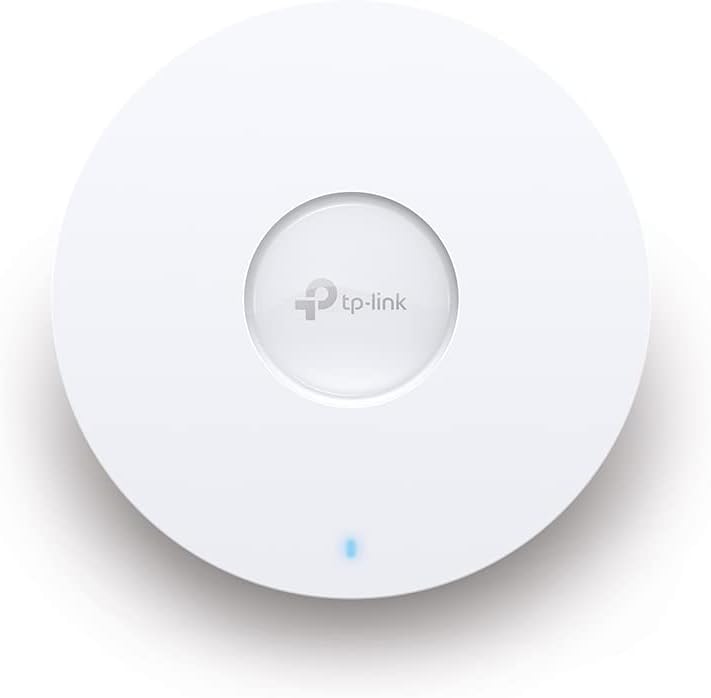
Сүрөт 1: Алдыңкы view of the TP-Link EAP610 Access Point, showing the TP-Link logo and status LED.

2-сүрөт: Каптал view of the TP-Link EAP610 Access Point, illustrating its slim profile.

3-сүрөт: Төмөнкү view of the TP-Link EAP610 Access Point, showing the Ethernet port and power input.
4.2 Кирүү чекитин орнотуу
Use the provided mounting kit to secure the EAP610 to a wall or ceiling. Ensure the mounting surface is stable and can support the device's weight.
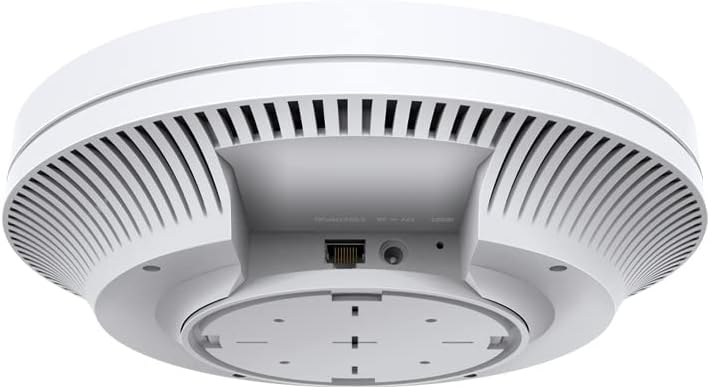
Figure 4: The EAP610 Access Point installed on a ceiling in an office environment.

Figure 5: The EAP610 Access Point installed on a wall in a commercial setting.
4.3 Аппаратты кубаттоо
EAP610 эки кубаттоо ыкмасын колдойт:
- Ethernet аркылуу күч (PoE): Connect an Ethernet cable from a PoE-enabled switch or PoE injector to the EAP610's Ethernet port. This provides both data and power.
- DC кубаттуулугу: Connect a 12V DC power adapter (not included) to the DC power jack on the EAP610.
Ensure the power source meets the device's requirements to prevent damage.
5. Программанын конфигурациясы
The EAP610 can be configured and managed using the TP-Link Omada SDN platform or the Omada app.
5.1 Omada SDN Controller
For centralized management of multiple Omada devices, use the Omada SDN Controller. This allows for zero-touch provisioning, cloud access, and intelligent network monitoring.
- Download the Omada SDN Controller software from the official TP-Link webсайт.
- Follow the on-screen instructions to install and set up the controller.
- Connect your EAP610 to the network where the Omada Controller is running. The controller will detect and allow you to adopt the EAP610.
5.2 Omada App
For convenient management via your mobile device, use the Omada app.
- Download the TP-Link Omada app from the App Store (iOS) or Google Play (Android).
- Launch the app and follow the instructions to add your EAP610.
For detailed configuration steps, refer to the official TP-Link Omada documentation available on their support webсайт.
6. Иштөө нускамалары
Once installed and configured, the EAP610 will broadcast Wi-Fi signals for client devices to connect.
6.1 Wi-Fiга туташуу
- Зымсыз түзмөгүңүздө (смартфон, ноутбук, планшет) жеткиликтүү Wi-Fi тармактарын издеңиз.
- Select the SSID (Wi-Fi network name) configured for your EAP610.
- Суралган болсо, Wi-Fi сырсөзүн киргизиңиз.
- Your device should now be connected to the EAP610's Wi-Fi network.
6.2 Кемчиликсиз роуминг
When multiple EAP610 access points are deployed and managed by an Omada Controller, client devices can seamlessly roam between them without interruption. This ensures a consistent connection for applications like video calls and voice over IP (VoIP) as you move within the coverage area.
7. Техникалык тейлөө
Regular maintenance helps ensure optimal performance and longevity of your EAP610 access point.
- Программалык камсыздоонун жаңыртуулары: Мезгил-мезгили менен TP-Linkти текшерип туруңуз website or your Omada Controller for new firmware versions. Updating firmware can improve performance, add new features, and fix security vulnerabilities.
- Тазалоо: Аппаратты таза жана чаңдан алыс кармаңыз. Сыртын сүртүү үчүн жумшак, кургак чүпүрөктү колдонуңуз. Суюк тазалагычтарды же аэрозолдорду колдонбоңуз.
- Оптималдуу жайгаштыруу: Ensure the access point remains in an unobstructed location for best signal propagation. Avoid placing it near large metal objects or sources of electromagnetic interference.
- Кайра иштетилүүдө: If you experience network issues, a simple restart of the access point can often resolve them.
8. Кыйынчылыктарды
Бул бөлүмдө EAP610 менен кездешиши мүмкүн болгон жалпы көйгөйлөр каралат.
8.1 Күч жок
- Ensure the Ethernet cable is securely connected to both the EAP610 and the PoE source (switch or injector).
- Verify that the PoE source is powered on and functioning correctly.
- If using a DC adapter, ensure it is properly connected and the power outlet is active.
8.2 No Wi-Fi Signal
- Check the status LED on the EAP610. Refer to the installation guide for LED indicator meanings.
- Verify that the EAP610 is properly configured via the Omada Controller or app.
- Ensure the Wi-Fi function is enabled and the SSIDs are broadcasting.
- Restart the EAP610.
8.3 Жай Wi-Fi ылдамдыгы
- Башка электрондук аппараттардын же кошуна Wi-Fi тармактарынын тоскоолдуктарын текшериңиз.
- Ensure your client device supports Wi-Fi 6 (802.11ax) to take full advantage of the EAP610's capabilities.
- Verify the EAP610's channel settings and adjust if necessary to avoid congestion.
- Ensure the Ethernet connection to the EAP610 is gigabit-speed.
For more advanced troubleshooting, consult the comprehensive FAQ and support resources on the TP-Link webсайт.
9. Техникалык шарттар
| Өзгөчөлүк | Деталь |
|---|---|
| Бренд | TP-Link |
| Модель аты | EAP610 |
| Элемент моделинин номери | EAP610 |
| Продукциянын өлчөмдөрү | 13.34 x 0.79 x 4.22 см |
| Элемент Салмагы | 600 грамм |
| Түс | Ак |
| Зымсыз түрү | 802.11ax (Wi-Fi 6) |
| Жыштык тилкесинин классы | Кош тилкелүү |
| Зымсыз байланыш стандарты | 802.11ax |
| Байланыш технологиясы | Ethernet |
| Power Source | DC, Power over Ethernet (PoE) |
| Тtage | 12 вольт |
| Операция системасы | RouterOS (Note: This might be a generic entry, Omada SDN is the primary management platform) |
| Өзгөчөлүктөр | RJ-45, Wireless |
| Шайкеш түзмөктөр | Wi-Fi 6 enabled devices (smartphones, laptops, etc.) |
| Продукт үчүн сунушталган колдонуу | Company, Commercial |
| Камтылган компоненттер | 1 × EAP610 |
| Батареялар | Not known, requires batteries (Note: This device typically does not use batteries) |
| Батареялар камтылган | Жок |
10. Кепилдик жана колдоо
Кепилдик жөнүндө маалымат, техникалык колдоо жана кошумча ресурстар үчүн расмий TP-Link сайтына кириңиз. webсайт:
You can find FAQs, updated drivers and firmware, and contact information for technical assistance.