1. Маанилүү коопсуздук нускамалары
Please read these instructions carefully before using the appliance to prevent damage, fire, or injury. Keep this manual for future reference.
- Ар дайым шайман туруктуу, ысыкка чыдамдуу бетке коюлганын текшериңиз.
- Шайманды, шнурду же сууга же башка суюктуктарга батырбаңыз.
- Шайманды колдонбогондо, бөлүктөрүн кураштырып же демонтаждоодон мурун жана тазалоодон мурун розеткадан сууруп алыңыз.
- Эч кандай шайманды зымы же сайы бузулган, же шайман иштебей калгандан кийин же кандайдыр бир түрдө бузулгандан кийин иштетпеңиз.
- Keep children away from the appliance during operation. The surface can become hot.
- Өндүрүүчү сунуш кылбаган аксессуарларды колдонбоңуз.
- Бул шайман тиричиликте гана колдонуу үчүн.
Image: Standard European power plug. Ensure the plug is fully inserted into a grounded outlet.
2. Продукт бүтүп калдыview
2.1 Компоненттер
The Steba BM 3 Bread Maker includes the following main components:
- Башкаруу панели жана дисплей менен негизги блок
- Removable Baking Pan with Non-stick Coating
- Жууруучу калак
- Өлчөөчү чөйчөк
- Өлчөө кашык
- Ийирүүчү калакты алып салуу үчүн илгич
- менен капкак ViewТерезе

Сүрөт: алдыңкы view of the Steba BM 3 Bread Maker, showing its compact design.
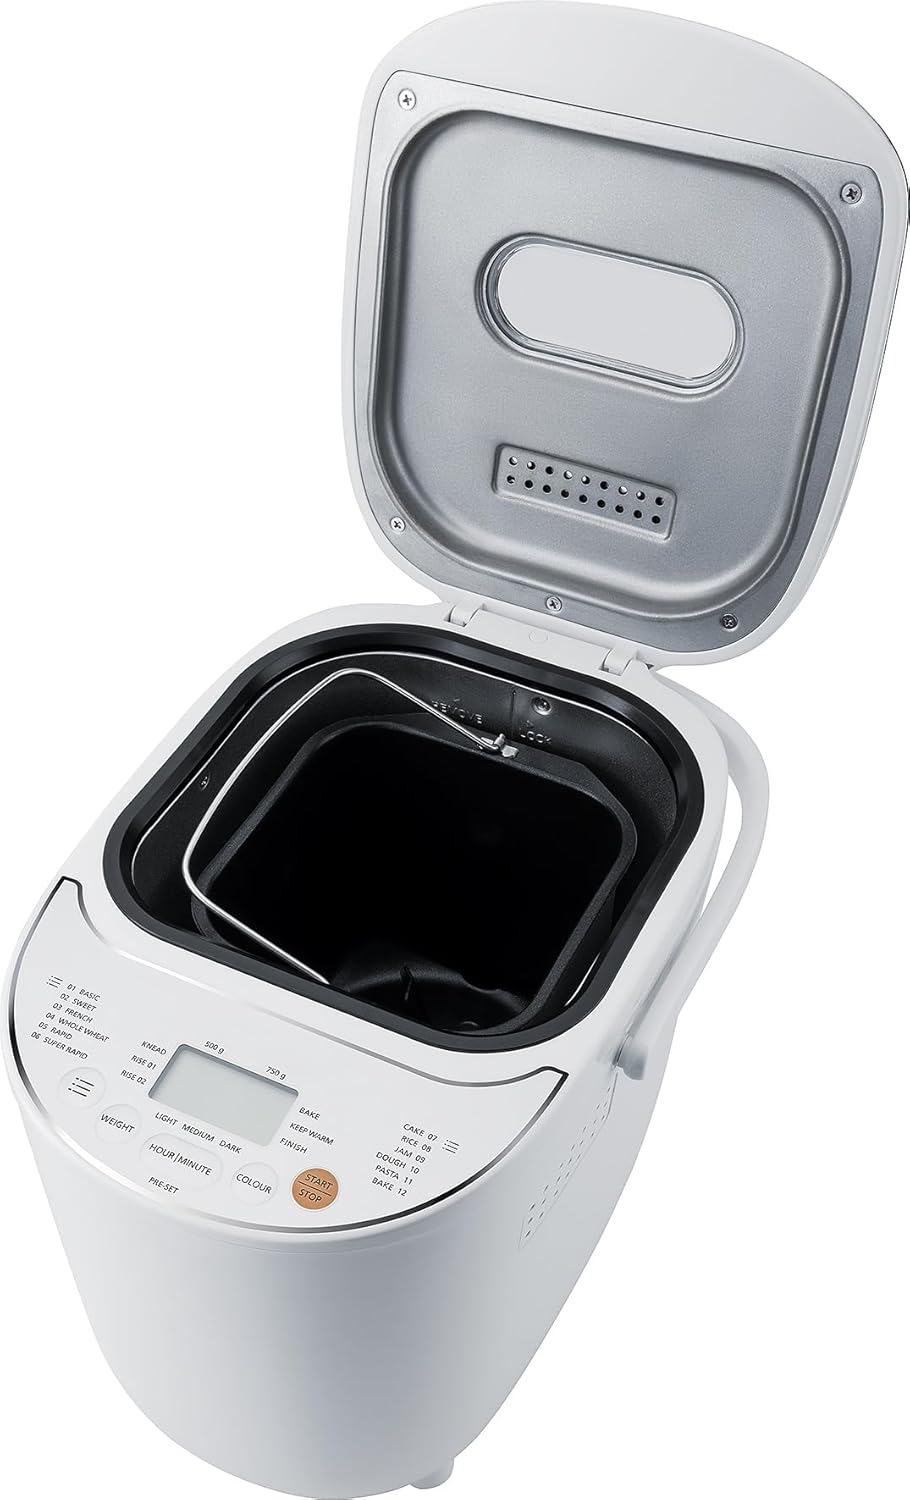
Image: The bread maker with its lid open, revealing the removable baking pan inside.
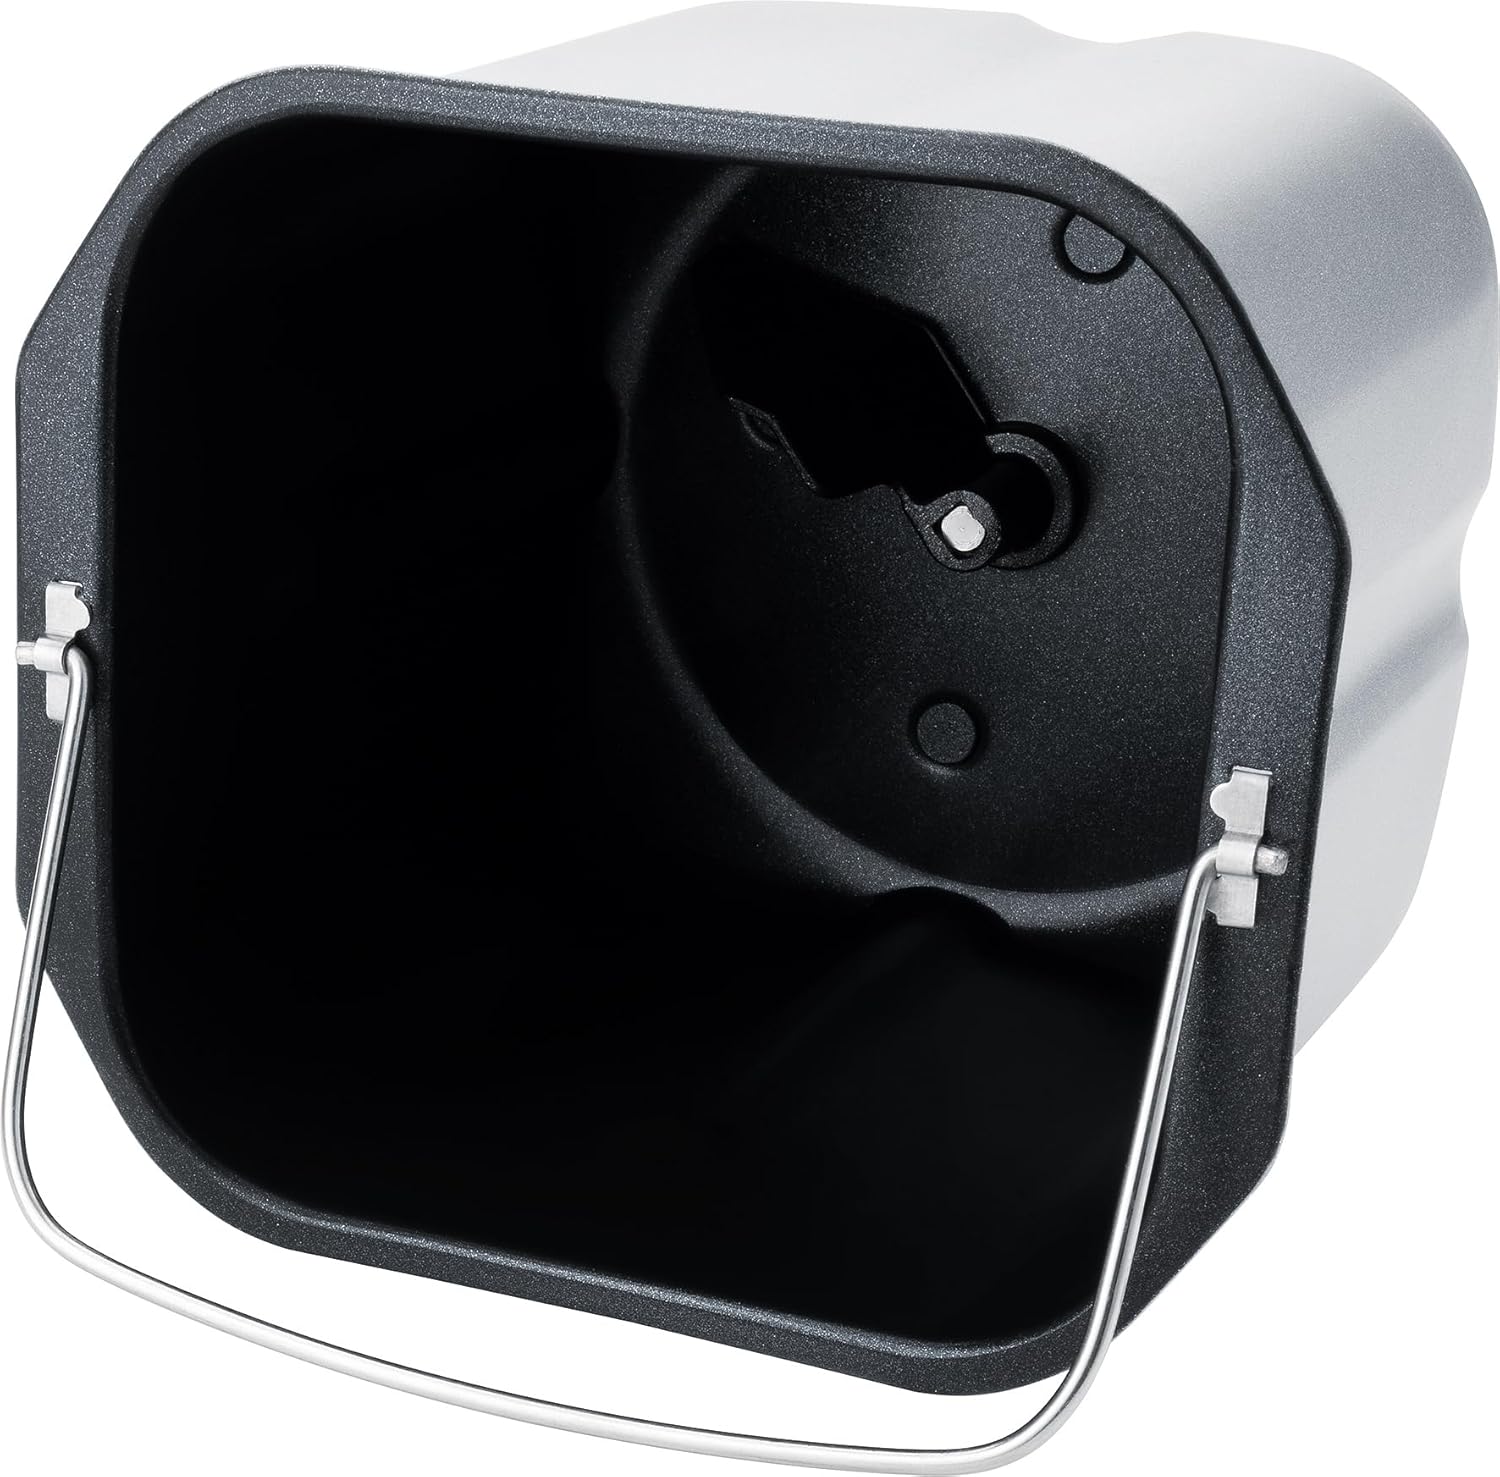
Сүрөт: деталдуу view of the non-stick baking pan with the kneading paddle shaft.

Image: Included accessories: a measuring cup, a double-sided measuring spoon, and a hook for removing the kneading paddle.
2.2 Башкаруу панели жана дисплей
The intuitive Touch-Control panel allows for easy program selection and setting adjustments.

Image: Close-up of the control panel, showing the digital display, program list, and control buttons for weight, time, color, and start/stop.
Негизги башкаруу элементтери:
- Дисплей: Shows selected program, time, and settings.
- Программа тандоо: Choose from 12 automatic programs (Basic, Sweet, French, Whole Wheat, Rapid, Super Rapid, Cake, Rice, Jam, Dough, Pasta, Bake).
- Weight Button: Adjust bread weight (500g or 750g).
- Colour Button: Select crust browning level (Light, Medium, Dark).
- Hour/Minute (Pre-set) Buttons: Set delay timer for up to 13 hours.
- Баштоо/токтотуу баскычы: Initiate or cancel a program.
3. Орнотуу жана биринчи колдонуу
3.1 Пакеттен чыгаруу
- Нан жасагычты жана бардык аксессуарларды таңгактан этияттык менен алып салыңыз.
- Шаймандан коргоочу пленкаларды же чаптамаларды алып салыңыз.
- Wash the baking pan, kneading paddle, measuring cup, and spoon in warm, soapy water. Rinse thoroughly and dry completely. The main unit should only be wiped with a damp кездеме.
3.2 Алгачкы колдонуу
- Place the bread maker on a clean, dry, and stable surface.
- Insert the baking pan into the main unit and twist it clockwise until it locks into place.
- Attach the kneading paddle onto the shaft inside the baking pan.
- For the first use, it is recommended to run a short 'Bake' cycle (Program 12) without ingredients for about 10 minutes to burn off any manufacturing residues. Ensure good ventilation during this process.
- Allow the appliance to cool down completely before cleaning and proceeding with actual baking.
4. Операция
4.1 Нан жасоонун негизги кадамдары
- Ингредиенттерди кошуу: Follow a recipe and add liquid ingredients first, then dry ingredients, and finally yeast. Ensure yeast does not come into direct contact with liquids or salt.
- Программаны тандоо: Plug in the bread maker. The default program (usually 'Basic') will appear on the display. Press the 'Program' button repeatedly to cycle through the 12 available programs until your desired program is selected.
- Set Weight: Press the 'Weight' button to choose between 500g or 750g loaf size, if applicable for the selected program.
- Set Crust Colour: Press the 'Colour' button to select Light, Medium, or Dark crust.
- бышыруу баштоо: Press the 'Start/Stop' button. The bread maker will begin the selected program.
- Аяктоо: Once the program finishes, the bread maker will beep and automatically switch to a 1-hour 'Keep Warm' function.
- Нанды алып салуу: Unplug the appliance. Using oven mitts, carefully remove the baking pan by twisting it counter-clockwise and lifting it out. Invert the pan to release the bread onto a wire rack to cool. If the kneading paddle remains in the bread, use the provided hook to remove it.
4.2 Кечиктирүүчү таймер функциясы
The delay timer allows you to set the bread maker to finish baking at a later time, up to 13 hours. This is ideal for fresh bread in the morning.
- Add all ingredients to the baking pan.
- Select your desired program, weight, and crust colour.
- Press the 'Hour' and 'Minute' buttons to set the desired delay time. The displayed time includes the baking cycle duration.
- Press 'Start/Stop'. The timer will count down, and the bread maker will start automatically when the delay time expires.
Эскертүү: Сүт, жумуртка же жаңы мөмө сыяктуу тез бузулуучу ингредиенттерди камтыган рецепттер менен кечиктирүүчү таймерди колдонбоңуз, алар бузулушу мүмкүн.

Image: An assortment of various types of freshly baked bread, illustrating the potential output of the bread maker.
5. Техникалык тейлөө жана тазалоо
Proper cleaning and maintenance ensure the longevity and optimal performance of your bread maker.
5.1 Тазалоо
- Тазалоодон мурун шайманды дайыма розеткадан сууруп, аны толугу менен муздаганга чейин күтүңүз.
- Бышыруу табасы жана камыр илгич: These parts are non-stick and should be washed by hand with warm, soapy water. Avoid abrasive cleaners or scouring pads that could damage the non-stick coating. Rinse thoroughly and dry completely.
- Негизги блок: Нан жасагычтын сыртын жумшак, гamp cloth. Do not use harsh chemicals or immerse the unit in water.
- Капкак: Капкагын жарнама менен сүртсө болотamp кездеме. The viewing window can be cleaned with a mild glass cleaner if necessary.
5.2 Сактоо
Store the bread maker in a dry, clean place, away from direct sunlight and out of reach of children.
6. Кыйынчылыктарды
Нан жасоочу менен көйгөйлөргө туш болсоңуз, төмөнкү жалпы көйгөйлөрдү жана чечимдерди караңыз:
| Көйгөй | Мүмкүн себеп | Чечим |
|---|---|---|
| Нан көтөрүлбөйт | Мөөнөтү өтүп кеткен ачыткы, суунун температурасы туура эмес, туз/шекер өтө көп, программа туура эмес. | Check yeast expiry, use lukewarm water, ensure correct ingredient ratios, select appropriate program. |
| Нан өтө коюу | Ун өтө көп, суюктук жетишсиз, ачыткы көйгөйү. | Measure ingredients precisely, ensure proper liquid-to-flour ratio, check yeast activity. |
| Камыр жууручу калак нанга тыгылып калган | Кадимки көрүнүш. | Берилген илгичти нан бир аз муздагандан кийин кылдаттык менен алып салуу үчүн колдонуңуз. |
| Шайман иштебей жатат | Not plugged in, program not selected, 'Start/Stop' not pressed. | Ensure power connection, select a program, press 'Start/Stop'. |
7. Техникалык шарттар
Technical details for the Steba BM 3 Bread Maker:
- Модель номери: 188300
- Бренд: Стеба
- Тtage: 230 вольт
- Ватtage: 540 Ватт
- Сыйымдуулугу: 750 граммга чейин
- Продукциянын өлчөмдөрү (D x W x Y): 34D x 27.5W x 24H см
- Элемент Салмагы: 4 килограмм
- Материал: Пластик
- Программалардын саны: 12
- Кам көрүү боюнча көрсөтмөлөр: Кол менен гана жууса болот (алынып салынуучу бөлүктөр үчүн)
- ЕБ запастык бөлүктөрүнүн болушу: 2 жыл

Image: Diagram showing the dimensions of the Steba BM 3 Bread Maker: 34 cm depth, 27.5 cm width, and 24 cm height.
8. Кепилдик жана колдоо
For warranty claims, technical support, or service inquiries, please contact your retailer or the manufacturer directly. Keep your proof of purchase for warranty validation.