1. Киришүү
Welcome to the iSpchen 3D Horn Decoration Sticker user manual. This guide provides detailed instructions for the proper installation, use, and care of your new decoration sticker. Please read this manual thoroughly before installation to ensure optimal results and product longevity.
2. Продукт бүтүп калдыview
2.1 Компоненттер
The iSpchen 3D Horn Decoration Sticker is a single, self-adhesive decorative item.
2.2 Өзгөчөлүктөрү
- Материал: Constructed from high-quality plastic, offering good pressure resistance, anti-collision, and scratch resistance. It is soft, durable, environmentally friendly, and tasteless.
- Дизайн: Features a unique horn-shaped design, providing an eye-catching and fashionable visual effect.
- Адгезия: Equipped with a self-adhesive backing for easy application and removal without leaving traces.
- Ар тараптуулугу: Suitable for various applications including passenger cars, motorcycles, helmets, and as a general home decoration.
2.3 Өлчөмдөрү жана Салмагы
Each horn sticker measures approximately 110 mm (height) with a base diameter of 70 mm and weighs approximately 40g.

1-сүрөт: The iSpchen 3D Horn Decoration Sticker, black color, held in a hand, illustrating its size relative to a human hand.
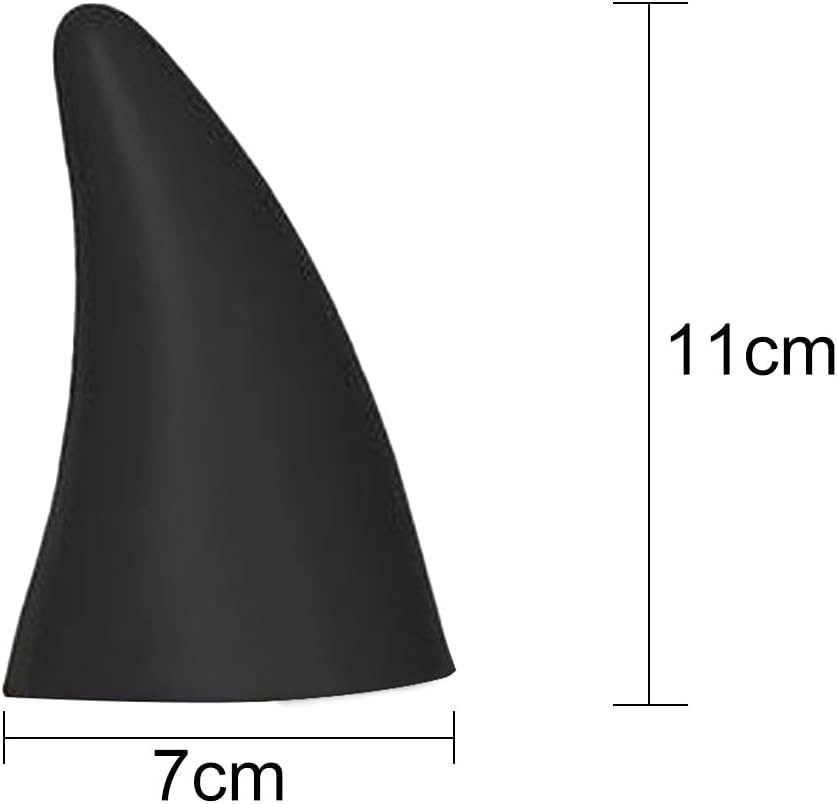
2-сүрөт: Diagram showing the dimensions of the horn sticker: 11 cm height and 7 cm base diameter.
3. Орнотуу боюнча нускамалар
Follow these steps for proper installation of your iSpchen 3D Horn Decoration Sticker:
- Бетти тазалоо: Ensure the application surface (e.g., car body, helmet) is clean, dry, and free of dust, grease, or wax. Use a mild cleaner and allow it to dry completely.
- Жайгашкан жерин аныктоо: Carefully decide the exact position where you want to apply the sticker. Temporarily hold the sticker in place to visualize the final look.
- Арткы бетин сыйрып алыңыз: Gently peel off the protective backing from the adhesive side of the sticker. Avoid touching the adhesive surface with your fingers to maintain its stickiness.
- Apply the Sticker: Align the sticker with your chosen position. Press it firmly onto the surface, starting from one edge and working your way across to prevent air bubbles. Apply even pressure across the entire sticker.
- Коопсуз адгезия: After application, press down firmly on the entire sticker for at least 30 seconds to ensure strong adhesion. For best results, avoid washing the vehicle or exposing the sticker to extreme moisture for 24-48 hours after installation.

3-сүрөт: Example of a red horn sticker held in hand, with an illustration of a white car featuring similar red horn decorations on its roof.

4-сүрөт: A red iSpchen 3D Horn Decoration Sticker held in a hand, demonstrating its form and color in an indoor setting.
4. Колдонулушу жана колдонулушу
The iSpchen 3D Horn Decoration Sticker is designed for versatile decorative purposes. It can be applied to:
- Passenger Cars: Enhance the exterior of your car by applying the horns to the roof, hood, or bumper.
- Мотоциклдер: Customize your motorcycle with these unique horn decorations.
- Шлемдер: Personalize your helmet for a distinctive look.
- Үй жасалгасы: Use as a creative accent on various surfaces around your home.

5-сүрөт: Illustrations showing different color horn stickers (red, white, pink) applied to the front bumpers of cars, demonstrating various placement options.

6-сүрөт: A black car adorned with red iSpchen 3D Horn Decoration Stickers on its roof and rear bumper, showcasing a full vehicle application.
5. Кароо жана тейлөө
To ensure the longevity and appearance of your iSpchen 3D Horn Decoration Sticker, follow these maintenance guidelines:
- Тазалоо: Clean the sticker gently with a soft cloth and mild soap and water. Avoid abrasive cleaners or harsh chemicals that could damage the material or adhesive.
- Жогорку басымдагы жуудан алыс болуңуз: When washing your vehicle, avoid directing high-pressure water streams directly at the sticker's edges, as this may compromise the adhesive.
- Температуранын кескин чеги: While durable, prolonged exposure to extreme temperatures (very hot or very cold) may affect the adhesive over time.
- Алып салуу: If you need to remove the sticker, gently peel it off. The self-adhesive design is intended to be removed without leaving traces. If any residue remains, it can typically be cleaned with an adhesive remover safe for automotive finishes.
6. Кыйынчылыктарды
6.1 Adhesion Issues
- Sticker not sticking well: Ensure the surface was thoroughly cleaned and dry before application. Cold temperatures can affect adhesive performance; apply in moderate temperatures if possible.
- Air bubbles: If air bubbles appear, try gently pressing them towards the nearest edge to push the air out. For stubborn bubbles, a small pinprick can release the air, then press down firmly.
6.2 Damage to Sticker
- Scratches or scuffs: The sticker is designed to be scratch-resistant, but heavy impact can cause damage. Minor scuffs may sometimes be buffed out with a soft cloth, but significant damage may require replacement.
7. Продукттун спецификациялары
| Өзгөчөлүк | Деталь |
|---|---|
| Бренд | iSpchen |
| Модель номери | DE-MLMH07578B |
| Материал | Пластик |
| Түс | Black (also available in Red) |
| Өлчөмдөрү (Бийиктик) | Approx. 110 mm (11 cm) |
| Dimensions (Base Diameter) | Approx. 70 mm (7 cm) |
| Салмагы | Болжол менен 40 г |
| Fit түрү | Universal Fit |
| Унаа кызматынын түрү | Жеңил унаа, мотоцикл |
8. Кепилдик жана колдоо
For any questions regarding your iSpchen 3D Horn Decoration Sticker, please refer to the retailer or point of purchase for support and warranty information. Specific warranty details may vary by region and seller.
Ensure to retain your proof of purchase for any warranty claims.