ETA251590000 ETA
ETA Falco Smart Robot Vacuum Cleaner with Mopping Function User Manual
Модел: ETA251590000
1. Киришүү
Thank you for choosing the ETA Falco Smart Robot Vacuum Cleaner with Mopping Function. This manual provides essential information for the safe and efficient operation, maintenance, and troubleshooting of your device. Please read this manual thoroughly before using the product and keep it for future reference.
Маанилүү коопсуздук маалыматы
- Always ensure the robot is placed on a stable, level surface.
- Аппаратты суудан жана нымдан алыс кармаңыз.
- Балдарга же уруксаты жок адамдарга роботту иштетүүгө уруксат бербеңиз.
- Use only the original charging adapter and accessories provided.
- Before cleaning or maintenance, ensure the robot is powered off and unplugged from the charging station.
- Avoid operating the robot near open flames or flammable materials.
2. Продукт бүтүп калдыview
Компоненттер жана башкаруу элементтери
Familiarize yourself with the main parts and controls of your ETA Falco Smart robot vacuum cleaner.
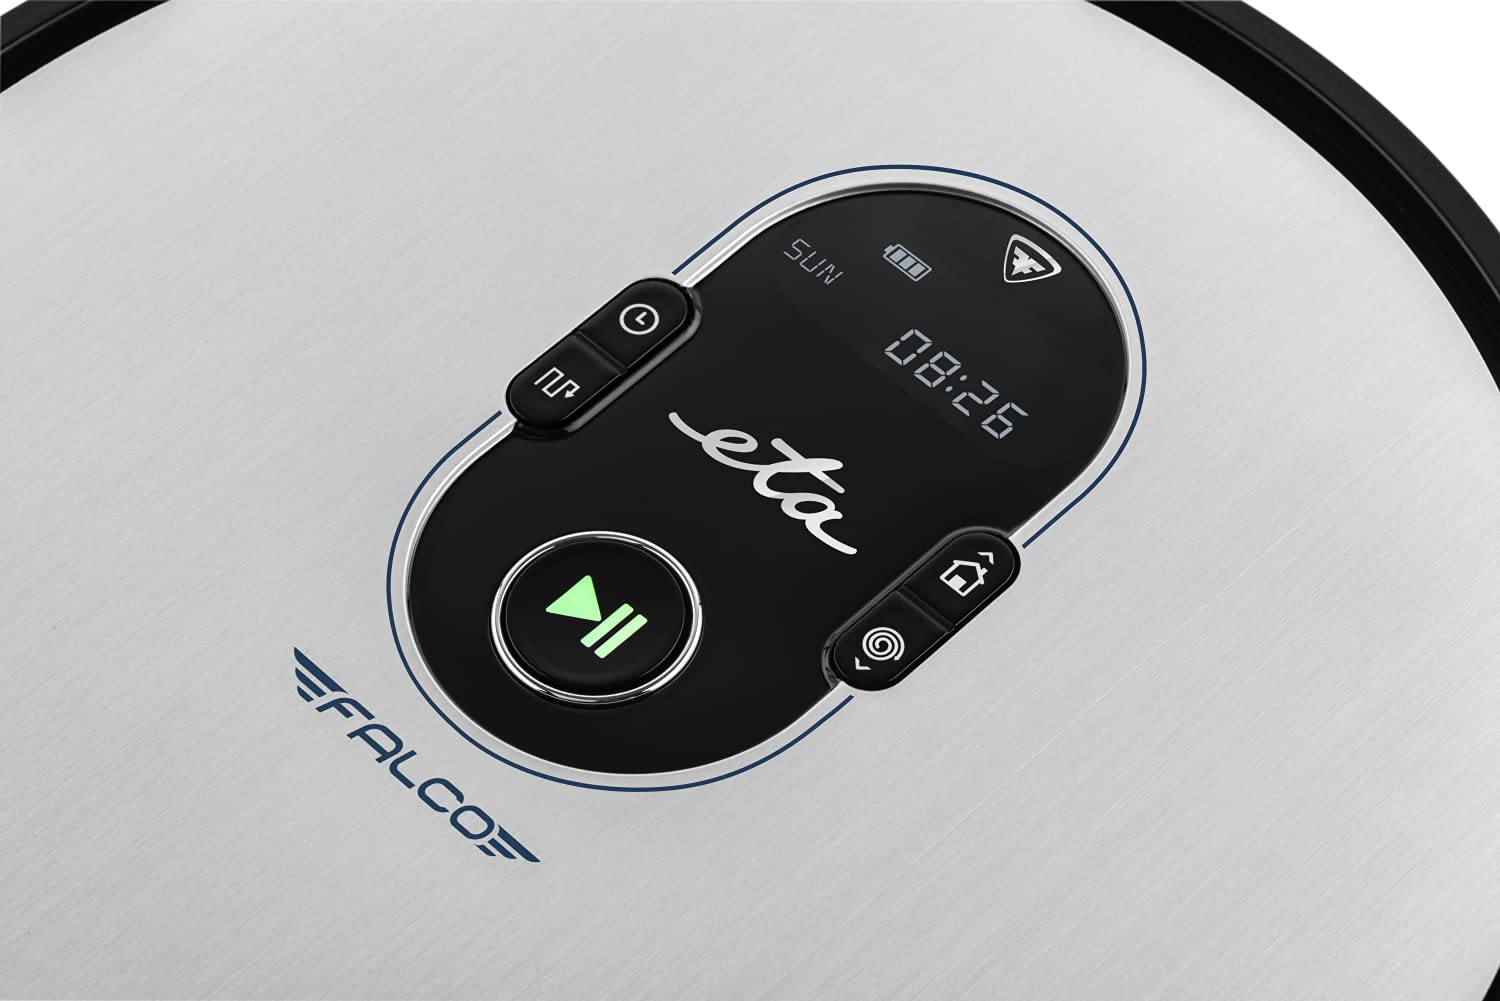
Сүрөт 2.1: Top panel controls. This image shows the main control panel on the top of the robot, including buttons for power, scheduling, and return to charging station, along with a digital display.

Сүрөт 2.2: Асты view. This image displays the bottom of the robot, highlighting the main brush, two side brushes, and the mop attachment.

Сүрөт 2.3: Underside diagram. This diagram labels the key components on the robot's underside, including the side brushes, main brush, and mop attachment.
3. Пакеттин мазмуну
Таңгактан чыгаргандан кийин, төмөнкү нерселердин бардыгы бар экенин текшериңиз:
- ETA Falco Smart Robot Vacuum Cleaner
- Кубаттоочу станция
- Заряддоо адаптери
- Алыстан башкаруу
- 2x Spare Side Brushes
- Special Rotary and Lamella Brush
- 2x Cleaning Cloths (Mop Pads)
- Запастык HEPA чыпкасы
- Mop Attachment with 300 ml Water Tank
- Виртуалдык дубал
4. Орнотуу
4.1 Алгачкы заряддоо
- Заряддоочу станцияны дубалга каршы ачык жерге коюп, капталдарына 1 метр жана алды жагына 2 метр аралыкта эч кандай тоскоолдуктар болбошу керек.
- Connect the charging adapter to the charging station and plug it into a power outlet.
- Place the robot vacuum cleaner on the charging station. Ensure the charging contacts align. The robot will begin charging automatically. A full charge takes approximately 5 hours.
4.2 Каптал щеткаларды орнотуу
Attach the side brushes to the designated posts on the underside of the robot by pressing them down until they click into place. Ensure the 'L' and 'R' markings on the brushes match the corresponding markings on the robot.
4.3 Connecting to the ETA SMART App
The ETA SMART app enhances the functionality of your robot. Download the app from your smartphone's app store. Follow the in-app instructions to connect your robot to your home Wi-Fi network and pair it with the app.
4.4 Setting up the Virtual Wall
The virtual wall creates an invisible barrier to restrict the robot's access to certain areas. Place the virtual wall device on the floor where you want to create a boundary. Ensure the infrared beam is directed towards the area you wish to block. The robot will detect this beam and avoid crossing it.

Сүрөт 4.1: Robot with charging station and virtual wall. This image shows the robot positioned near its charging station, with a virtual wall device placed nearby to illustrate its function.
5. Иштөө нускамалары
5.1 Тазалоо режимдери
The ETA Falco Smart offers four distinct cleaning modes:
- АКЫЛДУУ: General cleaning mode for optimal coverage.
- КЛАССИКАЛЫК: Standard cleaning pattern.
- EDGE: Дубалдарды жана эмеректердин четтерин тазалайт.
- SPOT: Concentrated cleaning in a specific area.
You can select these modes via the ETA SMART app or the remote control.
5.2 Тазалоону пландаштыруу
Use the ETA SMART app to set a cleaning schedule for your robot. You can program specific times and days for the robot to automatically start cleaning.
5.3 Кол менен башкаруу
You can manually control the robot's movement and functions using the remote control or the ETA SMART app. The app also allows you to monitor cleaning activity, battery charge, and view cleaning routes.

Сүрөт 5.1: ETA Smart App features. This image displays the ETA Smart App interface on a smartphone, highlighting features such as remote control, cleaning history, activity monitoring, battery status, cleaning modes (SMART, CLASSIC, EDGE, SPOT), cleaning schedule, mopping intensity control, and suction power adjustment.
5.4 Чыпкалоо функциясы
- Fill the 300 ml water tank with clean water. Do not use detergents or cleaning solutions that are not approved for robot vacuums.
- Attach a clean mop pad to the mop attachment.
- Slide the mop attachment into the designated slot on the underside of the robot.
- Тазалоо циклин баштаңыз. Робот бир эле учурда чаң соргуч менен сүртөт.
6. Техникалык тейлөө
Үзгүлтүксүз тейлөө оптималдуу иштешин камсыз кылат жана робот чаң соргучуңуздун иштөө мөөнөтүн узартат.
6.1 Cleaning the Dust Bin and Filter
- Чаң урнасын чыгаруу баскычын басыңыз жана чаң урнасын чыгарыңыз.
- Чаң челекти ачып, анын ичиндегисин таштанды челекке төгүңүз.
- Remove the HEPA filter and primary filter. Tap them gently to remove dust. If washable, rinse under running water and allow to air dry completely before reinserting.
- Wipe the inside of the dust bin with a dry cloth.
- Reassemble the filters and dust bin, then reinsert into the robot.
6.2 Негизги щетканы тазалоо
- Роботту оодарыңыз.
- Бошотуу тилкелерин басып, негизги щетканын капкагын алып салыңыз.
- Негизги щетканы көтөрүңүз.
- Use the cleaning tool (if provided) or scissors to remove hair and debris tangled around the brush.
- Clean the brush compartment.
- Негизги щетканы кайра салып, капкакты бекитиңиз.
6.3 Каптал щеткаларды тазалоо
Periodically check the side brushes for tangled hair or debris. If necessary, remove them by gently pulling upwards and clean them. Replace worn or damaged brushes with the spare ones provided.
6.4 Cleaning the Mop Pad and Water Tank
After each mopping session, remove the mop pad and wash it thoroughly. Empty any remaining water from the water tank and rinse it. Allow both to air dry completely before storing or reusing.
6.5 Сенсорлорду тазалоо
Wipe the anti-drop sensors, bumper sensors, and charging contacts on the robot and charging station with a clean, dry cloth to ensure proper function.
7. Кыйынчылыктарды
If your robot vacuum cleaner encounters an issue, refer to the following common problems and solutions:
| Көйгөй | Мүмкүн себеп | Чечим |
|---|---|---|
| Робот күйбөйт | Батарея аз; Кубат өчүк | Роботту кубаттаңыз; Кубат которгучу күйүк экенин текшериңиз |
| Робот заряддалбай жатат | Charging contacts dirty; Charging station unplugged | Clean charging contacts; Ensure charging station is plugged in |
| Начар тазалоо көрсөткүчү | Чаң урнасы толгон; щеткалар чаташкан; Фильтр бүтүп калды | бош чаң урнасы; Таза щеткалар; Чыпканы тазалоо/алмаштыруу |
| Робот бат-баттан тыгылып калат | полдо тоскоолдуктар; Сенсорлор кир | Clear floor of cables/small items; Clean sensors |
| Virtual wall not working | Virtual wall batteries low; Incorrect placement | Replace batteries; Adjust virtual wall position |
Бул чечимдерди колдонуп көргөндөн кийин көйгөй чечилбесе, кардарларды колдоо менен байланышыңыз.
8. Техникалык шарттар
Technical specifications for the ETA Falco Smart Robot Vacuum Cleaner (Model ETA251590000):
| Өзгөчөлүк | Деталь |
|---|---|
| Өндүрүүчү | ETA |
| Продукциянын өлчөмдөрү (L x W x Y) | 32.5 x 33.5 x 7.5 см |
| Салмагы | 250 грамм |
| Элемент моделинин номери | ETA251590000 (T2261) |
| Модель түсү | Көк |
| Материал | Пластик |
| Power Type | Батарея менен иштейт |
| Тtage | 3 Volts (14.4V Li-ion battery, 2400 mAh) |
| Пакеттеги буюмдардын саны | 1 |
| Өзгөчөлүктөр | Pet brush compatibility, Smart App control, Floating brush system, HEPA filter, Virtual wall |
| Камтылган компоненттер | Battery, Filter, Charging station, Adapter, Remote control, Side brushes, Rotary brush, Cleaning cloths, Mop attachment, Virtual wall |
| Батареянын курамы | Литий-ион |
| Батареянын иштөө мөөнөтү | 120 мүнөткө чейин |
| Заряддоо убактысы | Болжол менен 5 саат |
| Surface Recommendation | Ламинат |
| Controller Type | Колдонмо башкаруу |
| Запастык бөлүктөрдүн болушу | Запастык бөлүктөр боюнча маалымат жок |
9. Кепилдик жана колдоо
For warranty information, product support, or to inquire about spare parts, please refer to the warranty card included with your purchase or visit the official ETA webсайт. Кепилдик дооматтар үчүн сатып алганыңыздын далилин сактаңыз.
Ask a question about this manual
Ask about setup, troubleshooting, compatibility, parts, safety, or missing instructions. Manuals+ will review the question and use this page’s manual context to help answer it.