Introduction
This manual provides detailed instructions for the installation, operation, and maintenance of your AXAGON ADSA-ST USB 3.0 Docking Station. This device is designed to connect 2.5" and 3.5" SATA SSDs and HDDs to your computer via a USB 3.0 interface, offering fast data transfer speeds.
Продукциянын туура иштешин камсыз кылуу жана бузулуулардын алдын алуу үчүн колдонуудан мурун, ушул колдонмону кылдат окуп чыгыңыз.
Пакеттин мазмуну
Пакетте бардык компоненттер бар экенин текшериңиз:
- AXAGON ADSA-ST Docking Station
- USB 3.0 Type-A to Micro-B cable
- Кубаттуу адаптер
- Колдонуучунун Колдонмосу (бул документ)

Image: The AXAGON ADSA-ST Docking Station shown alongside its retail packaging, illustrating the product and its box.
Негизги өзгөчөлүктөрү
- Supports 2.5" and 3.5" SATA I/II/III SSDs and HDDs.
- USB 3.0 (USB 3.2 Gen 1) interface with up to 5 Gbps transfer speed.
- SATA 6G (SATA III) support.
- UASP (USB Attached SCSI Protocol) support for enhanced performance.
- TRIM support for SSDs.
- HDD Auto Spindown function.
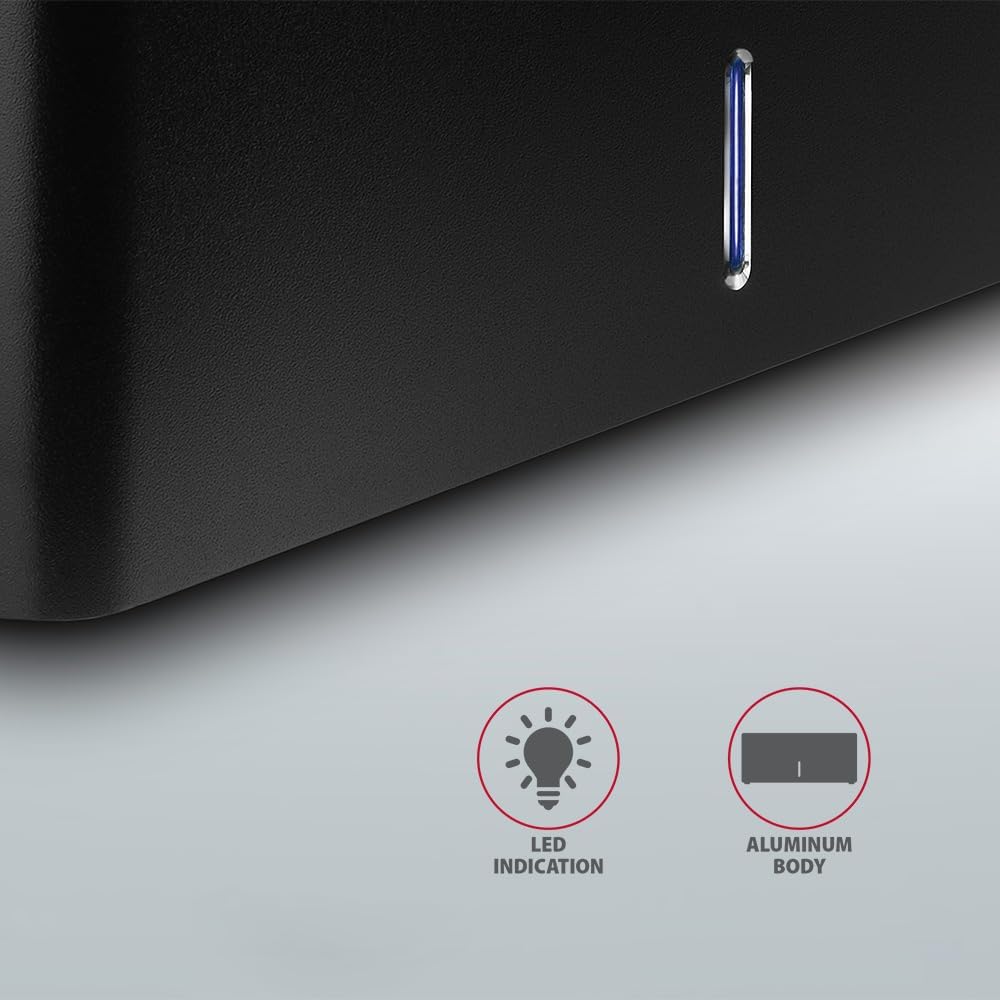
- LED indication for power and activity.
- Compact design with aluminum body.

Сүрөт: А view of the AXAGON ADSA-ST Docking Station highlighting its 5 Gbps USB 3.2 Gen 1 speed and compact size.
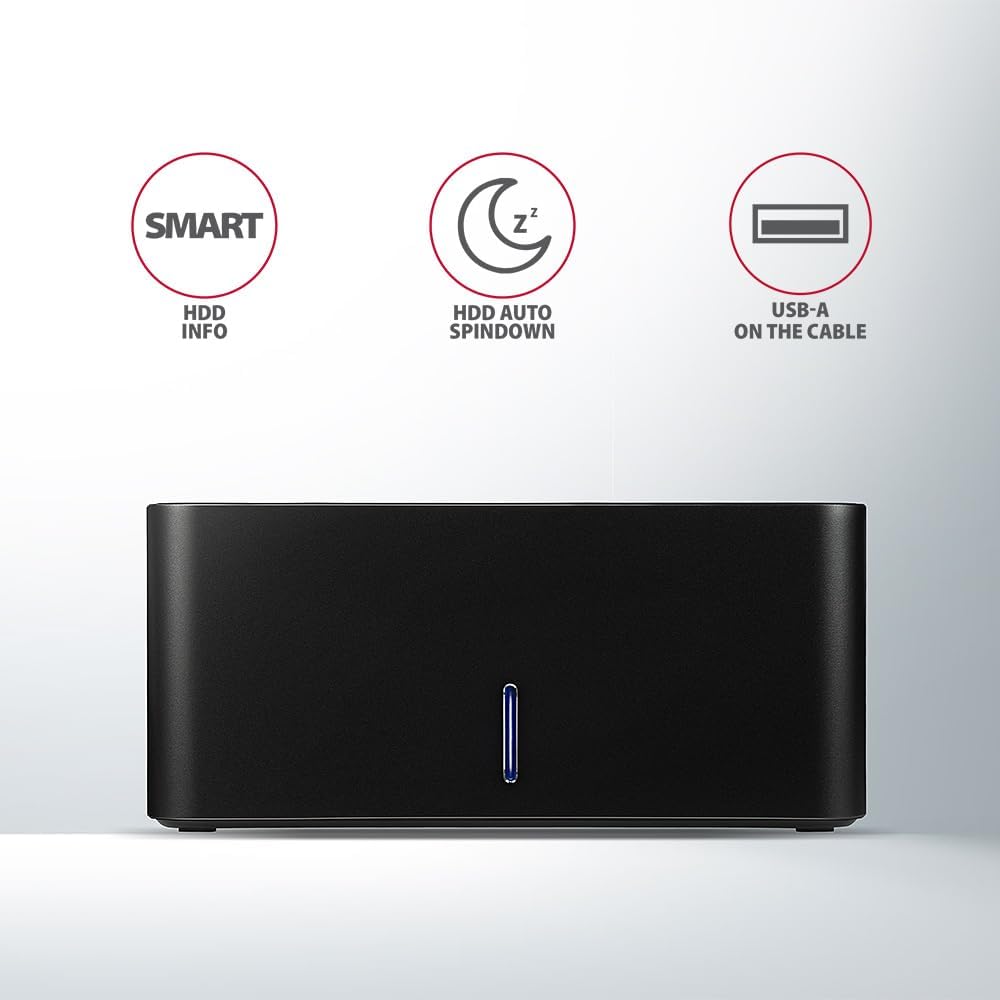
Image: The docking station from the front, indicating features like SMART HDD info, automatic HDD spindown, and USB-A connectivity.
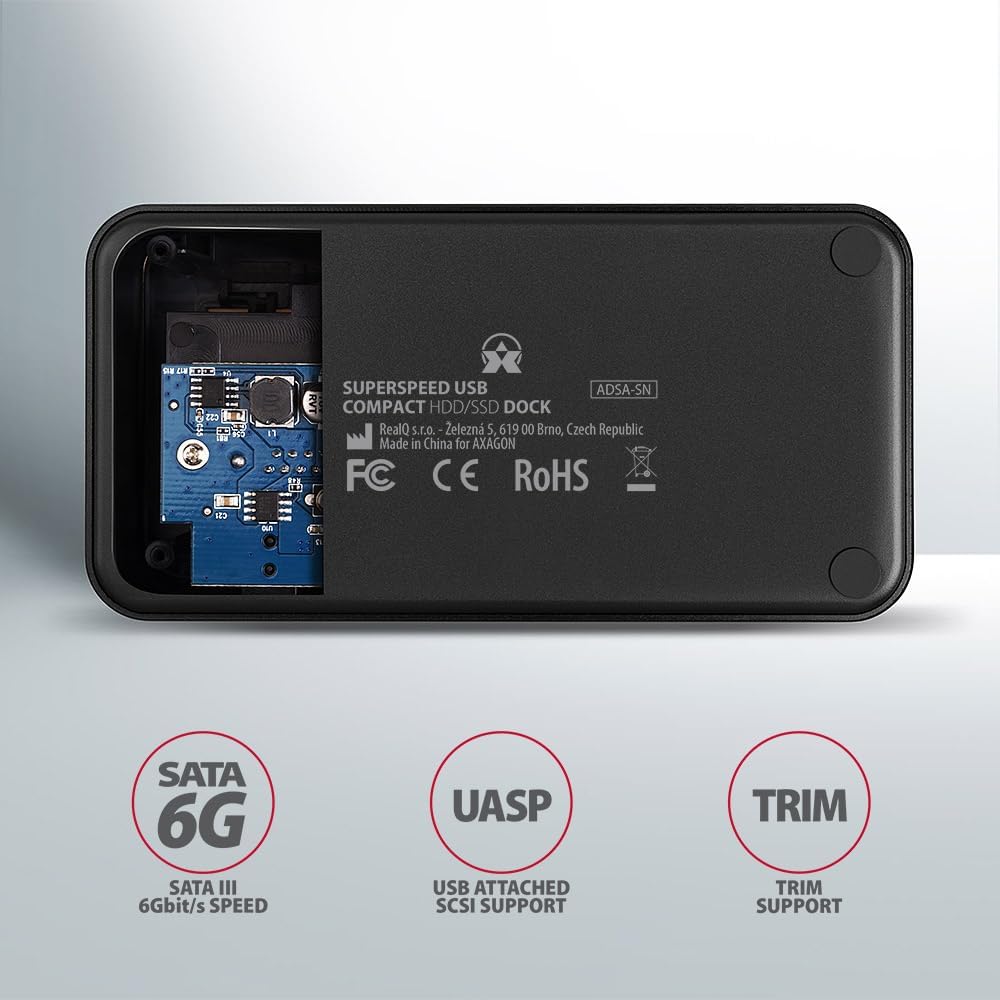
Image: The underside of the docking station, showing internal components and highlighting SATA 6G, UASP, and TRIM support.
Орнотуу нускамалары
- Кубат адаптерин туташтыруу: Plug the included power adapter into the DC IN port on the back of the docking station and then into a power outlet.
- Компьютерге туташуу: Connect the USB 3.0 cable from the docking station's Micro-B port to an available USB 3.0 (or higher) port on your computer.
- Insert HDD/SSD:
- For 2.5" SSD/HDD: Gently slide the 2.5" drive into the slot until it connects firmly with the SATA connector.
- For 3.5" HDD: Gently slide the 3.5" drive into the slot until it connects firmly with the SATA connector.
Ensure the drive is inserted correctly with the SATA connector facing the correct direction. Do not force the drive.

Image: A 2.5-inch SSD being inserted into the docking station, demonstrating compatibility with smaller drives.
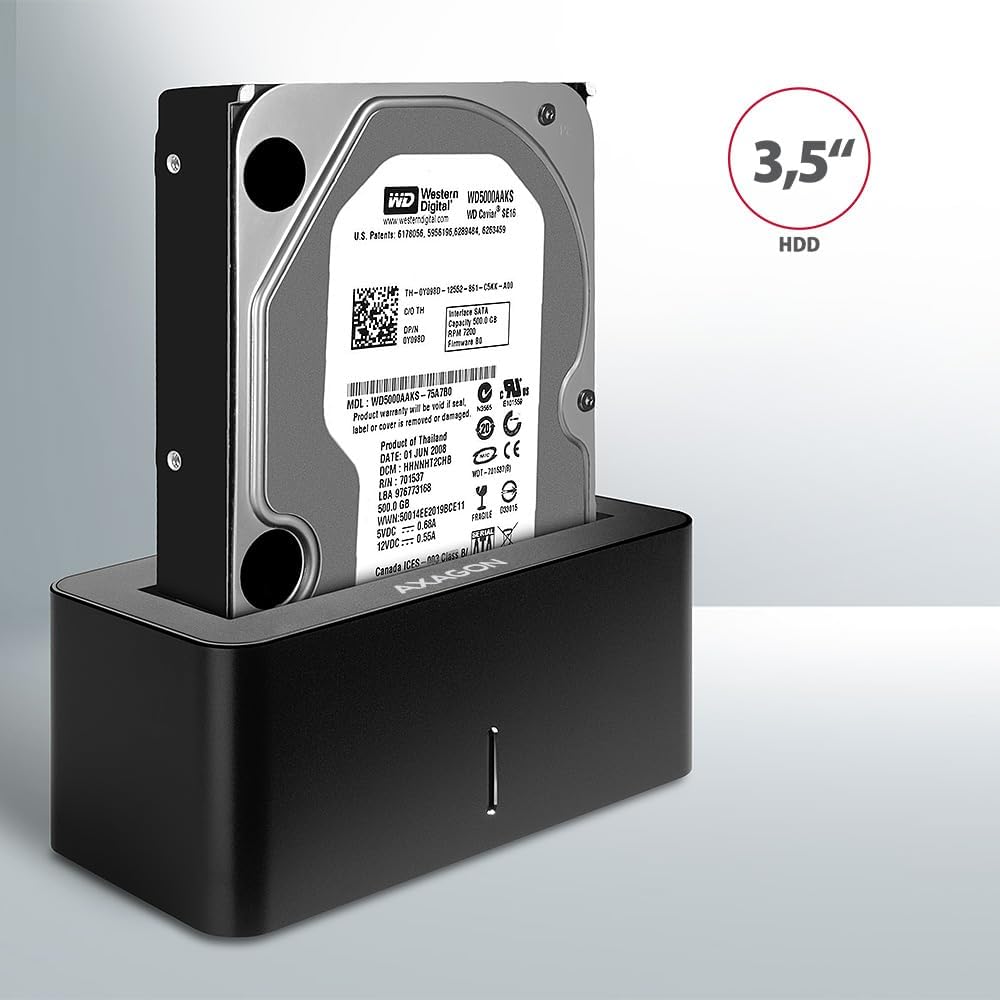
Image: A 3.5-inch HDD being inserted into the docking station, demonstrating compatibility with larger drives.
- Күйгүзүү: Press the power button located on the back of the docking station. The LED indicator on the front will illuminate.
Image: The rear panel of the docking station, showing the power button, USB Micro-B port, and power input for connection.
Иштөө нускамалары
Drive Recognition
Once powered on and connected, your operating system should automatically detect the inserted drive. If it's a new drive, you may need to initialize and format it through Disk Management (Windows) or Disk Utility (macOS) before it appears in File Explorer/Finder.
LED көрсөткүч
The LED indicator on the front of the docking station provides status information:
- Катуу көк: Power on, drive idle.
- Жаркылдаган көк: Drive activity (reading or writing data).
Сүрөт: жакын план view of the docking station's front panel, highlighting the LED indicator light.
Removing a Drive
Before removing a drive, always safely eject it from your operating system to prevent data corruption. After ejection, gently pull the drive straight out of the docking station slot.
HDD Auto Spindown
The docking station supports automatic spindown of the HDD when it is idle for a certain period, conserving power and extending drive lifespan. This feature is managed by the operating system or the drive itself.
Техникалык тейлөө
- Док станциясын таза жана чаңсыз кармаңыз. Тазалоо үчүн жумшак, кургак чүпүрөк колдонуңуз.
- Аппаратты экстремалдык температурага, нымдуулукка же тике күн нуруна тийгизүүдөн сактаңыз.
- Аппаратты өз алдынча бөлүүгө же оңдоого аракет кылбаңыз. Квалификациялуу тейлөө кызматкерлерине кайрылыңыз.
- Иштеп жатканда док станциясынын айланасында жакшы желдетүүнү камсыз кылыңыз.
Проблемаларды чечүү
- Диск табылган жок:
- Кубат адаптери бекем туташтырылганын жана док-станция күйүп турганын текшериңиз.
- Verify the USB cable is properly connected to both the docking station and the computer.
- Компьютериңиздеги башка USB портун колдонуп көрүңүз.
- Ensure the HDD/SSD is fully seated in the docking station's slot.
- Check Disk Management (Windows) or Disk Utility (macOS) to see if the drive is recognized but uninitialized/unformatted.
- Test with a different HDD/SSD to rule out a drive issue.
- Жай которуу ылдамдыктары:
- Ensure the docking station is connected to a USB 3.0 (or higher) port on your computer. USB 2.0 ports will limit speeds.
- Verify your operating system and drivers are up to date.
- The actual speed depends on the drive's performance and your computer's USB controller.
- Drive disconnects randomly:
- Бардык кабелдик байланыштарды текшериңиз.
- Кубат адаптери туруктуу кубат берип жатканын текшериңиз.
- Disable USB power saving features in your computer's operating system settings.
Техникалык мүнөздөмөлөр
| Өзгөчөлүк | Деталь |
|---|---|
| Бренд | AXAGON |
| Модель номери | ADSA-SN |
| Аппараттык платформа | PC |
| Шайкеш түзмөктөр | Ноутбук, Үстөл үстүндөгү компьютер |
| Drive'дын шайкештиги | 2.5" / 3.5" SATA I/II/III SSD/HDD |
| Интерфейс | USB 3.0 (USB 3.2 Gen 1) |
| Маалыматтарды өткөрүү ылдамдыгы | Up to 5 Gbps (USB 3.0), 6 Gbps (SATA III) |
| Жалпы USB порттору | 1 (Micro-B) |
| Drive Bays саны | 1 |
| Түс | Кара |
| Элемент Салмагы | 2.2 фунт (болжол менен 1 кг) |
| Пакеттин өлчөмдөрү | 3.94 x 0.79 x 0.39 дюйм (болжол менен 10 x 2 x 1 см) |
| Дата биринчи жеткиликтүү | 30-март, 2021-жыл |
Кепилдик жана колдоо
For warranty information and technical support, please refer to the official AXAGON webсайтына кириңиз же жергиликтүү дистрибьюторуңузга кайрылыңыз. Кепилдик талаптары үчүн сатып алганыңызды тастыктаган документти сактап коюңуз.