
1. Коопсуздук маалыматы
Please read and understand all safety information before operating this digital multimeter. Failure to follow these instructions may result in electric shock, fire, or damage to the device.
- Кандайдыр бир өлчөөлөрдү жүргүзүүдөн мурун, мультиметр туура функцияга жана диапазонго коюлганын текшериңиз.
- Ар бир функция үчүн көрсөтүлгөн максималдуу киргизүү маанилеринен ашпаңыз.
- Том менен иштөөдө этият болуңузtag30V AC RMS, 42V пик же 60V DC жогору, анткени алар шок коркунучун жаратат.
- Ар бир колдонуудан мурун сыноо өткөргүчтөрүн текшериңиз. Эгерде изоляция бузулса, колдонбоңуз.
- ЭСКЕРТҮҮ: Before opening the case for battery or fuse replacement, always remove the test leads from the object being measured and disconnect from any power source to avoid electric shock.
- This device features F0.5A/600V fuse overload protection. Replace fuses only with specified types and ratings.
2. Продукт бүтүп калдыview
The ANENG AN101 is a portable digital multimeter designed for measuring AC voltage, AC current, DC voltage, DC current, and resistance. It features an easy-to-read LCD display with 1999 counts and supports both automatic and manual ranging for versatile use in various electrical and electronic applications.
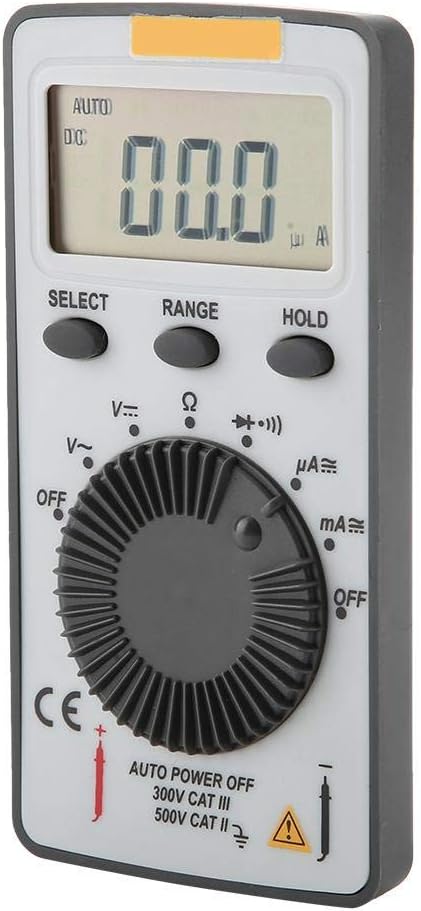
Сүрөт 2.1: Алдыңкы view of the ANENG AN101 Digital Multimeter. This image displays the device's LCD screen, the central rotary function dial, and the 'SELECT', 'RANGE', and 'HOLD' buttons.
3. Орнотуу
3.1 Батареяны орнотуу
- Мультиметрдин өчүрүлгөнүн текшерип, бардык сыноо сымдарын сууруп алыңыз.
- Аппараттын артындагы батарея бөлүкчөсүн табыңыз.
- Батарея бөлүкчөсүнүн капкагын ачуу үчүн бурагычты колдонуңуз.
- Insert two 3V CR2032 batteries, observing the correct polarity.
- Батарея уясынын капкагын ордуна коюңуз жана аны бурама менен бекитиңиз.

3.1-сүрөт: Артка view of the ANENG AN101 Digital Multimeter. This image shows the battery compartment cover and a safety warning regarding opening the case.
3.2 Сыноо өткөргүчтөрүн туташтыруу
- Insert the red test lead into the 'VΩmA' input jack.
- Insert the black test lead into the 'COM' input jack.
- Ensure the connections are firm before proceeding with measurements.
4. Иштөө нускамалары
4.1 Күйгүзүү/өчүрүү
Rotate the central dial from 'OFF' to any measurement function to power on the device. To power off, rotate the dial back to 'OFF'. The multimeter also features an auto power-off function to conserve battery life.
4.2 Функцияны тандоо
Turn the rotary dial to select the desired measurement function (e.g., DC Voltage (V=), AC Voltage (V~), Resistance (Ω), DC Current (μA=, mA=), AC Current (μA~, mA~)).
4.3 Range Selection (Auto/Manual)
The AN101 supports both automatic and manual ranging. In auto-ranging mode, the meter automatically selects the best range for the measurement. Press the 'RANGE' button to switch between auto and manual ranging. In manual mode, press 'RANGE' repeatedly to cycle through available ranges.
4.4 Өлчөө DC Voltage
- Set the rotary dial to 'V='.
- Кызыл сынагын чынжырдын оң жагына, кара сынагын терс жагына туташтырыңыз.
- Томду окуңузtage value on the LCD display. The polarity will be indicated automatically.
4.5 AC ченөө Voltage
- Set the rotary dial to 'V~'.
- Сыноо өткөргүчтөрүн AC том аркылуу туташтырыңызtage булагы.
- Томду окуңузtage дисплейдеги e мааниси.
4.6 Туруктуу токту өлчөө
- Set the rotary dial to 'μA=' or 'mA=' depending on the expected current.
- ЭСКЕРТҮҮ: To measure current, the multimeter must be connected in series with the circuit. Do not connect it in parallel across a voltage булагы.
- Break the circuit and connect the multimeter in series, ensuring the red lead is towards the higher potential and the black lead towards the lower potential.
- ЖК дисплейдеги учурдагы маанини окуңуз.
4.7 Өзгөрмө токту өлчөө
- Set the rotary dial to 'μA~' or 'mA~'.
- ЭСКЕРТҮҮ: Мультиметрди чынжыр менен катар туташтырыңыз.
- Break the circuit and connect the multimeter in series.
- ЖК дисплейдеги учурдагы маанини окуңуз.
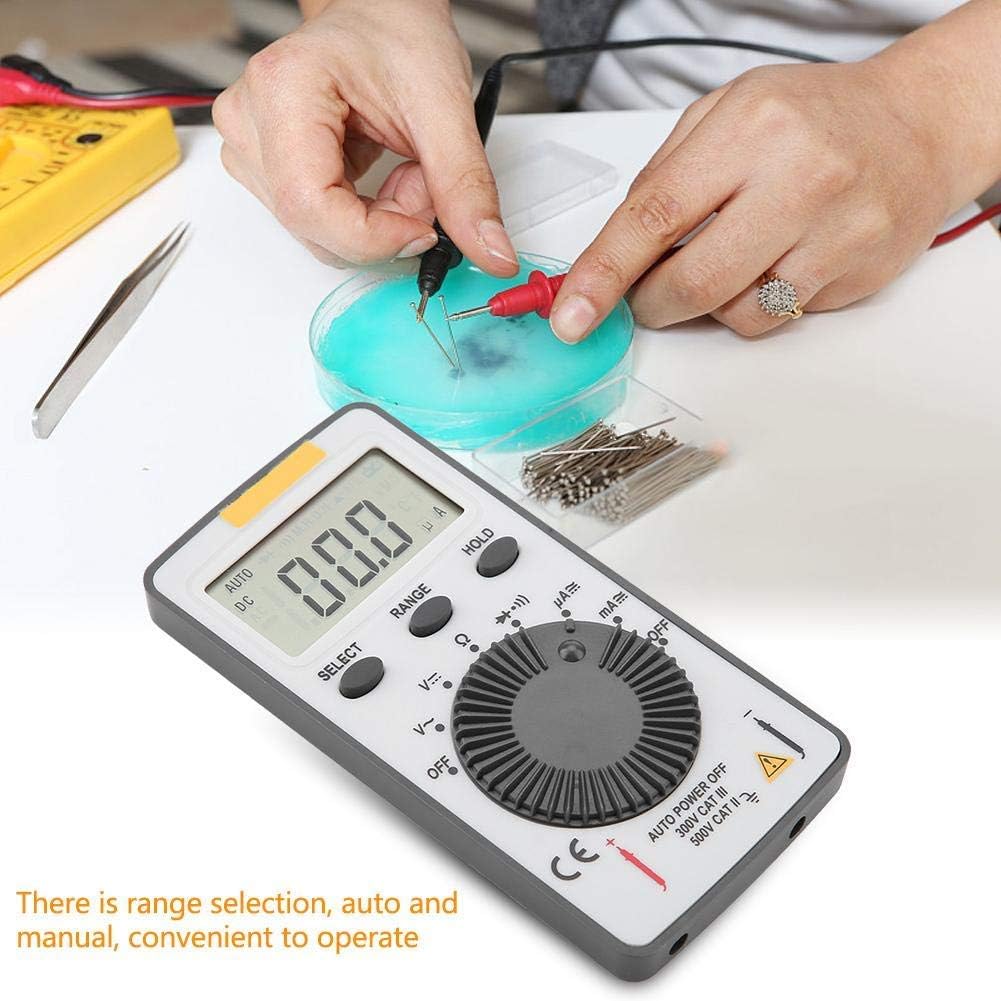
Figure 4.1: The ANENG AN101 Digital Multimeter in use, demonstrating its application for measuring electrical components. The image highlights the ease of operation with auto and manual range selection.
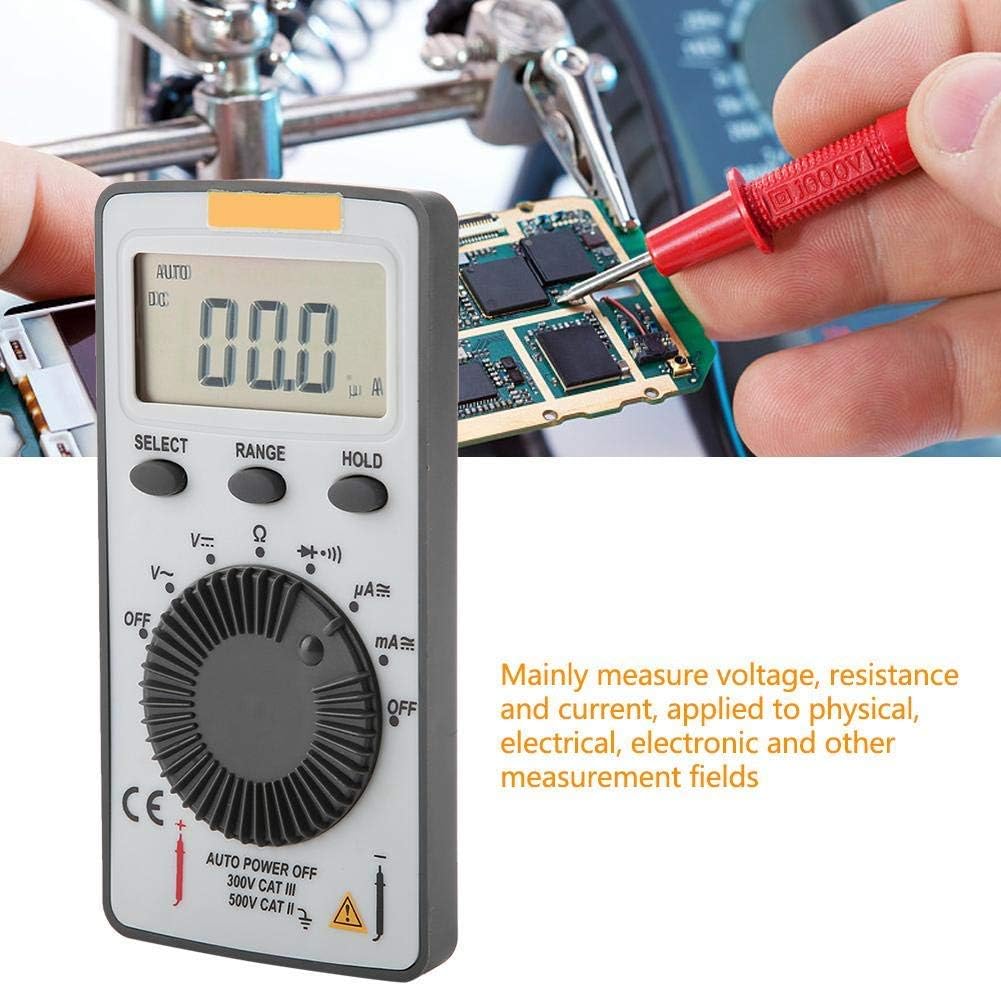
Figure 4.2: The ANENG AN101 Digital Multimeter being used to measure voltage or current on a circuit board. This illustrates its primary function in physical, electrical, and electronic measurement fields.
4.8 кармап туруу функциясы
Учурдагы көрсөткүчтү дисплейде тоңдуруу үчүн 'HOLD' баскычын басыңыз. Кармоо функциясын коё берүү жана өлчөөлөрдү улантуу үчүн аны кайра басыңыз.
5. Техникалык тейлөө
5.1 Тазалоо
Wipe the device with a dry, soft cloth. Do not use abrasive cleaners or solvents. Keep the device free from dust and moisture.
5.2 Батареяны алмаштыруу
When the battery indicator appears on the display, replace the batteries as described in Section 3.1. Always use two new 3V CR2032 batteries.
5.3 Сактагычты алмаштыруу
If the current measurement functions stop working, the fuse may need replacement. Refer to the safety warnings in Section 1 before attempting to open the case. Replace the fuse only with a F0.5A/600V type.
6. Кыйынчылыктарды
- Дисплей жок: Батареянын орнотулушун текшерип, батарейкалары түгөнүп калбагандыгын текшериңиз.
- "OL" көрсөтүлөт: This indicates an over-range condition. Either the measured value exceeds the selected range, or the circuit is open (for resistance/current measurements). Select a higher range or check circuit continuity.
- Туура эмес окуулар: Ensure test leads are properly connected, the correct function and range are selected, and the circuit connections are secure.
- Токту өлчөө иштебей жатат: 5.3-бөлүмдө сүрөттөлгөндөй, сактагычты текшериңиз.
7. Техникалык шарттар
| Өзгөчөлүк | Спецификация |
|---|---|
| Бренд | ANENG |
| Модел | AN101 |
| Дисплей | LCD, 1999 Counts |
| Жаңыртуу баасы | 2 жолу / экинчи |
| LCD өлчөмү | 40 * 20 мм |
| Полярдык көрсөткүч | Automatic '-' |
| Ашыкча көрсөткүч | 'OL' |
| Диапазон тандоо | Auto же Manual |
| Иштөө температурасы | 0℃ to 40℃, Relative Humidity: <80% RH |
| Сактоо температурасы | -10℃ to 50℃, Relative Humidity: <85% RH |
| Батарея түрү | 2 * 3V, CR2032 size (not included) |
| DC Voltage Киргизүү импедансы | 10МΩ |
| DC Voltage Overload Protection | 600V DC / AC RMS |
| Макс. DC Voltage Киргизүү | 600V DC |
| DC Current Overload Protection | F0.5A / 600V Fuse |
| Max. DC Current Input | 500мА |
| AC Current Overload Protection | F0.5A / 600V Fuse |
| Max. AC Current Input | 500мА |
| AC Current Frequency Range | 40Гц - 400Гц |
| AC Voltage Киргизүү импедансы | 10МΩ |
| AC Voltage Жыштык диапазону | 40Гц - 400Гц |
| AC Voltage Overload Protection | 600V DC / AC RMS |
| Макс. AC Voltage Киргизүү | 600V AC RMS |
| Салмагы | Болжол менен 102г / 3.6 унция |
| Өлчөмдөр | Approx. 110 * 55 * 10 mm / 4.3 * 2.2 * 0.4 in |
| Пакеттин мазмуну | 1 * Digital Multimeter, 2 * Test Leads |

Figure 7.1: Dimensions of the ANENG AN101 Digital Multimeter, showing its compact size for portability.
8. Кепилдик жана колдоо
Кепилдик маалыматы жана техникалык колдоо үчүн, сатып алуу учурунда берилген документтерди караңыз же сатуучуга кайрылыңыз. Сатып алганыңыздын далили катары сатып алуу дүмүрчөгүңүздү сактаңыз.