1. Киришүү
The Lorex LR-DL5 RFID Coded Card Access System is designed to provide secure and convenient access control for various indoor environments such as offices and apartments. This device supports both password entry and RFID card/keyfob access, offering flexibility and enhanced security. It is capable of managing up to 1000 unique user cards or keyfobs.
This manual provides detailed instructions for the installation, operation, and maintenance of your LR-DL5 access system. Please read this manual thoroughly before installation and use to ensure proper functionality and safety.
2. Коопсуздук маалыматы
- Ensure the power supply is disconnected before installation or maintenance to prevent electrical shock.
- This device is designed for indoor use only. Avoid exposure to moisture, direct sunlight, or extreme temperatures.
- Installation should be performed by a qualified electrician or technician.
- Use only the specified 12VDC power supply.
- Түзмөктү бөлүктөргө бөлүүгө же өзгөртүүгө аракет кылбаңыз, анткени бул кепилдикти жокко чыгарат жана зыянга же жаракатка алып келиши мүмкүн.
3. Пакеттин мазмуну
Сураныч, пакеттин мазмунун текшерип, бардык буюмдар бар экенин текшериңиз:
- Lorex LR-DL5 RFID Coded Card Access System Unit
- 100 x Magnetic Keyfobs
- Монтаждоо бурамалар жана дубал сайгычтар
- Колдонуучунун Колдонмосу (бул документ)
4. Техникалык шарттар
| Өзгөчөлүк | Спецификация |
|---|---|
| Модел | LR-DL5 |
| Кирүү ыкмалары | Password, RFID Card/Keyfob |
| Колдонуучунун кубаттуулугу | Up to 1000 cards/keyfobs |
| Электр камсыздоо | 12VDC |
| Иштөө температурасы | 0°C – 45°C |
| Өлчөмдөрү (L x W x Y) | 120мм x 80мм x 22мм |
| Relay Output | NO/NC Dry Contact |
| Материал | Пластик |
| Орнотуу | Surface Mount |
5. Орнотуу жана орнотуу
The Lorex LR-DL5 is designed for easy surface-mount installation. Ensure you have the necessary tools (drill, screwdriver, wire strippers) and follow these steps:
- Жайгашкан жерди тандаңыз: Select an indoor location near the door where the access system will be used. Ensure it is protected from moisture and direct sunlight.
- Аппаратты орнотуу:
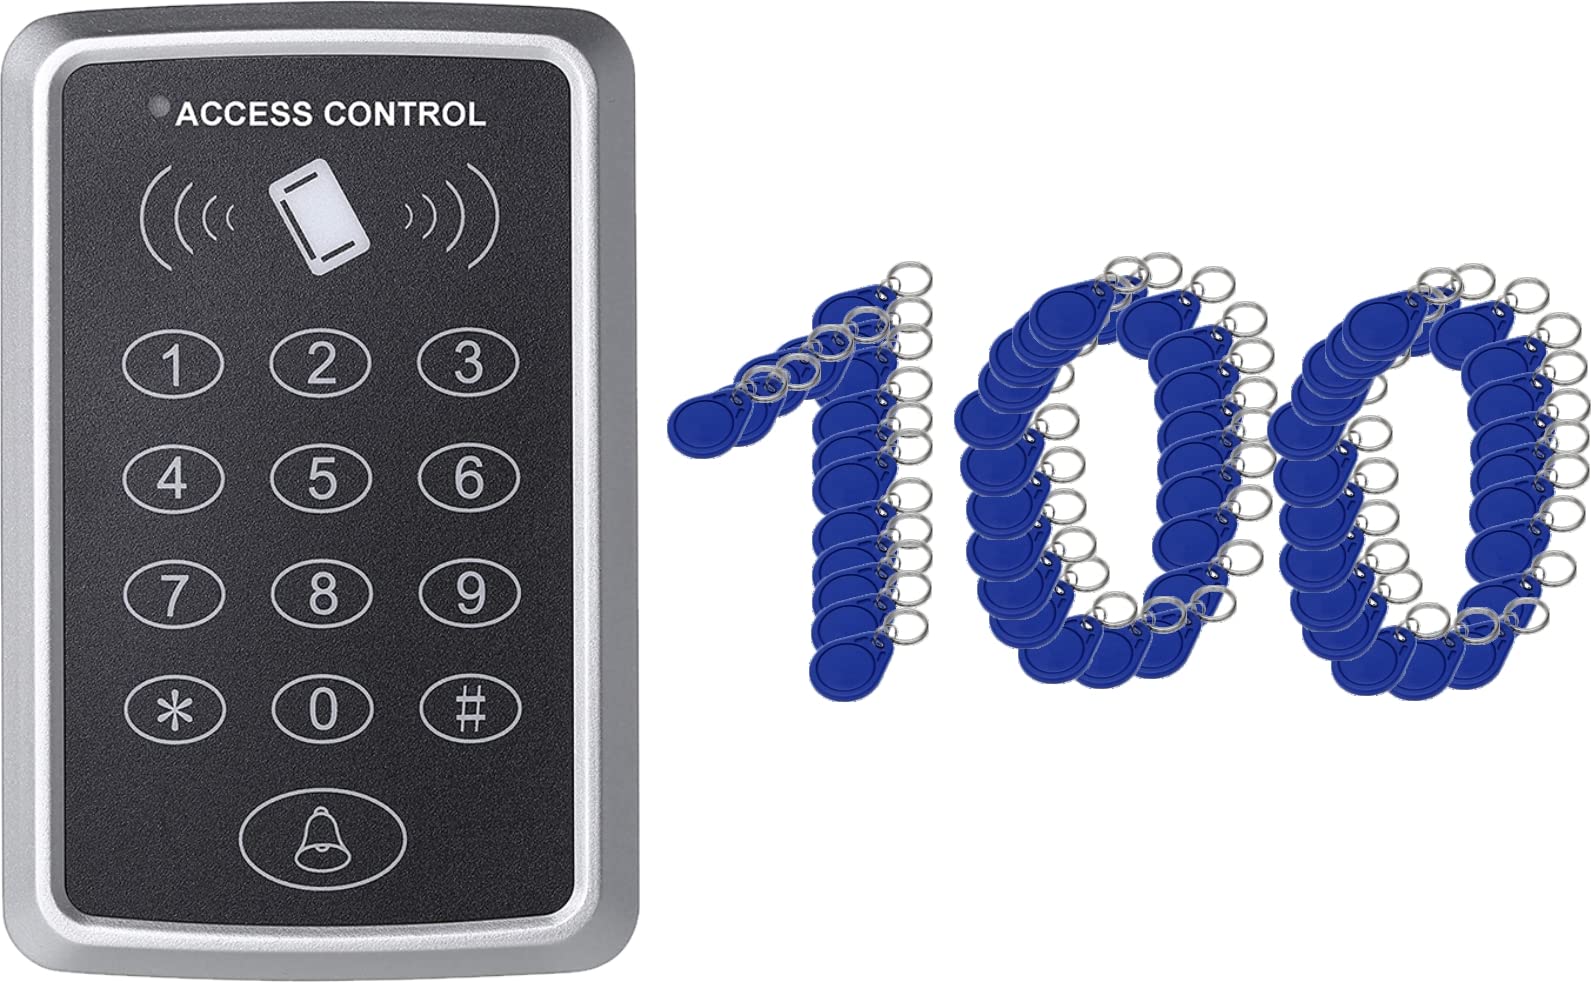
Image: The Lorex LR-DL5 unit, a grey plastic device with a keypad and card reader, mounted on a wall.
Mark the drilling points on the wall using the device as a template. Drill holes, insert wall plugs, and secure the device to the wall using the provided screws. - Зымдар: Connect the 12VDC power supply to the designated power terminals. Connect the NO (Normally Open) or NC (Normally Closed) relay outputs to your electric door strike or automatic door opener, depending on your lock type. Refer to the wiring diagram provided with your specific lock mechanism.
- Баштапкы кубаттоо: Once all connections are secure, connect the 12VDC power supply. The device will power on, and an indicator light will confirm it is ready for programming.
6. Иштөө нускамалары
The LR-DL5 offers both password and RFID card/keyfob access. Below are the basic operating procedures.
6.1. Программалоо режими
To enter programming mode, press # followed by the master password (default is 123456). The indicator light will change, confirming entry into programming mode.
6.2. Changing the Master Password
- Программалоо режимине кирүү.
- Басыңыз 0.
- Enter your new 6-digit master password.
- Басыңыз # ырастоо үчүн.
- баскычын басып программалоо режиминен чыгуу *.
6.3. Adding User Cards/Keyfobs
You can add up to 1000 user cards or keyfobs.
- Программалоо режимине кирүү.
- Басыңыз 1.
- Present the RFID card/keyfob to the reader. The device will beep to confirm successful addition.
- Repeat for additional cards.
- баскычын басып программалоо режиминен чыгуу *.
6.4. Колдонуучунун сырсөздөрүн кошуу
- Программалоо режимине кирүү.
- Басыңыз 2.
- Enter a 4-6 digit user password.
- Басыңыз # ырастоо үчүн.
- Repeat for additional passwords.
- баскычын басып программалоо режиминен чыгуу *.
6.5. Deleting User Cards/Keyfobs
- Программалоо режимине кирүү.
- Басыңыз 3.
- Present the RFID card/keyfob to be deleted to the reader. The device will beep to confirm deletion.
- Repeat for additional cards.
- баскычын басып программалоо режиминен чыгуу *.
6.6. Deleting User Passwords
- Программалоо режимине кирүү.
- Басыңыз 4.
- Enter the 4-6 digit user password to be deleted.
- Басыңыз # ырастоо үчүн.
- Repeat for additional passwords.
- баскычын басып программалоо режиминен чыгуу *.
6.7. Adjusting Relay Time
The relay pull-in time (how long the door remains unlocked) can be adjusted.
- Программалоо режимине кирүү.
- Басыңыз 5.
- Enter the desired time in seconds (e.g., 03 3 секундга).
- Басыңыз # ырастоо үчүн.
- баскычын басып программалоо режиминен чыгуу *.
7. Техникалык тейлөө
- Тазалоо: Аппаратты жумшак, кургак чүпүрөк менен сүртүңүз. Абразивдүү тазалагычтарды же эриткичтерди колдонбоңуз.
- Текшерүү: Periodically check the wiring for any signs of damage or loose connections.
- Программалык камсыздоо жаңыртуулары: No user-performable software updates are available for this model.
8. Кыйынчылыктарды
| Көйгөй | Мүмкүн себеп | Чечим |
|---|---|---|
| Түзмөк күйбөйт. | Электр энергиясы жок же туура эмес томtage. | Check 12VDC power connection. Ensure power adapter is working. |
| Door does not unlock with valid card/password. | Incorrect wiring to door strike, card/password not programmed, or relay time too short. | Verify wiring connections. Ensure card/password is correctly added. Adjust relay time if necessary. |
| Программалоо режимине кирүү мүмкүн эмес. | Incorrect master password. | Ensure you are using the correct master password. Default is 123456. |
| Keyfobs not working. | Keyfobs not programmed or faulty. | Ensure keyfobs are correctly added to the system. Test with a known working keyfob. |
9. Кепилдик жана колдоо
For warranty information and technical support, please refer to the documentation provided at the time of purchase or contact your local Lorex distributor. Keep your purchase receipt as proof of purchase for warranty claims.
Өндүрүүчү: lorex
Биринчи жеткиликтүү датасы: 3-январь, 2022-жыл