
Introduction
The LFF Atomic Wall Clock with Jumbo Display (Model LWC215) is designed for clear visibility and precise timekeeping. It automatically adjusts time and date via atomic signal and provides both indoor and outdoor temperature readings. This manual provides detailed instructions for setup, operation, and maintenance to ensure optimal performance of your device.

Image: LFF Atomic Clock with its accompanying outdoor sensor.
Эмне камтылган
- 1 x LFF Atomic Wall Clock (Model LWC215)
- 1 x Зымсыз сырткы сенсор
- 1 x User Manual
Жайгашуу
1. Батареяны орнотуу
The atomic clock requires 4 AA batteries (not included), and the wireless outdoor sensor requires 2 AAA batteries (not included). Ensure batteries are inserted with correct polarity.

Сүрөт: Арткы view of the clock showing battery compartments for 4 AA batteries.
2. Initial Pairing and Time Setting
After inserting batteries into both the clock and the outdoor sensor, place them together for approximately 15 minutes to establish a strong connection. The clock will automatically begin searching for the WWVB atomic signal to set the time and date. This process typically occurs overnight (1:00 AM, 2:00 AM, 3:00 AM, 4:00 AM, 5:00 AM) and the signal icon will become solid upon successful connection.
You can manually set the time zone (EST, CST, MST, PST, AKT, HST), language, date, time, RCC reception, alarm clock, and reception channel (Default channel 1) using the buttons on the back of the unit if automatic synchronization is not immediately successful or preferred.
Video: This video demonstrates the initial setup and pairing process for the LFF Atomic Clock and its outdoor sensor.
3. Жайгаштыруу
The clock offers dual installation methods: a table stand for desk placement or hang holes for wall mounting. For the outdoor sensor, place it in an area protected from direct rain and sunlight to ensure accurate temperature readings. The transmission range is up to 328ft (100M) in an open area.
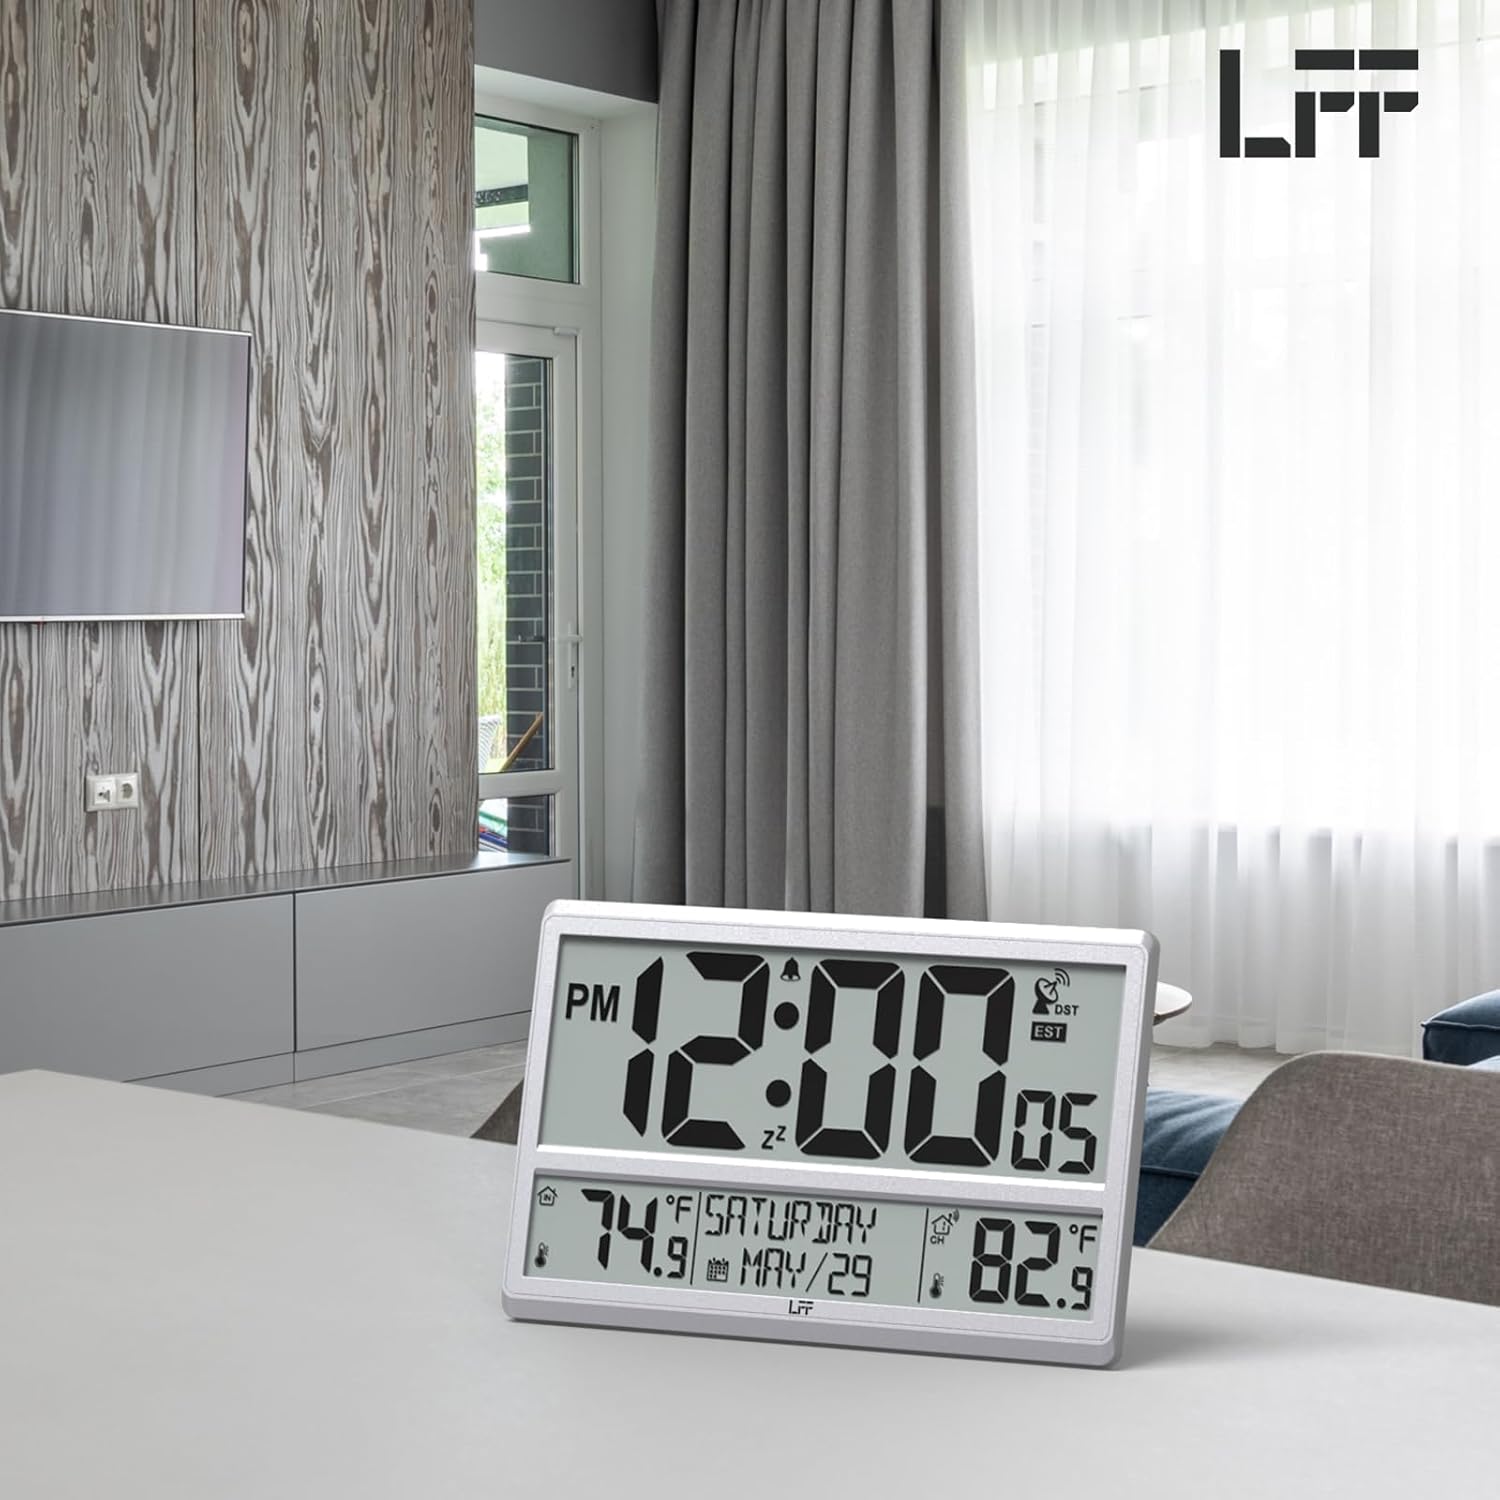
Image: Illustration of the wireless transmission range between the clock and the outdoor sensor.
Иштөө нускамалары
Дисплей өзгөчөлүктөрү
The large LCD screen displays the following information:
- Убакыт: 12/24 саат форматы.
- Дата: Ай жана күн.
- Аптанын күнү: Full day name.
- Ички температура: Displayed in °F / °C.
- Тышкы температура: Received from the wireless sensor, displayed in °F / °C.
- Ойготкуч: Alarm icon indicates active alarm.
- DST: Daylight Saving Time indicator.
- RCC Reception Icon: Indicates atomic signal reception status.

Image: Close-up of the clock display highlighting various functions like time, temperature, and date.
Ойготкучту орнотуу
To set the alarm, press and hold the 'ALARM' button on the back of the clock. Use the UP/DOWN buttons to adjust the alarm time, then press 'SET' to confirm. Press 'ALARM' again to turn the alarm ON/OFF.
Adjusting Time Zone and DST
To adjust the time zone or turn Daylight Saving Time (DST) on/off, press and hold the 'SET' button for 2 seconds to enter setting mode. Follow the prompts to select your desired time zone and DST setting. Press 'SET' to confirm each selection.
Техникалык тейлөө
- Батареяны алмаштыруу: Replace batteries in both the main clock unit and the outdoor sensor when the display dims or becomes erratic. For temperatures below -4°F, lithium batteries are recommended for the outdoor sensor.
- Тазалоо: Wipe the clock and sensor with a soft, dry cloth. Avoid using abrasive cleaners or solvents.
- Тышкы сенсорлорго кам көрүү: While the outdoor sensor has an IPX4 splash-proof rating, it is best to place it in a sheltered location to protect it from direct heavy rain and prolonged exposure to sunlight.
Проблемаларды чечүү
- No Atomic Signal (RCC) Reception:
- Ensure the clock is placed near a window or an outside wall, away from electronic devices that may cause interference.
- Manually initiate RCC reception by pressing and holding the 'RCC' button on the back of the clock.
- Туура убакыт алкагы тандалганын текшериңиз.
- Outdoor Temperature Not Displaying or Incorrect:
- Ensure both the clock and sensor have fresh batteries.
- Verify the outdoor sensor is set to Channel 1 (default) and the clock is also receiving on Channel 1. You can cycle through channels on the clock using the 'CHANNEL' button.
- Press and hold the 'RCC' button on the back of the clock for a few seconds to force a re-scan for the sensor signal.
- Ensure the sensor is within the 328ft (100M) transmission range and free from major obstructions.
- Дисплей күңүрт же бош:
- Replace all batteries in both units.
- Note that the clock does not have a backlight display.
Техникалык шарттар
| Өзгөчөлүк | Деталь |
|---|---|
| Бренд | LFF кеңейтүүсү |
| Модель номери | LWC215 |
| Түс | Silver |
| Дисплей түрү | Санарип |
| Продукциянын өлчөмдөрү | 14.2"W x 9.4"H |
| Power Source | Battery Powered (4 AA for clock, 2 AAA for sensor) |
| Өзгөчөлүктөр | Large Display, Multiple Time Zone, Temperature Display, Atomic, Calendar Display |
| Ички/тышкы колдонуу | Indoor (Clock), Outdoor (Sensor) |
| Материал | Пластик |
| Монтаж түрү | Дубалга орнотуу, стол тирөөчү |
| Элемент Салмагы | 1 фунт |
| Outdoor Sensor Waterproof Rating | IPX4 (чачууга каршы) |
Кепилдик жана колдоо
For any quality problems or technical assistance, please contact LFF support directly. We are committed to ensuring your satisfaction with our products.
Колдоо электрондук почтасы: support@lfftech.com