
Introduction
Thank you for choosing the Optex 990047 Indoor/Outdoor Wireless Digital Thermometer. This device provides accurate temperature readings for both your indoor environment and an outdoor location via a wireless sensor. Please read this manual carefully before use to ensure proper operation and to maximize the lifespan of your thermometer.
Пакеттин мазмуну
- 1 x Optex 990047 Main Display Unit
- 1 x Зымсыз сырткы сенсор
- 1 x User Manual
- (Batteries not included, typically requires AAA or AA batteries for both units)
Продукт бүттүview
Familiarize yourself with the components of your Optex thermometer.
Main Display Unit (Front)

Сүрөт: Фронт view of the Optex 990047 main display unit. The digital screen shows indoor and outdoor temperatures, along with high/low records and trend indicators. Below the screen are three buttons: 'CH', '°C/°F', and 'CLEAR'.
- Санариптик дисплей: Shows indoor temperature (top) and outdoor temperature (bottom), along with HI/LO records and temperature trend arrows.
- CH баскычы: Selects the wireless channel (if multiple sensors are used) or initiates sensor search.
- °C/°F баскычы: Цельсий жана Фаренгейт температура бирдиктери ортосунда которулат.
- ТАЗАЛОО баскычы: Clears the recorded HI/LO temperatures.
Main Display Unit (Back)

Сүрөт: Артка view of the Optex 990047 main display unit. It features a battery compartment cover and an integrated kickstand for tabletop placement, as well as a hanging hole.
- Батарея бөлүмү: Houses the batteries for the main unit.
- Кикстенд: Allows the unit to stand upright on a flat surface.
- Дубалга орнотуучу тешиги: For hanging the unit on a wall.
Зымсыз тышкы сенсор
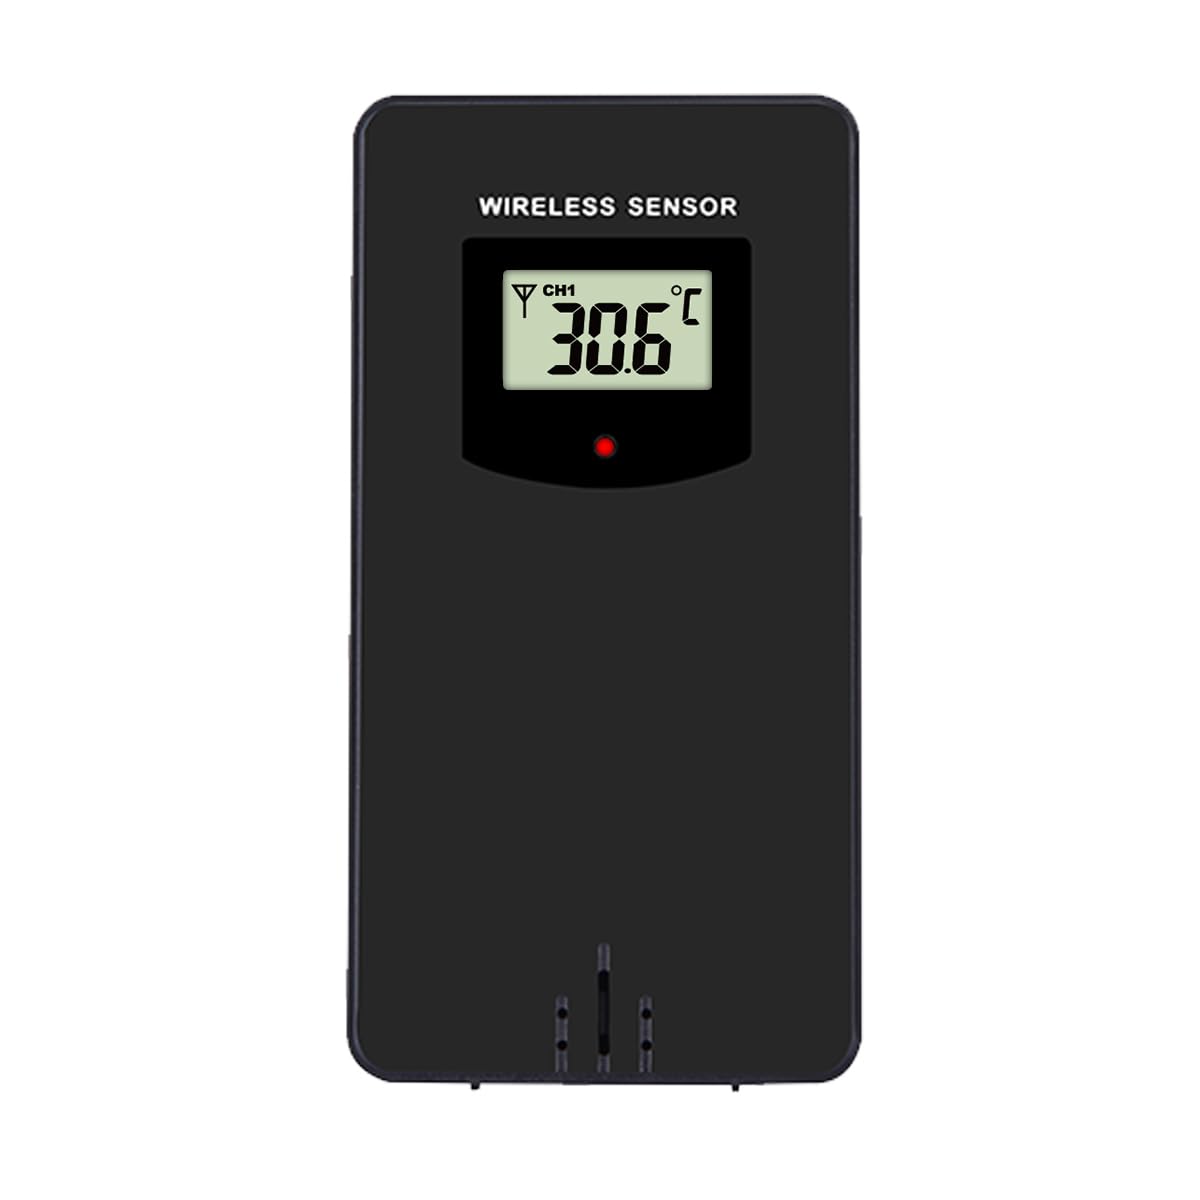
Сүрөт: Фронт view of the Optex wireless outdoor temperature sensor. It has a small digital display showing the current temperature and channel, along with a red indicator light and a battery compartment on the back.
- Температура сенсору: Measures the outdoor temperature.
- Берүү көрсөткүчү: A small LED light that flashes when data is transmitted.
- Батарея бөлүмү: Houses the batteries for the outdoor sensor.
- Каналды которуштуруу: (Typically inside the battery compartment) Allows selection of a specific channel (1, 2, or 3) if using multiple sensors.
Жайгашуу
- Install Batteries in the Outdoor Sensor:
- Зымсыз сенсордун артындагы батарея бөлүкчөсүн ачыңыз.
- Полярдуулук белгилерине (+/-) ылайык 2 даана AAA батарейкасын (кошулмага кирбейт) салыңыз.
- Батарея отсегин жабыңыз.
- Note: If there is a channel switch inside the compartment, ensure it is set to Channel 1 for initial setup.
- Install Batteries in the Main Display Unit:
- Негизги дисплей бирдигинин артындагы батарея бөлүкчөсүн ачыңыз.
- Полярдуулук белгилерине (+/-) ылайык 2 даана AAA батарейкасын (кошулмага кирбейт) салыңыз.
- Батарея отсегин жабыңыз.
- The display will light up and begin searching for the outdoor sensor.
- Сенсорду жупташтыруу:
- Place the outdoor sensor and the main display unit close to each other during the initial setup.
- The main unit should automatically detect and connect to the outdoor sensor within a few minutes. The outdoor temperature will appear on the display.
- If the outdoor temperature does not appear, press and hold the "CH" button on the main unit for 3 seconds to initiate a manual search for the sensor.
- Тышкы сенсорду жайгаштыруу:
- Choose a shaded location for the outdoor sensor, away from direct sunlight and rain, to ensure accurate readings.
- Avoid placing it near heat sources (e.g., vents, appliances) or metal objects that could interfere with the wireless signal.
- The maximum wireless range is approximately 30 meters (100 feet) in open air. Walls and obstacles will reduce this range.
Операция
Reading Temperatures
The main display unit shows the indoor temperature at the top and the outdoor temperature (from the wireless sensor) at the bottom. Both displays show the current temperature, along with the recorded high (HI) and low (LO) temperatures for the day, and a trend indicator.
Температураны өлчөө бирдиктерин которуу (°C/°F)
басыңыз ° C / ° F button once to switch between Celsius and Fahrenheit temperature units.
Clearing HI/LO Records
The thermometer automatically records the highest and lowest temperatures since the last reset. To clear these records and start new ones, press the CLEAR button once. The HI/LO values will reset to the current temperature.
Канал тандоо (бир нече сенсорлор үчүн)
If you are using multiple outdoor sensors (sold separately), you can switch between their readings by pressing the CH button. Each press will cycle through the available channels (e.g., CH1, CH2, CH3). Ensure each sensor is set to a unique channel via its internal switch.
Техникалык тейлөө
- Тазалоо: Түзмөктөрдү жумшак, d менен сүртүңүзamp кездеме. Абразивдүү тазалагычтарды же эриткичтерди колдонбоңуз.
- Батареяны алмаштыруу: Replace batteries in both the main unit and the outdoor sensor when the low battery indicator appears on the display. Always replace all batteries at the same time with new ones of the same type.
- Сактагыч: If storing the thermometer for an extended period, remove all batteries to prevent leakage. Store in a cool, dry place.
Проблемаларды чечүү
| Көйгөй | Чечим |
|---|---|
| No outdoor temperature reading / "---" displayed. |
|
| Температураны туура эмес көрсөткүчтөр. |
|
| Дисплей күңүрт же бош. |
|
Техникалык шарттар
- Модел: Optex 990047
- Дисплей түрү: Санарип LCD
- Ички температура диапазону: -10°Cден 50°Cге чейин (14°Fтен 122°Fге чейин) (Estimated, based on typical indoor thermometers)
- Тышкы температура диапазону: -40°Cден 60°Cге чейин (-40°Fтен 140°Fге чейин) (Estimated, based on typical outdoor sensors)
- Температуранын тактыгы: +/- 1°C (+/- 2°F) (Болжолдуу)
- Зымсыз диапазон: Ачык абада 30 метрге (100 фут) чейин (Болжолдуу)
- Кубат булагы (Негизги блок): 2 x AAA 1.5V батарейкалар (киргизилген эмес)
- Кубат булагы (тышкы сенсор): 2 x AAA 1.5V батарейкалар (киргизилген эмес)
- Материал: Пластик
- Түсү: Кара
Коопсуздук маалыматы
- Негизги блокту же сенсорду экстремалдык температурага, тике күн нуруна же ашыкча нымдуулукка дуушар кылбаңыз.
- Do not immerse the units in water. The outdoor sensor is weather-resistant but not waterproof.
- Do not attempt to disassemble or repair the units. This will void the warranty.
- Эски батареяларды жергиликтүү эрежелерге ылайык таштаңыз.
- Батареяларды балдар жетпеген жерде сактаңыз.
Кепилдик жана колдоо
Optex products are designed for reliability and performance. For warranty information or technical support, please refer to the contact details provided with your purchase or visit the official Optex website. Please have your model number (990047) ready when contacting support.