
Introduction
Thank you for choosing the VGR V-212 Professional Hair Clipper. This manual provides essential information for the safe and effective use, maintenance, and care of your new hair clipper. Please read it thoroughly before first use and keep it for future reference.
Коопсуздук маалыматы
- Always disconnect the trimmer from the power source before cleaning or performing any maintenance.
- Do not use this appliance on wet hair. Ensure hair is dry before use.
- Keep the appliance out of reach of children and pets to prevent accidents.
- Avoid direct contact of the blades with eyes and sensitive skin areas.
- Бул колдонмодо сүрөттөлгөндөй шайманды өз максатына ылайык гана колдонуңуз.
- Шайманды сууга же башка суюктуктарга батырбаңыз.
- If the charging cable or appliance is damaged, do not use it. Contact customer support for assistance.
Пакеттин мазмуну
Your VGR V-212 Professional Hair Clipper package should include:
- VGR V-212 Hair Clipper
- Zero T-blade (pre-installed)
- Multiple comb guides (e.g., 1mm, 2mm, 3mm)
- USB заряддоо кабели
- Тазалоочу щетка
- Blade майы
- User Manual
Жайгашуу
- Баштапкы төлөм: Before first use, fully charge the hair clipper. Refer to the 'Charging' section for detailed instructions.
- Бычак текшерүү: Ensure the zero T-blade is securely attached and free from any damage.
- Тарактын көрсөтмөсүн тиркөө: Select the desired comb guide (e.g., 1mm, 2mm, or 3mm) and securely attach it to the clipper head. Ensure it clicks into place.
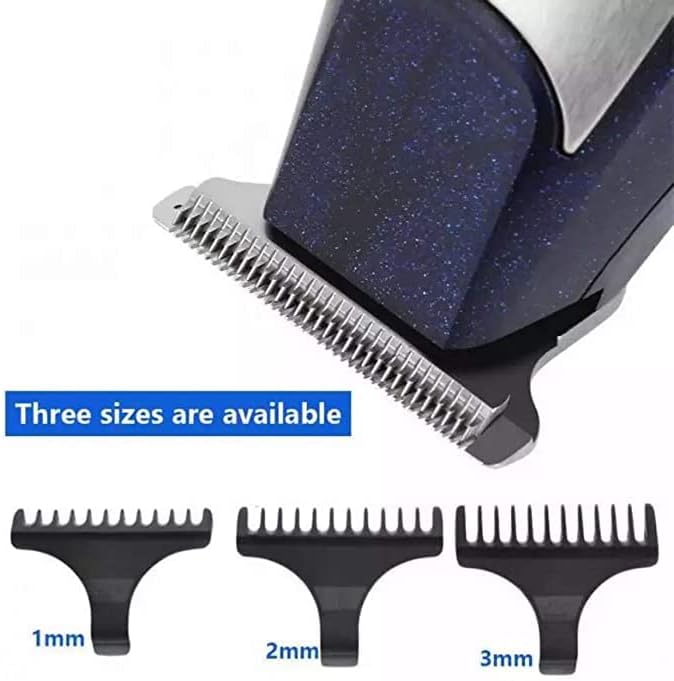
This image displays the VGR V-212 hair clipper blade and three detachable comb guides, indicating available cutting lengths of 1mm, 2mm, and 3mm for precise trimming.
Заряддоо
The VGR V-212 hair clipper is equipped with two 600 mAh rechargeable batteries and supports USB charging.
- Туташуу: Insert the USB charging cable into the charging port on the clipper.
- Кубат булагы: Connect the other end of the USB cable to a USB power adapter (not always included) or a compatible USB port (e.g., computer, power bank).
- Заряддоо көрсөткүчү: The charging indicator light will illuminate, typically red, to show that the device is charging.
- Толук заряд: A full charge usually takes approximately 8 hours. The indicator light may change color (e.g., green or off) when fully charged.
- Ажыратуу: Once fully charged, disconnect the charging cable from the clipper and the power source.
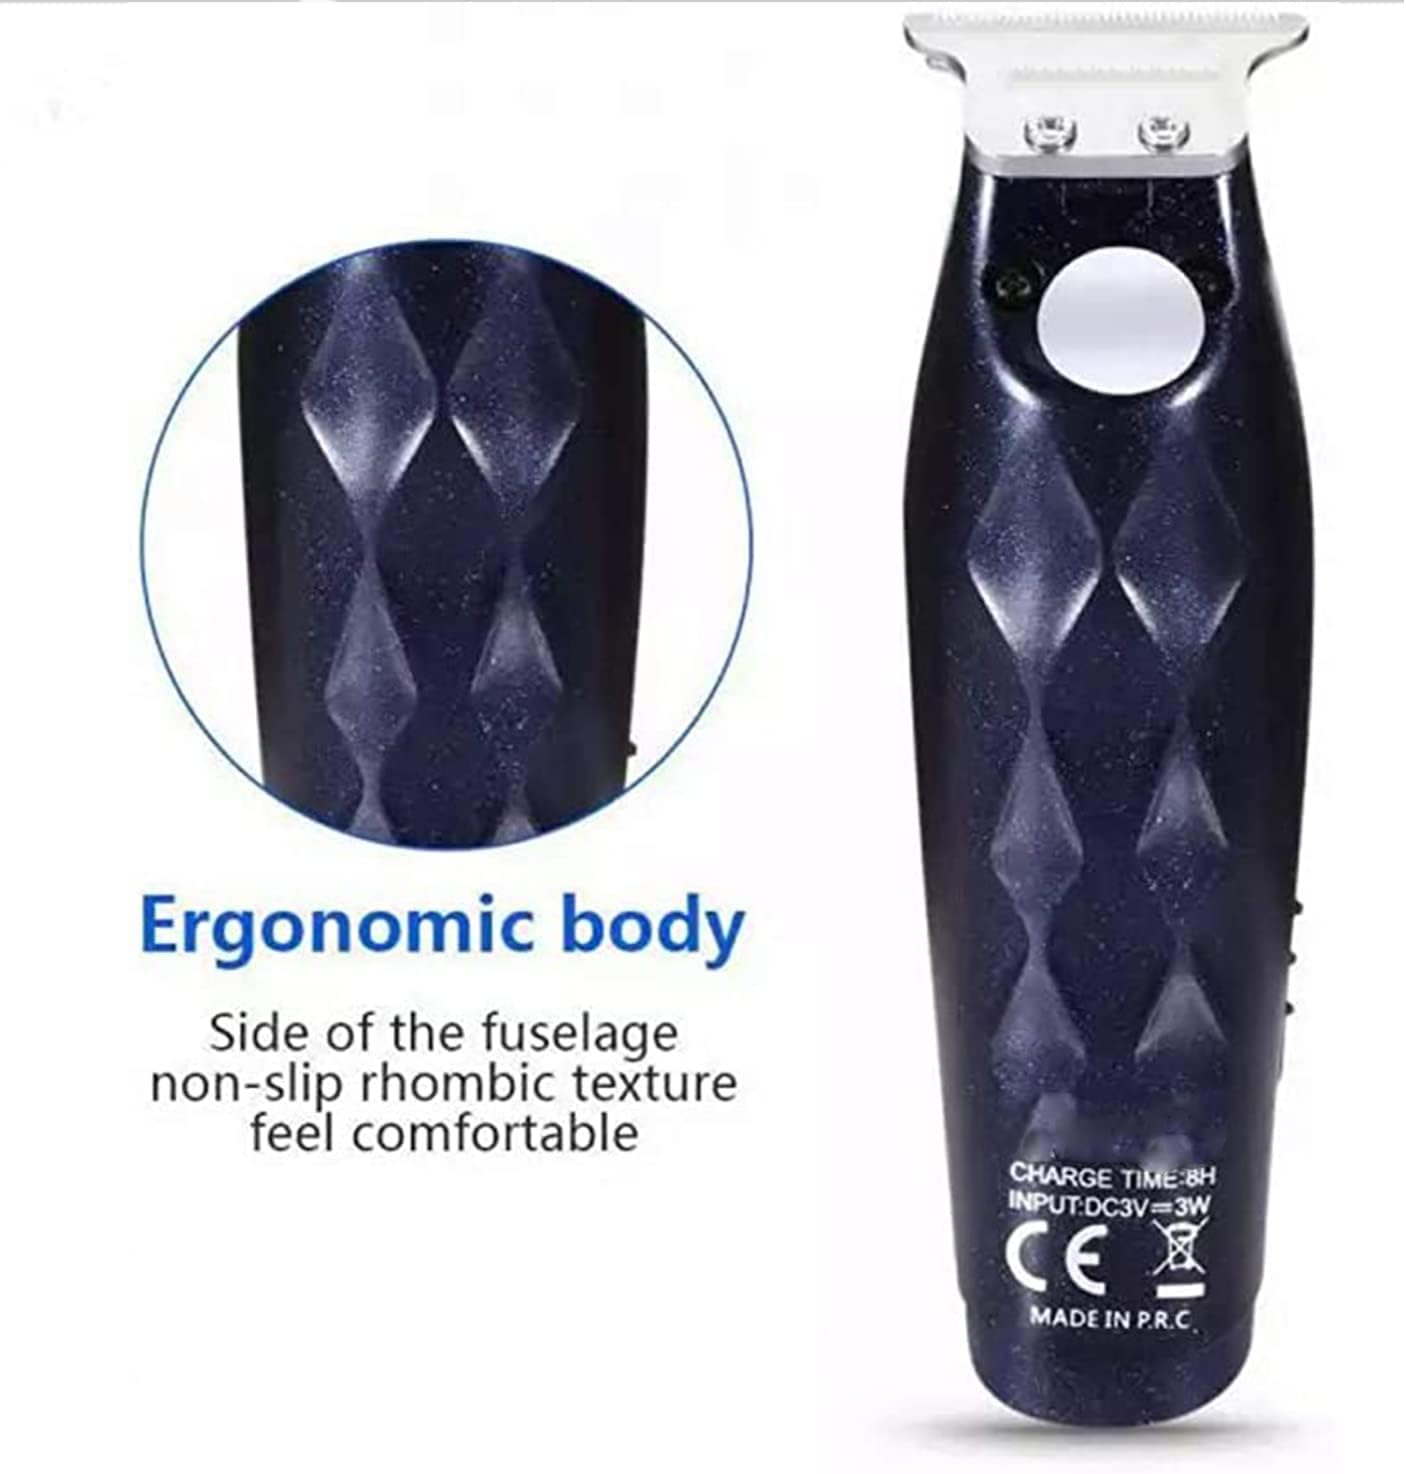
This image highlights the ergonomic design of the VGR V-212 hair clipper, featuring a non-slip rhombic texture on the side of the fuselage for a comfortable and secure grip during use. The charging specifications (DC3V=3W, Charge Time: 8H) are visible on the back.
Иштөө нускамалары
The VGR V-212 is designed for precise trimming of edges and facial hair.
- Чачты даярдоо: Чачты кыркаардан мурун таза жана кургак экенин текшериңиз.
- Select Comb Guide: Choose the appropriate comb guide for your desired hair length. For a closer trim, use a smaller guide or no guide for a zero-gap cut.
- Күйгүзүү: Клипперди иштетүү үчүн кубат баскычын басыңыз.
- Кесүү: Hold the clipper with the blade flat against the skin or at a slight angle, moving against the direction of hair growth. Use smooth, even strokes.
- Edges and Details: For precise edging and detailing, remove the comb guide and carefully use the zero T-blade.
- Өчүрүү: Колдонгондон кийин, чач кыркуучу машинаны өчүрүү үчүн кубат баскычын басыңыз.
Тейлөө жана тазалоо
Үзгүлтүксүз тазалоо жана техникалык тейлөө сиздин чач кыркуучу машинаңыздын оптималдуу иштешин жана узак мөөнөттүү иштешин камсыз кылат.
- Кубатты өчүрүү: Always ensure the clipper is turned off and disconnected from the charging cable before cleaning.
- Чачты алып салуу: Use the provided cleaning brush to remove loose hair from the blades and the clipper body.
- Таза бычактар: For a more thorough clean, you may carefully detach the blade assembly (refer to specific instructions if available in the physical manual). Rinse the blades under running water if they are designed to be washable, otherwise, wipe with a damp cloth. Ensure blades are completely dry before reattaching or storing.
- Мунай бычактары: Apply a few drops of the provided blade oil to the teeth of the blades after each cleaning or regularly. Turn on the clipper for a few seconds to distribute the oil evenly. This helps maintain blade sharpness and reduces friction.
- Денени тазалоо: Wipe the body of the clipper with a clean, dry cloth.
- Сактагыч: Клипперди күн нурунан жана нымдан алыс, салкын, кургак жерде сактаңыз.
Проблемаларды чечүү
| Көйгөй | Мүмкүн себеп | Чечим |
|---|---|---|
| Clipper күйбөйт. | Батарея түгөнүп калды. | Клипперди толук заряддаңыз. |
| Начар кесүү көрсөткүчү. | Бышактар кызыксыз, кир же майланбаган. | Clean and oil the blades. If blades are dull, consider replacement (contact support). |
| Клиппер чачты тартат. | Blades are dirty, not oiled, or hair is wet. | Clean and oil blades. Ensure hair is dry. Trim at a slower pace. |
| Clipper gets hot. | Extended use or lack of lubrication. | Allow the clipper to cool down. Ensure blades are clean and oiled. |
Техникалык шарттар
| Модель номери | V-212 |
| Бренд | VGR |
| Бычактын материалы | Жогорку көмүртектүү дат баспас болоттон жасалган |
| Power Source | Rechargeable Battery (2 x 600 mAh) |
| Заряддоо ыкмасы | USB заряддоо |
| Заряддоо убактысы | Болжол менен 8 саат |
| Сунушталган Колдонуулар | Edges, Facial Hair |
| Түс | Blue and Silver |
| Элемент Салмагы | 350 грамм |
| Келип чыккан өлкө | Кытай |
Кепилдик жана колдоо
For warranty information or technical support, please refer to the warranty card included with your product or contact VGR customer service through their official webсайтына же продукт сатып алынган сатуучуга кайрылыңыз. Кепилдик талаптары үчүн сатып алгандыгыңызды тастыктаган документти сактап коюңуз.