
Introduction
Thank you for choosing the AEQ 3-in-1 Wireless Charging Station. This device is designed to efficiently charge your iPhone, Apple Watch, and AirPods simultaneously, while also providing a digital clock, alarm function, and a night light. Please read this manual carefully before use to ensure optimal performance and safety.
Продукт бүттүview
The AEQ 3-in-1 Wireless Charging Station combines multiple functionalities into a compact and foldable design, ideal for home, office, or travel. It features dedicated charging areas for your smartphone, smartwatch, and wireless earbuds, along with an integrated clock, alarm, and night light.
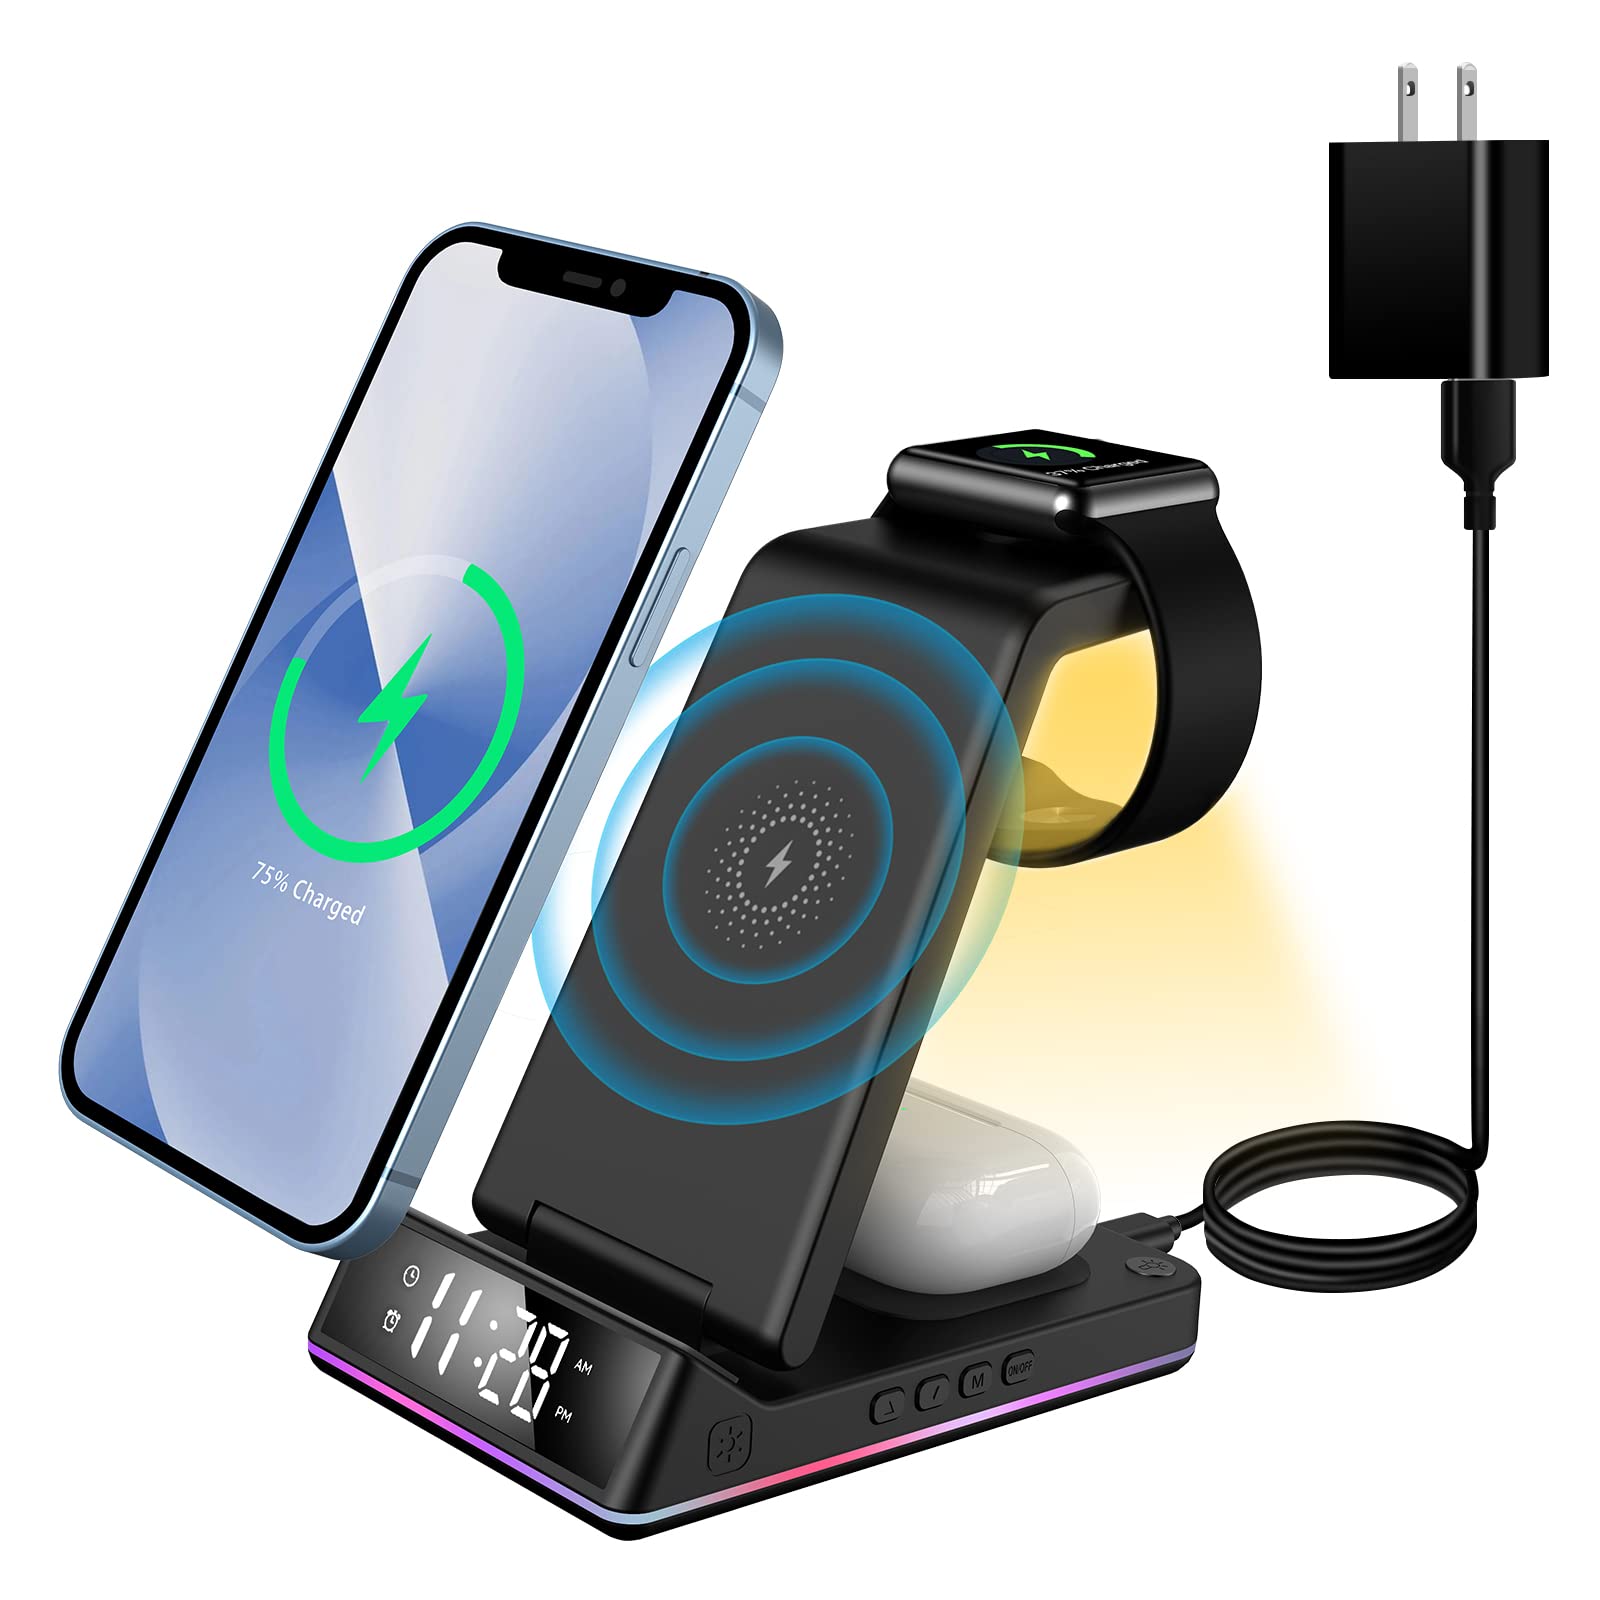
Image: The AEQ 3-in-1 Wireless Charging Station in its upright position, displaying the digital clock.
Кутуда эмне бар
- 1 x AEQ 3-in-1 Wireless Charging Stand
- 1 x Type-C Power Cable
- 1 x QC 3.0 адаптери
- 1 x Колдонуучунун колдонмосу (бул колдонмо)
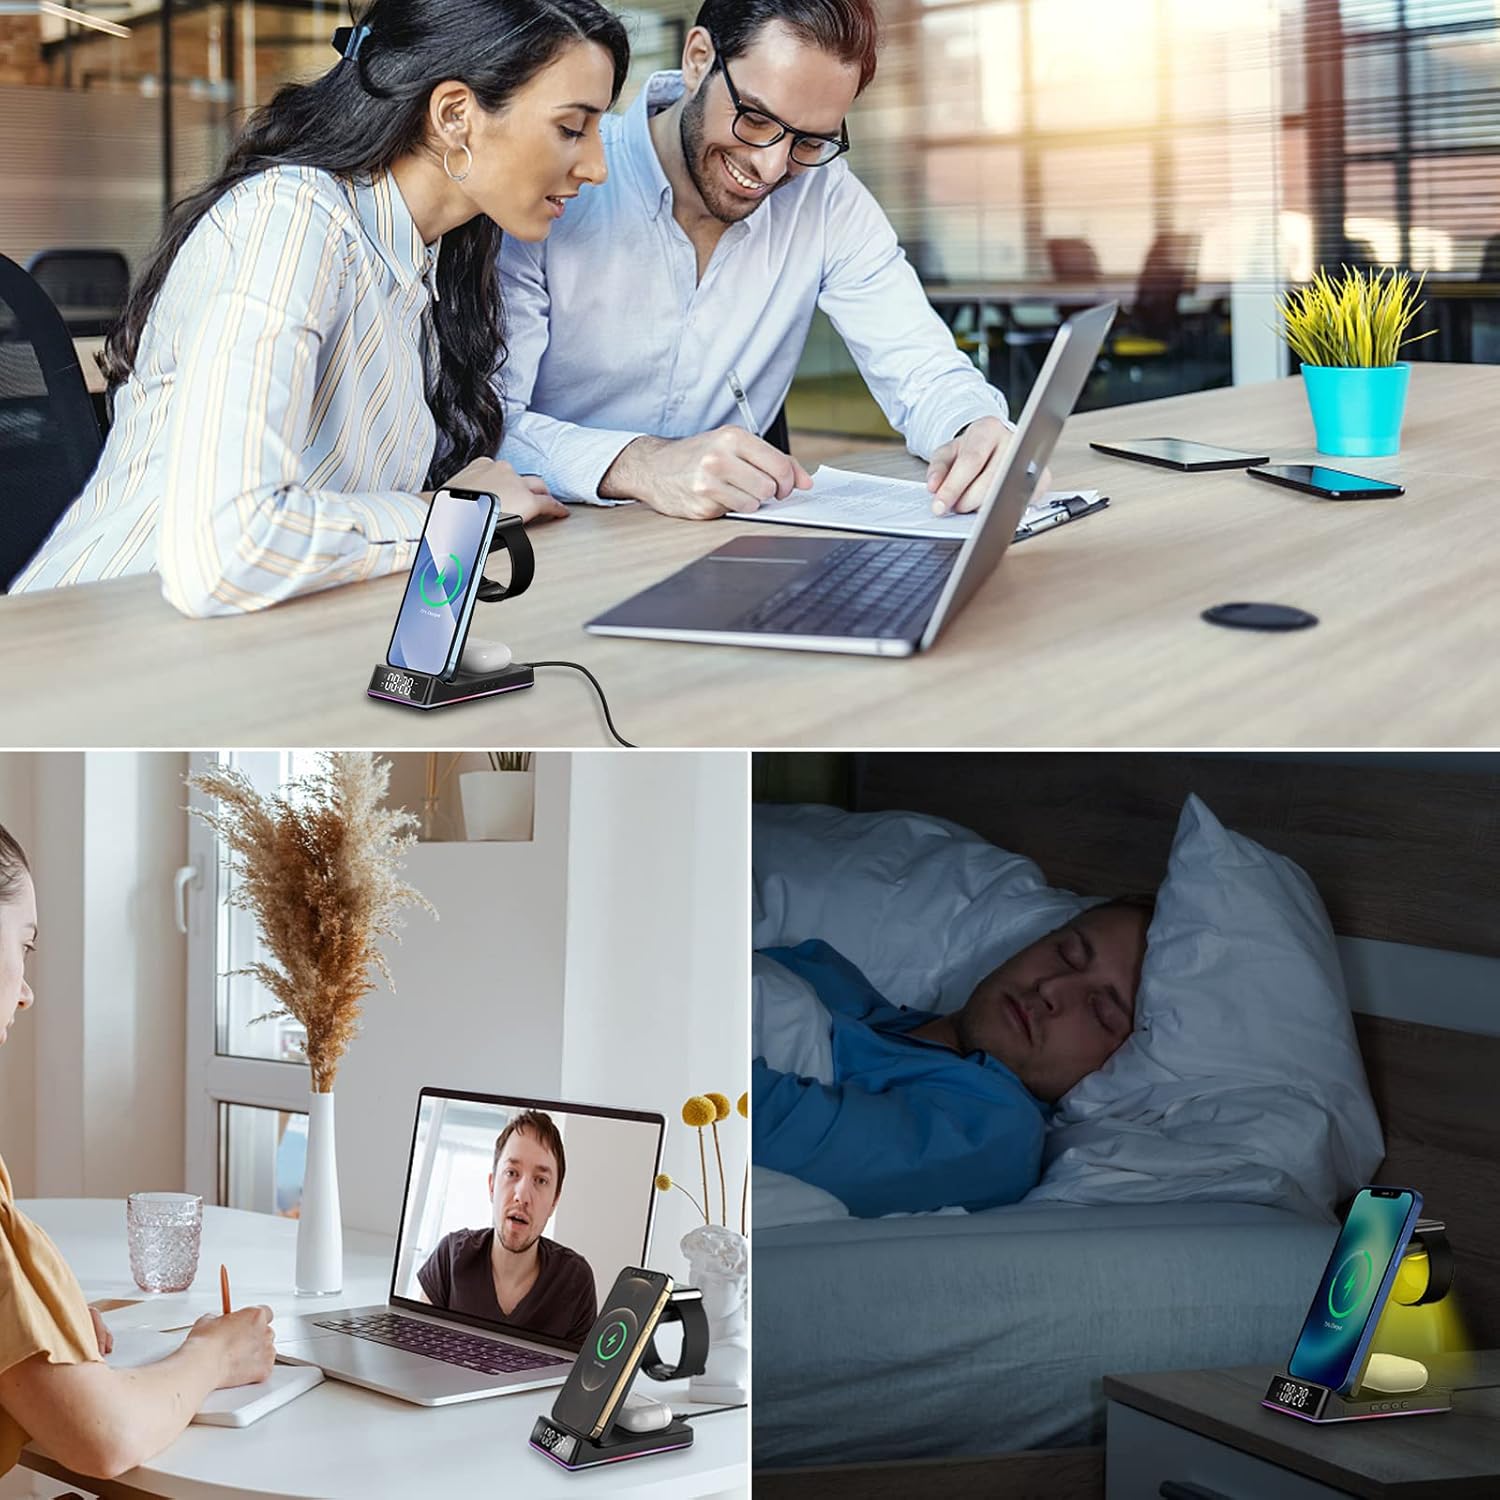
Image: All components included in the product packaging: the charging stand, Type-C cable, QC 3.0 adapter, and user guide.
Орнотуу нускамалары
- Туташуу кубаты: Plug the provided Type-C power cable into the charging port on the back of the station. Connect the other end of the cable to the QC 3.0 adapter, then plug the adapter into a wall outlet.
- Стендди жайгаштырыңыз: Unfold the charging stand to your desired viewing angle (0°-67°). Ensure it is stable on a flat surface.
- Баштапкы күйгүзүү: The digital clock display will illuminate upon successful power connection.
Иштөө нускамалары
Зымсыз заряддоо
The charging station supports simultaneous wireless charging for compatible devices. Ensure your devices are Qi-enabled for wireless charging.
- Смартфонду кубаттоо: Place your compatible smartphone (e.g., iPhone 8/Plus to 14 Pro Max, Samsung Galaxy S6 Edge Plus to S21/W21) on the upright charging pad. The device supports both vertical and horizontal charging orientations.
- Apple Watch заряддоо: Place your Apple Watch (Series 2-7, SE) on the dedicated magnetic charging module at the top of the stand.
- AirPods/Earbuds Charging: Place your compatible AirPods (Pro/2/3) or other Qi-enabled earbuds on the flat charging pad at the base of the stand.

Image: A visual guide to compatible devices including various iPhone models, Samsung Galaxy phones, Apple Watch models, and AirPods. Note: Not compatible with Samsung Watch.

Image: Illustration showing that the charger is case-friendly for phone cases up to 5mm thick. It also indicates that magnetic cases, metal cases, grip stands, and credit cards should be removed for optimal charging.
Clock and Alarm Function
The charging station features a digital clock and alarm. The controls for these functions are located on the side of the base.

Сүрөт: Жакын план view of the control buttons on the side of the charging station, labeled as 'Up key', 'Down key', 'Mode', and 'Clock display switch on/off'. There is also a 'Mobile phone charging indicator switch'.
- Убакытты коюу:
a. Press and hold the "Mode" button for 3-5 seconds until the "Hour" icon flashes.
b. Use the "Up" or "Down" keys to adjust the hour.
c. Press the "Mode" button again to confirm the hour. The "Minute" icon will flash.
d. Use the "Up" or "Down" keys to adjust the minute.
e. Press the "Mode" button one last time to confirm the minute and complete the clock setting. - Ойготкучту орнотуу:
a. Press the "Mode" button for 2 seconds until the alarm icon flashes.
b. Use the "Up" or "Down" keys to set the alarm hour.
c. Press the "Mode" button to confirm the alarm hour. The minute icon will flash.
d. Use the "Up" or "Down" keys to set the alarm minute.
e. Press the "Mode" button to confirm the alarm minute and complete the alarm setting. - Сигнализацияны күйгүзүү/өчүрүү: Press and hold the "Up" key for 3 seconds to turn on or off the alarm icon.
Video: This video demonstrates how to set the clock and alarm functions on the AEQ 3-in-1 Wireless Charging Station, showing the button presses and display changes.
Түнкү жарык операциясы
The charging station includes a night light feature. To activate or deactivate the night light, press the dedicated light button (often indicated by a sun or lightbulb icon) on the front of the base. This button is touch-sensitive.

Image: The charging station with its night light illuminated, showing the digital clock and a phone charging on the stand.
Заряддоо көрсөткүчү
The charging station features a color LED indicator. This indicator provides visual feedback on the charging status. The specific color patterns and their meanings are typically detailed in the quick start guide or product packaging. This indicator can be controlled via a switch on the base for comfortable sleep.
Техникалык тейлөө
To ensure the longevity and optimal performance of your AEQ 3-in-1 Wireless Charging Station, follow these maintenance guidelines:
- Тазалоо: Disconnect the power before cleaning. Use a soft, dry cloth to wipe the surface of the charging station. Avoid using abrasive cleaners or solvents, as these can damage the finish.
- Battery for Clock: The clock function may have a small backup battery (e.g., Lithium Polymer) to retain time settings during power outages. If the clock consistently loses time after being unplugged, the internal battery may need replacement. Refer to the image below for the battery compartment location.

Сүрөт: асты view of the charging station, highlighting the small circular compartment for the clock's backup battery.
Проблемаларды чечүү
Эгерде сиз кубаттоочу станцияңызда көйгөйлөргө туш болсоңуз, төмөнкү кеңири таралган көйгөйлөрдү жана чечимдерди караңыз:
| Көйгөй | Мүмкүн себеп | Чечим |
|---|---|---|
| Түзмөк заряддалбай жатат | Incorrect placement; non-Qi compatible device; thick phone case; foreign object; insufficient power adapter. | Ensure device is centered on the charging pad. Verify device is Qi-compatible. Remove phone cases thicker than 5mm or those with metal/magnets. Remove any foreign objects. Use the provided QC 3.0 adapter. |
| Жай кубаттоо | Non-fast charging adapter; device not optimally aligned. | Use the provided QC 3.0 adapter for fast charging. Adjust device placement for optimal alignment with the charging coil. |
| Clock display is off or incorrect | Power disconnected; backup battery depleted; incorrect time setting. | Ensure the charging station is properly connected to power. Replace the internal backup battery if necessary (refer to Maintenance section). Reset the time using the operating instructions. |
| Түнкү жарык иштебейт | Light function deactivated. | Press the touch-sensitive light button on the front of the base to activate the night light. |
Эгерде бул чечимдерди колдонуп көргөндөн кийин көйгөй чечилбесе, кардарларды колдоо кызматына кайрылыңыз.
Техникалык шарттар
| Өзгөчөлүк | Деталь |
|---|---|
| Модел | B0B51M56VS |
| Бренд | AEQ |
| Байланыш технологиясы | Зымсыз |
| Өзгөчөлүктөр | Fast Charging, Travel, Clock, Alarm, Night Light |
| Шайкеш түзмөктөр | iPhone 14/13/12/11/X/8 series, Samsung Galaxy S10/S9/S8/S7/S6/Note series, Apple Watch 7/6/5/4/3/2/SE, AirPods 3/Pro/2 (Not compatible with Samsung Watch) |
| Туташтыргыч түрү | USB түрү C |
| Киргизүү көлөмүtage | 5 вольт |
| Элемент Салмагы | 12 унция |
| Пакеттин өлчөмдөрү | 8.03 x 3.94 x 2.64 дюйм |
| Батареялар | 1 Lithium Polymer battery required (included for clock backup) |
Коопсуздук маалыматы
- Аппаратты ажыратпаңыз же өзгөртпөңүз.
- Аппаратты суудан, нымдан жана жогорку температурадан алыс кармаңыз.
- Аппаратты түшүрүүдөн же катуу таасирлерден сактаныңыз.
- Do not place metal objects, magnetic cards, or other foreign objects between the charging pad and your device during charging, as this may interfere with charging or cause overheating.
- Use only the provided QC 3.0 adapter and Type-C cable for optimal performance and safety.