1. Киришүү
The Ricoh M 320 is a high-productivity, low-maintenance multifunction device designed for printing, copying, and scanning in workspaces with limited space. This system offers easy monitoring and management of print history, device settings, and network protocols. Featuring a 5 GHz Wi-Fi interface, it ensures a stable wireless connection by reducing bottlenecks. Its compact design makes it suitable for various office environments. Setup and operation are designed to be straightforward. The integrated scan and copy functions facilitate easy digitization and sharing of documents. The all-in-one toner cartridge is high-capacity and simple to replace. Full support is provided for Windows, Mac, and Linux operating systems, with both 2.4 GHz and 5 GHz WLAN capabilities.
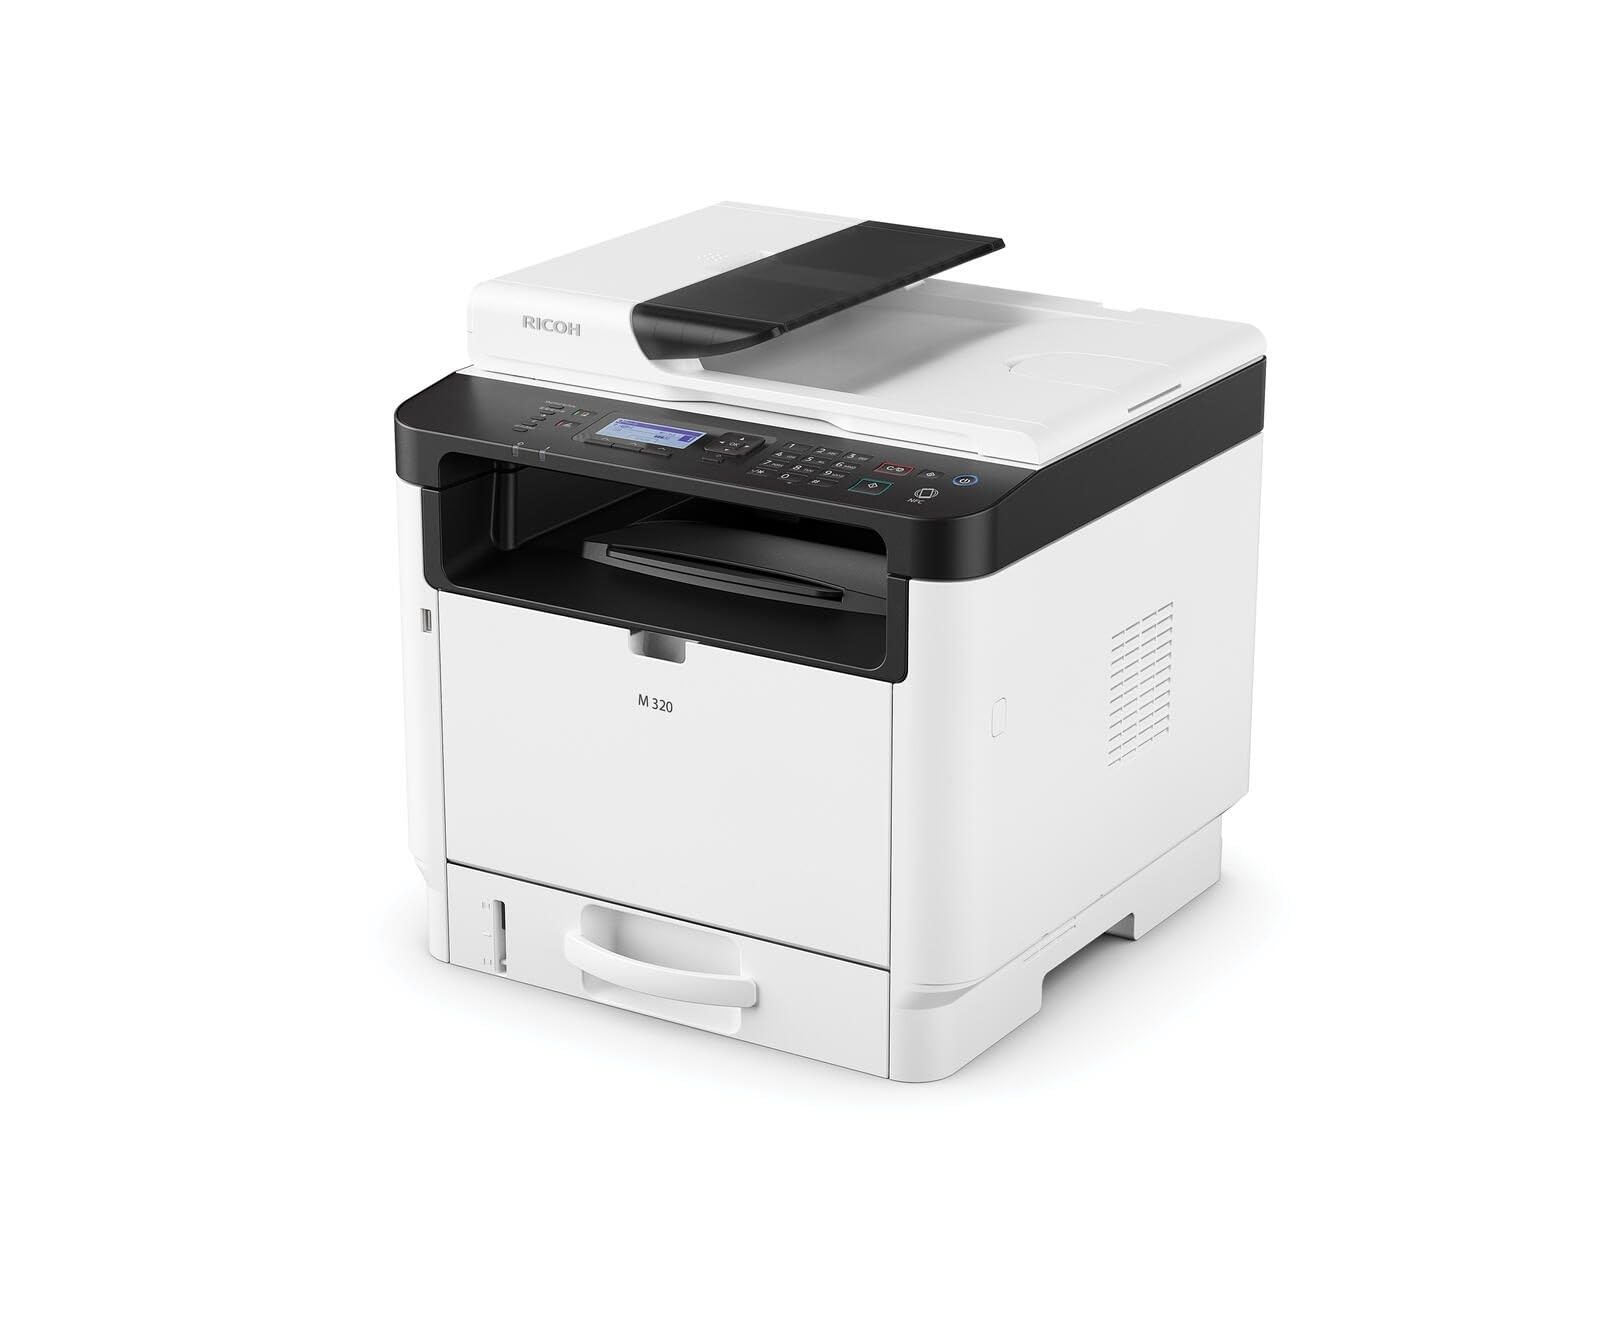
Figure 1: Ricoh M 320 Multifunction System. This image displays the compact design of the Ricoh M 320, highlighting its main components including the paper tray and control panel.
1.1 Кутуда эмне бар
Пакетте бардык буюмдар бар экенин текшериңиз:
- Ricoh M 320 Multifunction System
- Электр кабели
- Стартер тонер картридж
- Орнотуу колдонмосу
- Software CD (may vary by region)
2. Орнотуу
2.1 Пакеттен чыгаруу жана жайгаштыруу
- Принтерди таңгагынан алып салыңыз.
- Принтердин сыртынан жана ичиндеги бардык коргоочу ленталарды жана таңгактоочу материалдарды алып салыңыз.
- Принтерди туруктуу, тегиз, жетиштүү желдетүү бар бетке коюңуз. Принтердин айланасында иштөө жана техникалык тейлөө үчүн жетиштүү орун болушун камсыз кылыңыз.
2.2 Кубат туташтыруу
- Электр кабелин принтердин кубат киресине туташтырыңыз.
- Электр кабелинин экинчи учун жерге туташтырылган электр розеткасына сайыңыз.
- Принтерди иштетүү үчүн кубат баскычын басыңыз.
2.3 Тонер-картриджди орнотуу
- Принтердин алдыңкы капкагын ачыңыз.
- Carefully remove the new toner cartridge from its packaging and gently shake it horizontally several times to distribute the toner evenly.
- Принтерге тонер картриджди чыкылдатканча кыстарыңыз.
- алдыңкы капкакты жабыңыз.
2.4 Кагазды жүктөө
- Кагаз салгычты тартыңыз.
- Adjust the paper guides to match the size of the paper you are loading (up to A4).
- Кагаз дестесин лотоктун ичине жүктөңүз, анын жалпак болушун жана максималдуу толтуруу сызыгынан ашпаганын текшериңиз.
- Кагаз салгычты кайра принтерге акырын түртүңүз.
2.5 Тармактык туташуу
The Ricoh M 320 supports both Ethernet and Wi-Fi connectivity.
Ethernet туташуусу:
- Тармак роутериңизден Ethernet кабелин туташтырыңыз же принтердин артындагы Ethernet портуна которулуңуз.
- The printer will automatically attempt to obtain an IP address.
Wi-Fi Connection (2.4 GHz / 5 GHz):
- On the printer's 4-line LCD display, navigate to the Network Settings menu.
- Select "WLAN Setup" or "Wi-Fi Setup".
- Жеткиликтүү тармактардын тизмесинен Wi-Fi тармагыңызды тандаңыз.
- Enter the Wi-Fi password (WPA/WPA2 key) using the control panel.
- Confirm the settings. The printer will connect to the network.
2.6 Драйверди жана программалык камсыздоону орнотуу
To use all functions of the Ricoh M 320, install the necessary drivers and software on your computer.
- Windows/Mac/Linux: Insert the provided software CD into your computer's CD/DVD drive and follow the on-screen instructions. Alternatively, download the latest drivers and utilities from the official Ricoh support webсайт.
- Мобилдик түзмөктөр (iOS/Android): Download the Ricoh Smart Device Connector app from your device's app store to enable mobile printing and scanning. The printer supports AirPrint and Mopria.
3. Принтерди иштетүү
3.1 Документтерди басып чыгаруу
- Компьютериңизде же мобилдик түзмөгүңүздө басып чыгаргыңыз келген документти ачыңыз.
- Колдонмонун менюсунан "Басып чыгарууну" тандаңыз (мисалы, File > Басып чыгаруу).
- Choose "Ricoh M 320" as your printer.
- Adjust print settings such as number of copies, paper size, and duplex printing (automatic duplex is supported).
- "Басып чыгаруу" баскычын чыкылдатыңыз.
The printer offers high-quality black and white printing at 1200 x 1200 dpi. Maximum print speed for black and white is 13 pages per minute, and for color is 4.5 pages per minute.
3.2 Документтерди көчүрүү
- Place the document face-down on the scanner glass or face-up in the Automatic Document Feeder (ADF). The ADF supports up to 35 sheets.
- Принтердин башкаруу панелинен "Көчүрүү" дегенди тандаңыз.
- Use the navigation buttons to adjust settings such as number of copies (up to 35 per run), copy quality, and zoom.
- Көчүрүүнү баштоо үчүн "Баштоо" баскычын басыңыз.
3.3 Документтерди сканерлөө
Documents can be scanned to a computer or mobile device.
- Документти сканердин айнегине же ADFке салыңыз.
- On your computer, open the scanning software (e.g., Ricoh Scan Utility) or use the "Scan" function from the Ricoh Smart Device Connector app on your mobile device.
- Select "Ricoh M 320" as the scanner.
- Choose scan settings such as resolution (up to 1200 x 1200 dpi), color mode, and destination folder.
- Скандоону баштаңыз.
3.4 Mobile Printing and Scanning
The Ricoh M 320 supports mobile printing and scanning via AirPrint, Mopria, and the Ricoh Smart Device Connector app.
- AirPrint (iOS): Ensure your iOS device is connected to the same Wi-Fi network as the printer. Open the document or photo, tap the share icon, and select "Print". Choose the Ricoh M 320.
- Mopria (Android): Ensure your Android device has the Mopria Print Service installed and is connected to the same Wi-Fi network. Open the document or photo, tap the menu icon, and select "Print". Choose the Ricoh M 320.
- Ricoh Smart Device Connector App: Use the dedicated app for advanced mobile printing, scanning, and device management features.
4. Техникалык тейлөө
4.1 Тонер-картриджди алмаштыруу
When the toner level is low, a message will appear on the printer's display. Use only genuine Ricoh standard laser toner cartridges.
- Принтер күйгүзүлгөнүн текшериңиз.
- Принтердин алдыңкы капкагын ачыңыз.
- Carefully pull out the used toner cartridge.
- Жаңы тонер картриджин таңгактан чыгарып, аны бир нече жолу горизонталдык түрдө акырын чайкаңыз.
- Insert the new toner cartridge into the printer until it clicks into place.
- Close the front cover. The printer will calibrate the new cartridge.
4.2 Принтерди тазалоо
Үзгүлтүксүз тазалоо басып чыгаруу сапатын сактоого жардам берет жана принтердин иштөө мөөнөтүн узартат.
- Сырткы: Сырткы беттерин жумшак менен сүртүңүз, гamp, түксүз кездеме. Абразивдүү тазалагычтарды же эриткичтерди колдонбоңуз.
- Сканер айнек: Gently clean the scanner glass with a soft, lint-free cloth moistened with glass cleaner. Ensure no residue remains.
- Ички иштер: Periodically open the front cover and gently remove any paper dust or toner residue with a dry, lint-free cloth. Avoid touching the drum unit.
5. Кыйынчылыктарды
This section addresses common issues you might encounter with your Ricoh M 320.
5.1 Жалпы маселелер жана чечимдер
- Принтер жооп бербей жатат:
- Принтердин кубатталганын жана розеткага туташтырылганын текшериңиз.
- Тармак байланышын текшерүү (Ethernet кабели же Wi-Fi сигналы).
- Принтерди жана компьютериңизди/мобилдик түзмөгүңүздү өчүрүп күйгүзүңүз.
- Туура принтер драйвери орнотулганын жана тандалганын текшериңиз.
- Кагаз тыгылыштары:
- Принтерди өчүрүп, розеткадан ажыратыңыз.
- Бардык капкактарды ачып, кагаз жолунун багыты боюнча тартып, тыгылып калган кагазды этияттык менен алып салыңыз.
- Кагаздын туура жүктөлгөндүгүн жана бырышпаганын же бузулбаганын текшериңиз.
- Close all covers and restart the printer.
- Начар басып чыгаруу сапаты:
- Тонер картриджинин деңгээлин текшерип, аз болсо алмаштырыңыз.
- Түпнуска Ricoh тонер картридждерин колдонуп жатканыңызды текшериңиз.
- Clean the interior of the printer, especially around the drum unit (refer to maintenance section).
- Adjust print quality settings in your printer driver.
- Сканер иштебей жатат:
- Ensure the printer is connected to the network and recognized by your computer/mobile device.
- Сканерлөө тиркемесин жана принтерди өчүрүп-күйгүзүңүз.
- Verify that the scanner glass and ADF are clean.
- Wi-Fi туташуу маселелери:
- Wi-Fi сырсөзүнүн туура киргизилгендигин текшериңиз.
- Check if the printer is within range of your Wi-Fi router.
- Restart your Wi-Fi router and the printer.
- Try connecting to the 2.4 GHz band if experiencing issues with 5 GHz, or vice-versa.
For more detailed troubleshooting, refer to the comprehensive user manual available on the Ricoh support webсайт.
6. Техникалык шарттар
| Өзгөчөлүк | Спецификация |
|---|---|
| Модель аты | M 320 (9P01749) |
| Функциялар | Print, Copy, Scan (3-in-1 Multifunction) |
| Басып чыгаруу технологиясы | Лазер |
| Print Output | Color (Note: Primarily a mono laser printer, color output refers to specific elements or capabilities) |
| Макс басып чыгаруу резолюциясы (B&W) | 1200 x 1200 dpi |
| Макс басып чыгаруу резолюциясы (түстүү) | 1200 x 1200 dpi |
| Max Print Speed (B&W) | Мүнөтүнө 13 бет |
| Макс басып чыгаруу ылдамдыгы (түстүү) | Мүнөтүнө 4.5 бет |
| Биринчи беттин чыгуу убактысы | 4.62 секунд |
| Дуплекстүү басып чыгаруу | Автоматтык |
| Сканер түрү | Автоматтык документ берүүчү (ADF) |
| ADF кубаттуулугу | 35 барак |
| Сканер резолюциясы | 1200 x 1200 dpi |
| Бир нускада максималдуу көчүрмөлөр | 35 |
| Байланыш | Ethernet, Wi-Fi (2.4 GHz / 5 GHz) |
| Мобилдик басып чыгарууну колдоо | AirPrint, Mopria, Ricoh Smart Device Connector App |
| Шайкеш операциялык системалар | Windows, Mac, Linux, iOS, Android |
| Макс кагаз өлчөмү | A4 |
| Киргизүү барагынын сыйымдуулугу | 35 барак |
| Output Sheet Capacity | 35 барак |
| Дисплей түрү | 4 саптуу LCD |
| Шайкеш картридж | Ricoh standard laser toner cartridges |
| Элемент Салмагы | 21 килограмм |
7. Кепилдик жана колдоо
7.1 Чектелген Кепилдик
The Ricoh M 320 Multifunction System comes with a limited warranty. Please refer to the warranty documentation included with your product or visit the official Ricoh website for detailed terms and conditions, including coverage period and service procedures. Keep your proof of purchase for warranty claims.
7.2 Кардарларды колдоо
For technical assistance, product inquiries, or service requests, please contact Ricoh customer support.
- Онлайн колдоо: Visit the official Ricoh support website for FAQs, driver downloads, and digital manuals.
- Телефондук колдоо: Contact numbers for your region can be found on the Ricoh webсайт.
When contacting support, please have your product model (M 320) and serial number ready.