1. Киришүү
Thank you for choosing the Vrriis Wireless HDMI Transmitter and Receiver system. This product allows for wireless transmission of HDMI signals, eliminating the need for long HDMI cables. This specific package includes one transmitter (TX) and four receivers (RX), supporting a maximum configuration of 1 TX to 4 RXs. It is designed for various applications including home entertainment, conference rooms, and educational settings, providing high-quality 1080P video transmission with minimal latency.
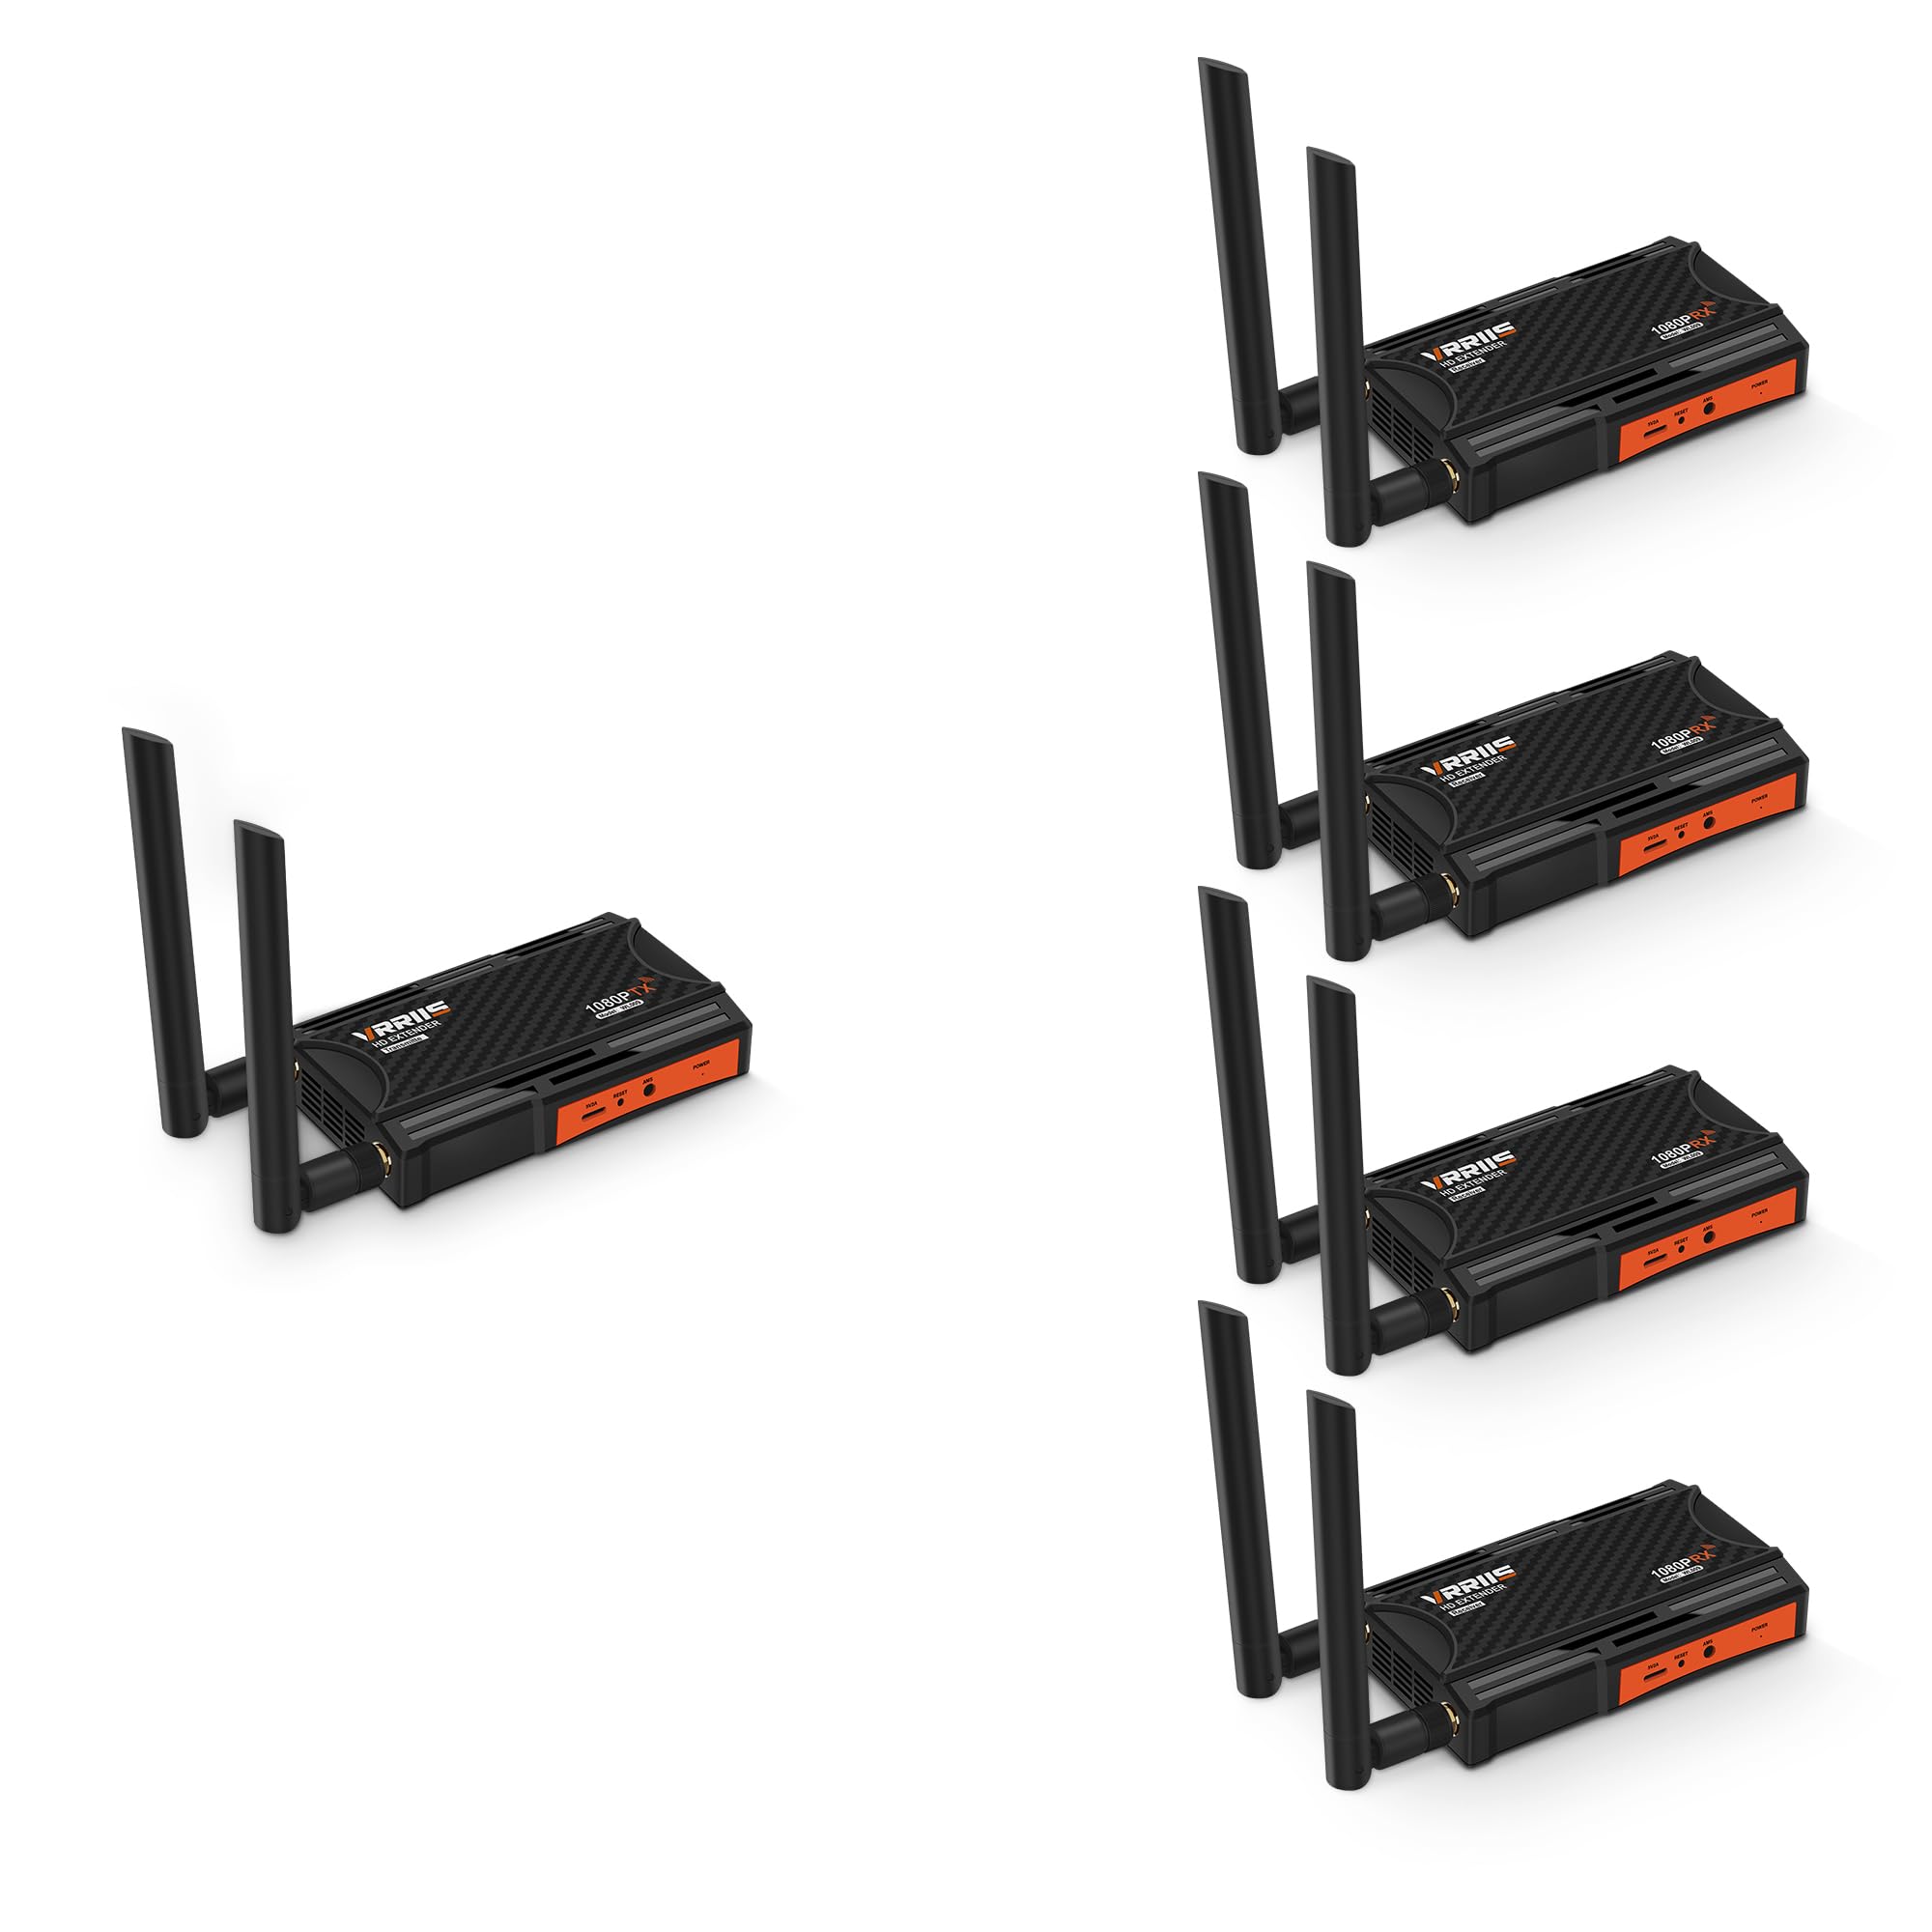
Image 1.1: Vrriis Wireless HDMI Transmitter and Receiver units. The image shows two black rectangular devices with orange accents and dual antennas, labeled 1080P RX.
2. Пакеттин мазмуну
Please check the package contents carefully. If any items are missing or damaged, contact Vrriis customer support.
- 1 x Vrriis Wireless HDMI Transmitter (TX)
- 4 x Vrriis Wireless HDMI Receivers (RX)
- 5 x Power Adapters (for TX and RX units)
- 5 x HDMI кабелдери
- IR Blaster Cable (for TX)
- IR Receiver Cable (for RX)
- Колдонуучунун Колдонмосу (бул документ)
3. Продукциянын өзгөчөлүктөрү
- 1 Transmitter to 4 Receivers (1TX 4RX) Support: Expand your wireless display network by adding up to four receivers.
- Кеңейтилген берүү диапазону: Up to 656 feet (200 meters) line-of-sight. Actual distance may vary based on environmental factors like walls and obstacles.
- 5.8G High-Speed Transmission: Utilizes dual antenna design for strong, stable, and high-speed signal broadcast.
- Full HD 1080P @ 60Hz Support: Delivers crisp and clear video quality. Supports various resolutions including 1080p@50Hz, 1080p@24Hz, 720p@50Hz, 480p@60Hz.
- Төмөн күтүү: Approximately 0.12 seconds wireless transmission latency, suitable for presentations and video playback. Not recommended for real-time gaming.
- IR алыстан башкаруу: Control your source device (e.g., set-top box) remotely from the receiver location.
- HDMI Local Loop-out: The transmitter unit features an HDMI loop-out port, allowing a local display to be connected without delay.
- Кеңири шайкештик: Compatible with various HDMI source devices such as set-top boxes, DVRs, laptops, Blu-ray players, and display devices like TVs, monitors, and projectors.
- Plug & Play: Easy setup without complex software installation.
- Компакт дизайн: Small size, easy to conceal, and can be powered by a portable power station or power adapter.

Image 3.1: Key features of the Vrriis Wireless HDMI Extender. Highlights dual antenna for strong 5.8G signal, simple, secure, speed, and stable transmission.

Image 3.2: Vrriis Wireless HDMI Transmitter and Receiver units, showing screw holes for camera mounting. This illustrates the compact design and versatility.
4. Орнотуу нускамалары
Follow these steps to set up your Vrriis Wireless HDMI system.
4.1 Өткөргүчтү (TX) туташтыруу
- Connect one end of an HDMI cable to the HDMI output of your source device (e.g., laptop, set-top box).
- HDMI кабелинин экинчи учуна туташтырыңыз HDMI-IN port on the Vrriis Transmitter unit.
- (Optional) If you wish to use the local loop-out function, connect another HDMI cable from the LOOP OUT port on the Transmitter to a local display (e.g., TV, monitor).
- Connect the IR Blaster cable to the IR OUT port on the Transmitter. Position the IR Blaster head near the IR sensor of your source device.
- Connect the power adapter to the Transmitter's power port and plug it into an electrical outlet. The power indicator light will illuminate.
4.2 Кабыл алгычты (RX) туташтыруу
- HDMI кабелинин бир учун төмөнкүгө туташтырыңыз HDMI OUT port on the Vrriis Receiver unit.
- Connect the other end of the HDMI cable to the HDMI input of your display device (e.g., TV, projector, monitor).
- Connect the IR Receiver cable to the IR IN port on the Receiver. Position the IR Receiver head in a location where it can receive signals from your remote control.
- Connect the power adapter to the Receiver's power port and plug it into an electrical outlet. The power indicator light will illuminate.
- Repeat steps 1-4 for each additional receiver unit.

Image 4.1: Connection diagram for the Vrriis Wireless HDMI Extender. Shows how to connect the transmitter to a source device and the receiver to a display, including HDMI loop-out and IR connections.
5. Иштөө нускамалары
5.1 Кубат күйгүзүлдү
Once all connections are made and power adapters are plugged in, both the Transmitter and Receiver units will power on automatically. The status indicators on the units will show their operational status.
5.2 Signal Pairing
The units are designed for plug-and-play operation and should automatically pair. If no signal is detected, ensure both units are powered on and within range. For optimal performance, ensure a clear line of sight between the transmitter and receiver antennas.
5.3 Using IR Remote Control
To control your source device remotely:
- Ensure the IR Blaster is correctly positioned near your source device's IR sensor.
- Ensure the IR Receiver is connected to the RX unit and positioned to receive signals from your remote.
- Point your original remote control at the IR Receiver head connected to the RX unit. The signal will be transmitted wirelessly back to the TX unit and then to your source device via the IR Blaster.

Image 5.1: Illustration of using the IR remote control feature. Shows a user in a bedroom controlling a source device in a living room via the wireless HDMI system.
6. Техникалык тейлөө
- Аппараттарды жумшак, кургак чүпүрөк менен сүртүп, таза кармаңыз.
- Агрегаттарды экстремалдык температурага, нымдуулукка же тике күн нуруна кабылуудан сактаңыз.
- Do not disassemble or attempt to repair the devices yourself. This will void the warranty.
- Ашыкча ысып кетүүнүн алдын алуу үчүн, шаймандын айланасында жакшы желдетүүнү камсыз кылыңыз.
7. Кыйынчылыктарды
| Көйгөй | Мүмкүн себеп | Чечим |
|---|---|---|
| Дисплейде сигнал жок. |
|
|
| Видеонун сапаты начар же бүлбүлдөп. |
|
|
| Инфракызыл алыстан башкаруу пульту иштебей жатат. |
|
|

Image 7.1: Diagram illustrating transmission distance variations with multiple receivers. Shows how distance shortens as more RX units are added (e.g., 1 TX to 1 RX: 820FT/250M, 1 TX to 4 RX: 623FT/190M line of sight).

Image 7.2: Illustration of signal penetration capabilities. Shows signal transmission through walls, with reduced range compared to line-of-sight.
8. Техникалык шарттар
| Бренд | Vrriis |
| Модел | 1TX4RX (Wireless HDMI Transmitter and Receiver) |
| Байланыш технологиясы | HDMI, Infrared |
| Зымсыз байланыш стандарты | 5.8GHz, Infrared |
| Колдоого алынган резолюция | 1080p@60Hz, 1080p@50Hz, 1080p@24Hz, 1080p@25Hz, 1080p@30Hz, 720p@50Hz, 720p@60Hz, 576i@50Hz, 480p@60Hz |
| Кечигип калуу | 0.12 seconds (wireless transmission) |
| Transmission Distance (Line of Sight) |
Note: Distances are line-of-sight. Obstacles like walls, bricks, or glass will shorten signal coverage. |
| Transmission Distance (Through Wall) |
Note: Actual distance depends on the structure and material of obstacles. |
| Антенна | Dual antenna for high-speed transmission |
| IR Remote Control Support | 20-60 KHz |
| Орнотуу түрү | Plug-and-Play |
| Power Source | Камтылган электр |
| Шайкеш түзмөктөр | Monitor, PC, Projector, Television, Set-top boxes, DVRs, Blu-ray players |
9. Коопсуздук маалыматы
Түзмөгүңүздүн коопсуз иштешин камсыз кылуу жана анын иштөө мөөнөтүн узартуу үчүн төмөнкү коопсуздук көрсөтмөлөрүн окуп чыгып, аткарыңыз:
- Handle the wireless HDMI adapter and its components with care.
- Түзмөктү бөлүктөргө бөлбөңүз же өзгөртпөңүз. Уруксатсыз өзгөртүүлөр коркунучтарга алып келип, кепилдикти жокко чыгарышы мүмкүн.
- Keep the adapter away from water, liquids, and extreme temperatures.
- Avoid pointing the infrared emitter directly at other infrared devices to prevent interference.
- Берилген кубат адаптерлерин гана колдонуңуз.
- Ашыкча ысып кетүүнүн алдын алуу үчүн аппаратты жакшы желдетилген жерге жайгаштырыңыз.
- Электрондук таштандыларды жергиликтүү эрежелерге ылайык жоопкерчилик менен жок кылыңыз.
10. Кепилдик жана колдоо
Vrriis products are designed for reliability and performance. For warranty information and technical support, please refer to the warranty card included with your product or visit the official Vrriis website. If you encounter any issues that cannot be resolved using the troubleshooting guide, please contact Vrriis customer support for assistance.
Vrriis Customer Support: Visit the Vrriis Store on Amazon