
1. Киришүү
Thank you for choosing the Yoidesu 10-inch Car Radio Stereo. This manual provides essential information for the proper installation, operation, and maintenance of your new car multimedia system. Please read this manual thoroughly before use to ensure optimal performance and safety.
Продукт бүттүview
This car stereo features a 10-inch display, runs on Android 10.1, and includes 2GB RAM with 32GB ROM for smooth operation and ample storage for applications. It supports navigation, Bluetooth connectivity, and mobile phone mirror link functionality.
Шайкештик
This unit is designed as a replacement for the original car radio stereo in Honda CRV models manufactured between 2012 and 2016.

Image 1.1: The Yoidesu 10-inch Car Radio Stereo with its main interface.
2. Пакеттин мазмуну
Төмөндө тизмеленген нерселердин баары пакетиңизге камтылганын текшериңиз:
- 1 x Host Unit (Car Stereo)
- 1 x Күч берүүчү жип
- 1 х кабель
- 1 x GPS антеннасы
- 1 x User Manual
- 2 x USB узартуу кабелдери
- 1 x Camera Line
- 1 x USB адаптер кабели
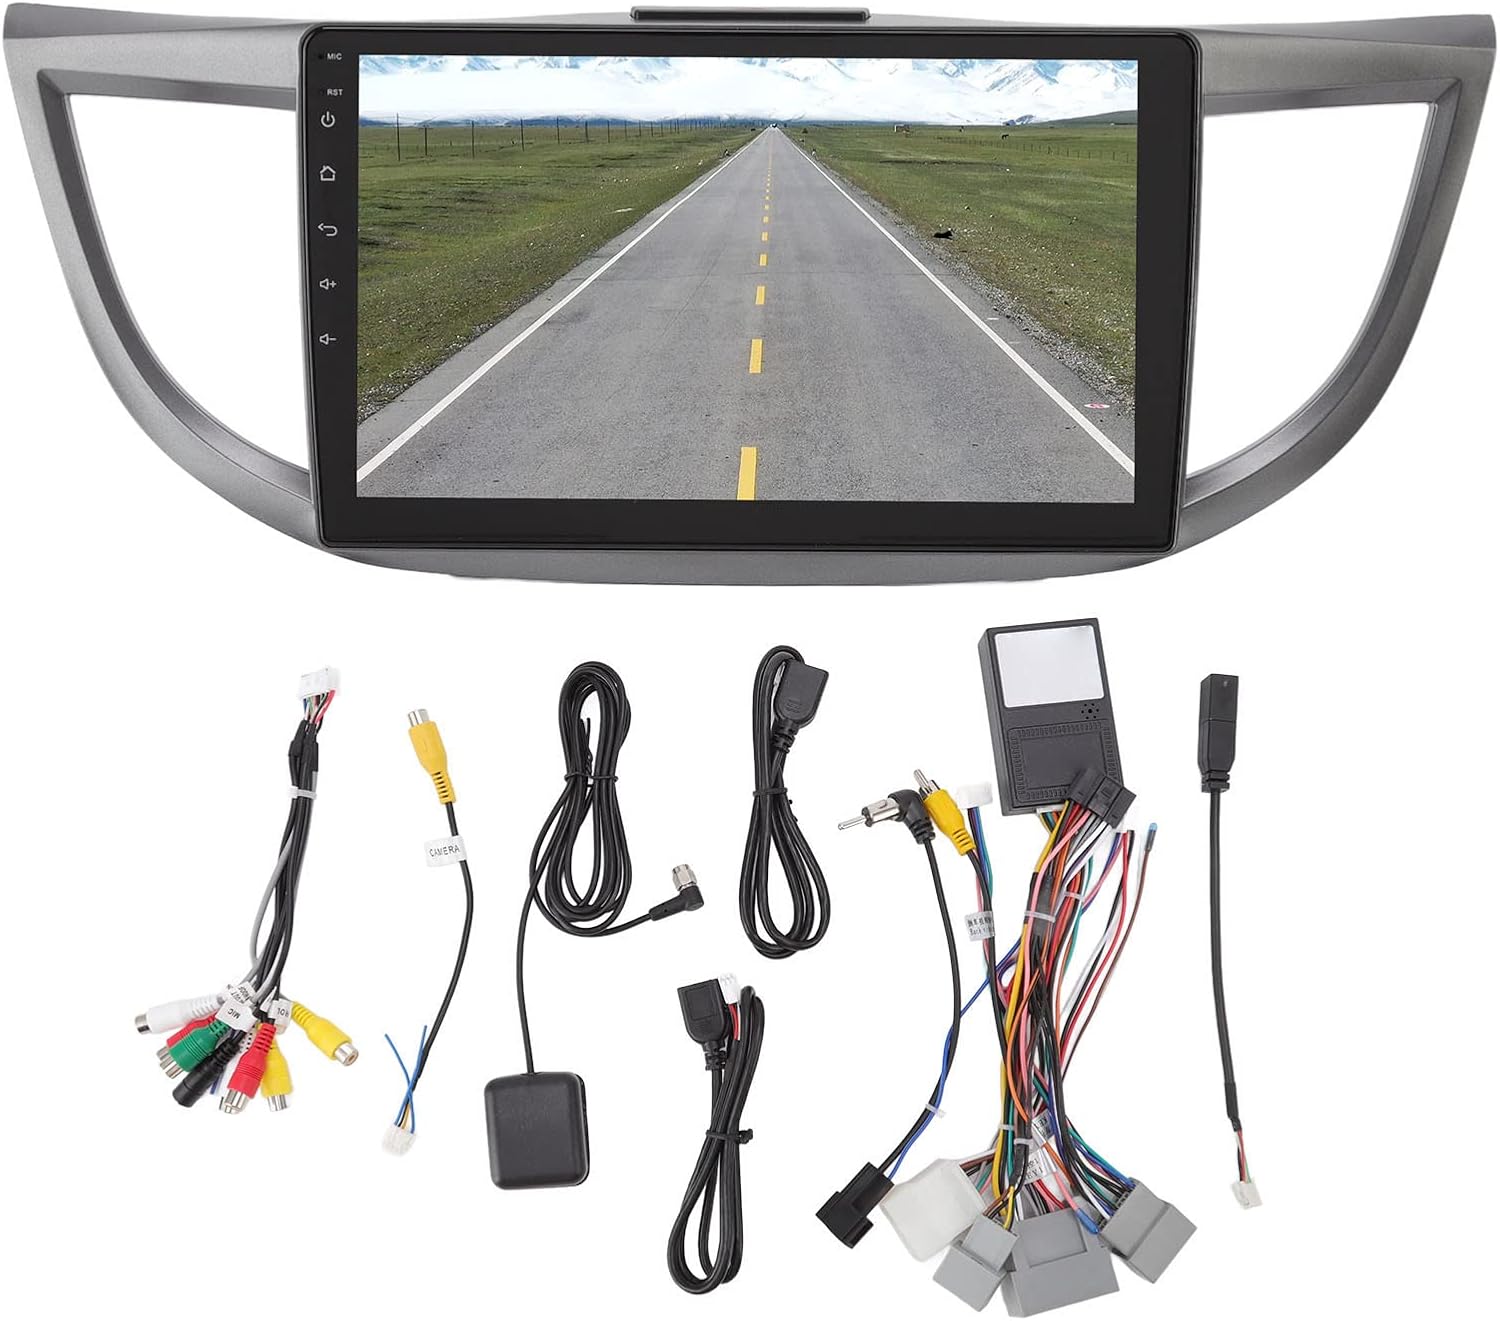
Сүрөт 2.1: Бүттүview of all included accessories and cables.
3. Техникалык шарттар
| Өзгөчөлүк | Спецификация |
|---|---|
| Бренд | Yoidesu |
| Модель аты | Унаа радио стерео |
| Унаа кызматынын түрү | Унаа (Honda CRV 2012-2016) |
| Screen Size | 10 дюйм |
| Резолюция | 1024 x 600 |
| Операция системасы | Android 10.1 |
| Эстутум (RAM) | 2 ГБ |
| Сактагыч (ROM) | 32 ГБ |
| Байланыш технологиясы | USB, Wi-Fi, Bluetooth |
| Өзгөчөлүктөр | Bluetooth, Touchscreen, Navigation, Mirror Link, Steering Wheel Control Support |
| Supported Navigation System | GPS (Online/Offline Maps) |
| Аудио чыгаруу режими | Динамик, стерео |
| Тtage | 12V |
4. Орнотуу жана орнотуу
Installation of the Yoidesu Car Radio Stereo involves replacing the existing factory unit. Due to the complexity of automotive electrical systems, professional installation is highly recommended to prevent damage to the unit or your vehicle.
Жалпы орнотуу кадамдары (адиске кайрылыңыз)
- Даярдоо: Электр зымдарынын кыска төшөлүшүнө жол бербөө үчүн унаанын аккумуляторун ажыратыңыз.
- Эски бирдикти алып салуу: Carefully remove the existing car radio stereo and its surrounding trim.
- Зымдарды туташтыруу: Connect the provided power harness, GPS antenna, USB extension cables, and camera line (if applicable) to the new Yoidesu unit. Ensure all connections are secure.
- Сыноо функциясы: Before fully reassembling, temporarily connect the battery and test basic functions like power, audio, and display.
- Коопсуздук бирдиги: Mount the new unit into the dashboard opening and secure it.
- Кайра чогултуу: Reinstall all trim pieces removed earlier.
- Акыркы текшерүү: Батареяны кайра туташтырып, бардык функцияларын комплекстүү текшериңиз.

Image 4.1: Before and After installation of the Yoidesu Car Radio Stereo.

Сүрөт 4.2: Арткы view of the main unit with wiring connections.
5. Иштөө нускамалары
5.1 Android 10.1 системасы
The unit runs on Android 10.1, providing a familiar interface. You can download and install various applications from the app store, similar to a smartphone or tablet. The 2GB RAM and 32GB ROM ensure smooth operation and quick application launches.
5.2 Навигация
The car stereo supports both online and offline navigation applications. It is compatible with popular mapping services like Igo maps and Waze. After connecting to Wi-Fi, you can use online navigation anywhere. The system supports 2D and 3D map displays.
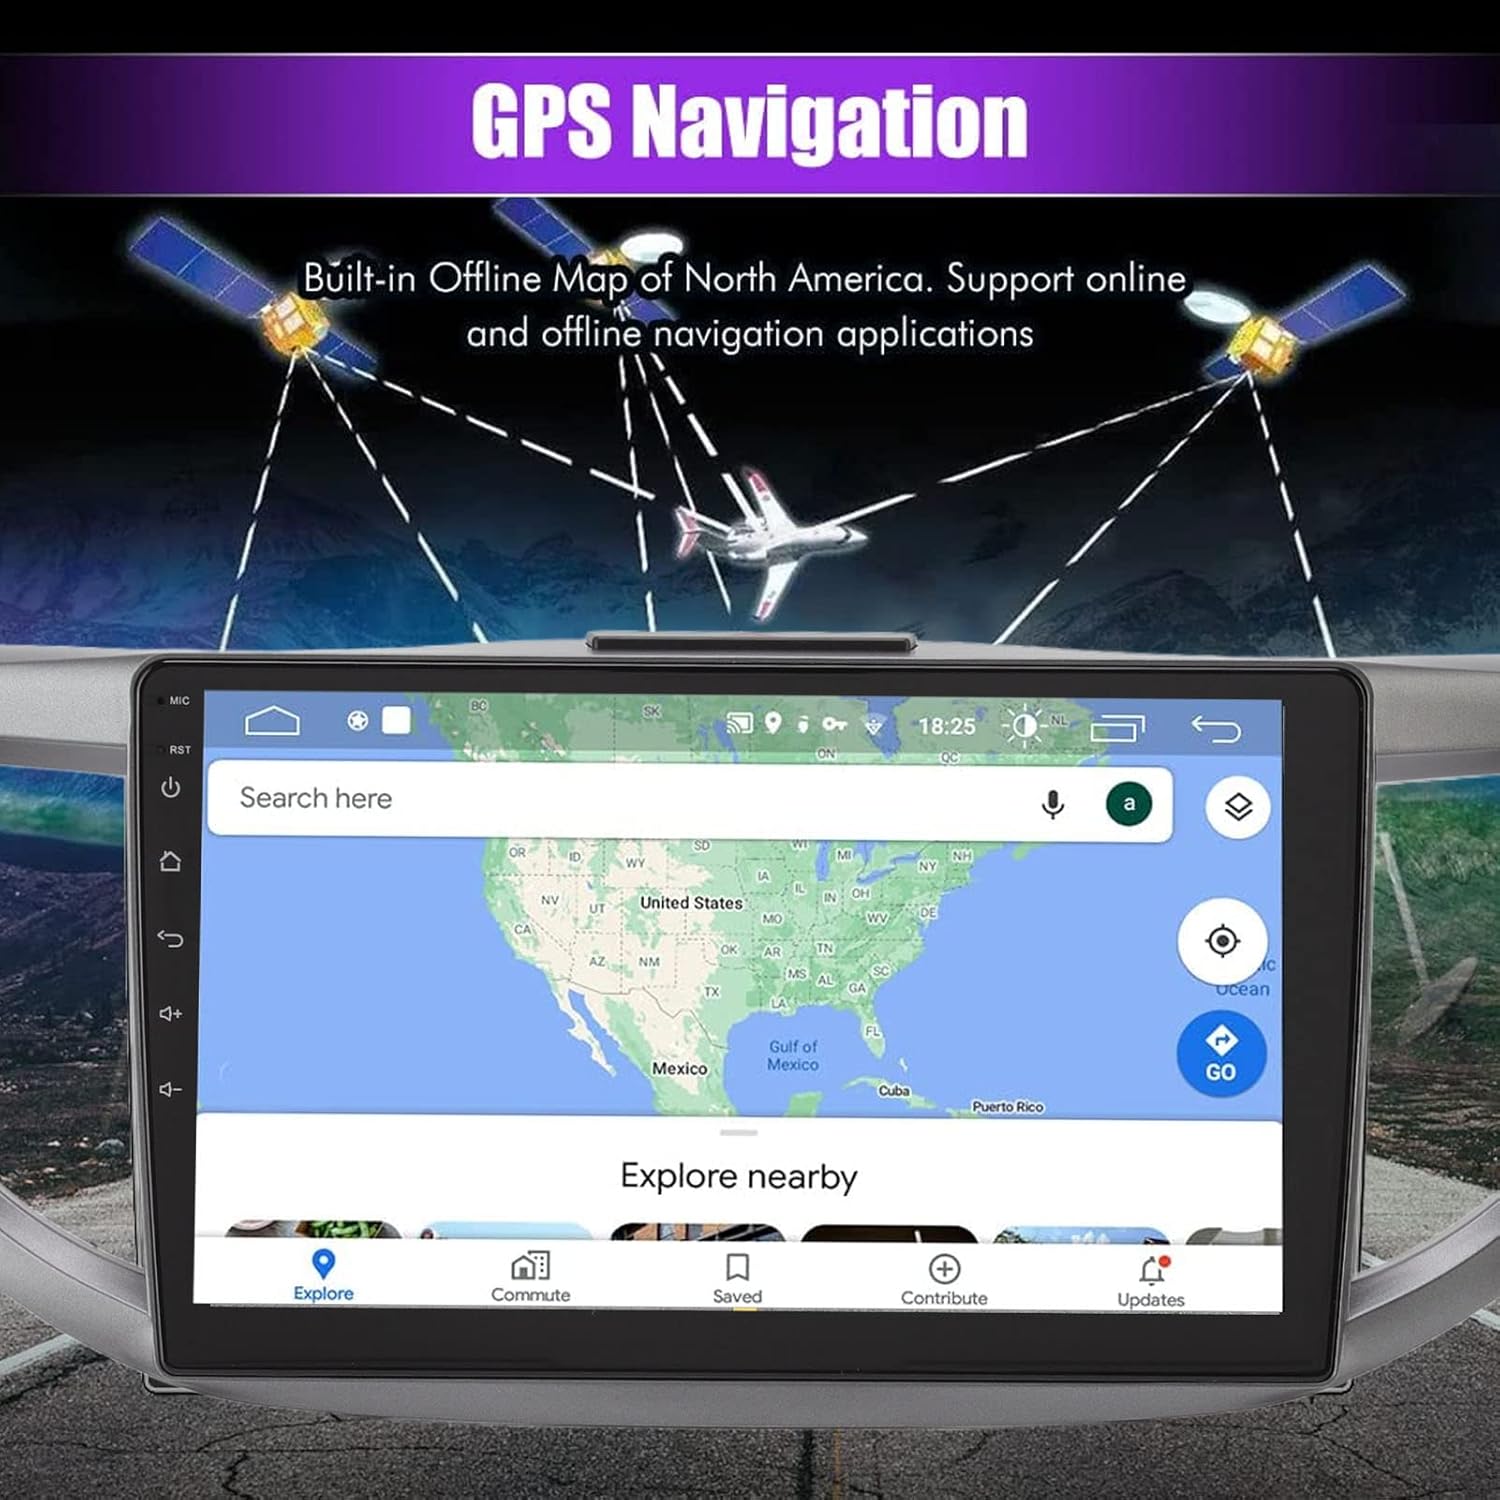
Image 5.1: GPS Navigation interface on the car stereo.
5.3 Bluetooth байланышы
Pair your mobile phone via Bluetooth to enable hands-free calling and audio streaming. The built-in microphone captures your voice, and calls are routed through your car's speakers. To pair, go to the Bluetooth settings on the unit and search for your device.
5.4 Mirror Link функциясы
The mirror link function allows you to synchronize your Android or iOS phone's screen with the car stereo display. This enables you to view maps, videos, and other content from your phone directly on the larger car stereo screen. Follow the on-screen instructions on the unit to establish the mirror link connection.
5.5 Рулдун башкаруу элементтери
The unit is designed to integrate with your vehicle's existing steering wheel controls. This allows you to manage functions such as switching songs, adjusting volume, and changing channels without taking your hands off the wheel. Configuration may be required in the unit's settings menu.
5.6 Арткы View Камера киргизүү
The system supports high-definition rear view camera input (camera sold separately). When the vehicle is shifted into reverse, the rear view image will automatically display on the screen, assisting with safer parking. The system offers excellent night vision capabilities.
Сүрөт 5.2: Арткы view унаа токтотуучу жайга жардам берүүчү линиялары бар камера дисплейи.
5.7 Үн орнотуулары
Access the sound settings to customize your audio experience. The unit provides options for adjusting equalizer settings, balance, and fade to optimize sound output through your car's speakers.
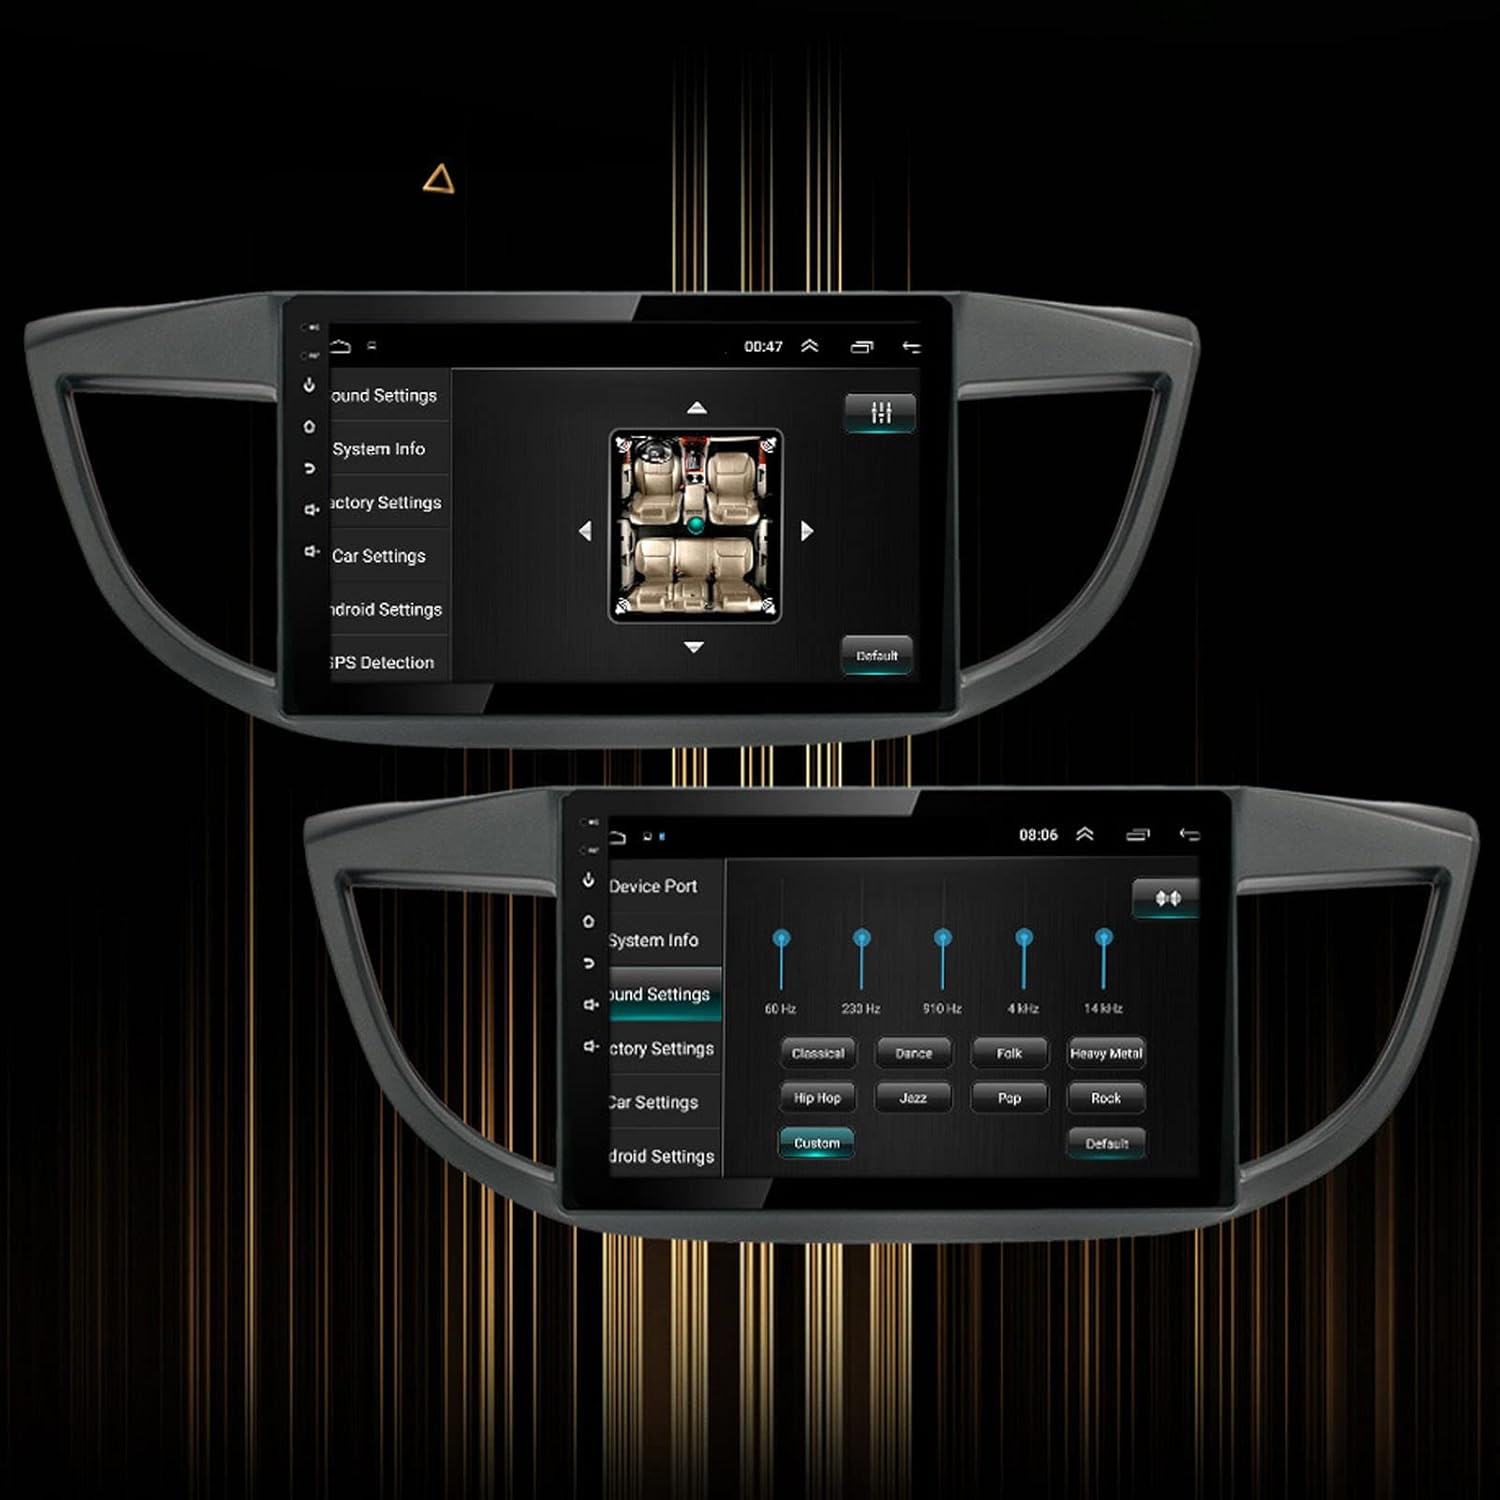
Image 5.3: Sound settings interface with equalizer options.
6. Техникалык тейлөө
To ensure the longevity and optimal performance of your Yoidesu Car Radio Stereo, follow these maintenance guidelines:
- Экранды тазалоо: Экранды акырын сүртүү үчүн жумшак, түксүз чүпүрөктү колдонуңуз. өжөр тактар үчүн, бир аз гampen the cloth with water or a screen-cleaning solution specifically designed for electronics. Avoid harsh chemicals, abrasive materials, or excessive moisture.
- Жалпы тазалоо: Keep the unit and surrounding dashboard area free from dust and debris. Use a soft brush or compressed air to clean crevices.
- Программалык камсыздоо жаңыртуулары: Мезгил-мезгили менен бирдиктин жөндөөлөрү же өндүрүүчүсү аркылуу жеткиликтүү программалык камсыздоо жаңыртууларын текшерип туруңуз webсайт. Жаңыртуулар иштин натыйжалуулугун жакшыртып, функцияларды кошуп, каталарды оңдой алат.
- Ашыкча температурадан сактаныңыз: Do not expose the unit to extreme heat or cold for prolonged periods, as this can affect its electronic components and screen.
7. Кыйынчылыктарды
If you encounter issues with your Yoidesu Car Radio Stereo, refer to the following common problems and solutions:
| Көйгөй | Мүмкүн себеп | Чечим |
|---|---|---|
| Түзмөк күйбөйт | Бошоң электр туташуу, күйгөн сактагыч, унаанын аккумуляторунун көйгөйү. | Бардык электр кабелдерин жана туташууларын текшериңиз. Унаанын сактагычтарын текшериңиз. Унаанын аккумулятору заряддалганын текшериңиз. |
| Үн чыгышы жок | Динамиктин зымдары ажыратылды, үнү өтө төмөн, туура эмес аудио булагы тандалды. | Verify speaker wire connections. Increase volume. Select the correct audio input source. |
| GPS сигналынын жоголушу же так эместиги | GPS antenna obstructed or improperly installed, unit in an area with poor satellite reception. | Ensure GPS antenna is clear of obstructions and properly connected. Move to an open area for better reception. |
| Bluetooth жупташуу көйгөйлөрү | Bluetooth not enabled on phone/unit, device too far, interference. | Ensure Bluetooth is active on both devices. Keep devices close. Restart both devices. |
| Рулдун башкаруулары иштебейт | Incorrect wiring, software configuration needed, compatibility issue. | Check wiring for steering wheel control adapter. Configure controls in the unit's settings. Note: Some users have reported potential limitations with steering wheel control functionality on specific CRV models. Ensure full compatibility before installation. |
| Сенсордук экран жооп бербейт | Программалык камсыздоодогу мүчүлүштүк, экран коргоочусунун кийлигишүүсү, физикалык зыян. | Restart the unit. Remove any screen protectors to test. If issue persists, contact support. |
Эгерде бул чечимдер көйгөйдү чечпесе, кошумча жардам алуу үчүн кардарларды колдоо кызматына кайрылыңыз.
8. Кепилдик жана колдоо
Кепилдик маалымат
Yoidesu products are manufactured to high-quality standards. For specific warranty terms and conditions, please refer to the warranty card included with your product or contact the seller/manufacturer directly. Keep your purchase receipt as proof of purchase for any warranty claims.
Кардарларды колдоо
For technical assistance, installation queries, or any other support needs, please contact your retailer or the Yoidesu customer service team. Contact information can typically be found on the product packaging or the official Yoidesu webсайт.
Онлайн ресурстар:
- зыярат кылыңыз Yoidesu Store on Amazon продукт маалымат жана жаңыртуу үчүн.