
Introduction
Thank you for choosing the VIFLYKOO Weather Station. This device provides real-time indoor and outdoor temperature and humidity monitoring, atmospheric pressure readings, and a 12-hour weather forecast. This manual will guide you through the setup, operation, and maintenance of your weather station to ensure optimal performance.
Пакеттин мазмуну
Сураныч, пакеттин мазмунун текшерип, бардык буюмдар бар экенин текшериңиз:
- 1 x VIFLYKOO Weather Station Main Unit
- 3 x Wireless Remote Sensors
- 1 x USB кабели
- 1 x User Manual (Multi-language)
Продукт бүттүview
Familiarize yourself with the main unit's components and controls:

This image shows the rear panel of the VIFLYKOO Weather Station main unit, highlighting key features and controls.
- Table stand hole
- Батарея капкагы
- Max/Min reading button
- Resetting and sensor scanning button
- Data/Time setting button
- Дубал илгич
- Snooze/Light display button
- Display in °C or °F button
- Display in 12 or 24 hour format button
- Ойготкуч орнотуу баскычы
- DC 5V power input socket
Жайгашуу
1. Негизги блокту кубаттоо
The main weather station unit can be powered by either a USB cable or batteries.

This image illustrates the two power modes for the main unit (USB cable or 3 AAA batteries) and the battery compartment for the outdoor transmitter (2 AA batteries).
- USB Power: Connect the included USB cable to the DC 5V power input socket (11) on the back of the main unit and plug the other end into a USB power adapter (not included) or a computer USB port.
- Батарея кубаттуулугу: Open the battery cover (2) and insert 3 AAA batteries (not included) according to the polarity markings. When operating on batteries, the backlight will only illuminate for 8 seconds after pressing the 'Snooze/Light' button.
2. Installing Remote Sensors
Each wireless remote sensor requires 2 AA batteries (not included).
- Open the battery compartment on the back of each remote sensor.
- Insert 2 AA batteries, observing the correct polarity.
- Батарея отсегин бекем жабыңыз.
3. Сенсордун жайгашуусу
The remote sensors have a transmission range of up to 100 meters. Choose suitable locations for accurate readings.
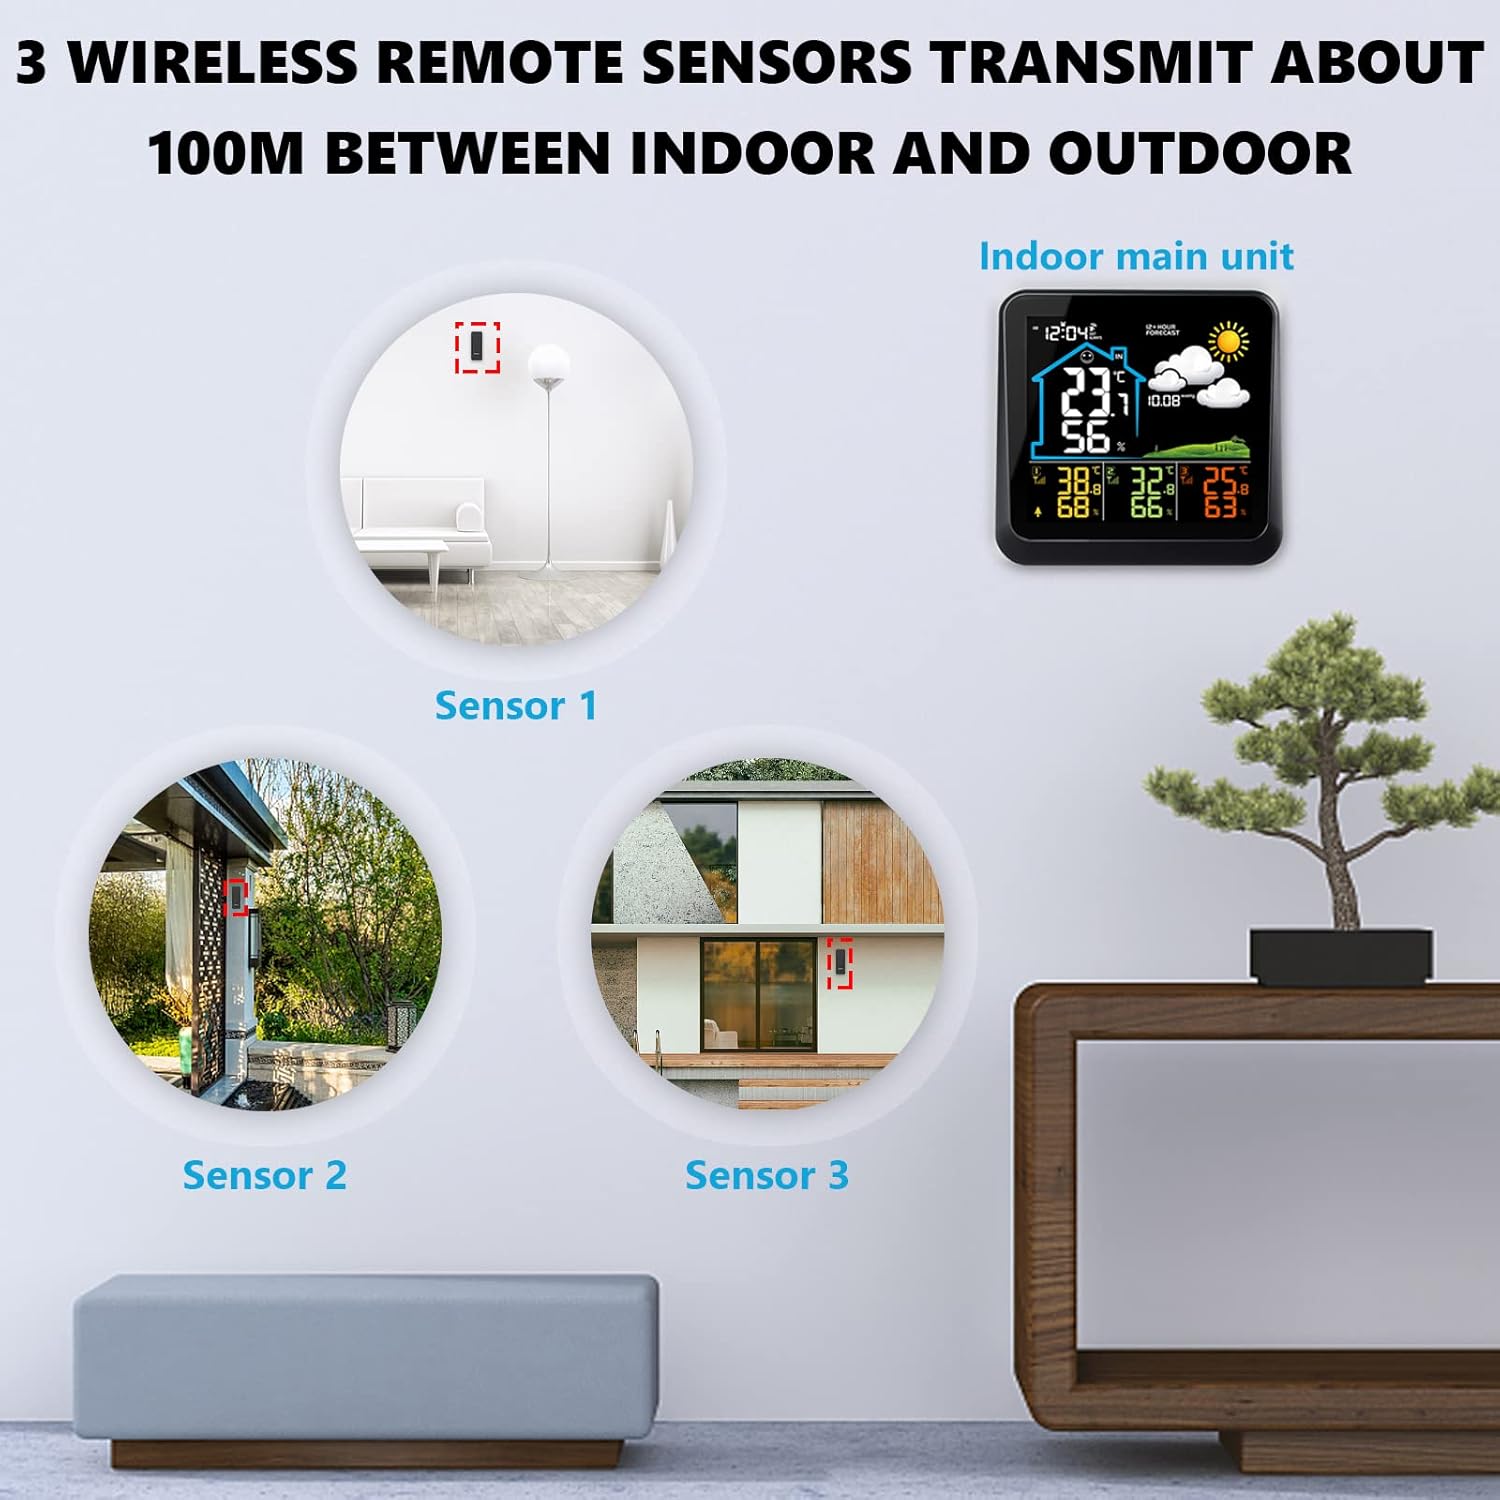
This image demonstrates suitable locations for placing the three wireless remote sensors, such as a baby's room, a wine cellar, or a garden, to monitor temperature and humidity.
- Place sensors in areas where you need to monitor temperature and humidity, such as baby rooms, wine cellars, gardens, or backyards.
- Ensure sensors are protected from direct sunlight and heavy rain for accurate outdoor readings.
- Сенсорлорду чоң металл буюмдардын же күчтүү электромагниттик тоскоолдук булактарынын жанына койбоңуз.
4. Initial Settings (Time, Date, Units)
After powering on, the main unit will automatically search for the remote sensors. Once connected, you can set the time, date, and preferred units.
- Press the 'Data/Time setting' button (5) to enter time setting mode.
- Use the 'Max/Min reading' (3) and 'Resetting and sensor scanning' (4) buttons to adjust values.
- Press 'Data/Time setting' (5) again to confirm and move to the next setting (e.g., year, month, day, 12/24 hour format).
- To switch between Celsius (°C) and Fahrenheit (°F), press the 'Display in °C or °F' button (8).
- To switch between 12-hour and 24-hour time format, press the 'Display in 12 or 24 hour' button (9).
Иштөө нускамалары
1. Дисплей өзгөчөлүктөрү
The color LCD screen displays various information at a glance:
- Indoor/Outdoor Temperature and Humidity
- 12-Hour Weather Forecast
- Атмосфералык басым (гПа)
- Убакыт жана дата
- Комфорт деңгээлинин көрсөткүчү
- Батарея көрсөткүчү
2. Ойготкуч орнотуу
Ойготкучту коюу үчүн:
- Press the 'Alarm setting' button (10) to enter alarm setting mode.
- Use the adjustment buttons (3, 4) to set the desired alarm time.
- Press 'Alarm setting' (10) again to confirm.
3. Snooze/Backlight Function
- Батареянын иштеши: Press the 'Snooze/Light display' button (7) to illuminate the screen for 8 seconds.
- USB операциясы: Repeatedly press the 'Snooze/Light display' button (7) to cycle through low brightness, high brightness, or off modes.
- When an alarm sounds, press the 'Snooze/Light display' button (7) to activate the snooze function. The alarm will sound again after a short interval.
4. Max/Min Readings
Press the 'Max/Min reading' button (3) to view the maximum and minimum recorded temperature and humidity values. Press again to cycle through current, maximum, and minimum readings.
5. Аба ырайы
The station provides a 12-hour weather forecast based on atmospheric pressure trends. The forecast accuracy is approximately 75%.

This image shows the various weather forecast icons used by the station: Sunny, Freeze, Cloudy, Partly Cloudy, and Rainy.
Forecast icons include: Sunny, Sunny to Cloudy, Cloudy, Rainy, Snowy.
Note: If the weather station is moved, it may take 12 to 24 hours for the atmospheric pressure to adjust and recalculate the forecast.
6. Indoor Comfort Indicator
The display includes a comfort indicator based on indoor humidity levels:

This image displays the main unit's screen, indicating comfort levels: optimal (40-70% RH), high (70-100% RH), and low (0-40% RH).
- Оптималдуу: 40-70% Relative Humidity (RH)
- Жогорку: 70-100% RH
- Төмөн: 0-40% RH
Техникалык тейлөө
1. Батареяны алмаштыруу
- When the battery indicator appears on the main unit, replace the 3 AAA batteries.
- For remote sensors, replace the 2 AA batteries when their performance degrades.
- Бардык батареяларды бир эле учурда бирдей типтеги жаңылары менен алмаштырыңыз.
2. Тазалоо
Негизги блокту жана сенсорлорду жумшак, d менен сүртүңүзamp кездеме. Абразивдүү тазалоочу каражаттарды колдонбоңуз же түзмөктөрдү сууга салбаңыз.
Проблемаларды чечүү
| Көйгөй | Мүмкүн себеп | Чечим |
|---|---|---|
| Негизги блокто дисплей жок | Кубат жок же батарейкалар аз. | Connect USB power or replace AAA batteries. |
| Remote sensor not connecting / Incorrect outdoor readings | Sensor batteries low or dead; sensor out of range; interference. | Replace AA batteries in sensor. Move sensor closer to main unit. Avoid obstacles. Press 'Resetting and sensor scanning' button (4) on main unit to re-scan. |
| Display shows 'LL.L' or 'HH.H' | Температура же нымдуулук өлчөнө турган диапазондон тышкары. | This indicates the reading is below the minimum ('LL.L') or above the maximum ('HH.H') operating range. The device is functioning as expected under extreme conditions. |
| Туура эмес аба ырайы | Station recently moved; forecast is an estimation. | Allow 12-24 hours for the station to recalibrate after moving. Forecasts are based on atmospheric pressure trends and are not 100% accurate. |
Техникалык шарттар

This image provides the physical dimensions of the main weather station unit (14.5cm x 14cm) and the remote sensor (10cm x 3.8cm).
| Өзгөчөлүк | Деталь |
|---|---|
| Бренд | VIFLYKOO |
| Модель номери | 3 сенсор |
| Дисплей түрү | Түстүү LCD |
| Байланыш технологиясы | Зымсыз, USB |
| Кубат булагы (Негизги блок) | USB cable (included) or 3 x AAA batteries (not included) |
| Power Source (Remote Sensors) | 2 x AA batteries per sensor (not included) |
| Жабык температура диапазону | 0 ° Cдан +50 ° C чейин (32 ° F дан 122 ° F чейин) |
| Тышкы температура диапазону | -30 °C менен +60 °C (-22 °F менен 140 °F) |
| нымдуулук колому | 20% - 90% RH |
| Wireless КПП Расстояние | 100 метрге чейин (ачык асманда) |
| Өзгөчөлүктөр | 12-hour weather forecast, Max/Min records, Alarm, Snooze, Comfort indicator |
| Негизги бирдиктин өлчөмдөрү | Болжол менен 14.5 см x 14 см |
| Remote Sensor Dimensions | Болжол менен 10 см x 3.8 см |
Кепилдик жана колдоо
Продукт кепилдиги жана кардарларды колдоо боюнча маалымат, адатта, сатып алуу документтериңизде же өндүрүүчүнүн расмий өкүлүндө берилет webсайт. Кепилдик, кайтаруу жана техникалык жардам боюнча чоо-жайын билүү үчүн ошол ресурстарды караңыз.