
Introduction
This manual provides detailed instructions for the setup, operation, and maintenance of your LFF Atomic Clock Model LWC204. This digital clock features a large, easy-to-read display, atomic time synchronization, and a wireless sensor for indoor and outdoor temperature readings. Please read this manual thoroughly before use to ensure proper functionality and longevity of your device.
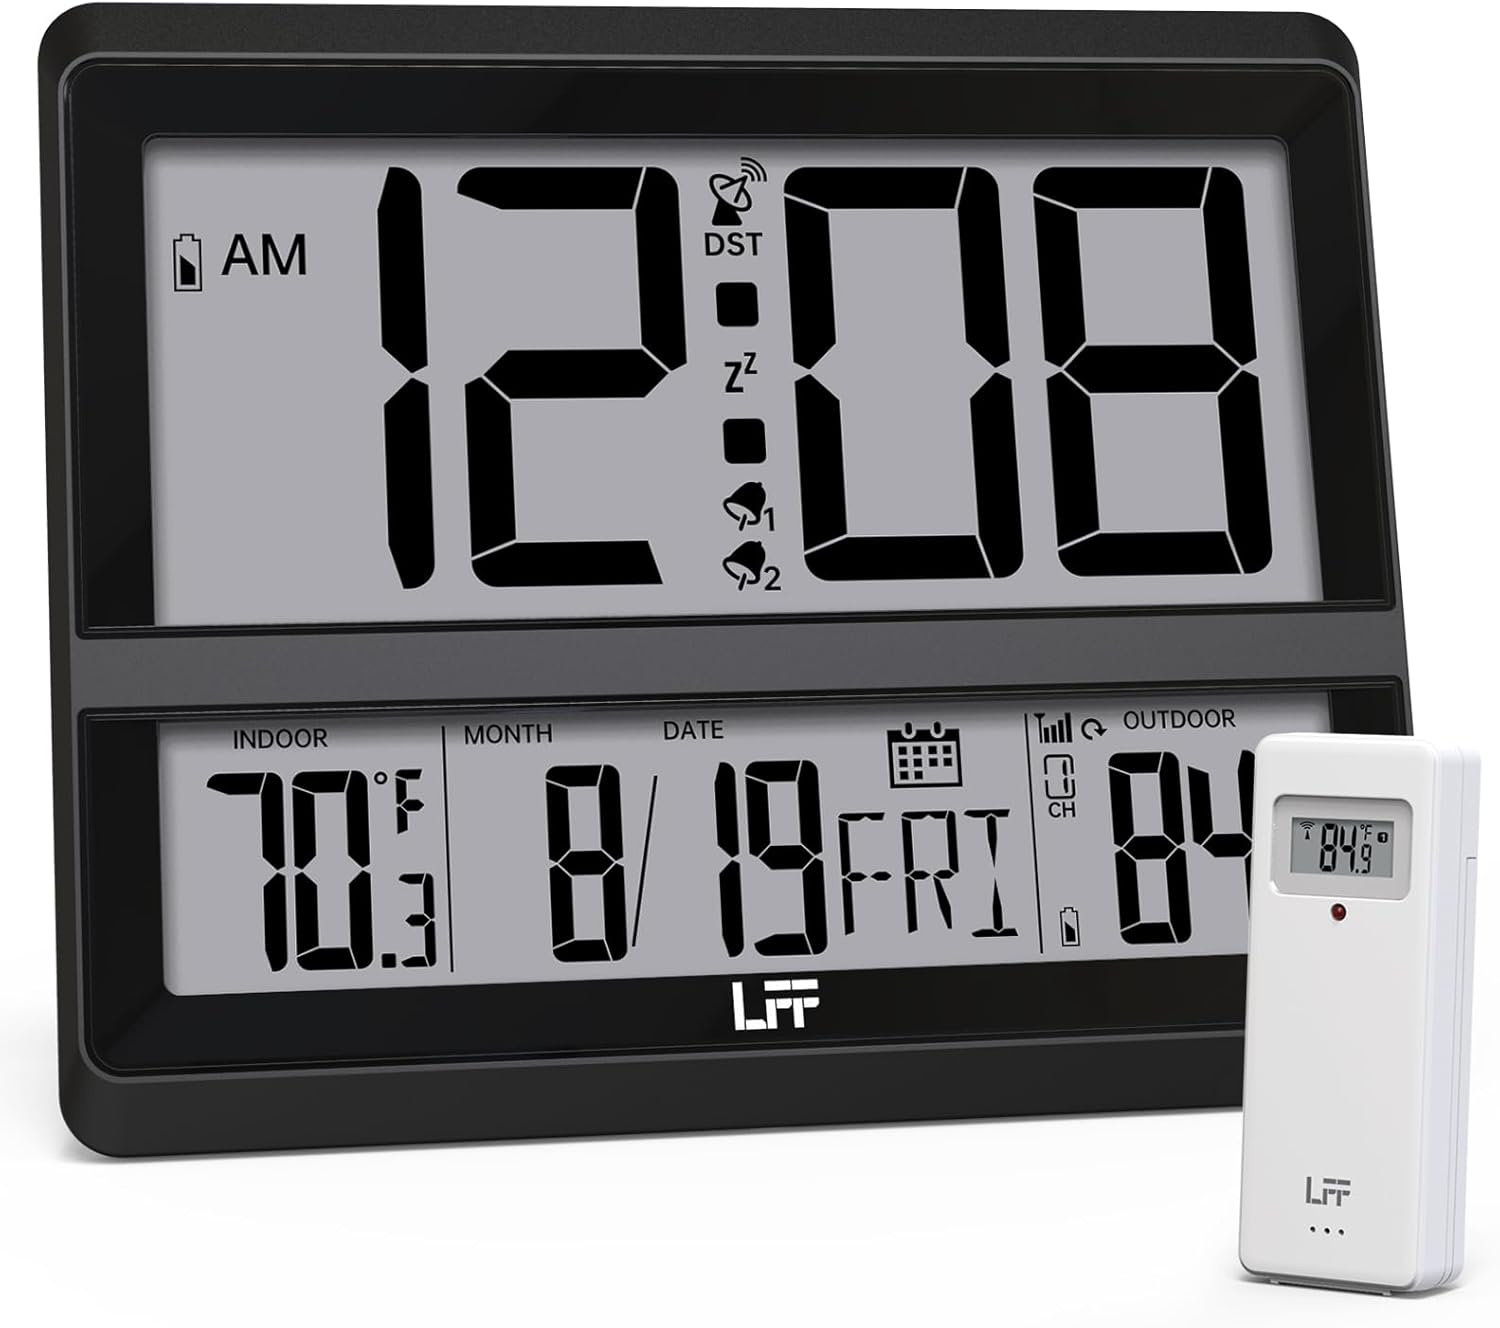
Image: The LFF Atomic Clock main unit with its wireless outdoor temperature sensor.
Пакеттин мазмуну
- LFF Atomic Clock Main Unit
- Зымсыз тышкы температура сенсору
- Көрсөтмө (бул документ)
- Bracket for table standing
Note: Batteries are not included. The main clock unit requires 3x AA batteries, and the outdoor sensor requires 2x AAA batteries.
Продукт бүттүview
Familiarize yourself with the main components and controls of your LFF Atomic Clock.

Image: Front display and rear button layout of the LFF Atomic Clock.
Дисплей өзгөчөлүктөрү:
- Убакытты көрсөтүү: Large digits for current time (12/24 Hour format).
- AM/PM индикатору: 12 сааттык формат үчүн.
- DST Symbol: Indicates Daylight Saving Time is active.
- RCC Reception Icon: Shows status of atomic time signal reception.
- Alarm Icons (Zz, 1, 2): Indicate active alarms and snooze function.
- Ички температура: Current temperature inside (°C/°F).
- Тышкы температура: Current temperature from wireless sensor (°C/°F).
- Date & Weekday: Month, Day, and Day of the Week.
- Төмөн батарея көрсөткүчү: For both main unit and outdoor sensor.
Арткы баскычтар:
- SET баскычы: Орнотуу режимине кирет.
- ALARM баскычы: Ойготкуч жөндөөлөргө жетет.
- КАНАЛ баскычы: Cycles through outdoor sensor channels (if multiple sensors are used).
- DOWN/WAVE/°C/°F Button: Decreases values in setting mode, manually initiates atomic signal search (WAVE), or switches temperature units.
- UP/ALARM Button: Increases values in setting mode, or activates/deactivates alarm.
Жайгашуу
1. Батареяны орнотуу
- Тышкы сенсор:
- Зымсыз тышкы сенсордун артындагы батарея отсегин ачыңыз.
- Insert 2x AAA batteries, observing the correct polarity (+/-).
- Батарея отсегин бекем жабыңыз.
- Note: For temperatures below -4°F (-20°C), Lithium batteries are recommended for the outdoor sensor.
- Main Clock Unit:
- Негизги саат блогунун арткы жагындагы батарея бөлүмүн ачыңыз.
- Insert 3x AA batteries, observing the correct polarity (+/-).
- Батарея отсегин бекем жабыңыз.

Image: Battery compartments for the main clock and outdoor sensor.
2. Баштапкы синхрондоштуруу жана жөндөөлөр
Upon battery installation, the clock will automatically begin searching for the WWVB atomic time signal and attempt to connect with the outdoor sensor.
- The RCC Reception Icon will flash during the atomic signal search. This process may take several minutes or up to 24 hours depending on signal strength.
- The outdoor temperature should appear on the display within a few minutes after the sensor batteries are installed. If not, press the КАНАЛ button on the main unit to cycle through channels or press the reset button on the outdoor sensor.
3. Manual Settings (if needed)
If the atomic signal is not received or you wish to adjust settings manually:
- Убакыт алкагын жөндөө:
- басып, кармап туруңуз SET button for 3 seconds to enter time zone setting.
- колдонуу UP/ALARM or DOWN/WAVE/°C/°F buttons to select your time zone (e.g., PST, MST, CST, EST).
- Басыңыз SET ырастоо жана кийинки жөндөө үчүн.
- 12/24 саат форматы:
- After time zone, the hour format will flash. Use UP/ALARM or DOWN/WAVE/°C/°F to select 12-hour or 24-hour format.
- Басыңыз SET ырастоо үчүн.
- Manual Time and Date Setting:
- Басууну улантыңыз SET to cycle through Year, Month, Day, Hour, Minute settings.
- Колдонуу UP/ALARM or DOWN/WAVE/°C/°F ар бир маанини тууралоо үчүн.
- Басыңыз SET ар бир жөндөөнү ырастоо үчүн.
- Жайкы убакыт (DST):
- After setting the time, the DST setting will flash. Use UP/ALARM or DOWN/WAVE/°C/°F to enable or disable DST.
- Басыңыз SET орнотуу режиминен чыгуу үчүн.

Image: The clock automatically corrects time daily via WWVB signal.
4. Сырткы сенсорлорду жайгаштыруу
- Place the wireless outdoor sensor within 330 feet (100 meters) of the main unit.
- Choose a shaded location to avoid direct sunlight, which can affect temperature accuracy.
- Ensure the sensor is protected from direct rain and snow.
- Avoid placing the sensor near large metal objects or electrical appliances that may interfere with the wireless signal.

Image: Wireless range of 330 feet for the outdoor sensor.
Иштөө нускамалары
1. Дисплей режимдери
- The clock continuously displays time, indoor temperature, outdoor temperature, date, and day of the week.
- басыңыз DOWN/WAVE/°C/°F button to switch between Celsius (°C) and Fahrenheit (°F) for temperature display.
2. Ойготкуч функциясы
- Ойготкучту орнотуу:
- басыңыз АЛАРМ button once to display Alarm 1 time. Press again for Alarm 2.
- While an alarm time is displayed, press and hold the АЛАРМ button for 3 seconds to enter alarm setting mode. The hour will flash.
- Колдонуу UP/ALARM or DOWN/WAVE/°C/°F саатты жөндөө. Пресс АЛАРМ ырастоо үчүн.
- The minute will flash. Use UP/ALARM or DOWN/WAVE/°C/°F мүнөттү тууралоо үчүн. Басыңыз АЛАРМ ырастоо жана сигнал орнотуудан чыгуу.
- Ойготкучту иштетүү/өчүрүү:
- басыңыз АЛАРМ button to display Alarm 1 or Alarm 2.
- басыңыз UP/ALARM button to toggle the alarm ON or OFF. The corresponding alarm icon (1 or 2) will appear/disappear on the display.
- Чырым Function:
- Ойготкуч басылганда, басыңыз СОЮЗ button (usually located on top or a dedicated button) to activate snooze. The alarm will sound again after approximately 5-10 minutes.
- Ойготкучту толугу менен өчүрүү үчүн, башка баскычты басыңыз (мисалы, АЛАРМ, SET).
3. Manual Atomic Signal Search
If you wish to manually initiate a search for the WWVB atomic time signal, press and hold the DOWN/WAVE/°C/°F button for 3 seconds. The RCC Reception Icon will flash, indicating the search is in progress.
Техникалык тейлөө
- Тазалоо: Саатты жана сенсорду жумшак, кургак чүпүрөк менен сүртүңүз. Абразивдүү тазалоочу каражаттарды же эриткичтерди колдонбоңуз.
- Батареяны алмаштыруу: When the low battery indicator appears on the display for either the main unit or the outdoor sensor, replace the batteries promptly to ensure continuous operation and accurate readings. Refer to the "Battery Installation" section for details.
- Сактагыч: Аппаратты узак убакытка сактасаңыз, агып кетпеш үчүн бардык батарейкаларды алып салыңыз.
Проблемаларды чечүү
| Көйгөй | Мүмкүн себеп | Чечим |
|---|---|---|
| Негизги блокто дисплей жок. | Батареялар өлүп калган же туура эмес орнотулган. | Батареянын полярдуулугун текшерип, жаңы AA батарейкалары менен алмаштырыңыз. |
| Outdoor temperature not displayed or incorrect. |
|
|
| Atomic time signal not received (RCC icon flashing or not displayed). |
|
|
| Time is incorrect after atomic synchronization. | Туура эмес убакыт алкагы жөндөлдү. | Adjust the time zone setting as described in the "Manual Settings" section. |
Техникалык шарттар
| Өзгөчөлүк | Деталь |
|---|---|
| Модель номери | LWC204 |
| Дисплей түрү | Санарип LCD |
| Кубат булагы (Негизги блок) | 3x AA батарейкалар (киргизилген эмес) |
| Кубат булагы (тышкы сенсор) | 2x AAA батарейкалар (киргизилген эмес) |
| Жабык температура диапазону | 32°F – 122°F (0°C – 50°C) |
| Тышкы температура диапазону | -58°F – 158°F (-50°C – 70°C) |
| Зымсыз диапазон | Ачык абада 100 метрге (330 фут) чейин |
| Убакыт форматы | 12/24 саат тандалган |
| Өлчөмдөрү (Негизги бирдик) | Туурасы 7.48" x Бийиктиги 8.66" (болжол менен) |
| Монтаждоо параметрлери | Wall Mount or Tabletop (bracket included) |
Кепилдик жана колдоо
LFF products are designed for reliability and performance. For specific warranty information, please refer to the warranty card included with your purchase or contact LFF customer support.
For technical assistance or further inquiries, please visit the official LFF webсайтына кириңиз же алардын кардарларды тейлөө бөлүмүнө кайрылыңыз. Байланыш маалыматтары, адатта, продуктунун таңгагында же бренддин расмий онлайн баракчасында көрсөтүлгөн.