
1. Киришүү
This manual provides comprehensive instructions for the setup, operation, and maintenance of your XREXS Digital Wall Clock. This versatile device features an extra-large display, remote control, multiple time display formats, temperature reading, date, day of week, alarm, and timer functions. Please read this manual thoroughly before use to ensure proper functionality and longevity of your product.
2. Кутуда эмне бар
- XREXS Digital Wall Clock (Model 3039YK-W)
- Алыстан башкаруу
- Монтаж шаблону
- 4 x AA батарейкалары (негизги блок үчүн)
- 2 x AAA Batteries (for backup power)
- 2 x AAA батарейкалар (алыстан башкаруу үчүн)
- User Manual
3. Орнотуу
3.1 Батареяны орнотуу
The clock is battery-operated, allowing for flexible placement without the need for an outlet. Batteries are included for immediate use.
- Негизги блок: Open the battery compartment on the back of the clock. Insert 4 AA batteries and 2 AAA backup batteries, ensuring correct polarity. Remove any insulating tape from the batteries before installation.
- Алыстан башкаруу: Open the battery compartment on the back of the remote. Insert 2 AAA batteries, ensuring correct polarity. Remove any insulating tape.

1-сүрөт: Арткы view of the clock with battery compartments and fold-out stand.
3.2 Жайгаштыруу параметрлери
The clock offers two convenient placement methods:
- Дубалга орнотуу: Use the provided mounting template to mark the positions for two screws on your wall. Hang the clock securely using the keyhole slots on the back.
- Стол стенд: Utilize the integrated fold-out stand on the back of the clock to place it on any flat surface, such as a desk, shelf, or countertop.

Figure 2: The clock can be wall-mounted using two hanging holes or placed on a desk using its fold-out stand.
4. Иштөө нускамалары
The clock can be operated using the buttons on the back or the included remote control.
4.1 Убакытты жана датаны орнотуу
- басыңыз SET button on the remote control or the back of the clock. The year display will begin to blink.
- колдонуу + or - жылды тууралоо үчүн баскычтар.
- Басыңыз SET again to confirm the year and move to setting the month. Repeat the process for month, date, hour, and minute.
- The day of the week will automatically adjust based on the date.
4.2 12/24 Hour Display
12 сааттык жана 24 сааттык убакыт форматтарынын ортосунда которулуу үчүн, басыңыз + / 12-24HR button on the remote control or the back of the clock.
4.3 Температура бирдигин тандоо
To toggle between Celsius (°C) and Fahrenheit (°F) temperature display, press the ° C / ° F button on the remote control or the back of the clock.
4.4 Жарыкты башкаруу
The clock features an auto-sensing backlight with two brightness levels (High, Low) and an Off option. The backlight function is radar-sensing and illuminates for approximately 30 seconds when motion is detected in low-light conditions. Use the switch on the back of the clock to select High, Low, or Off for the backlight.
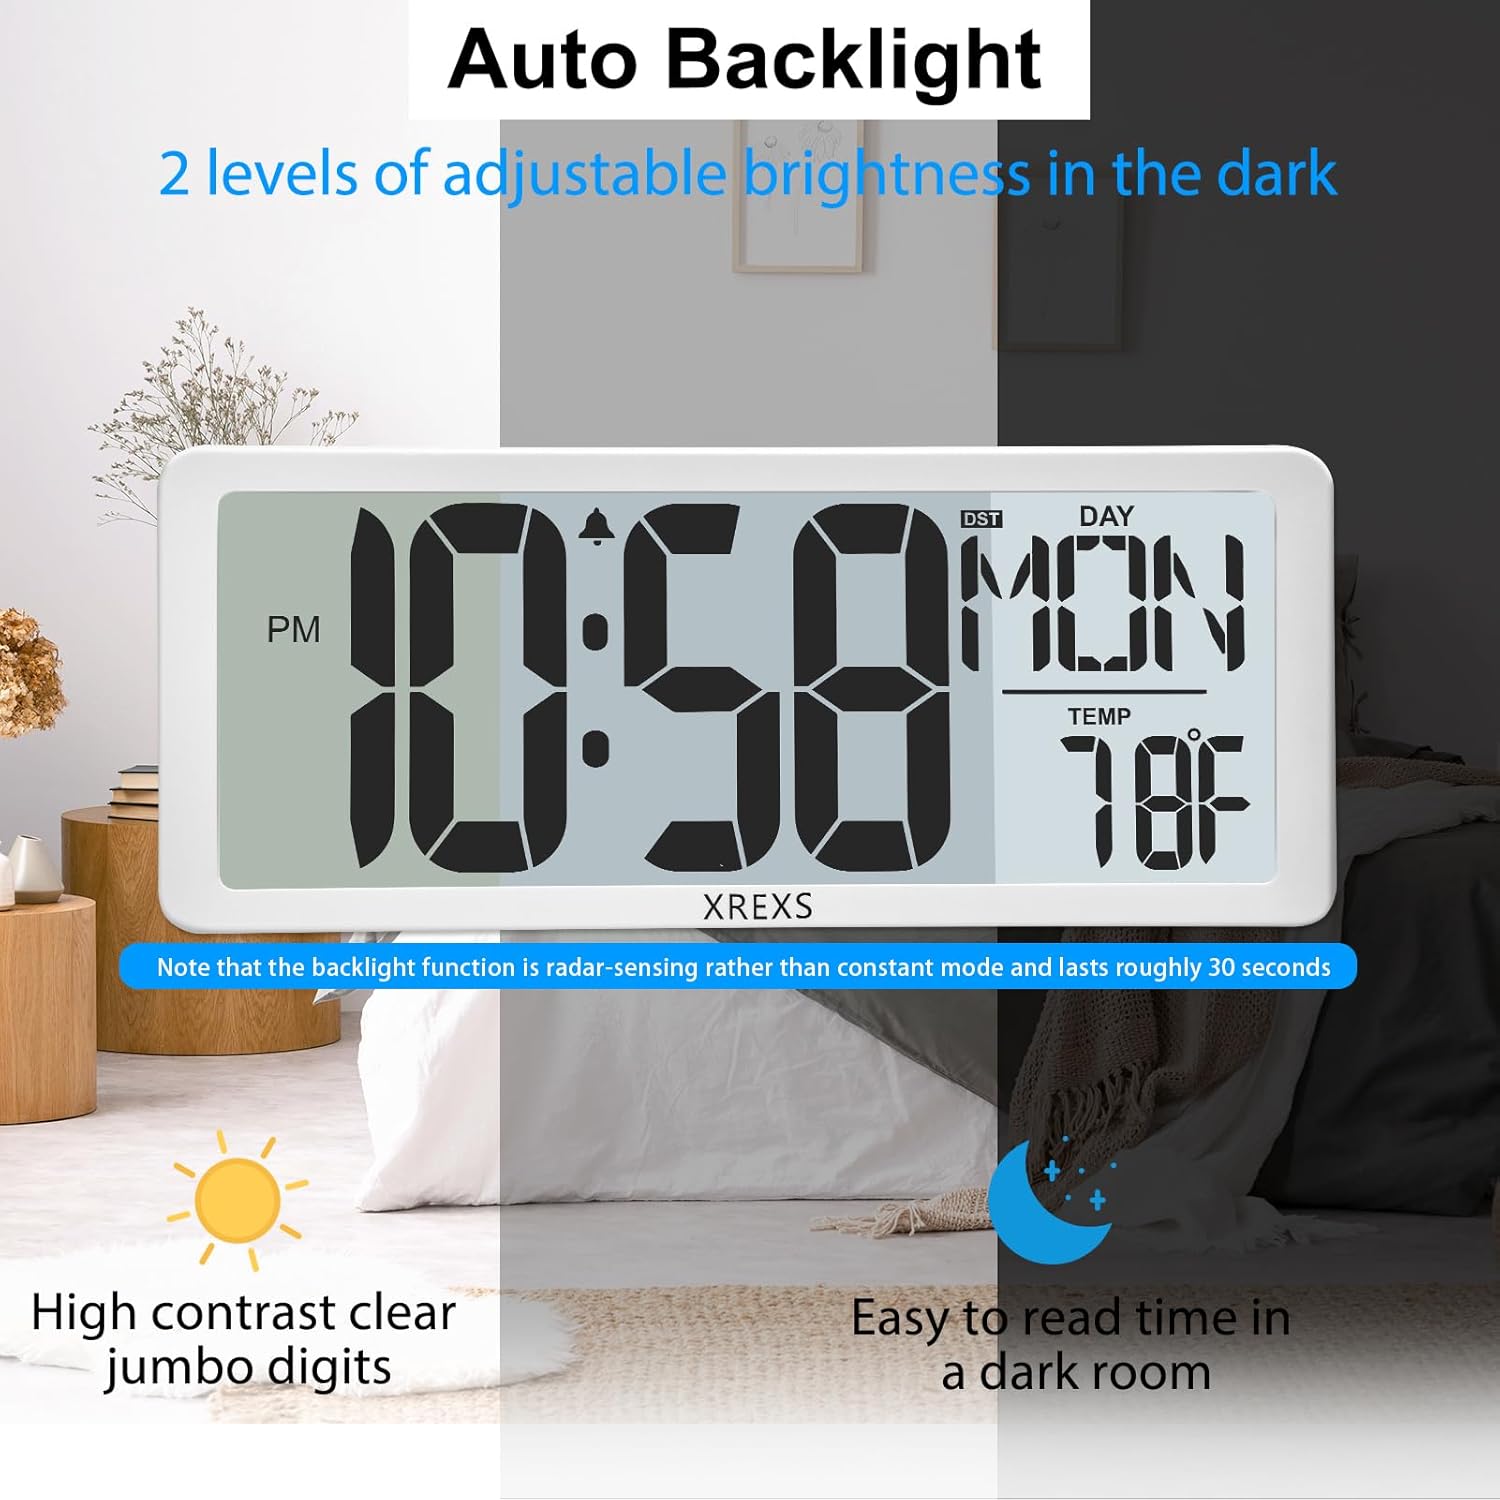
Figure 3: Auto backlight feature with two adjustable brightness levels for dark environments.
4.5 Ойготкуч функциясы
Ойготкучту коюу үчүн:
- басыңыз Сигналды орнотуу button on the remote control or the back of the clock. The alarm hour will begin to blink.
- колдонуу + or - ойготкуч саатын тууралоо үчүн баскычтар.
- Басыңыз Сигналды орнотуу again to confirm the hour and move to setting the alarm minute.
- Басыңыз Сигналды орнотуу one more time to activate or deactivate the alarm. An alarm icon will appear on the display when activated.
- To snooze, press the СОЮЗ сигнал чыкканда баскычын басыңыз.
4.6 Timer Function (Countdown/Count-up)
The clock supports both countdown and count-up timer modes.
- басыңыз ENTER/EXIT TIMER button on the remote control to enter timer mode. The display will show 0:00:00.
- Артка таймерди коюу үчүн: колдонуу HR, MIN, жана SEC buttons on the remote to set the desired countdown duration.
- басыңыз TIMER ST/SP button to start the countdown. Press again to pause.
- To use as a Count-up Timer: In timer mode (0:00:00), simply press the TIMER ST/SP button to start counting up.
- Таймерди баштапкы абалга келтирүү үчүн, баскычын басыңыз ТАЙМЕРДИ КАЛТЫРУУ алыстан башкаруудагы баскыч.

Figure 4: The clock features three modes: Clock, Alarm Clock, and Count Up/Down Timer.
4.7 Automatic Daylight Saving Time (DST)
The clock is equipped with an automatic DST feature. It will adjust itself for daylight saving time changes, eliminating the need for manual adjustment.
5. Техникалык тейлөө
- Clean the clock with a soft, dry cloth. Avoid using abrasive cleaners or solvents.
- Үзгүлтүксүз иштешин камсыз кылуу үчүн дисплейде батареянын заряды аз калганын көрсөткөн индикатор пайда болгондо батареяларды алмаштырыңыз.
- If the clock will not be used for an extended period, remove all batteries to prevent leakage.
6. Кыйынчылыктарды
- Clock not displaying or buttons unresponsive: Ensure all batteries are correctly installed and any insulating tape has been removed. If the issue persists, try resetting the clock by pressing the reset button located at the back of the bracket with a toothpick.
- Арткы жарык иштебейт: Check the backlight switch on the back of the clock to ensure it is not set to "Off." Verify battery levels.
- Пульт иштебей жатат: Ensure batteries are correctly installed and not depleted. Point the remote directly at the clock.
7. Техникалык шарттар
| Өзгөчөлүк | Деталь |
|---|---|
| Бренд | XREXS |
| Модель номери | 3039YK-W |
| Дисплей түрү | Санарип |
| Дисплей өлчөмү | 14.17 дюйм |
| Power Source | Battery Powered (4 AA main, 2 AAA backup) |
| Өзгөчөлүктөр | Adjustable Brightness (Backlight), Alarm, Day Mode, Snooze, Remote Control, Countdown Timer, Temperature, Date, Day of Week, Auto DST |
| Монтаж түрү | Дубалга орнотуучу, стол стенди |
| Ички/тышкы колдонуу | Indoor |
| Frame Material | Acrylonitrile бутадиен Styrene |
8. Расмий продукт Video
Видео 1: Бүттүview of the XREXS Digital Wall Clock, demonstrating its features and functionality.
9. Кепилдик жана колдоо
For warranty information or technical support, please refer to the contact details provided on the product packaging or visit the official XREXS webсайт.