
1. Киришүү
The COMICA Vimo C3 is a wireless lavalier microphone system designed for high-quality audio recording with various devices, including DSLR cameras, smartphones, and computers. It features advanced noise cancellation, adjustable gain control, multiple output modes, and real-time monitoring via an IPS display. This manual provides detailed instructions for setting up, operating, and maintaining your Vimo C3 system.
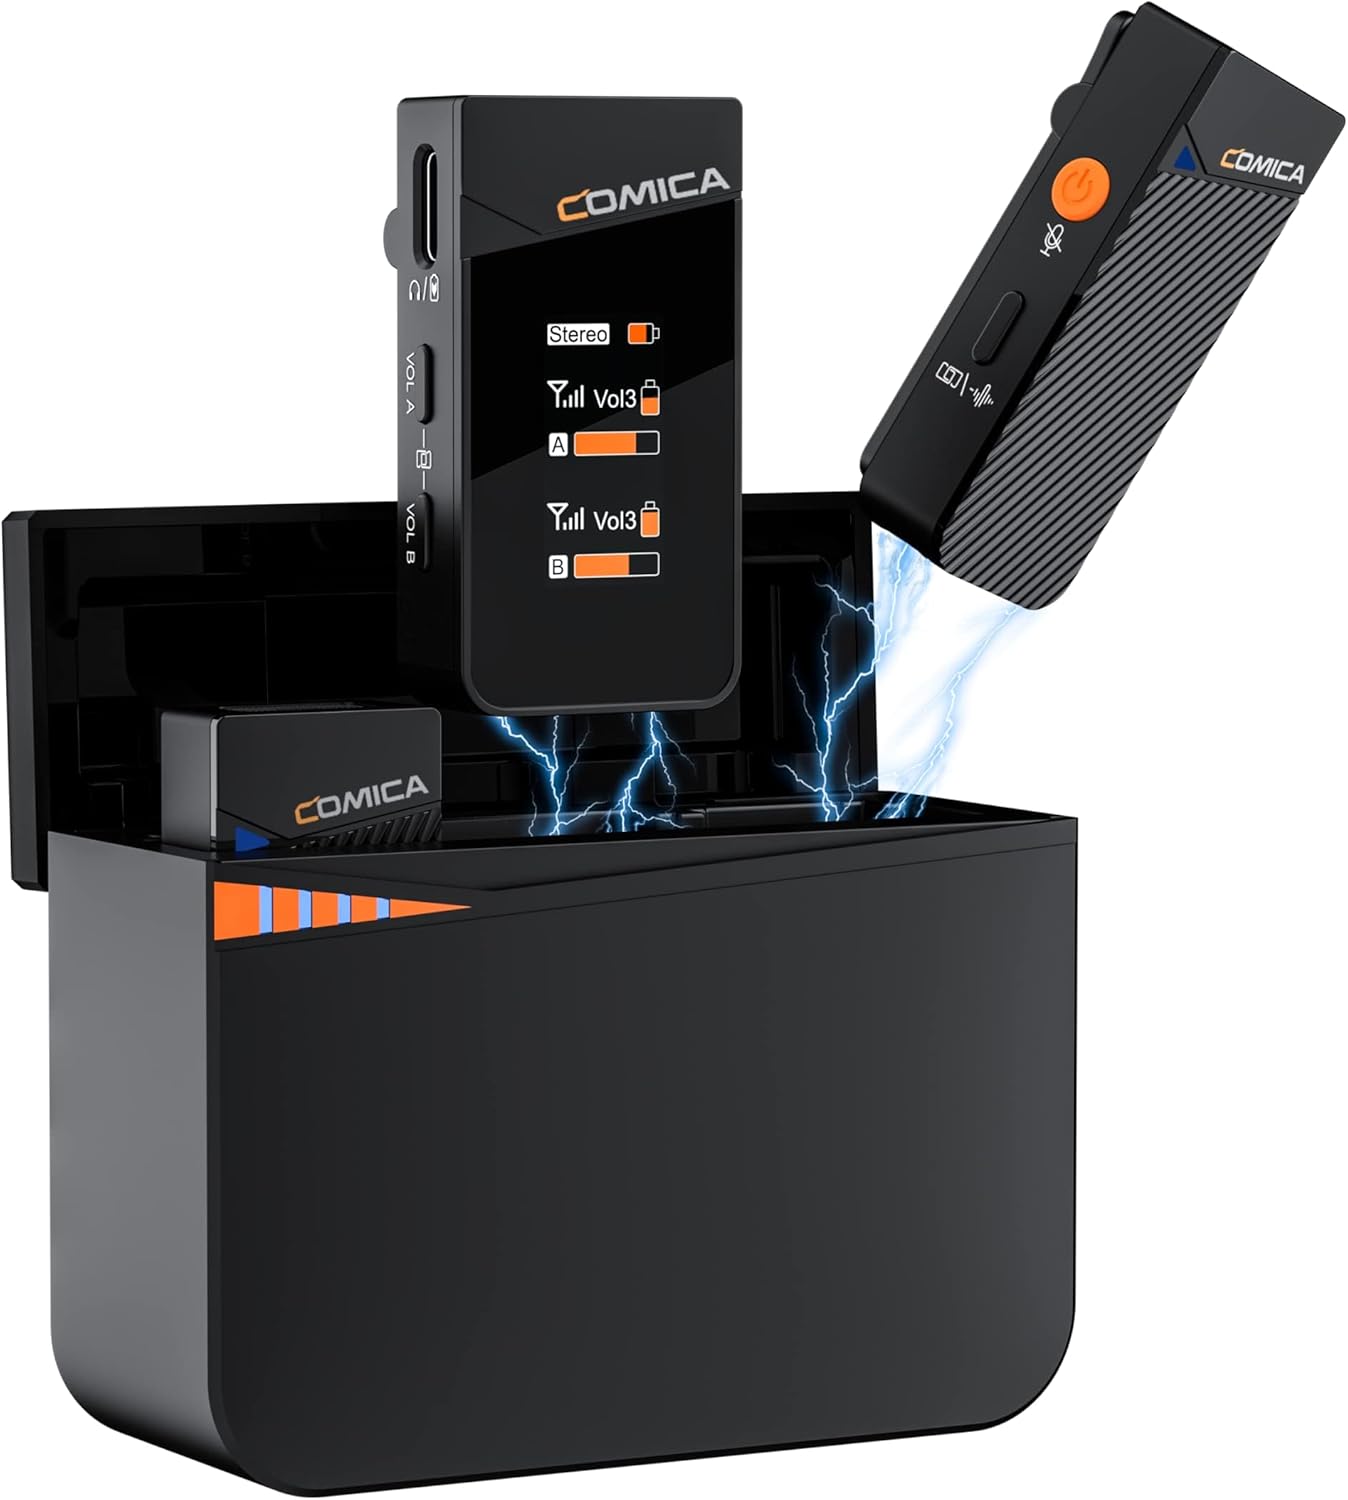
Image 1.1: The COMICA Vimo C3 Wireless Lavalier Microphone system, showcasing the charging case, two transmitters, and one receiver.
2. Пакеттин мазмуну
Төмөндө тизмеленген нерселердин баары пакетиңизге камтылганын текшериңиз:
- 2 x өткөргүчтөр (TX)
- 1 x Алуучу (RX)
- 1 x Battery Charging Case
- 2 x Windmuffs
- 1 x 3.5mm TRS-TRS Audio Cable
- 1 x 3.5mm TRS-TRRS Audio Cable
- 1 x USB-C - USB-A заряддоо кабели
- 1 x 2-in-1 Charging/Monitoring Adapter Cable
- 1 x User Manual
- 1 x Кепилдик картасы

Image 2.1: A visual representation of all items included with the COMICA Vimo C3 system.
3. Продукт бүтүп калдыview
3.1 жибергич (TX)
The transmitter captures audio and sends it wirelessly to the receiver. It features an integrated microphone, a power/mute button, and a noise cancellation indicator.
3.2 Алуучу (RX)
The receiver collects audio from the transmitters and outputs it to your recording device. It includes a rotatable IPS display for real-time monitoring, volume controls (VOL A/B), and a 3.5mm audio output port.
3.3 Заряддоо кутусу
The charging case stores and recharges the transmitters and receiver, providing extended battery life for the system.

Сүрөт 3.1: Детальдуу view of the Vimo C3 receiver and transmitter components.
4. Орнотуу нускамалары
4.1 Аппараттарды заряддоо
Before first use, fully charge the transmitters, receiver, and charging case.
- Place the transmitters and receiver into the charging case. Ensure they are correctly seated.
- Connect the USB-C to USB-A charging cable to the charging case and a power source (e.g., USB wall adapter, computer USB port).
- The charging indicators on the case will illuminate to show charging status. A full charge provides up to 8 hours of operation for TX/RX and up to 20 hours with the charging case.

Image 4.1: Transmitters and receiver charging within the portable charging case.
4.2 Автоматтык жупташтыруу
The Vimo C3 system is designed for automatic pairing. When the transmitters and receiver are removed from the charging case, they will automatically power on and attempt to pair with each other. A successful connection is indicated on the receiver's IPS display.
4.3 Жаздыруучу түзмөктөргө туташуу
The Vimo C3 offers wide compatibility with various devices:
- DSLR Camera: Use the provided 3.5mm TRS-TRS audio cable. Connect one end to the receiver's output port and the other end to your camera's microphone input.
- Смартфон/Планшет: Use the provided 3.5mm TRS-TRRS audio cable. Connect one end to the receiver's output port and the other end to your smartphone's 3.5mm headphone/microphone jack. For devices without a 3.5mm jack (e.g., newer iPhones, USB-C Android phones), a compatible 3.5mm to Lightning or 3.5mm to USB-C adapter (not included) is required.
- Компьютер: Use the provided 3.5mm TRS-TRRS audio cable. Connect one end to the receiver's output port and the other end to your computer's microphone input. Some computers may require a 3.5mm TRS-USB sound card (not included).

Image 4.2: The Vimo C3 receiver connected to a DSLR camera, illustrating a common setup.
5. Иштөө нускамалары
5.1 Күйгүзүү/өчүрүү
The transmitters and receiver automatically power on when removed from the charging case and power off when placed back into the case.
5.2 ызы-чууну жокко чыгаруу
The Vimo C3 features a DSP denoise chip to reduce environmental noise. To activate or deactivate noise cancellation, short press the orange power button on the transmitter. The TX light indicator will change from blue (Noise Cancellation Off) to green (Noise Cancellation On).

Image 5.1: Illustration of the noise cancellation feature on the transmitter, showing its effect on audio quality.
5.3 Muting Function
To mute a transmitter, short press the power button on the transmitter. The indicator light will turn red. Press again to unmute.
5.4 Пайданы тууралоо
The receiver offers 4 levels of volume control (VOL A/B) for real-time adjustment of audio levels. Use the '+' and '-' buttons on the receiver to adjust the gain for each channel independently.

Image 5.2: The receiver's volume control buttons and the transmitter's mute function.
5.5 Output Modes (Mono, Stereo, Safety)
The Vimo C3 receiver supports three output modes:
- Mono Output: Mixes the sound from both transmitters (A and B) into a single track.
- Стерео чыгаруу: Outputs the sound from transmitter A to the left channel and transmitter B to the right channel, allowing for independent editing.
- Safety Output: Splits the sound into two tracks, with one track 6dB lower than the other. This lower track serves as a backup in case the main track peaks.
Note: Stereo and Safety audio tracks are not supported when using a 3.5mm TRRS to Lightning/USB cable.

Image 5.3: Visual explanation of the different audio output modes.
5.6 Real-time Monitoring via IPS Display
The receiver features an IPS display that shows audio dynamics, battery life, volume levels, and current mode in real-time. The display is rotatable; press and hold the volume '+' and '-' keys simultaneously to flip the screen vertically, adapting to different monitoring orientations.

Image 5.4: The receiver's rotatable IPS display providing real-time monitoring.
5.7 Wireless Transmission Range
The Vimo C3 system offers a wireless transmission range of up to 656 feet (200 meters) in open areas, ensuring stable audio transmission without dropouts for outdoor recordings.

Image 5.5: Demonstrating the extended wireless transmission range in an open outdoor environment.
6. Техникалык тейлөө
- Тазалоо: Түзмөктөрдү тазалоо үчүн жумшак, кургак чүпүрөктү колдонуңуз. Катуу химиялык заттарды же абразивдүү материалдарды колдонуудан алыс болуңуз.
- Батареяга кам көрүү: To prolong battery life, avoid fully discharging the devices frequently. Store the devices with a partial charge if not used for extended periods.
- Сактагыч: Store the Vimo C3 system in its charging case in a cool, dry place away from direct sunlight and extreme temperatures.
7. Кыйынчылыктарды
- Үн чыгышы жок:
- Ensure the receiver is properly connected to your recording device.
- Check if the transmitters and receiver are powered on and paired.
- Verify the volume levels on both the receiver and your recording device.
- Confirm that the transmitter is not muted (red indicator light).
- Начар үн сапаты/ызы-чуу:
- Activate the noise cancellation feature on the transmitter.
- Ensure the windmuffs are properly installed when recording outdoors or in windy conditions.
- Check for potential interference sources (e.g., Wi-Fi routers, other wireless devices).
- Adjust the gain levels on the receiver to prevent clipping or low volume.
- Туташуу маселелери:
- Ensure transmitters and receiver are fully charged.
- If pairing fails, place all units back into the charging case for a few seconds, then remove them to re-initiate automatic pairing.
- Ensure you are within the effective transmission range (up to 656 feet in open areas).
8. Техникалык шарттар
| Өзгөчөлүк | Спецификация |
|---|---|
| Бренд | КОМИКА |
| Модель аты | Vimo C3 |
| Байланыш технологиясы | 2.4 ГГц |
| Туташтыргыч түрү | 3.5 мм TRS Jack |
| Полярдык үлгү | Көп багыттуу |
| Микрофон форма фактору | Plug On |
| Аппараттык платформа | Camera, PC, Smartphone |
| Каналдардын саны | 2 |
| Frequency Response | 20 KHz |
| Ызы-чуунун катышы | 70 дБ |
| Power Source | Батарея менен иштейт |
| Батарея түрү | Литий Полимер (1 камтылган) |
| Элемент Салмагы | 10.6 унция (300 грамм) |
| Продукциянын өлчөмдөрү (L x W x Y) | 4.92 x 4.33 x 2.76 дюйм |
| Түс | Кара |
| Сунушталган Колдонуулар | Агым |
9. Кепилдик жана колдоо
COMICA products are covered by a limited warranty. Please refer to the included Warranty Card for specific terms and conditions. For technical support, product inquiries, or warranty claims, please contact COMICA customer service through their official webпродукт сатылып алынган сайт же сатуучу.
For more information, visit the official COMICA store: COMICA Store