
1. Киришүү
This manual provides detailed instructions for the installation, operation, and maintenance of your FLITI 110V Motion Sensor Outdoor Flood Light. Please read this manual thoroughly before installation and use to ensure proper function and safety. This hardwired security light offers 2500 lumens of brightness, an 8-meter sensing distance, and convenient remote control functionality with multiple lighting modes.
2. Продукциянын өзгөчөлүктөрү
- Super Bright Hardwired Design: 15-watt LED equivalent to 150-watt traditional halogen bulbs, providing 2500 lumens of high brightness. Requires connection to a power cord; not solar or battery-powered.
- Алыстан башкаруу функциясы: Easily change lighting modes without needing to access the physical unit.
- Five Night Lighting Modes:
- Motion-activated: High brightness (2500LM) when motion is detected, then turns off.
- Motion-activated with low brightness standby: Low brightness (300LM) standby, switches to high brightness (2500LM) upon motion detection, then returns to low brightness.
- Always On (Micro Brightness): Maintains a constant micro brightness (300LM).
- Always On (Medium Brightness): Maintains a constant medium brightness (700LM).
- Always On (High Brightness): Maintains a constant high brightness (1000LM).
- Durable for Cold Climates: Designed with low-temperature resistant material, suitable for temperatures from -40°C to 0°C, making it ideal for Canadian winters.
- Ийкемдүү айлануу дизайны: Adjustable light heads and sensor for optimal coverage.
- IP65 суу өткөрбөйт рейтинги: Resistant to rain, snow, and dust for reliable outdoor use.
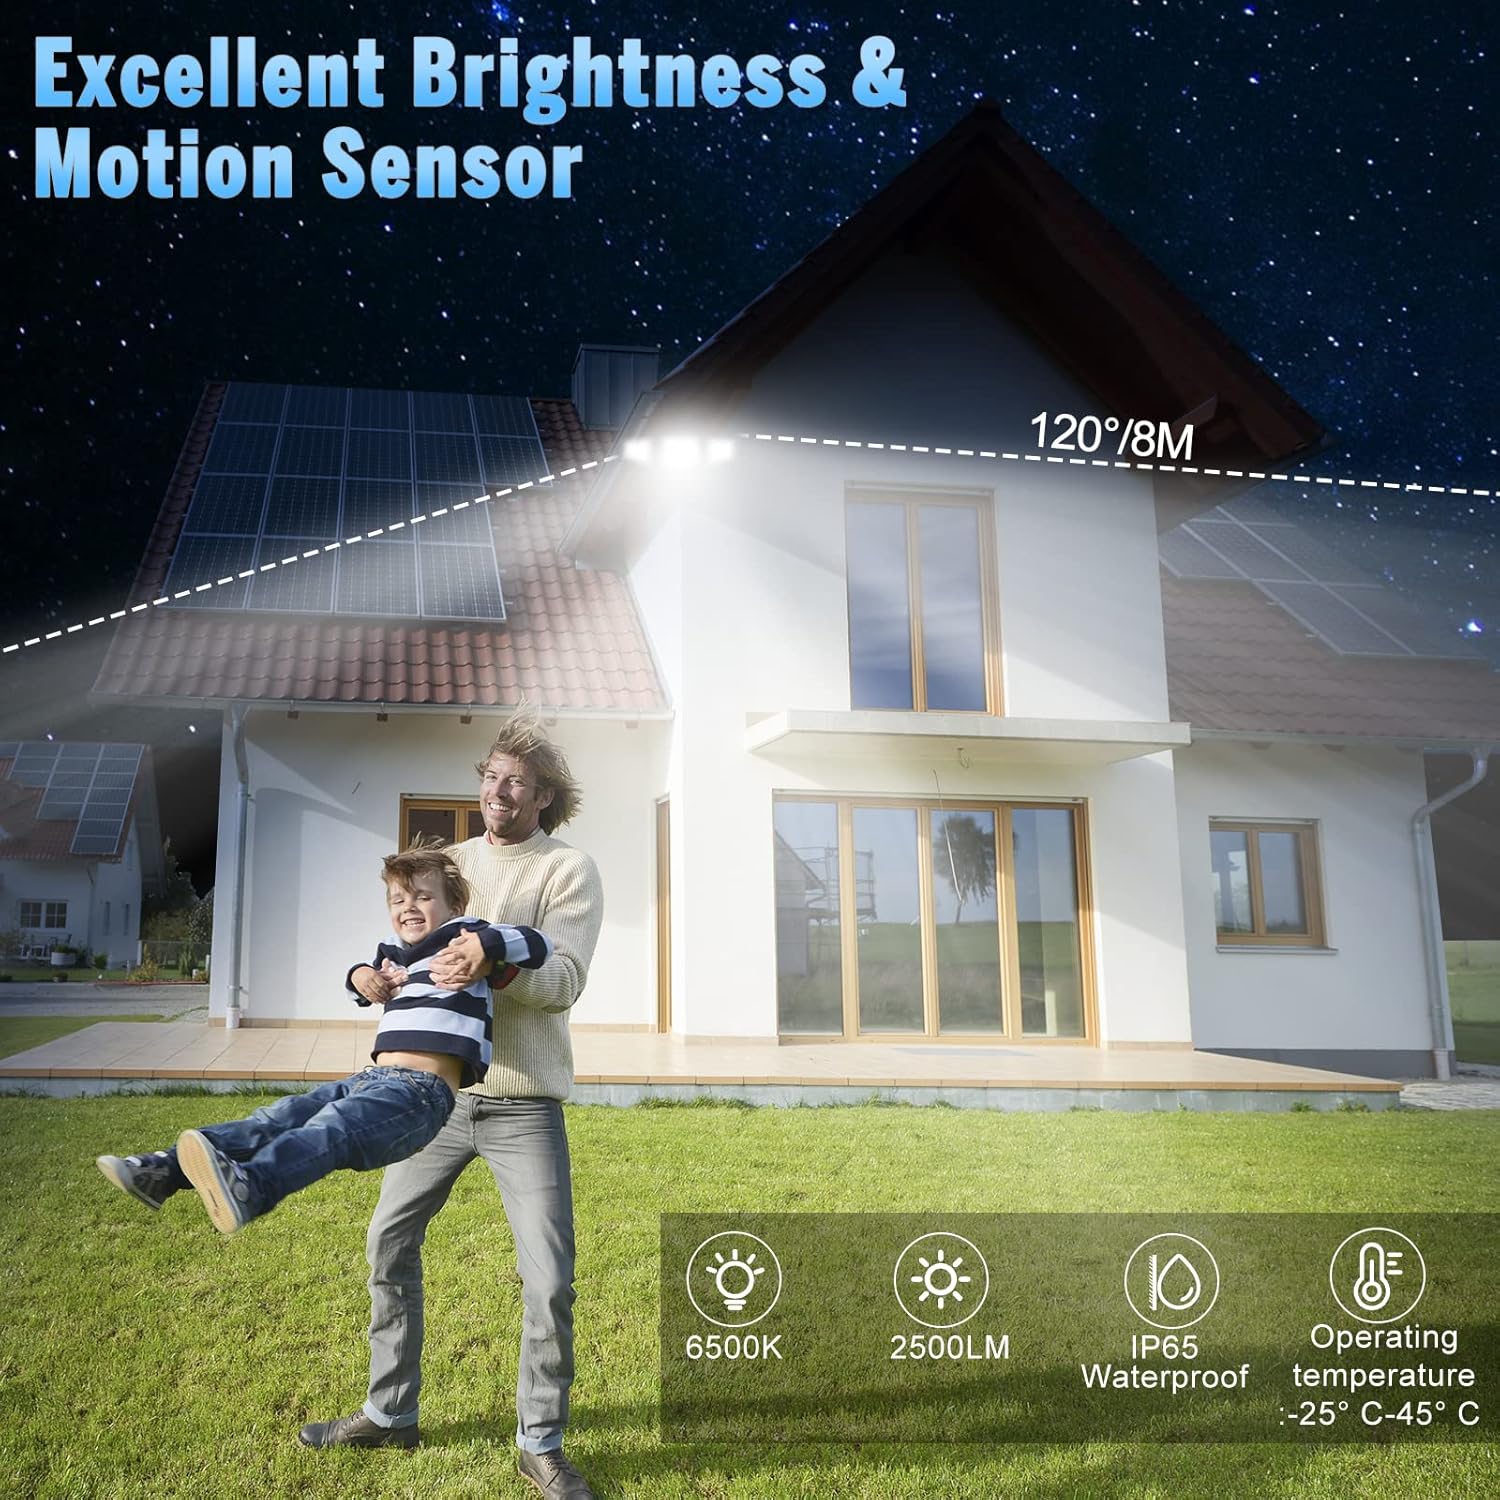
Image: The flood light illuminates a wide area with a 120-degree beam and 8-meter sensing distance. It features 6500K color temperature, 2500LM brightness, IP65 waterproof rating, and operates between -25°C and 45°C.

Image: The flood light features a flexible rotation design, allowing the light heads to adjust 360 degrees horizontally and 90 degrees vertically, and the sensor to adjust 360 degrees horizontally.
3. Коопсуздук маалыматы
- Орнотуудан же тейлөөдөн мурун дайыма автоматтык өчүргүчтүн кубатын өчүрүңүз.
- Орнотуу процессине ишенбесеңиз, квалификациялуу электрикке кайрылыңыз.
- Продукцияны өзгөртүүгө аракет кылбаңыз. Ар кандай өзгөртүүлөр кепилдикти жокко чыгарып, коопсуздукка коркунуч келтириши мүмкүн.
- Бардык байланыштар коопсуз жана туура изоляцияланганын текшериңиз.
- Do not look directly into the LED light source when illuminated, as it may cause eye damage.
- Продукцияны күйүүчү материалдардан алыс кармаңыз.
4. Орнотуу
This flood light is designed for wall mounting and requires hardwired electrical connection. Professional installation is recommended.
4.1 Электр зымдары боюнча нускамалар
- Негизги өчүргүчтөн кубатты өчүрүңүз.
- Remove your existing light fixture, if applicable.
- Connect the live wire (black) from the flood light to the live wire from your electrical box using a wire nut.
- Connect the neutral wire (white) from the flood light to the neutral wire from your electrical box using a wire nut.
- Connect the ground wire (green/yellow) from the flood light to the ground wire from your electrical box.
- Бардык байланыштар бекем жана коопсуз экендигин текшериңиз.

Image: Wiring diagram showing connections for live, neutral, and ground wires. Ensure proper insulation and secure connections.
4.2 Арматураны орнотуу
- After wiring, align the mounting plate of the flood light with the junction box.
- Secure the fixture to the wall using the provided screws. Ensure it is firmly attached.
- Adjust the light heads and motion sensor to your desired angles.
- Apply silicone sealant around the top and sides of the mounting plate to prevent water ingress, leaving the bottom open for drainage.
- Автоматтык өчүргүчтөгү кубаттуулукту калыбына келтириңиз.

Image: Step-by-step illustration of mounting the flood light to a wall, showing wiring connections and securing the fixture.
5. Иштөө нускамалары
The FLITI Motion Sensor Outdoor Flood Light can be controlled using the included remote control.
5.1 Алыстан башкаруу функциялары

Image: The remote control features ON/OFF buttons and numbered buttons (1-5) corresponding to different lighting modes.
- КҮЙГҮЗҮҮ/ӨЧҮРҮҮ: Жарыкты күйгүзөт же өчүрөт.
- Mode 1 (Motion Sensor - High Brightness): Light remains off until motion is detected, then illuminates at 2500LM for a set duration (e.g., 20 seconds) before turning off.
- Mode 2 (Low Brightness Standby + Motion Sensor - High Brightness): Light stays at a low brightness (300LM) until motion is detected, then switches to 2500LM. After motion ceases, it returns to low brightness.
- Mode 3 (Always On - Micro Brightness): Light stays on continuously at 300LM.
- Mode 4 (Always On - Medium Brightness): Light stays on continuously at 700LM.
- Mode 5 (Always On - High Brightness): Light stays on continuously at 1000LM.

Сүрөт: Visual examples of the five lighting modes, illustrating how the light behaves with and without motion detection at different brightness levels.
5.2 Сенсорду тууралоо
The motion sensor can be adjusted for sensitivity and duration. Refer to the sensor unit for specific dial settings (e.g., DISTANCE, TIME).
Video: Demonstration of Mode 1 (off to high light for 20 seconds) and Mode 2 (dim to high light for 20 seconds) in action, showing how the light responds to motion.
Video: Explanation of motion sensor settings, including adjustments for sensing distance (L, M, H) and light duration (1 min, 3 min, 10 min), and a test mode.
6. Техникалык тейлөө
- Тазалоо: Жарык берүүчү лампаны мезгил-мезгили менен жумшак,amp кездеме. Абразивдүү тазалагычтарды же эриткичтерди колдонбоңуз.
- Текшерүү: Regularly inspect the wiring and housing for any signs of damage or wear.
- Диоддордон: LED жарык булагы интеграцияланган жана колдонуучу алмаштыра албайт.
7. Кыйынчылыктарды
| Көйгөй | Мүмкүн себеп | Чечим |
|---|---|---|
| Жарык күйбөйт. | Электр энергиясы жок; зымдар бузук; сенсордун иштебей калышы. | Check circuit breaker. Verify wiring connections. Test sensor sensitivity. |
| Кыймыл сенсору аныкталбай жатат. | Sensor obstructed; incorrect sensitivity setting; ambient light interference. | Clear obstructions. Adjust sensor sensitivity (DISTANCE dial). Ensure sensor is not facing direct light sources. |
| Light stays on continuously (in motion modes). | Continuous motion detected; incorrect mode selected; sensor malfunction. | Ensure no constant motion in sensor range. Verify correct mode (Mode 1 or 2). Adjust sensor settings. |
| Пульт иштебей жатат. | Battery depleted; remote out of range; obstruction. | Replace remote battery. Ensure remote is within effective range and pointed towards the light. Remove obstructions. |
8. Техникалык шарттар
| Өзгөчөлүк | Спецификация |
|---|---|
| Модель номери | жарык-12.5 |
| Power Source | Electric (Hardwired) |
| Тtage | 120 вольт |
| Ватtage | 15 ватт |
| Жарыктык | 2500 люмен (макс.) |
| Түс температурасы | 6500 Келвин |
| Башкаруу ыкмасы | Алыстан башкаруу |
| Ички/тышкы колдонуу | Сыртта |
| Сууга туруктуулук деңгээли | IP65 суу өткөрбөйт |
| Материал | Пластик, айнек (көлөкө) |
| Продукциянын өлчөмдөрү | 25L x 25W x 25H миллиметр |
| Элемент Салмагы | 0.96 килограмм |
| Монтаж түрү | Wall Mount, Semi Flush Mount |
9. Кепилдик жана колдоо
FLITI offers a 1 жылдык кепилдик for this product from the date of purchase. We also provide a 30-day money-back guarantee. If you encounter any issues or have questions regarding your FLITI Motion Sensor Outdoor Flood Light, please contact our customer support for assistance. Our goal is to provide professional and reliable LED lamps and excellent after-sales experience.