
1. Киришүү
This manual provides essential information for the safe and effective use of your Laserliner 082.262A Inspection Camera. Please read these instructions carefully before operating the device and keep them for future reference. The Laserliner 082.262A is a robust inspection camera designed for visual inspection of inaccessible areas, featuring a 5mm diameter and 1m length probe.
2. Коопсуздук маалыматы
Жаракат алуунун жана түзмөктүн бузулушунун алдын алуу үчүн ар дайым төмөнкү коопсуздук чараларын сактаңыз:
- Do not immerse the main unit in water. The camera probe is water-resistant, but the display unit is not.
- Do not use the device in explosive atmospheres or near flammable gases or liquids.
- Аппаратты балдар жетпеген жерде сактаңыз.
- Do not attempt to modify or disassemble the device. Refer all servicing to qualified personnel.
- Батареялар туура полярдуулук менен салынганын текшериңиз. Аппарат узак убакыт бою колдонулбай турган болсо, батарейкаларды алып салыңыз.
- Avoid direct eye exposure to the camera's LED lights.
3. Пакеттин мазмуну
Таңгактан чыгарганда бардык буюмдар бар экенин текшериңиз:
- Laserliner 082.262A Inspection Camera (main unit with display)
- Flexible camera probe (5mm diameter, 1m length)
- Батареялар (Щелочтуу)
- User Manual
4. Продукт бүтүп калдыview
Familiarize yourself with the components of your inspection camera.
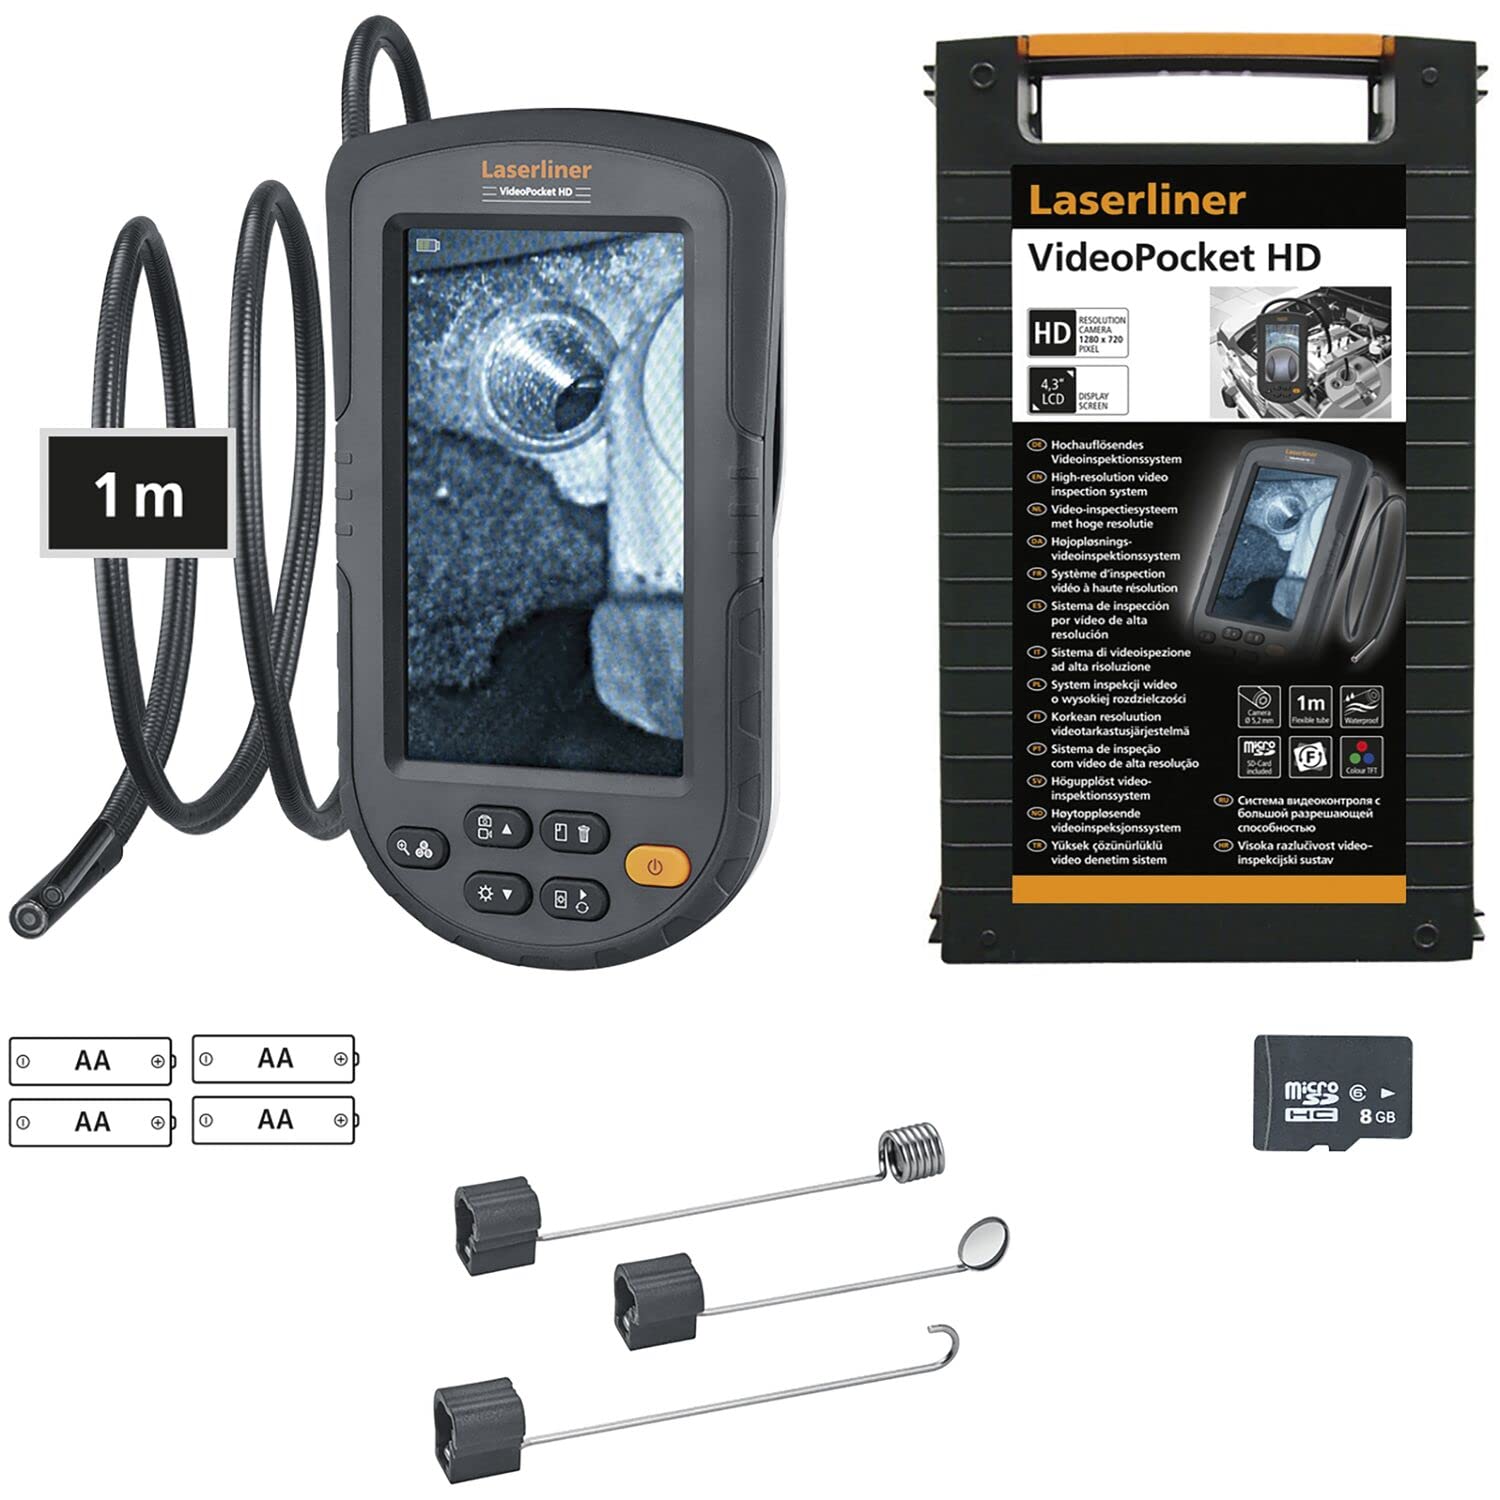
Figure 1: Laserliner 082.262A Inspection Camera. The image shows the handheld display unit connected to the flexible camera probe, ready for use.
The device consists of a main display unit with control buttons and a flexible probe with an integrated camera and LED lighting at its tip. The probe is designed to navigate tight spaces and transmit live video to the display.
5. Орнотуу
Follow these steps to prepare your inspection camera for first use:
- Батарея орнотуу: Open the battery compartment on the rear of the main unit. Insert the provided alkaline batteries, ensuring correct polarity (+/-). Close the compartment securely.
- Зонд туташуу: Connect the flexible camera probe to the designated port on the main unit. Ensure a firm connection.

2-сүрөт: Арткы view of the inspection camera. This image illustrates the back of the device, including the product label and the area where the flexible probe connects.
6. Иштөө нускамалары
This section details how to operate your Laserliner 082.262A Inspection Camera.
6.1 Күйгүзүү/өчүрүү
- To power on: Press and hold the power button (usually orange) until the display illuminates.
- Өчүрүү үчүн: Дисплей өчкөнгө чейин кубат баскычын кайра басып, кармап туруңуз.
6.2 Негизги башкаруу каражаттары
The main unit features several buttons for controlling the camera and display functions:
- LED Жарыктыгы: Adjust the intensity of the camera's LED lights for optimal visibility in dark environments.
- Сүрөттүн айлануусу: Rotate the image on the display for correct orientation, especially when the probe is twisted.

Figure 3: Image Rotation. This diagram illustrates how the image can be rotated on the display, showing 0, 90, 180, and 270-degree orientations.
6.3 Optimal Focus Distance
The camera has a fixed focus. For clear images, position the camera tip within the optimal focus range, typically a few centimeters from the object.
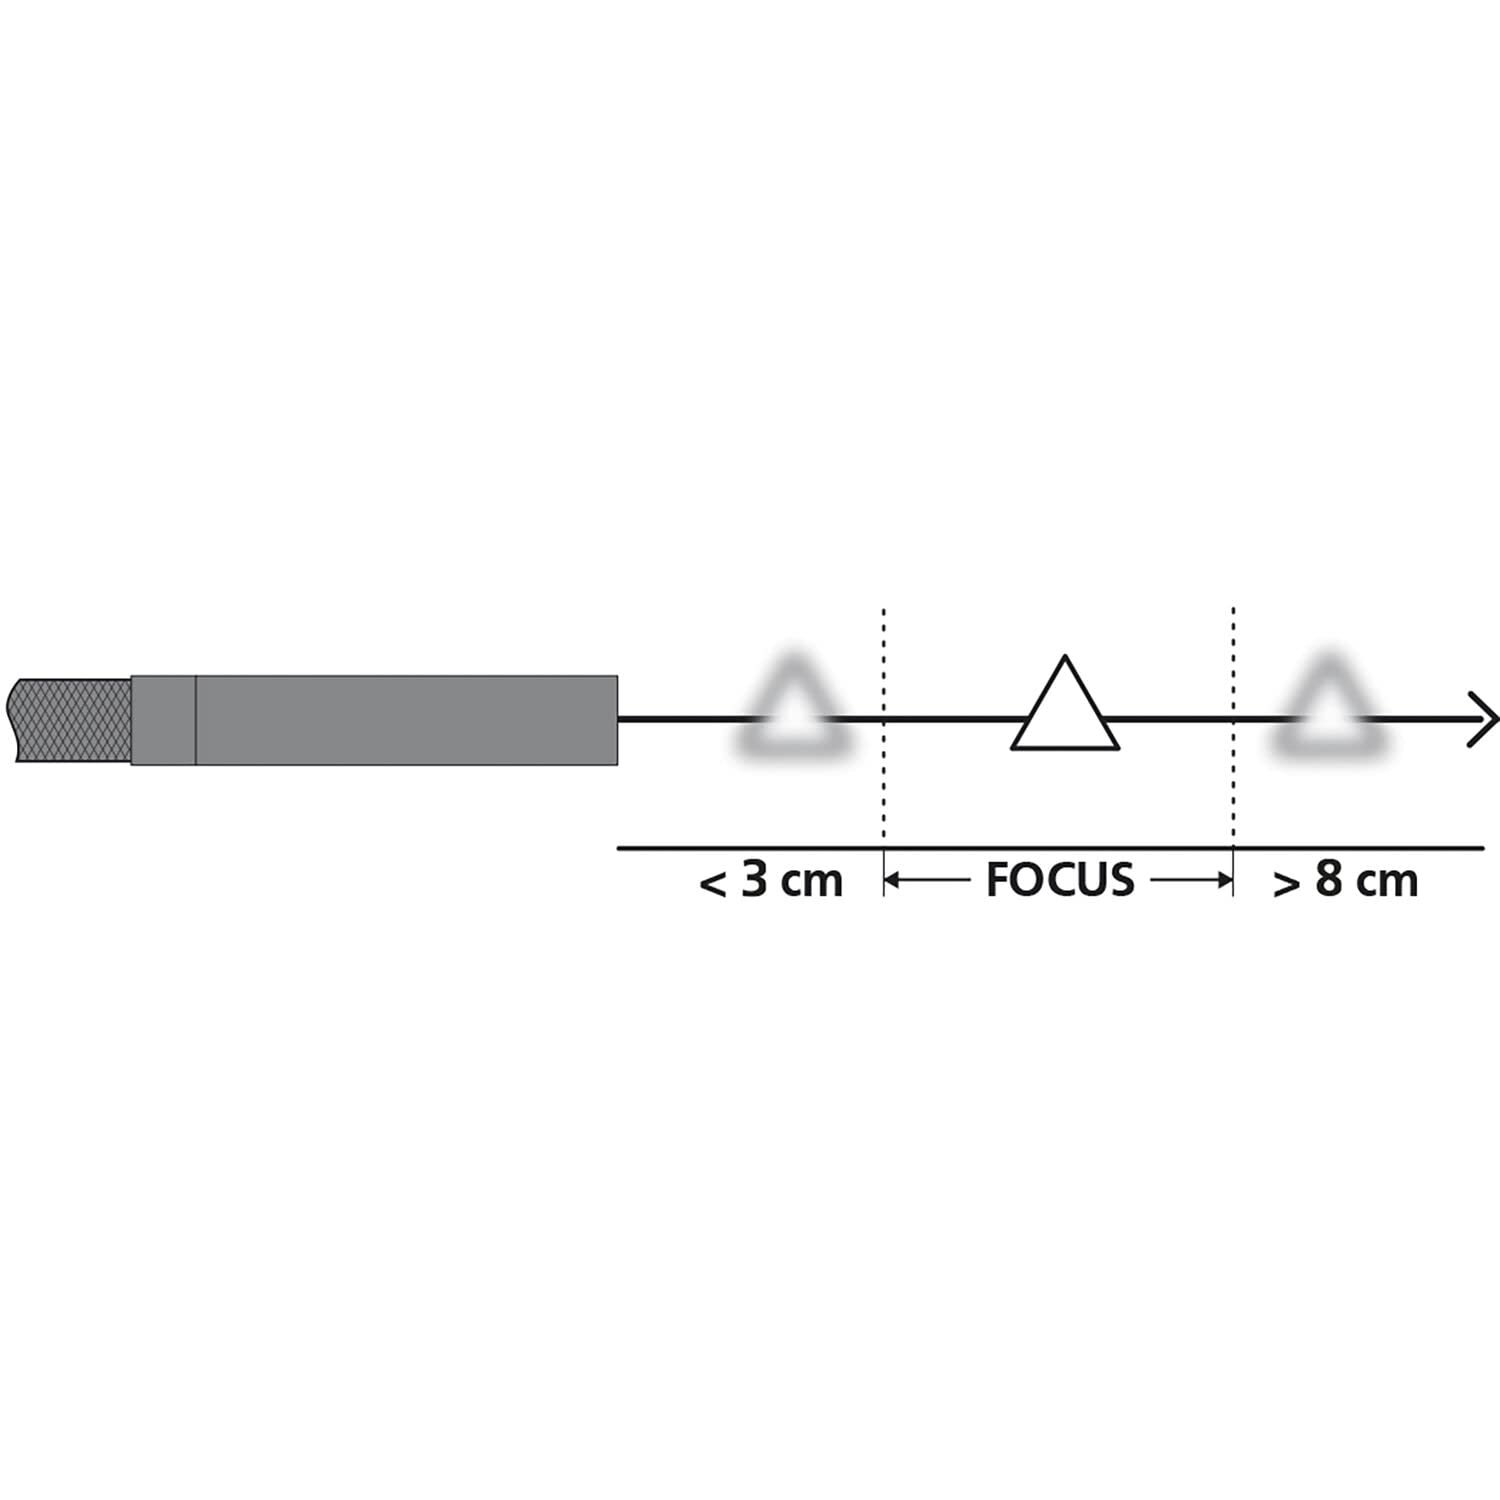
Figure 4: Focus Range. This diagram shows the recommended distance for clear imaging, indicating that objects too close (less than 3 cm) or too far (greater than 8 cm) may appear blurry, with an optimal focus zone in between.
6.4 Практикалык колдонулуштар
The inspection camera is versatile for various tasks:
- Приборлорду текшерүү: Examine internal components of dishwashers or other household appliances.
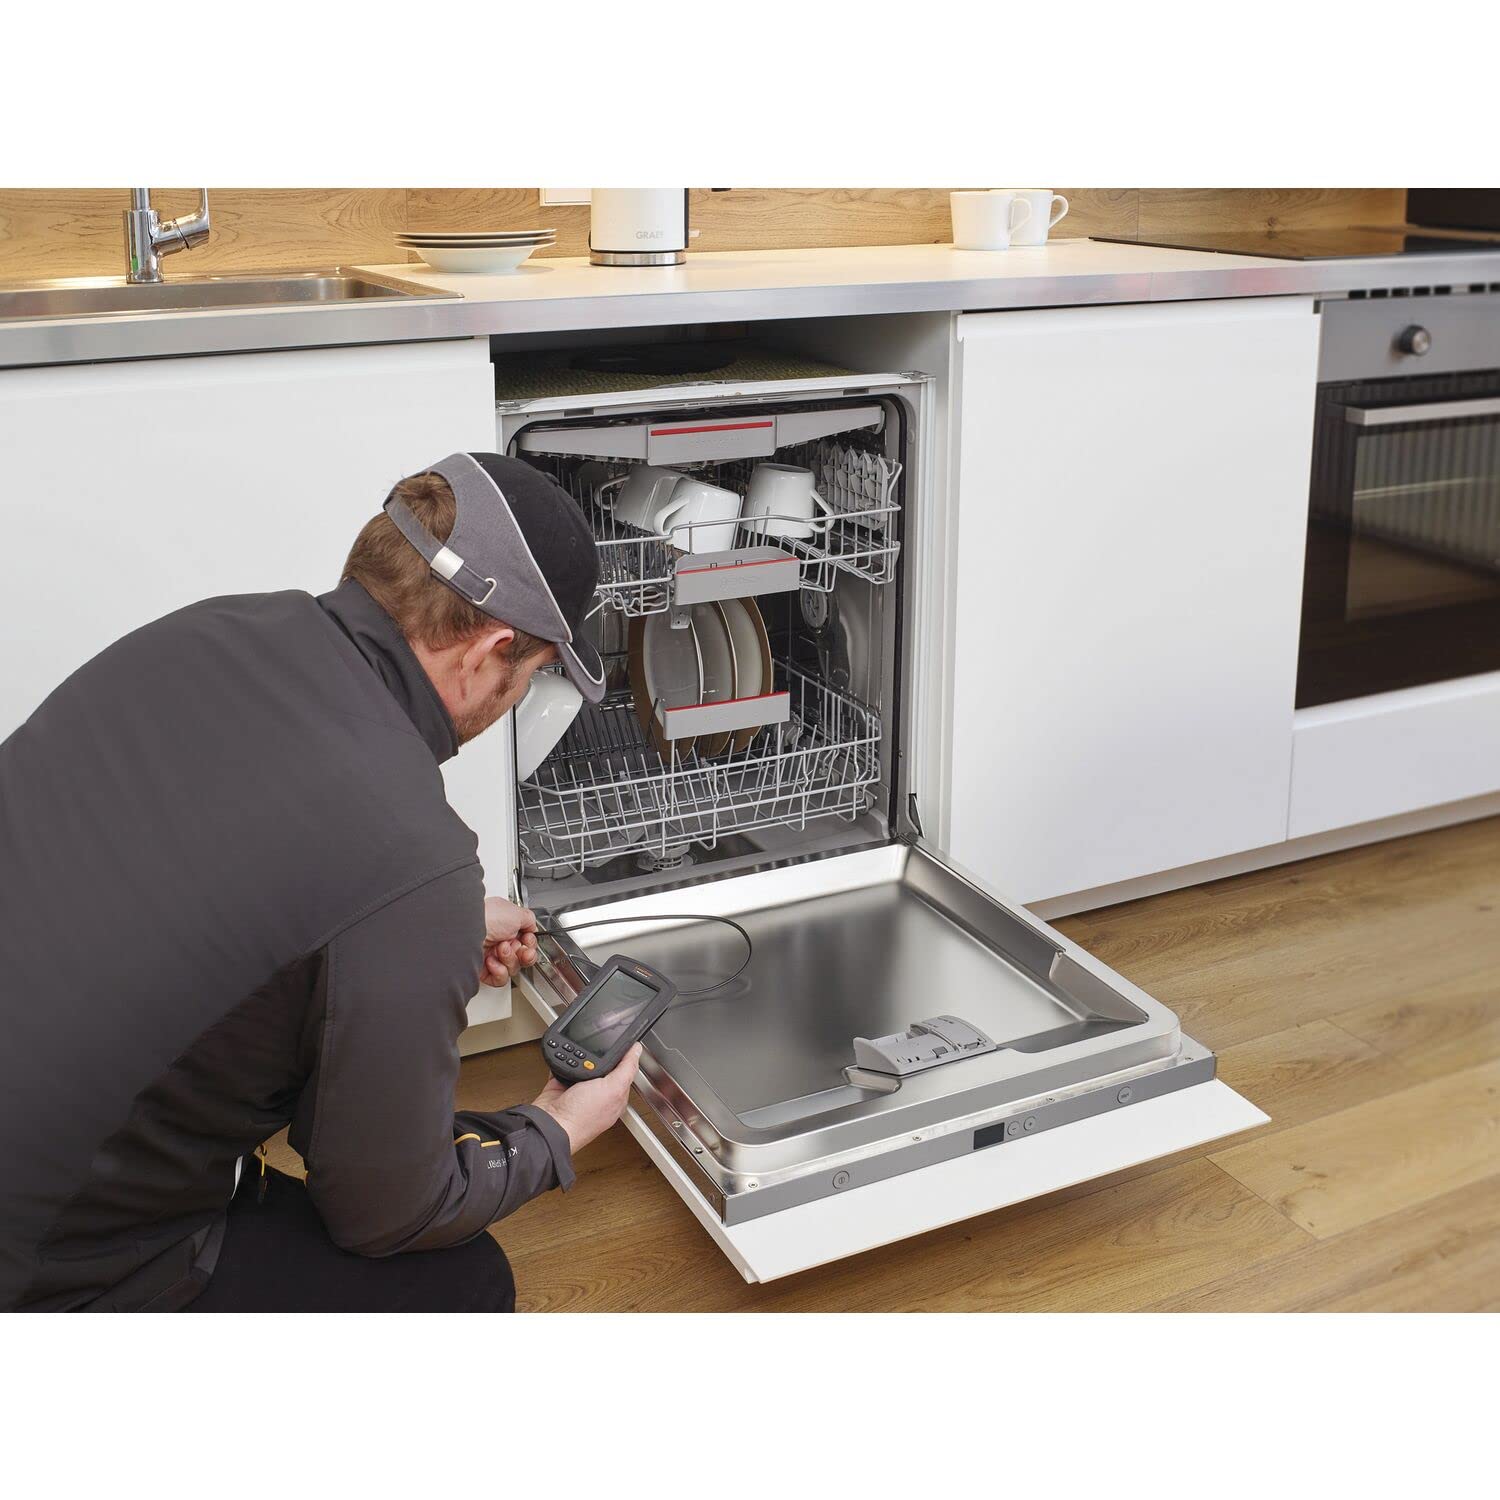
Figure 5: Dishwasher Inspection. A technician uses the inspection camera to view the internal workings of a dishwasher, checking for blockages or damage.
- Унаа диагностикасы: Inspect engine compartments, cylinders, or other vehicle parts.

Figure 6: Engine Inspection. The camera probe is inserted into an engine bay, allowing for visual inspection of internal components without extensive disassembly.
- Plumbing and Drainage: Check pipes, drains, and sewage systems for clogs or damage.

Figure 7: Drain Inspection. The camera is used to inspect a floor drain, providing a clear view of the pipe's interior.
- Cavity and Wall Inspections: Explore behind walls, ceilings, or other enclosed spaces.

Figure 8: Ceiling Cavity Inspection. The camera probe is inserted into a ceiling opening to inspect the hidden space above.
- Sink and Shower Drains: Кирүү жана view blockages or issues in bathroom plumbing.

Figure 9: Sink Drain Inspection. The camera is positioned to inspect the U-bend of a sink drain, revealing any obstructions.

Figure 10: Shower Drain Inspection. The camera probe is inserted into a shower drain to check for blockages or pipe conditions.
- Gutter and Downspout Inspection: Identify debris or damage in exterior drainage systems.
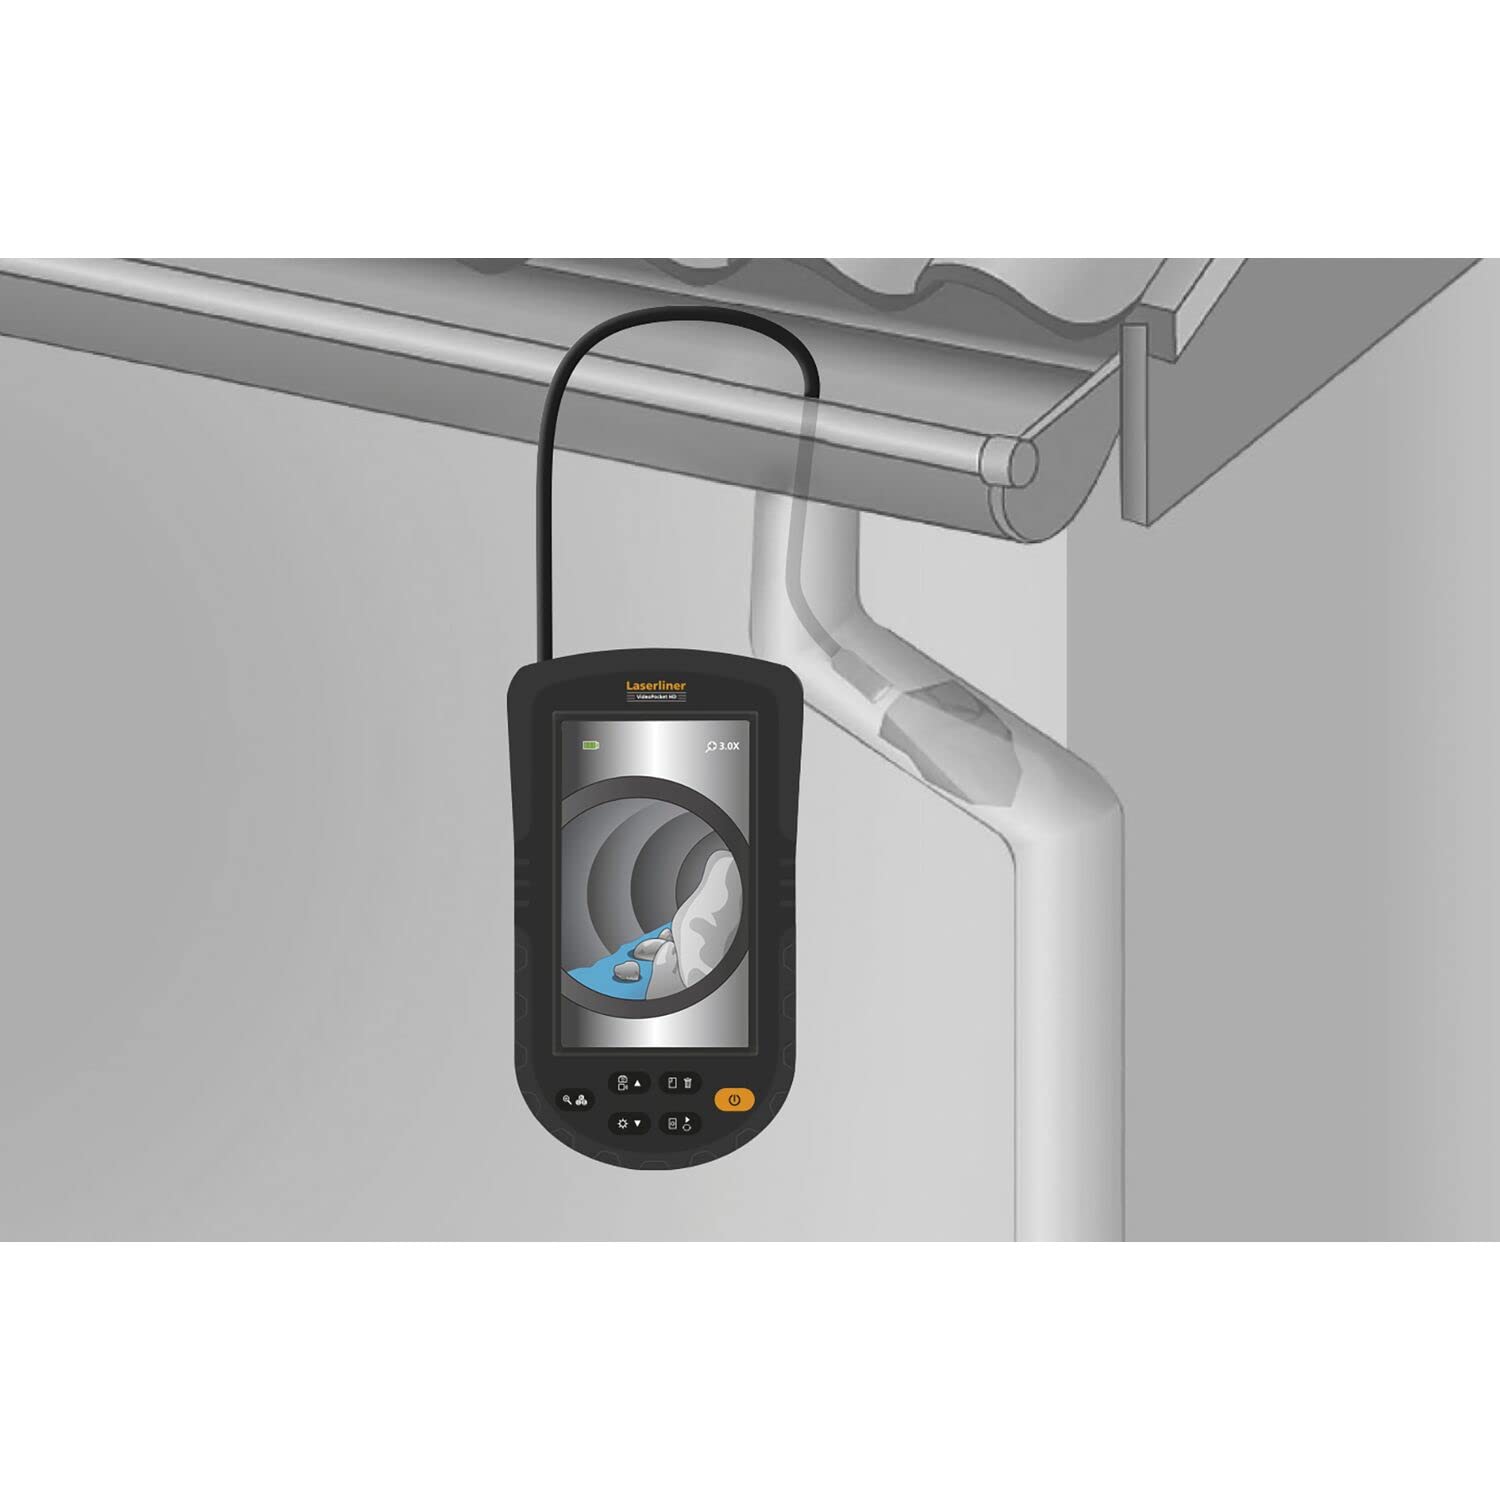
Figure 11: Gutter Inspection. The camera is used to inspect a gutter and downspout, showing the presence of leaves and debris.
7. Техникалык тейлөө
Түзмөгүңүздүн туура иштешин жана узак мөөнөттүү иштешин камсыз кылуу үчүн аны туура тейлөө керек.
- Тазалоо: Wipe the main unit with a soft, dry cloth. The camera probe can be cleaned with a damp cloth and mild detergent. Ensure no liquid enters the main unit.
- Батареяга кам көрүү: Replace batteries when the low battery indicator appears. Remove batteries if the device is not used for extended periods to prevent leakage.
- Сактагыч: Store the device in a cool, dry place, away from direct sunlight and extreme temperatures. Coil the probe loosely to avoid kinking.
8. Кыйынчылыктарды
Эгер көйгөйлөргө туш болсоңуз, төмөнкү жалпы көйгөйлөрдү жана чечимдерди караңыз:
| Көйгөй | Мүмкүн себеп | Чечим |
|---|---|---|
| Түзмөк күйбөйт | Төмөн же өлүп калган батарейкалар; Батареяны туура эмес орнотуу | Батареяларды алмаштырыңыз; Батареянын полярдуулугун текшериңиз |
| Дисплейде сүрөт жок | Probe not connected properly; Damaged probe | Ensure probe is securely connected; Contact support if probe is damaged |
| Сүрөт бүдөмүк | Object too close or too far from camera; Dirty camera lens | Adjust distance to object (refer to focus diagram); Clean camera lens gently |
| LED жарыктары иштебейт | LED brightness set to minimum; Faulty LEDs | Increase LED brightness using controls; Contact support |
If the problem persists after trying these solutions, please contact Laserliner customer support.
9. Техникалык шарттар
Detailed technical specifications for the Laserliner 082.262A Inspection Camera:
| Өзгөчөлүк | Спецификация |
|---|---|
| Өндүрүүчү | Лазерлайнер |
| Продукциянын өлчөмдөрү (L x W x Y) | 12 x 19 x 14 см |
| Элемент моделинин номери | 082.262A |
| Материал | Пластик |
| Форма | Square |
| Пакеттеги нерселердин саны | 1 |
| Өлчөө системасы | Индикатор |
| Батареялар камтылган | Ооба |
| Батареялар талап кылынат | Ооба |
| Батареянын курамы | щелочтуу |
| Элемент Салмагы | 370 грамм |
| Келип чыккан өлкө | Кытай |
| ASIN | B0BYKBV8ZC |
10. Кепилдик жана колдоо
For warranty information, please refer to the documentation provided with your purchase or visit the official Laserliner website. For technical support or service inquiries, contact Laserliner customer service directly.
Spare parts availability: Information unavailable.
11. Жок кылуу маалыматы
Electronic devices and batteries must not be disposed of with household waste. Please dispose of them according to local regulations at designated collection points for electronic waste and batteries. Proper disposal helps protect the environment and human health.